
Have you noticed how small trim problems can throw off your whole room? A few careful fixes can really refresh your woodwork. This guide shows you simple steps to repair baseboards, crown moldings, and door casings. Measure carefully and cut your wood at clean angles to form tight, neat joints. These easy methods not only enhance your trim but also help protect your walls from future damage.
Essential Trim Carpentry Repair Tips for DIY Restoration
Finish carpentry, or trim work, covers the decorative details in a home like baseboards (floor moldings), crown moldings (ceiling borders), door casings (frames around doors), and window trim. Accurate measuring and marking directly in place create tight, gap-free joints. A neat trim not only enhances your room's look but also protects walls from damage.
Start by taking exact measurements and planning your layout. Use a tape measure and a combination square (a tool that checks right angles) to mark where you need to cut. Marking on the wall helps ensure snug joints, and practicing miter cuts (angled cuts for clean corners) makes every angle fit perfectly. Quick tip: mark the trim directly on the wall before cutting to avoid re-measuring errors.
When choosing your trim, consider durability and finish. Hardwood options like oak, maple, or walnut offer a long-lasting, elegant look for exposed trim. Pine is a great choice for painted trim, while moisture-resistant or engineered wood works best in damp areas. Picking the right material cuts down on future maintenance and keeps a professional finish.
Plan your repair step by step. First, inspect the worn areas and remove any damaged trim. Next, trim the pieces to size. Then, cut the new pieces using proper miter and coping techniques (coping means shaping the wood to hide joints). Use the project timeline template (project timeline template – https://neull.com?p=122) to keep your workflow organized and ensure a smooth repair process.
Inspecting and Assessing Damage in Trim Carpentry Repair
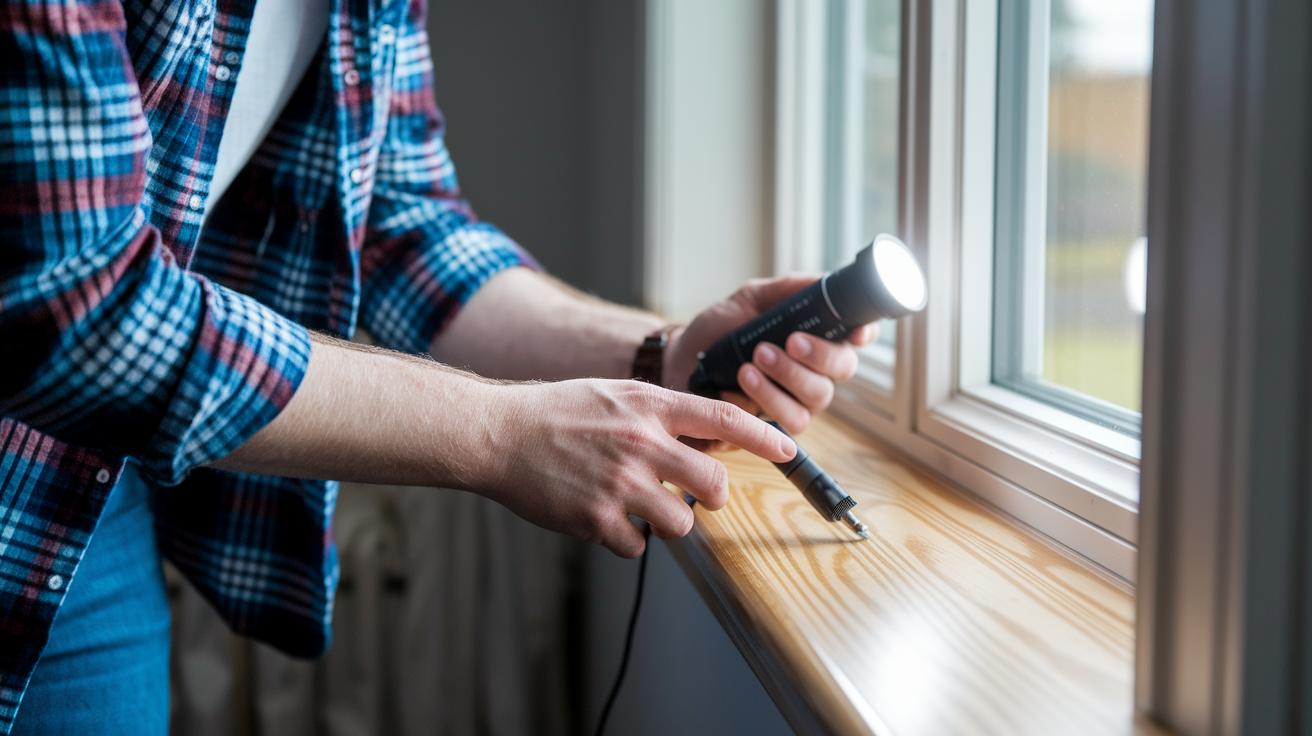
Start by gathering your basic tools: a moisture meter, a flashlight, and a small tool to gently tap the wood. Look closely for signs like wood rot (damage from moisture), decay, cracks, and loose nails or screws. A light tap on the trim will help you spot soft spots that could hide trouble. Plan to check every 6–12 months to catch warping or separation early.
Next, inspect the trim in a bright area. Check for discoloration, warping, or bulging that signal water damage. Use your moisture meter to measure any damp spots. Tapping the wood gives you a clear sound difference between solid wood and decayed areas. This method quickly points out the spots that need repair.
Finally, write down everything you find. Note the exact spot of each defect and whether it’s due to rot, decay, or loose fasteners. Make rough sketches or take photos to plan your repairs. Keeping a detailed record helps you track recurring issues and guides your repair steps.
Preparing and Measuring: Tools and Materials for Successful Trim Repairs
Start by gathering the right tools and materials to set up a solid base. Trim repairs need precise measurements and thorough preparation. Mark your work area directly on the wall to account for any uneven surfaces, using reveal lines (small shadow lines that guide your cuts). Accurate measurements not only give your trim a neat look but also stop gaps and misalignments. Whether you are replacing one piece or redoing a full room, plan each step and use careful cutting techniques for a lasting finish. Choose the right adhesive too. For indoor repairs, use PVA wood glue (a water-based adhesive that bonds well). For outdoor work, opt for a polyurethane-based construction adhesive (a weather-resistant glue). And if you’re dealing with structural damage, epoxy fillers add the extra strength needed to restore integrity. Prep your materials ahead of time and check that your tools are calibrated for a professional result every time.
Now, collect your key repair tools and materials. Here is a list of must-haves before starting your trim project:
- Tape measure – to get exact trim lengths and distances along the walls.
- Combination square – to check right angles and mark cut lines accurately.
- Miter saw – for making precise 45° cuts that create crisp, gap-free corners.
- Coping saw – to remove or adjust damaged trim so it fits snugly with adjoining pieces.
- Folding rule – for quick on-the-spot measurements on uneven surfaces.
- Sanding blocks – to smooth surfaces and ensure a uniform finish before you add paint or sealant.
Having these tools on hand saves time and lets you concentrate on the details. Careful preparation helps you avoid mistakes and work around wall irregularities, delivering a trim repair that looks sharp and professional.
Techniques for Filling, Patching, and Smoothing Trim Surfaces

Begin by examining your trim for chips and gaps. For small dents and cracks, use water-based wood putty, epoxy filler (a strong bonding adhesive), or latex spackle. Each product dries at its own pace, so pick one that fits your project timeline. If you face tiny gaps or hard-to-reach corners, flexible acrylic caulk works great. Press the filler smoothly into the gaps to cover every crack. Quick tip: when fixing a chipped baseboard, spread latex spackle evenly and let it dry so the repair blends in with the rest of the trim.
| Material | Application | Drying Time |
|---|---|---|
| Water-based wood putty | Small dents and cracks | Approximately 1 hour |
| Epoxy filler | Structural patching | 3 to 4 hours |
| Latex spackle | Minor repairs and smoothing | About 30 minutes |
| Flexible acrylic caulk | Sealing tiny gaps | Roughly 1 hour |
| Sanding technique | Smoothing and finish layering | Not applicable |
Smooth the repair in stages. Start with 120-grit sandpaper (rough paper to level the filler) to remove any excess material. Then, switch to 220-grit sandpaper (a finer option for an even finish) to create a uniform surface. Sanding in steps helps blend the patched area with the original trim, so you end up with a clean, professional look that holds up well to daily use.
Aligning, Fastening, and Securing Moldings: Joints and Attachment Methods
Begin by using a miter saw to cut the moldings at a clean 45° angle (45 degrees). Getting the angle right is key for a snug fit around corners. For inside corners, use a coping saw to fine-tune the shape so the pieces fit together without gaps.
Next, fasten your work using 15–16-gauge finish nails or 18-gauge brads for most joints. In hidden areas, add wood screws to boost the hold. Place your nails or screws close enough to keep the molding tight but not so close that you damage the wood.
Before you attach anything permanently, shim and level any uneven walls. This keeps the reveal lines uniform along the trim. Adjusting the moldings with shims makes each joint line up properly, so your finished work looks professional and lasts a long time.
Priming, Painting, and Staining: Finishing Touches for Trim Restoration
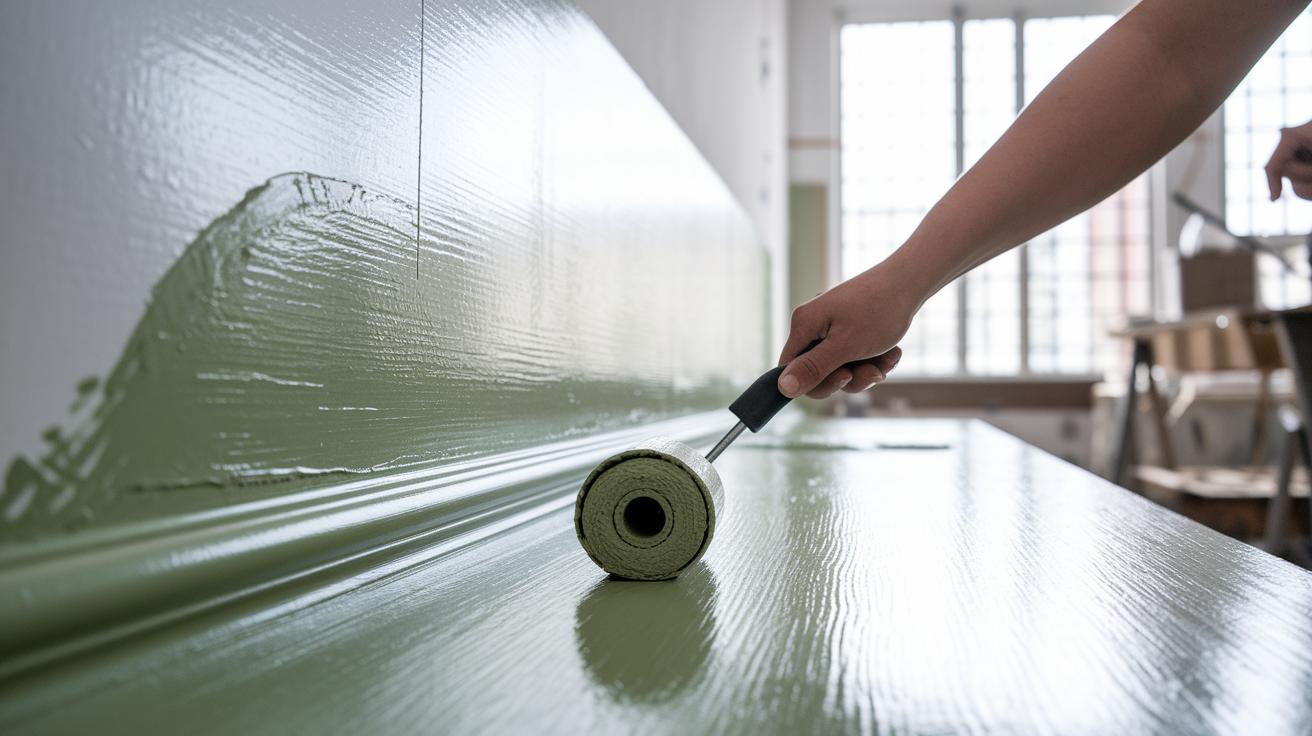
Start by applying a high-adhesion primer evenly over the clean trim. Let the primer dry completely, then lightly sand the surface with fine-grit sandpaper to smooth out any raised grain. Use one thin layer at a time to build a perfect base for your finish.
For painted trim, choose a quality latex (water-based) or oil-based paint. For hardwood trim, apply a stain and follow with a clear polyurethane topcoat. Match the sheen to the surrounding surfaces and feather the paint edges to blend the new work with the old. Test the color and texture on a small area before you finish the whole job.
Troubleshooting and Maintenance: Preventing Future Trim Carpentry Repairs
Recurring trim issues like returning gaps, peeling paint, and separating joints can point to deeper problems that need a closer look, even after a repair. Start by checking areas that show signs of stress. Look for loose fasteners or trim that has shifted out of place. Spotting these issues early lets you fix them before they get worse.
Keep your trim in good shape with regular cleaning and protection. Dust it weekly with a microfiber cloth and give it a deep clean every few months to remove oils and residues that can weaken the finish. Apply a moisture-resistant sealant to guard against water damage, especially in damp, humid spaces. Good airflow in your home also helps cut down on moisture build-up that could cause decay.
Set up a simple inspection routine to catch problems early. Check your trim every 6 to 12 months and note any signs of wear like shifting wood or peeling finishes. Reviewing your trim each season can alert you to new issues. Consider using a home maintenance checklist (home maintenance checklist) to track recurring problems and schedule repairs promptly. Routine care like this keeps your trim looking fresh and working well over time.
Final Words
In the action, we covered each step, from inspecting damage and measuring precisely to filling, patching, and aligning moldings. We talked about choosing the right materials and following a clear workflow. You now have straightforward trim carpentry repair tips to help you refresh your wood accents. Use these steps to complete your project safely, on time, and within budget. Remember, a careful approach makes all the difference in achieving a lasting finish. Keep at it, and enjoy the transformation.
FAQ
Best trim carpentry repair tips
The best trim carpentry repair tips stress accurate measuring, proper marking, and using the right materials and tools. They also emphasize snug joints and careful techniques to avoid gaps.
Trim carpentry near me
Local trim carpentry professionals can be found by searching online directories or local contractor listings. They offer skilled repair and installation services right in your neighborhood.
Trim carpentry vs finish carpenter
Trim carpentry vs finish carpenter explains that both cover detailed woodwork like molding and casings. Often, the terms are used interchangeably to refer to specialty work on decorative trim.
Examples of finish carpentry
Examples of finish carpentry include installing baseboards, crown moldings, and door or window casings. These details add a polished look to both interior and exterior structures.
Trim carpentry salary
Trim carpentry salary varies by region, experience, and project type. Generally, earnings fluctuate with market demand and the skill level required for detailed finish work.
Finish carpenter salary
Finish carpenter salary depends on location, experience, and demand for high-end trim work. Skilled finish carpenters often earn competitive wages reflecting their precision and craftsmanship.
Trim Carpenter Apprentice
A trim carpenter apprentice learns detailed finish work under seasoned professionals. Training includes mastering accurate measurements, making precise cuts, and installing high-quality trim.
Trim Carpentry tools
Essential trim carpentry tools include a tape measure, miter saw, coping saw, combination square, folding rule, and sanding blocks. These tools help achieve accurate cuts and tight joints.
What is the 3/4/5 rule in carpentry?
The 3/4/5 rule in carpentry uses a triangle with sides measuring 3, 4, and 5 units to form a right angle, ensuring accurate square cuts and proper alignment in construction.
Why is carpentry a dying trade?
Carpentry is considered a dying trade due to a shortage of skilled labor and fewer young people entering the field, which impacts the overall availability of experienced tradespeople.
What are the three rules of carpentry?
The three rules of carpentry are often summarized as measuring twice, cutting once, and always prioritizing safety. These guidelines help maintain precision and minimize errors.
Can a carpenter make 100k a year?
A carpenter can make 100k a year based on experience, location, and the complexity of work. Highly skilled professionals or those in busy markets may reach that income level.