
Ever wonder if your home's strength starts at the wall?
Wall framing is more than just wood and nails; it is the plan that holds floors, ceilings, and roofs together.
Each part, from sturdy top plates (the horizontal boards at the top of the frame) to evenly spaced studs (vertical supports), plays a key role in building a solid structure.
In this post, we break down the basics of wall framing and show how every element works together for safety and stability.
Work with confidence, knowing that a strong frame sets you up for a successful project.
Fundamentals of Wall Framing Basics: Components and Terminology
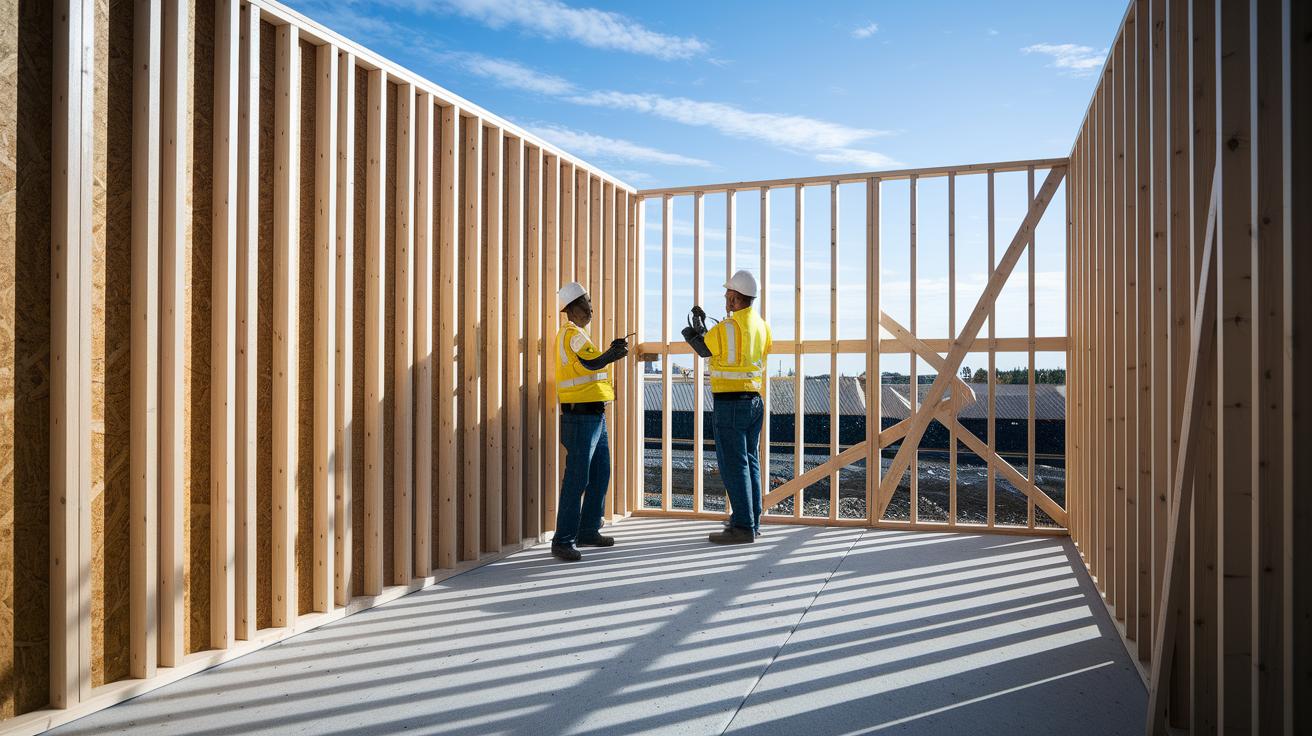
Wall framing uses wood to build a structure’s backbone that supports floors, ceilings, and roofs. It creates a basic framework that holds the building together and shapes each room, so every piece works in sync for strength and safety.
Key parts of wall framing include the top and bottom plates. These horizontal pieces run along the wall and hold the vertical studs (upright wooden supports) in place. The studs are spaced evenly to carry loads and to support additional elements like headers and trimmers (pieces framing door and window openings). Sole plates attach the wall to the foundation, which keeps everything lined up.
In earlier days, timber framing used large posts and beams fastened with wooden pegs. Then came balloon framing in the 1830s, where continuous 2×4 studs (actual 1.5 in x 3.5 in / 38 mm x 89 mm) could reach up to 30 ft (9.1 m), a method that increased the risk of rapid fire spread. Today, modern platform framing builds each story on its own, offering better safety and easier assembly. This method is the go-to choice for most residential projects.
Material Essentials for Wall Framing Basics

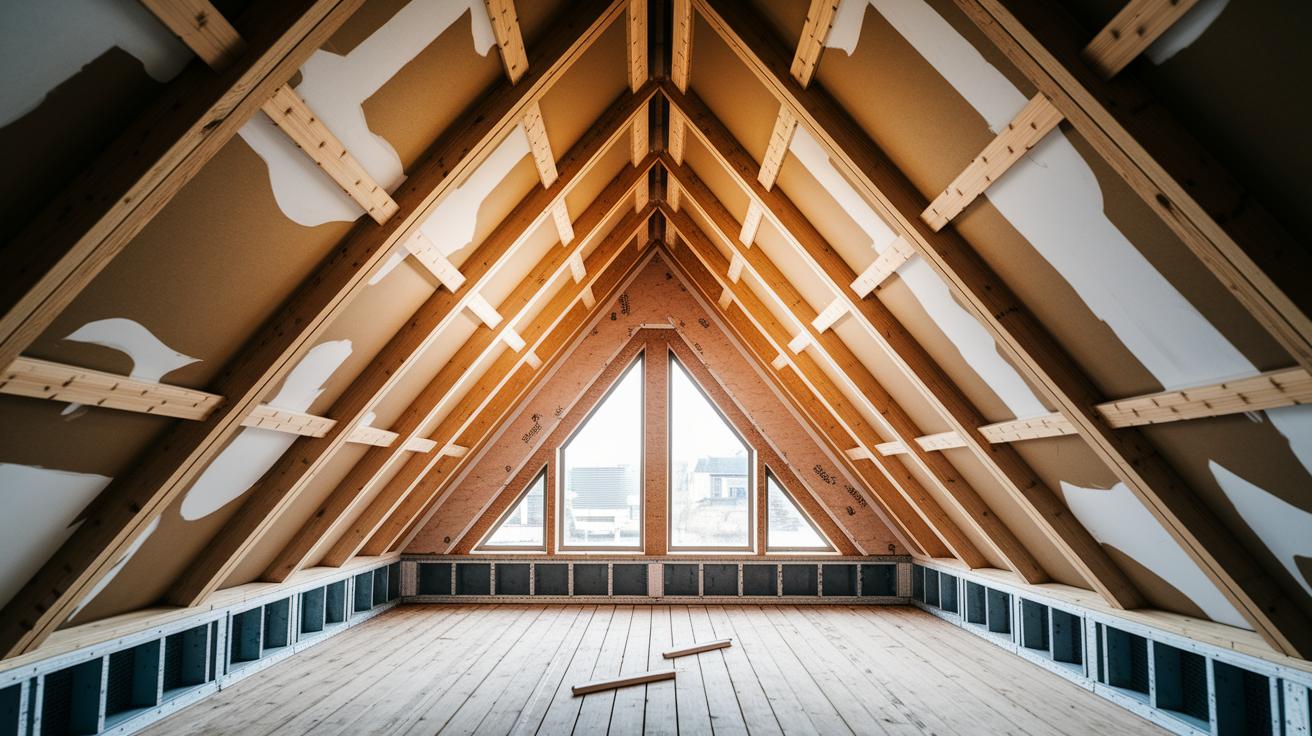
Choosing the right lumber is essential when framing a wall. We use straight 2×4 lumber (actual 1.5 in x 3.5 in / 38 mm x 89 mm) for the studs and plates since they form the backbone of your wall. For ceiling joists that carry the weight of floors and ceilings, 2×6 boards (actual 1.5 in x 5.5 in / 38 mm x 140 mm) offer the needed support. To frame openings for doors and windows, header assemblies are made by placing a 1/2 in (12.7 mm) plywood spacer between two 2x header boards. Below is a table that shows these key materials:
| Material | Size | Purpose |
|---|---|---|
| Studs | 2×4 lumber (actual 1.5 in x 3.5 in / 38 mm x 89 mm) | Vertical supports for the wall |
| Plates | 2×4 lumber | Top and bottom pieces that hold the studs in place |
| Joists | 2×6 boards (actual 1.5 in x 5.5 in / 38 mm x 140 mm) | Support for ceilings and floors |
| Headers | 2x header boards with a 1/2 in plywood spacer | Frame the openings for doors and windows |
| Plywood spacer | 1/2 in thick | Strengthens the header assembly |
After you set up temporary diagonal bracing to keep the wall plumb, add OSB sheathing (oriented strand board) to lock the frame in place. This sheathing covers the bracing and boosts the wall’s overall stiffness, giving you a solid base for exterior finishes. This step moves the project from basic framing to a weather-resistant wall assembly.
wall framing basics: Build with Confidence

Getting your plate layout right is key to strong walls. When you mark your plates properly, you set up a solid base for stud (vertical support beam) placement, headers (reinforcing beams above openings), and spaces for windows and doors. Measuring carefully cuts down on mistakes and keeps your wall true to the design. Follow these clear steps for marking both the top and bottom plates:
- Grab two straight 2x4s (actual 1.5 in x 3.5 in / 38 mm x 89 mm) that match the wall length.
- Stand them side by side and secure them so you get a consistent mark.
- Mark the center of the first stud 16 in (40.6 cm) from one end.
- Mark the left edge 15 1/4 in (38.7 cm) from the same end.
- Keep marking every 16 in (40.6 cm) along both plates.
- Add marks for headers and for window or door openings to guide any extra framing work.
For more complex wall setups, you can use digital calculators or design software to check your marks. These tools make it easier to work out spacing and let you see the wall plan before you start. This saves time and helps you adjust for custom openings so your project goes forward confidently and efficiently.
Installing Studs, Headers, and Load-Bearing Elements in Wall Framing Basics

Start by placing your studs. Mark your lines and then position each stud along the guide. Secure them with two 16d nails at the top and bottom plates. This method holds the studs tight so the frame stays straight and strong. Keeping even spaces between studs helps spread the load and stops shifting when you add more parts later.
Next, build your load-bearing headers. Measure the rough opening (the space before finishing) to know the correct header size. For doors and windows, lay a 1/2 in (12.7 mm) plywood spacer between two header boards. This creates a strong beam that supports heavy loads. Once the walls are up, add a double top plate that connects the walls. This plate transfers weight from the roof and floors, boosting your structure’s stability.
Finally, temporarily brace the wall with diagonal 2x4s (actual 1.5 in x 3.5 in / 38 mm x 89 mm). These help keep the wall straight until you attach the OSB (oriented strand board) sheathing. With the OSB in place, it locks everything together and makes your wall weather-resistant.
Corner and Intersection Techniques in Wall Framing Basics
Solid, well-built corners are key to a strong structure and neat look. When corners are framed correctly, they hold walls together firmly and spread weight evenly. Accurate corners help keep walls from shifting and stay aligned from start to finish.
Three-Stud Corner Technique
This method saves you materials by using only three studs and extra blocking (solid wood pieces that support drywall). The blocking gives the drywall a hard surface to attach to. The nailing pattern is lean and efficient. It works well when you're on a tight budget. This setup not only cuts lumber costs but also works great for most interior walls.
Stacked-Stud Corner Method
This common method uses studs stacked continuously for added strength and a smoother finish. It creates a firmer corner that can handle tricky wall intersections and heavy loads. The straight, vertical studs line up better with the double top plate (the horizontal beam at the top) to make a tougher, more stable wall system.
Best Practices and Safety Tips in Wall Framing Basics

When starting your wall framing project, always put safety first. Use fall protection like secure scaffolding and a harness when working at heights. Wear your safety glasses, hard hat, and gloves to guard against flying debris. Keep your tools sharp and in good condition to lower the chance of accidents. For extra details on proper PPE and safe nailing, see the Jobsite Safety Analysis at https://neull.com?p=.
When nailing, drive each nail at the right angle to hold studs and plates firmly. Check that every framing member is plumb and lined up before placing the OSB sheathing (oriented strand board). Do a final look over all nailing areas to spot any misaligned pieces before adding the sheathing. This final check helps the wall brace itself as the OSB locks everything in place, and it supports reliable load distribution for the double top plate.
Once the frame is set and inspected, begin installing drywall by following the proper steps to prevent gaps and uneven surfaces. Use extra fasteners where needed, and double-check that everything is level. These careful measures ensure a smooth shift from framing to drywall. For more on drywall application and finishing tips, check the Drywall Installation Steps at https://neull.com?p=.
Final Words
In the action, you learned how to master wall framing basics by breaking down key components like studs, plates, and headers, and by understanding the differences between traditional and modern framing methods. Each section offered clear steps, from precise layout marking to safe installation practices, ensuring your project stays on time and within budget.
Armed with these practical tips and safety insights, you’re ready to build solid, reliable walls while minimizing errors and unexpected costs. Enjoy the process and let your confidence grow with every nail hammered.
FAQ
What are interior wall framing basics?
The interior wall framing basics involve installing top and bottom plates and vertical studs to support drywall and insulation, creating a stable and efficient partition design for rooms.
What do wall framing basics PDFs provide?
The wall framing basics PDF provides clear guides with diagrams and step-by-step instructions on measuring, cutting, and installing studs, plates, and headers for reliable wall construction.
What does wall framing basics for beginners cover?
The wall framing basics for beginners cover a straightforward process including accurate layout marking, stud placement at 16 in (40.6 cm) on-center spacing, and secure fastening techniques to ensure a stable wall.
What are exterior wall framing basics?
The exterior wall framing basics include enhanced structural considerations like additional bracing, weatherproofing measures, and load-bearing requirements to support siding and insulation.
What does an interior wall framing diagram show?
The interior wall framing diagram illustrates the precise arrangement of studs, top and bottom plates, and openings for doors and windows to help visualize proper wall structure.
What is involved in wall framing design?
The wall framing design involves planning stud spacing, header positioning, and load distribution to meet building codes and create a safe, efficient structure that supports both interior and exterior loads.
What are common mistakes when framing a wall?
The common mistakes when framing a wall include misaligned plates, uneven stud spacing, and improper nailing, which can lead to unstable or nonplumb walls and compromise structural integrity.
What is the step-by-step process to frame a wall for beginners?
The process to frame a wall for beginners involves marking accurate layout lines, cutting studs to length, installing them with proper spacing, adding headers for openings, and ensuring secure bracing during construction.
What are the basic rules of framing?
The basic rules of framing require using correctly sized lumber, accurate measurements for spacing and alignment, secure attachment with nails, and adherence to building codes to ensure stability and safety.
Should walls be constructed with 2×4 or 2×6 lumber?
The choice between 2×4 and 2×6 lumber depends on application; typically, non-load-bearing interior walls use 2×4 (actual 1.5 in x 3.5 in / 38 mm x 89 mm) while exterior or load-bearing walls often require 2×6 for enhanced support and insulation space.