
Struggling with framing? You might be missing a simple stud layout checklist. Getting your studs spaced correctly is key to a safe build, yet many rush through this step. When studs are out of place, the whole project can end up unsteady, as if you built on a shaky foundation.
This guide shows you how to mark stud spots, plan openings, and check that your corners form right angles. Follow these clear steps and you’ll save time, avoid costly mistakes, and build a frame that stays strong for years.
Essential Components of a Stud Layout Checklist
Wall studs are vertical boards that support walls, floors, roofs, insulation, plumbing, and electrical systems. They form the backbone of your build and hold everything in place. In modern homes, studs are usually spaced 16 in (40.6 cm) on center. However, spacing can range from 12 in (30.5 cm) to 24 in (61 cm) on center to safely anchor heavy objects.
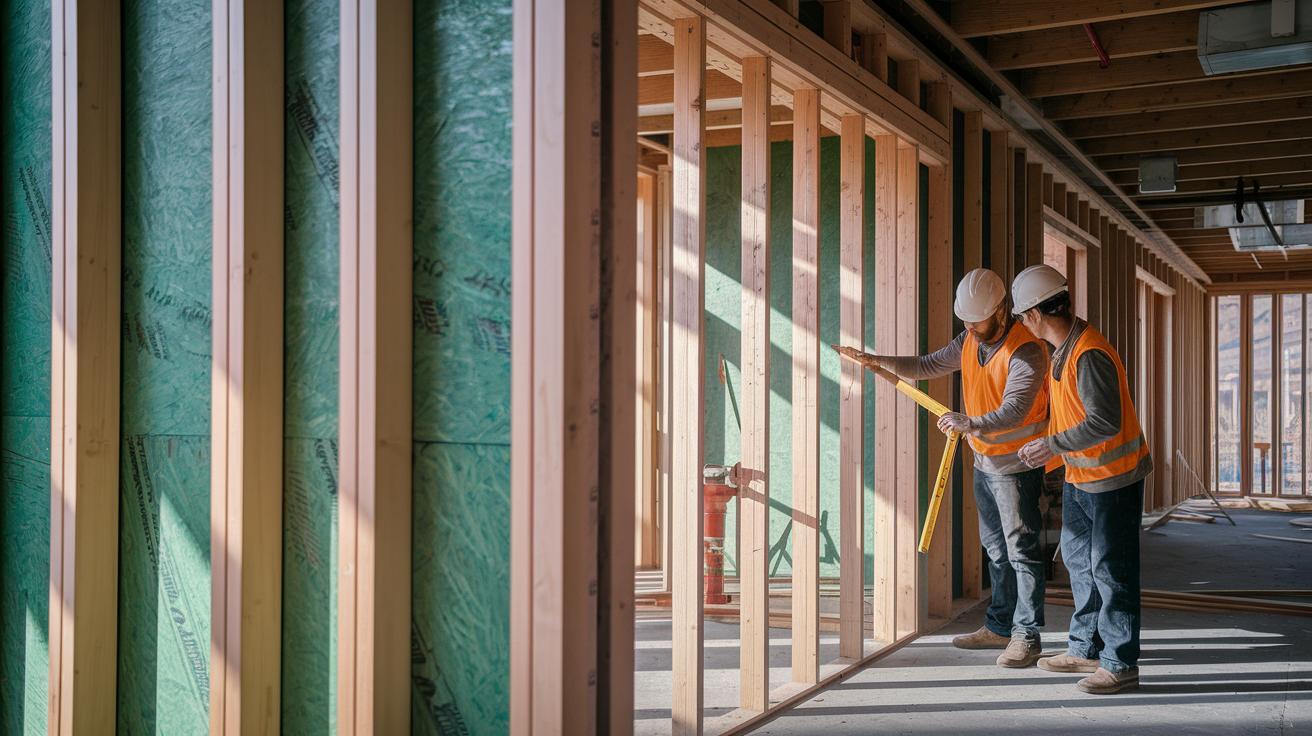
Before you start framing the walls, make sure your floor frame is square and your corners are at right angles. This step helps every part fit properly, whether you’re installing rafters or kitchen cabinets. Mark stud spots with a clear layout pattern and plan spaces for windows, doors, and where walls intersect.
- Square frame verification
- Layout pattern selection
- Opening allowances
- Intersection planning
- Plate marking
- Plate-to-plate placement
Using these checklist items keeps your construction simple and cuts down on mistakes. Each step, from checking that your frame is square to lining up the plates, builds a sturdy, long-lasting structure. This careful, step-by-step method saves time by reducing rework and ensures your project can handle heavy loads and future renovations.
Tools & Materials for Precision Stud Layout

For a solid stud layout, gather the right tools. You'll need a mix from three groups: measuring and marking tools, cutting and fastening tools, and basic safety gear. These items help you check every measurement and ensure your studs are plumb (perfectly vertical) and square. For more on wall framing basics, see Wall Framing Basics.
- Tape measure (6 ft (1.8 m) or longer): For accurate measurements.
- Framing square: To check right angles.
- Chalk line: For drawing clear, straight lines.
- Level: To verify both horizontal and vertical surfaces.
- Hammer or framing nailer: To secure the studs.
- Saw: For cutting lumber to size.
- Stud finder: To locate hidden studs behind drywall.
- Safety glasses and gloves: To protect your eyes and hands.
Select dependable tools and quality materials to avoid layout mistakes. Use methods like snapping a chalk line and checking with a framing square to place each stud neatly between the top and bottom plates. This careful approach keeps your wall strong and helps you steer clear of expensive fixes later.
Step-by-Step Stud Positioning Directives in Framing
Start by using a quick shorthand method to transfer your blueprint measurements onto the bottom plate. This simple step sets the stage for a solid wall plan and helps you avoid mistakes.
- Mark the bottom plate with a chalk line. Snap a clean, straight line following your measurements.
- Check your work using the 3-4-5 triangle method (a quick way to confirm right angles). Make sure every corner is square.
- Mark where each stud goes. For common walls, space them 16 in (40.6 cm) on-center, or 24 in (61 cm) apart for garages and energy-efficient builds. Adjust if extra loads from headers or beams are expected.
- Outline door and window openings by marking where the king studs (main vertical supports), jack studs (supporting studs), and cripple studs (short studs under the header) will be placed. This supports the extra bending loads around openings.
- Plan for wall intersections and backings by marking spots where interior walls meet, or where extra support will be needed later.
- Nail the studs securely between the top and bottom plates using a framing nailer (a tool that quickly drives nails), ensuring a solid hold.
- Do a final check: re-measure all spaces, check your angles, and confirm the layout is square before moving on.
Quick tip: Keep a steady rhythm with your chalk line and check your squares often with the 3-4-5 method, especially on long walls. This consistent approach cuts down on errors and builds a strong frame. Always double-check critical points when working with long spans or custom support setups.
Common Pitfalls and Systematic Error Detection in Stud Layout
Stud layout mistakes can weaken your build and risk your safety. If studs are spaced incorrectly or key supports are skipped, your wall might not hold heavy loads and fixtures can end up misaligned. Missing checks like verifying plate squareness may lead to leaning walls that do not meet building codes, hurting the overall structure.
- Incorrect spacing that reduces load support.
- Missing headers that leave door and window openings under-supported.
- Code violations that risk safety and future compliance.
- Fastener mistakes from using the wrong nails or screws.
- Overlooking environmental loads (forces like wind or earthquakes).
Take the time to double-check your measurements. Note any corrections and ensure your layout stays square before you add the sheathing. This careful review helps you build a strong, reliable wall.
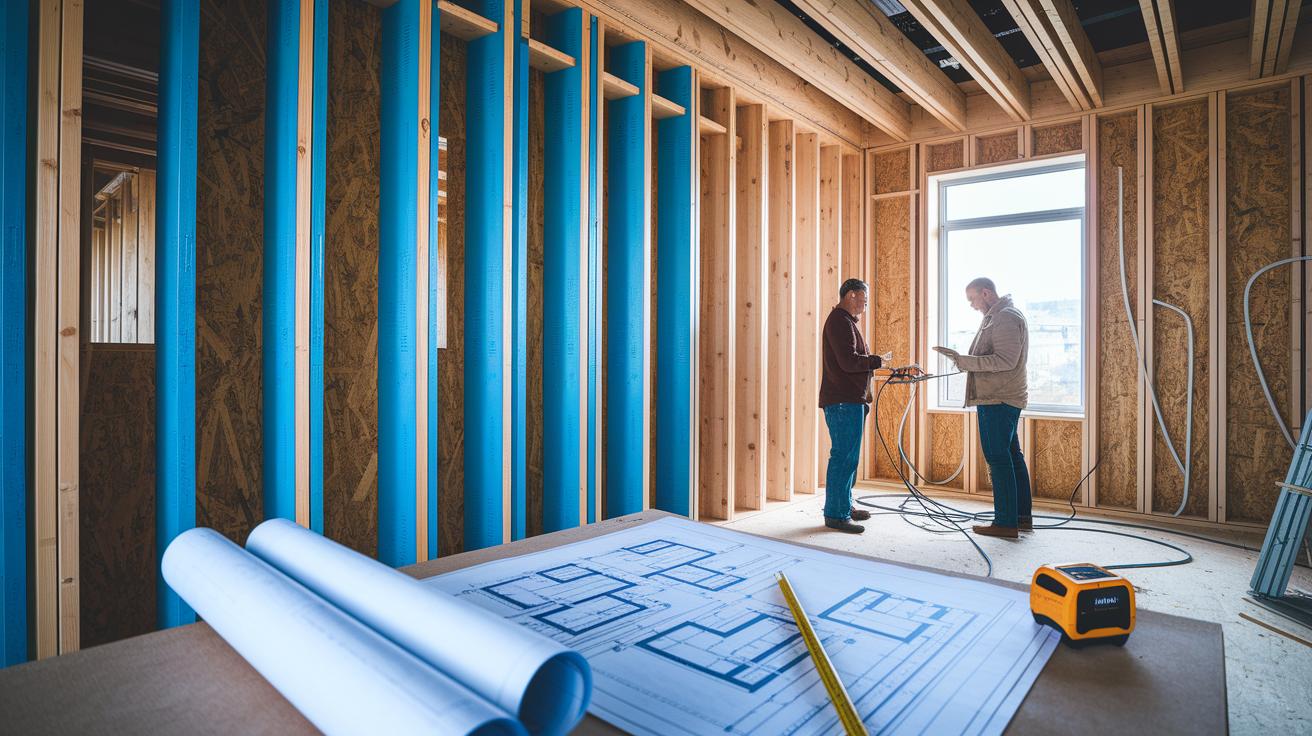
Exact Blueprint Review and Rigorous Dimension Matching for Stud Layout
Begin by checking the wall's full length and marking every door, window, and intersection on site. Measure the entire wall, note where openings occur, and subtract the total widths of the doors and windows from the full measurement. Then, divide the remaining space by your chosen stud spacing. For instance, if your wall measures 120 in (305 cm) with 20 in (51 cm) of openings and you plan to space studs 16 in (40.6 cm) on center, you can determine the number of studs required.
| Plan Element | On-Site Check | Tolerance |
|---|---|---|
| Wall Length | Measured using a tape measure | +/- 1/4 in (6 mm) |
| Door Opening | Measured at the rough opening | +/- 1/4 in (6 mm) |
| Window Opening | Measured at the rough opening | +/- 1/4 in (6 mm) |
| Intersection Points | Checked for proper alignment | +/- 1/8 in (3 mm) |
Next, transfer these confirmed measurements onto your bottom and top plates using digital markup or manual notes. Tools like stud finders (devices used to locate framing within walls) and precision tape measures ensure accuracy, even through drywall. Always re-check your work by reviewing the tolerances and making a quick re-measurement. Cross-reference your blueprint with the marks on site to avoid mistakes. This careful method ensures every stud matches the design, resulting in a sturdy and reliable wall.
Advanced Custom Support Spacing & Structural Evaluation for Stud Layout
When you face tricky framing jobs, using specialty studs with the right insulation can make your wall stronger and boost energy efficiency. For example, EcoSmart Studs come with built-in thermal breaks (gaps that slow heat flow) and carry a rating of 495 lbs/ft. They work great with 2 lb closed-cell spray foam (dense insulation that stops air and vapor) for top-notch control. Custom spacing is key when you hang heavy cabinets, shelves, or install bearing headers to keep every connection secure.
- Check the stud grade using the manufacturer’s specs and a close visual look.
- Confirm that the top and bottom plates (the horizontal framing pieces) are square.
- Review load distribution to catch spots that might be overloaded.
- Ensure anchorage points are firmly attached to supporting structures.
- Add thermal breaks to maintain insulation benefits and energy savings.
- Adjust spacing for heavy loads by adding extra support or placing studs closer together.
Following these steps helps lock in each part and creates a steady path for weight across the wall. This careful check prevents issues like crooked plates or uneven load sharing. With reliable stud quality, secure anchorage, and the right spacing for your load, your wall system will be strong and built to last.
Final Words
In the action of constructing reliable, cost-effective projects, a solid stud layout checklist is key. It guides you through marking stud locations, verifying square corners, and planning openings. These steps support precise measurement and layout that keep errors at bay.
By following a clear, step-by-step approach and using the right tools, you build with confidence. Enjoy the satisfaction of a sturdy, well-framed space that stands strong and saves you time and money.
FAQ
What does the wall stud layout checklist for accurate framing include?
The wall stud layout checklist for accurate framing covers marking stud positions, verifying square corners, and planning openings. It helps ensure studs are spaced correctly (typically 16 in/40.6 cm on-center) for a safe, solid build.
What is the wall framing layout step by step process?
The wall framing layout step by step process starts with marking the bottom plate, checking for squareness, spacing studs evenly, planning openings, and installing studs securely between the top and bottom plates for a reliable wall.
What does a wall framing layout diagram show?
A wall framing layout diagram displays stud placement, top and bottom plate positions, and openings. It provides a visual guide that helps ensure each stud is correctly placed for a sturdy, well-aligned wall.
How does a wall framing layout tool help in framing?
A wall framing layout tool, including items like a tape measure, chalk line, and framing square, assists in marking accurate stud positions, ensuring the wall is square and properly aligned with minimal layout errors.
How does a stud layout calculator work?
A stud layout calculator works by allowing you to input wall dimensions and desired spacing, then computing the number and location of studs. This tool streamlines planning for a precise and efficient stud layout.
What does interior wall framing layout involve?
An interior wall framing layout involves positioning studs in interior walls with even spacing, ensuring square corners, and accommodating door or window openings for reliable support and proper alignment throughout the room.
How does the wall framing layout calculator assist with stud placement?
The wall framing layout calculator assists by computing stud positions based on wall length and specified spacing. It quickly generates the required stud count and placement details, simplifying the planning phase.
What features does a wall framing layout app offer?
A wall framing layout app offers digital tools to mark stud positions, guide you through step-by-step measurements, and verify alignment. This modern solution improves accuracy and speeds up the framing process on site.