
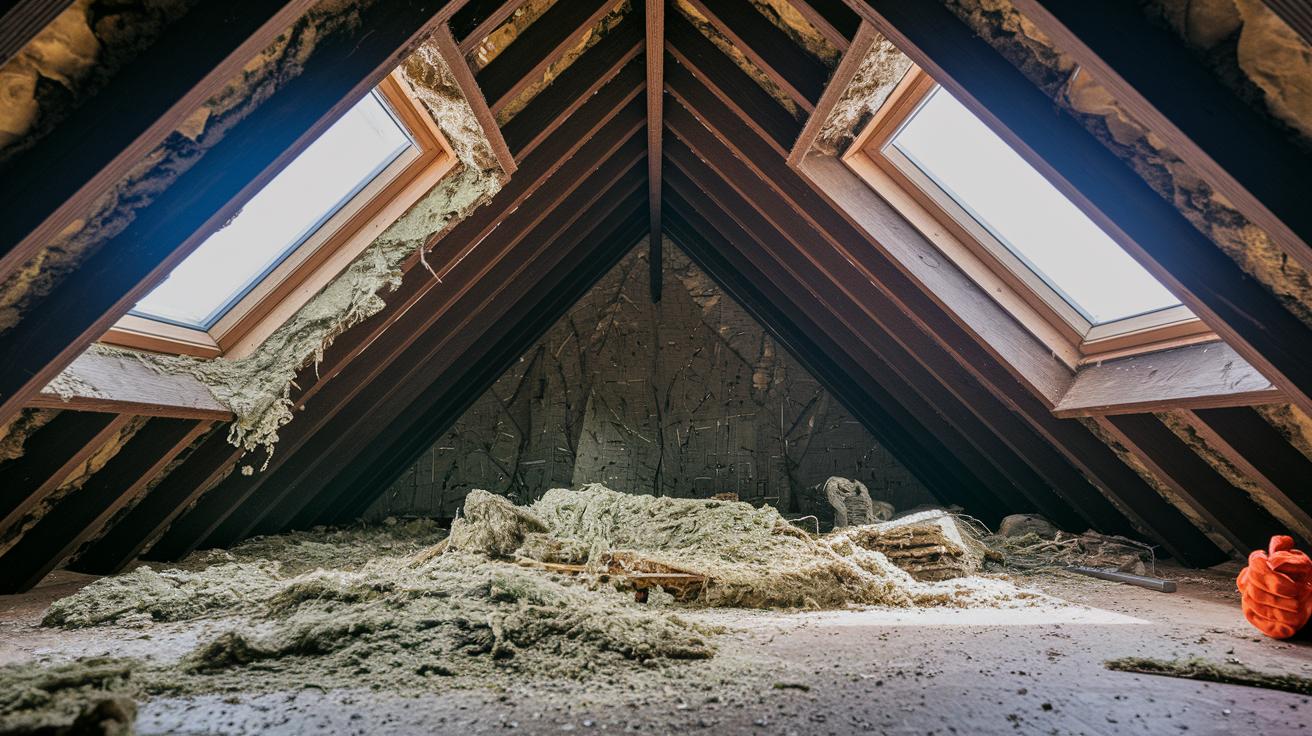
Is your attic costing you money? Your insulation might be to blame. Spray foam fills every gap, sealing in warm air and blocking cold air from sneaking in. This helps cut energy bills by up to 50% while making your home more comfortable and efficient. Used safely since 1986, spray foam not only stops leaks but also adds lasting strength to your attic. This guide explains why spray foam beats older insulation methods and how it can be the smart upgrade your home needs.
Why Spray Foam Attic Insulation Is a Superior Energy Solution
Spray foam attic insulation fills every nook in your attic to build a strong energy barrier. It expands to plug cracks and gaps, cutting air leakage and slashing utility bills by about 50% in homes with little or no insulation. With R-Values from 3.5 per inch (open-cell) to 7 per inch (closed-cell), it outperforms traditional insulation. Picture a 2×4 (actual 1.5 in x 3.5 in / 38 mm x 89 mm) gap sealed completely by spray foam, stopping cold air from sneaking in and warm air from escaping.
Used safely since 1986, spray foam stands out for its durability and its moisture-resistant inert polymer. This special formula helps prevent mold growth in damp conditions. Although spray foam might cost more than fiberglass insulation, its exceptional air sealing reduces long-term energy costs and cuts down on maintenance. That’s why many homeowners choose spray foam for a lasting, energy-saving solution.
For example, installing spray foam in a 1,000 sq ft (93 m²) attic can lead to noticeable utility bill savings compared to traditional options. With improvements in building standards and insulation methods, spray foam remains a smart investment for today and the future.
Comparing Closed-Cell vs Open-Cell Spray Foam for Attic Insulation

Closed-cell spray foam is a robust choice for extreme climates. It has a density of 2 lb/ft³ (32 kg/m³) that seals gaps while blocking moisture as a vapor barrier. With an R-value of up to 7 per inch (7 per 2.54 cm), it acts like a dense blanket that prevents air and moisture from moving through your attic. This helps keep cold air out in winter and keeps heat at bay in summer.
Open-cell spray foam, on the other hand, weighs just 0.5 lb/ft³ (8 kg/m³) and offers an R-value of about 3.5 per inch (3.5 per 2.54 cm). Its softer texture also helps to dampen sound, making it a good pick if your home is near noisy areas. Plus, it generally costs less, which is great when you need to keep expenses low.
Always check the R-value to make sure your insulation meets your climate needs. Closed-cell foam works best in areas with severe temperature swings, while open-cell foam is better for moderate climates where reducing noise is a bonus. Think about your attic’s climate and your budget before you decide which foam is right for you.
Spray Foam Attic Insulation: Elevate Home Efficiency
Spray foam insulation is a smart way to boost your home's energy efficiency. It seals off gaps in your attic and helps lower your heating and cooling bills. Costs typically range from $0.45 to $2.00 per square foot. For example, an attic of 1,000 sq ft (93 m²) may cost between $2,700 and $8,600, based on your foam choice.
Closed-cell foam (a denser type offering higher heat resistance) tends to be pricier than open-cell foam (softer and usually less expensive). Labor costs and the attic’s layout can also affect the final price.
While fiberglass insulation costs about $0.30 to $1.50 per square foot and saves money up front, it doesn’t seal air leaks as well. In the long run, spray foam can cut your overall energy costs, even if its initial price is higher.
Check if local programs or utility rebates can help lessen your outlay. Home improvement loans are another option to cover the setup cost while energy savings build over time.
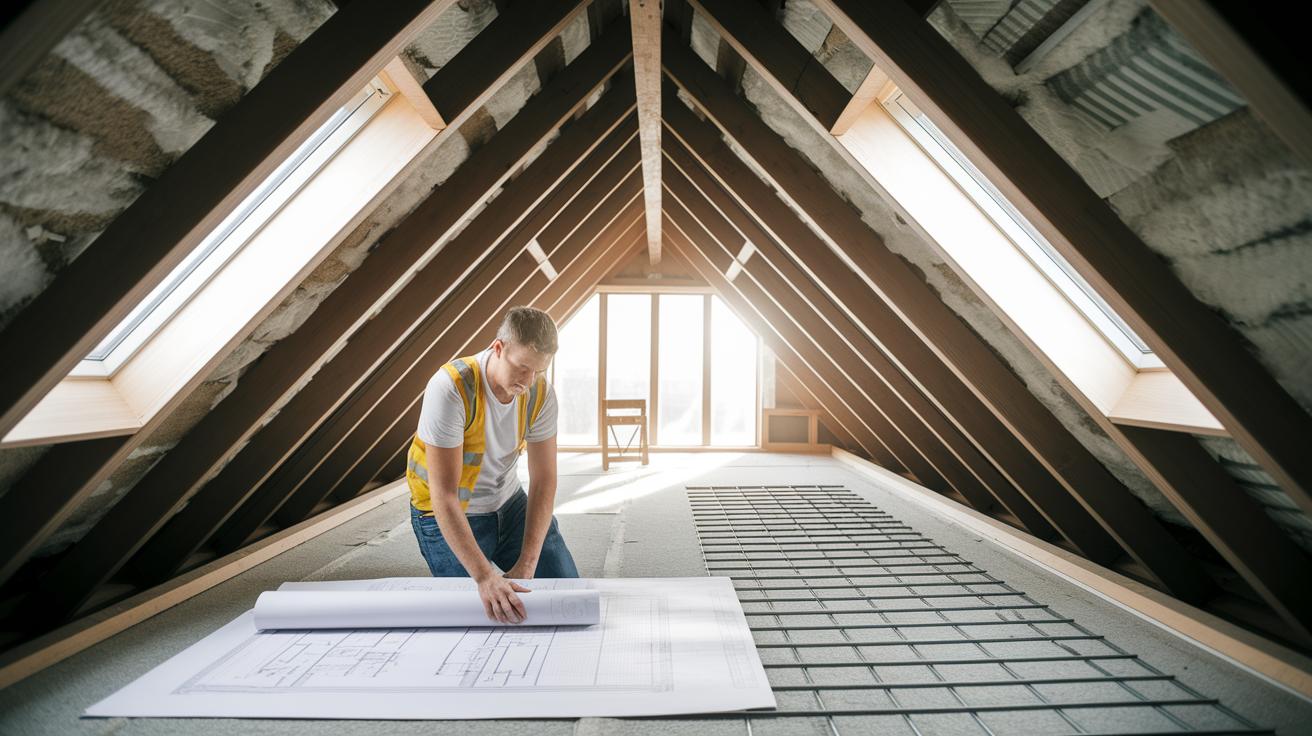
Before you start, measure your attic accurately and plan your budget. To get on track, remember to:
- Measure your attic’s square footage exactly.
- Evaluate how complicated the installation area is.
- Compare quotes from several contractors for both labor and materials.
Spending some time on planning now will help ensure your spray foam attic insulation brings lasting energy benefits without blowing your budget.
Step-by-Step Spray Foam Attic Insulation Installation Process
-
Remove old insulation and debris. Start by taking out any outdated insulation and mess from the attic. This clears the space and sets you up for a smooth installation.
-
Do an energy check in the attic. Walk around and look for any gaps, worn spots, or air leaks that might affect insulation. Use a basic thermal camera (if you have one) or look for visible signs of deterioration. Finding these areas early helps you plan and get the best performance from your foam.
-
Pick between open-cell or closed-cell foam. Closed-cell foam weighs about 2 lb/ft³ (32 kg per cubic meter) and gives up to R-7 per inch (R-7 per 2.54 cm), which makes it a strong vapor barrier for extra moisture control. Open-cell foam is lighter at 0.5 lb/ft³ (8 kg per cubic meter) and provides around R-3.5 per inch. Think of it as choosing the right tool for the job.
-
Measure your attic’s area. Get the square footage to know how much spray foam you need. Accurate measurements keep your budgeting on track and ensure you order the right amount of material.
-
Apply the spray foam properly. Set up your heated proportioner and mix the chemicals as the equipment guidelines direct. Always wear your personal protective gear and work in a well-ventilated area. Let the foam cure for 24 hours to achieve a strong, long-lasting finish.
Professional vs DIY Approaches for Spray Foam Attic Insulation
When you set out to insulate your attic with spray foam, you have two clear choices. One option is to hire a professional contractor. Professionals usually charge about $1.25 to $2.00 per square foot. They bring heated proportioners (machines that warm and blend chemicals) and skilled teams to mix, apply, and finish the foam quickly. Their work meets safety codes, including proper ignition and thermal barriers. Lenders or insurers might even require written proof of a professional job for your mortgage or insurance.
The other choice is a DIY kit. These kits typically cover 100–200 square feet and cost between $50 and $200. Although they come at a lower upfront cost, you must wear the right personal protective equipment (PPE, like goggles and respirators) and apply the foam very carefully. Improper application can lead to uneven coverage and poor insulation. Plus, DIY work might not meet all building code standards, which could cause problems later.
Here are some tips to help you decide:
- Check the contractor’s license and read reviews.
- Compare quotes and ask about the tools and equipment used.
- Make sure any professional documentation meets the requirements for insurance or mortgage purposes.
No matter which route you take, always follow proper safety guidelines.
Common Concerns and Safety Considerations with Spray Foam Attic Insulation

When you install spray foam, fumes from volatile chemicals (VOCs) may be released as the foam cures. These fumes can harm your health, so wear gloves, goggles, and a respirator during this time.
Closed-cell foam resists moisture and stops mold, while open-cell foam needs a well-sealed and ventilated attic to avoid trapping humidity. Trapped moisture can eventually cause condensation. Also, spray foam may shrink over time, creating gaps that can lower its insulating power.
Building codes require that you add ignition and thermal barriers to cut down fire risks. Always review your attic’s condition before applying the foam.
Make sure to:
- Provide fresh air during and after installation.
- Allow the foam to fully cure to prevent harmful off-gassing.
- Inspect the area for gaps that might appear from foam contraction.
By taking these steps, you can keep your space safe and ensure the insulation lasts.
Maintenance, Removal, and Long-Term Performance of Spray Foam Attic Insulation
Closed-cell spray foam keeps its insulating power (R-value) steady for years, while open-cell foam might settle over time. Check your insulation regularly. One good trick is an annual thermal imaging check. A thermal camera can pick up cold spots that may show gaps or lost foam.
If you ever need to remove the foam, use mechanical cutters to break it up. Removal usually costs about $1 to $2 per square foot (roughly $11 to $22 per square meter). Knowing this helps you plan for the cost of installation, repair, or replacement later on.
A 3,600 sq ft (334 m²) home in Georgia saw a 45% drop in energy bills after installing spray foam insulation. The upgrade also boosted the home’s resale value. Regular maintenance and timely fixes keep your insulation working well and add long-term value to your home.
Ventilation and Airflow Strategies with Spray Foam Attic Insulation
To keep your attic running smoothly, proper ventilation is as important as applying the spray foam. Make sure your attic has a net free vent area of 1 sq ft (0.09 m²) for every 300 sq ft (27.9 m²) of floor space. For instance, a 1,200 sq ft (111.5 m²) attic needs about 4 sq ft (0.37 m²) of open vents spread between the soffit and the ridge.
Install baffles along the eaves to create a 1–2 in (2.5–5.1 cm) air gap. This gap stops the spray foam from directly covering the airflow space. Measure carefully and secure them along the underside of your roof decking to keep air moving freely.
It’s a good idea to test your insulation’s R-value from time to time. This helps you check that the spray foam hasn’t compressed over time and still delivers the proper thermal performance while allowing air to circulate.
Stick to these ventilation steps to keep your attic cool in the summer and dry in the winter. This will make your spray foam insulation more durable and effective over time.
DIY Spray Foam Attic Insulation Kits Compared: Home Depot, Lowe’s, and Amazon
If you're a homeowner keen to tackle spray foam attic insulation on your own, these DIY kits offer a budget-friendly solution. They come pre-measured and work well for projects up to 2,000 sq ft (approximately 186 m²). This means you get the benefits of a DIY build without paying a professional. For example, if your attic needs insulation for 600 sq ft (about 56 m²), using three kits of a high-performance closed-cell foam (a type of foam that seals gaps well and boosts energy efficiency) can give you around R-6 per inch. That compares to traditional fiberglass, which typically provides close to R-3.5 per inch.
Below is a quick comparison of three popular options:
| Retailer | Kit Name | Coverage (sq ft per kit) | Price |
|---|---|---|---|
| Home Depot | Great Stuff PRO | 200 sq ft | $80 |
| Lowe’s | DAP Patriot | 150 sq ft | $75 |
| Amazon | Foam Kit X | 100 sq ft | $60 |
These kits are priced between $0.40 and $0.80 per square foot. They let you pick a closed-cell foam that not only seals off drafts but also keeps your attic warmer in the winter and cooler in the summer. For instance, the Home Depot kit provides plenty of coverage for many standard attics while boosting your insulation's R-value compared to fiberglass options. Use this guide to choose a kit that fits your attic size, project budget, and insulation needs.
Final Words
In the action, spray foam attic insulation proves a practical solution that saves energy and lowers monthly bills. The guide broke down cost analysis, compared open-cell and closed-cell options, and provided a clear installation roadmap. It weighed DIY versus professional methods while addressing safety, ventilation, and long-term upkeep. Each section gave straightforward tips and real-world examples to help you plan and execute your project confidently. Enjoy the benefits of energy savings and feel good about making a smart, cost-effective home improvement choice.
FAQ
What is the spray foam attic insulation cost?
The spray foam attic insulation cost runs between $0.45 and $2.00 per square foot, meaning a 1,000 sq ft attic might cost between $2,700 and $8,600 based on foam type, attic specifics, and labor.
How is the spray foam attic insulation R-Value defined?
The spray foam attic insulation R-Value indicates thermal resistance. Open-cell foam provides about R-3.5 per inch, while closed-cell foam reaches up to R-7 per inch, contributing to significant energy savings.
What are the pros and cons of spray foam attic insulation?
The spray foam attic insulation pros include superior air sealing, energy savings, and durability, while its cons involve higher costs and potential challenges with resale or code requirements.
Which spray foam attic insulation option is considered best?
The best spray foam attic insulation depends on your needs; closed-cell foam offers higher R-Value and moisture control, while open-cell foam is more affordable and provides sound dampening.
How do spray foam insulation kits for 2,000 sq ft projects compare?
The spray foam insulation kit for a 2,000 sq ft project requires multiple pre-measured kits or professional application. DIY kits typically cover 100–200 sq ft each and vary in cost based on coverage and type.
Where can I find spray foam insulation near me?
The spray foam insulation near me is available through local contractors and suppliers. Look for professionals with verified reviews and proper documentation for safe, effective installations.
How does DIY spray foam attic insulation work?
The DIY spray foam attic insulation process involves using pre-measured kits and following strict safety guidelines, including wearing PPE and ensuring proper mixing and application techniques for optimal performance.
What are the negatives of spray foam insulation?
The negatives of spray foam insulation include potential off-gassing, higher cost compared to alternatives, and difficulties in removal or meeting certain resale and code conditions.
Why might houses with spray foam insulation be hard to sell or face insurance and lender issues?
Houses with spray foam insulation can be hard to sell or may face insurance and lender challenges due to concerns over documentation, off-gassing, and meeting building codes and safety standards.