

Have you noticed your heating bill seems too high? A simple fix might be at hand. Try DIY spray foam insulation. It sounds tricky, but our guide breaks it down into clear steps. First, prep your space. Next, mix your materials and apply the foam evenly. With simple, practical tips, you can boost your home's energy efficiency and save money. Give it a try and watch your savings grow.
Step-by-Step Guide to DIY Spray Foam Insulation Installation
-
Prep your work area. Clean off dust, oil, and debris from all surfaces. Cover nearby windows, floors, and other areas with plastic sheeting to prevent overspray.
-
Set up your equipment. Hook up the hoses and attach the spray tip to your spray gun. Make sure all connections are tight and the mixing system is set correctly for two-part polyurethane foam (a foam that mixes two chemicals to expand and insulate). Quick tip: double-check your connections to avoid leaks.
-
Mix and apply the foam. Turn on your spray gun so that the two components blend at the nozzle. Spray in small, steady sections with smooth, overlapping strokes. For example, spray a 2 ft (0.61 m) section, then slightly overlap the next pass for even coverage over rim joists, attic gaps, and crawl spaces.
-
Control the foam’s expansion. Apply uniform passes and watch the foam as it rises. This helps you use just the right amount and keeps the thickness even. If you need more guidance on technique, check detailed installation steps online.
-
Let the foam cure. Allow the foam to set undisturbed for 24 hours. Testing small areas before moving forward makes sure the foam has fully hardened and its insulation is effective.
-
Clean up immediately. Remove the applicator straws and clean the spray gun nozzles to stop clogs. A good tip is to keep extra applicator straws handy so you don’t run out during the job.
Selecting the Right DIY Spray Foam Insulation Kit
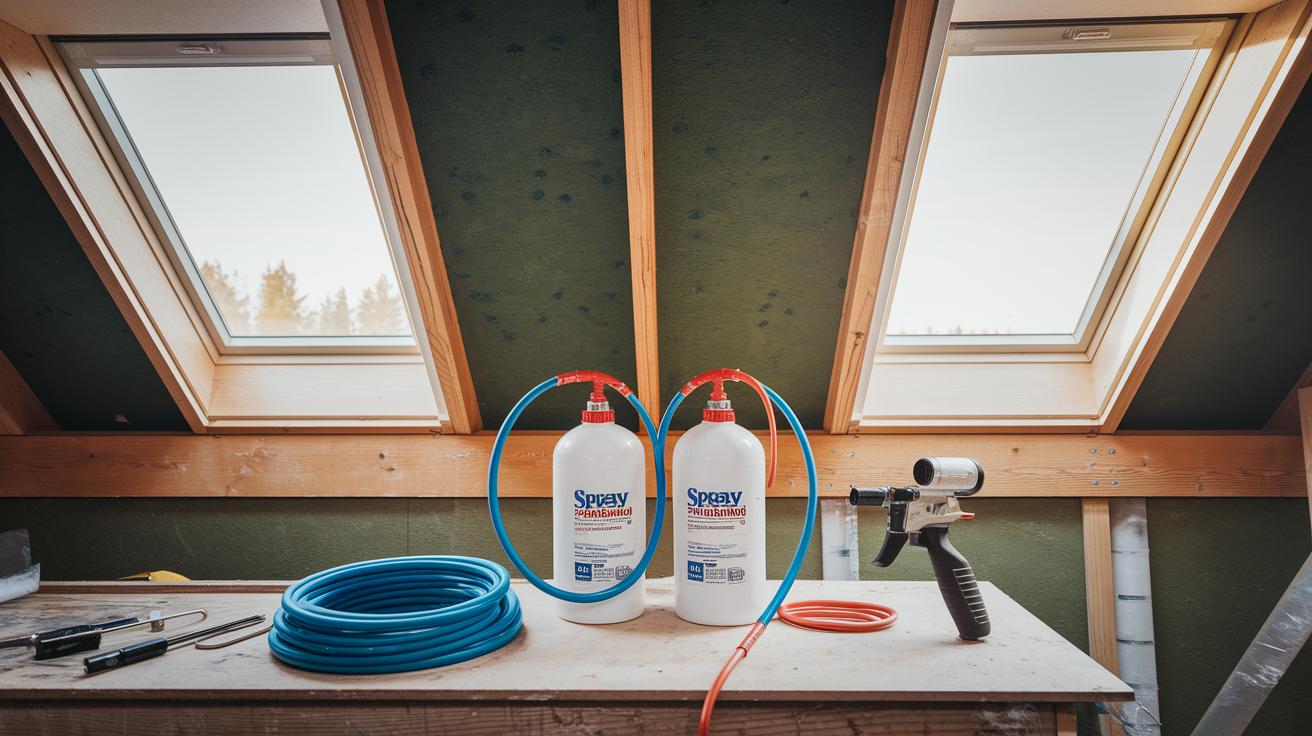
When shopping for a spray foam insulation kit, look for one that covers about 1,000 sq ft (93 m²) and comes with two 20-lb (9.1 kg) cylinders, hoses, and a spray gun. These kits have everything you need to insulate small spaces, like rim joists (horizontal beams along the outer edges of a structure), attic gaps, or crawl spaces.
Compare two main types of foam. Open-cell foam is soft, with an R-value of roughly R-3.5 per inch (per 2.5 cm). This foam is affordable at around $0.50–$1.00 per sq ft and works best inside where you need it to move a bit. Closed-cell foam is denser and offers a higher R-value, around R-7 per inch, making it a strong choice when you need extra moisture resistance and strength, though it tends to cost about $1.20–$2.00 per sq ft.
Also, check the kit’s material performance and environmental profile. Some kits use low-GWP blowing agents (substances that expand the foam with a low global warming potential) and recycled contents. If sustainability is key for you, these options are worth a closer look. Compare kit size, foam type, R-value, and overall performance to pick the one that fits your project and budget best.
DIY Spray Foam Insulation Cost Breakdown & Budget Calculator
When planning your DIY spray foam insulation project, start by estimating your main costs. One big expense is the kit cost. Most kits cover around 1,000 sq ft (93 m²) and range from about $500 to $2,000. Open-cell foam generally runs about $0.50 to $1.00 per sq ft (approximately $5.38 to $10.76 per m²), while closed-cell foam costs closer to $1.20 to $2.00 per sq ft (around $12.91 to $21.53 per m²).
Break your budget down into these key areas:
- Kit components: This includes foam cylinders, hoses, and a spray gun. Prices vary by brand and the type of foam.
- Safety gear: You must invest in full personal protective equipment. This means nitrile gloves, chemical-resistant goggles, a NIOSH-approved respirator, and hooded coveralls. These items typically add about $50 to $150 to your cost.
- Equipment rental: If you need a special sprayer, factor in regional shipping fees and rental rates. These can affect your overall cost per sq ft.
- Cleanup supplies: Set aside some funds for extra applicator straws and cleaning agents to keep your spray gun in good working order. Proper cleaning prevents clogs and ensures the foam mixes correctly.
A DIY cost calculator for foam insulation can be a real lifesaver. Simply enter your room dimensions and the foam thickness you want. The calculator will tell you how many kits you need. Also, check for any tax credits or rebates that might lower your net expense. When you compare these costs with the fees for professional installation, doing it yourself can save you a good amount on labor.
Essential Safety Precautions for DIY Spray Foam Insulation
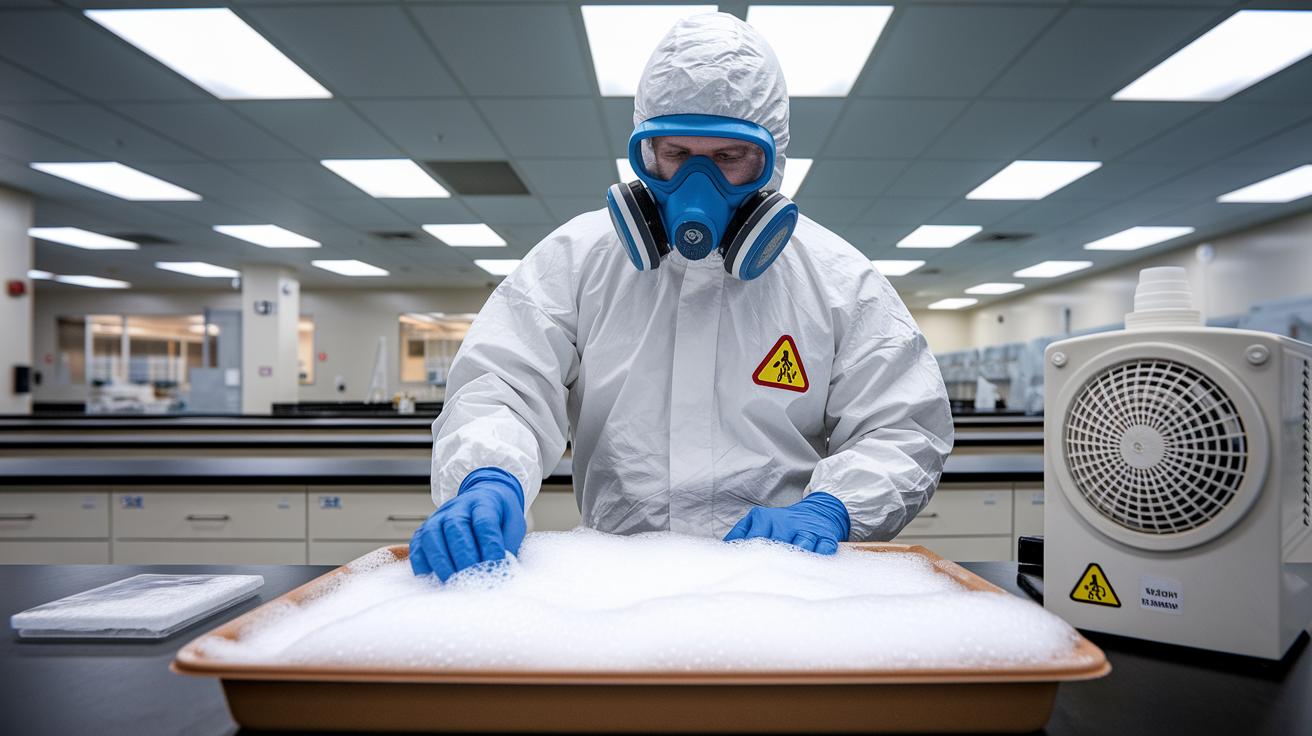
Before you begin, put on all your safety gear: nitrile gloves, chemical-resistant goggles, a NIOSH-approved respirator, and hooded coveralls. This means you don't start until you're fully suited up.
-
Make sure your workspace is well-ventilated. Open windows or use fans to keep air moving and clear out chemical vapors. A quick tip: Even on a nice day, a fan helps lower fume levels.
-
Keep all sparks, open flames, and hot surfaces away from your work area. Foam chemicals are flammable, so always work away from ignition sources.
-
Follow the manufacturer's instructions for dwell time (the wait before the foam hardens) and tack-free time. For example, wait at least 24 hours (1 day) before touching the foam to let it cure correctly.
-
Apply the foam evenly and in controlled amounts to avoid waste and keep your spray gun nozzle clear. Work in steady passes and be careful when overlapping layers.
-
Watch for changes in temperature and humidity. Shifts in these conditions can affect the foam's expansion and curing process.
Open-Cell vs. Closed-Cell DIY Spray Foam Insulation Comparison
Open-cell foam gives about R-3.5 per inch of insulation. Its soft, flexible makeup makes it great for filling interior wall cavities and rim joists (the support beams at the edges of floors). It usually costs around $0.50 to $1.00 per square foot, which is a good deal when you need to cover a large area like attic gaps without breaking your budget.
Closed-cell foam, on the other hand, offers roughly R-7 per inch. Its dense, firm texture forms a vapor barrier perfect for exterior sheathing or basement walls. While it costs roughly $0.70 more per square foot than open-cell foam, it adds extra strength and resists moisture effectively. If you’re dealing with a damp basement wall, closed-cell foam acts as a strong shield against moisture.
Recent trends show that raw material costs can cause slight price changes, so it’s smart to check the latest rates before you start your project. Closed-cell foam shines in extreme climates, whereas open-cell foam can better handle minor movements. Some open-cell products also have fewer chemicals, while closed-cell foam gives extra load-bearing support.
| Foam Type | R-Value | Cost | Applications | Key Benefit |
|---|---|---|---|---|
| Open-cell | R-3.5/in | $0.50–$1.00/sq ft | Interior walls, rim joists | Flexible and budget-friendly |
| Closed-cell | R-7/in | $0.70 more per sq ft | Basement walls, exterior sheathing | Moisture barrier and added strength |
DIY Spray Foam Insulation for Attics & Crawl Spaces
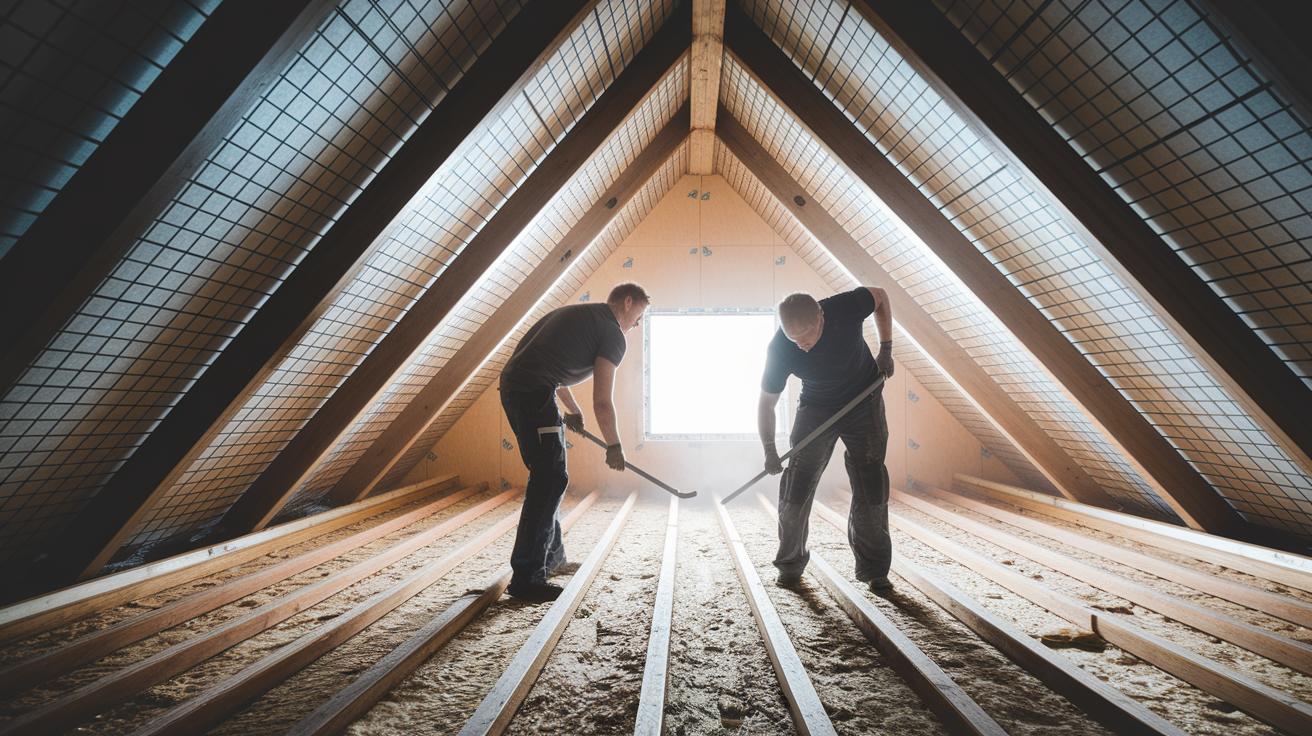
Start by cleaning your attic and crawl space surfaces. Remove dust, oil, and moisture because these can stop the foam from sticking. When sealing rim joists (horizontal beams at the edge of the floor) and soffit areas (underside of the roof overhang), spray a thin bead along the edge and leave a small gap for air to flow.
Next, use low-pressure door/window foam around rough openings. This foam expands gently, so you won't risk damaging nearby materials. In spots where pests might enter, like large gaps or suspected entry points, first install wire mesh. The mesh stops animals from getting in once you apply the foam.
For attics, measure your work area carefully. This helps you know how much foam to use and stops you from over-applying. Be sure to keep vents open. Blocking them completely can trap moisture and lead to mold. In crawl spaces, where moisture is usually higher, leave clear paths for air so you don't create damp spaces that can harm your structure.
Follow these steps to get proper air sealing and protect both ventilation and your building's structure. Always apply the foam steadily and review its expansion as you work. Adjust your technique as needed so the foam covers evenly without clogging the nozzle.
For more on attic practices, check out our guide on attic insulation installation.
Common DIY Spray Foam Insulation Mistakes & Troubleshooting
Using too much foam is a common error that can waste material, cause uneven bead height, and leave a messy finish. For instance, after spraying, the foam sometimes expands uncontrollably, leaving a lopsided mound that needs extra cleanup. This often happens when you don’t properly control the spread of the expanding foam.
Clogged nozzles can also lead to problems. If you don’t clear the hoses or spray gun tips after each use, the mix can clog. This reduces output and makes the application uneven. Also, skipping proper surface preparation can hurt the foam’s ability to stick, leaving poor tack-free gaps that could mess up the curing process.
A wrong mix ratio happens when the two foam components don’t blend well. This poor mix might not cure properly, especially when it’s cold or humid. Follow these tips to avoid issues:
- Always clear hoses and keep extra applicator straws handy.
- Maintain a steady, even pass thickness to control foam expansion.
- Check the room temperature and adjust as needed.
- Follow the manufacturer’s instructions for the correct mix ratio.
Keep these troubleshooting tips in mind. They can help you fix mistakes as you work and achieve a uniform, fully cured insulation job.
diy spray foam insulation: Simple, Smart Savings
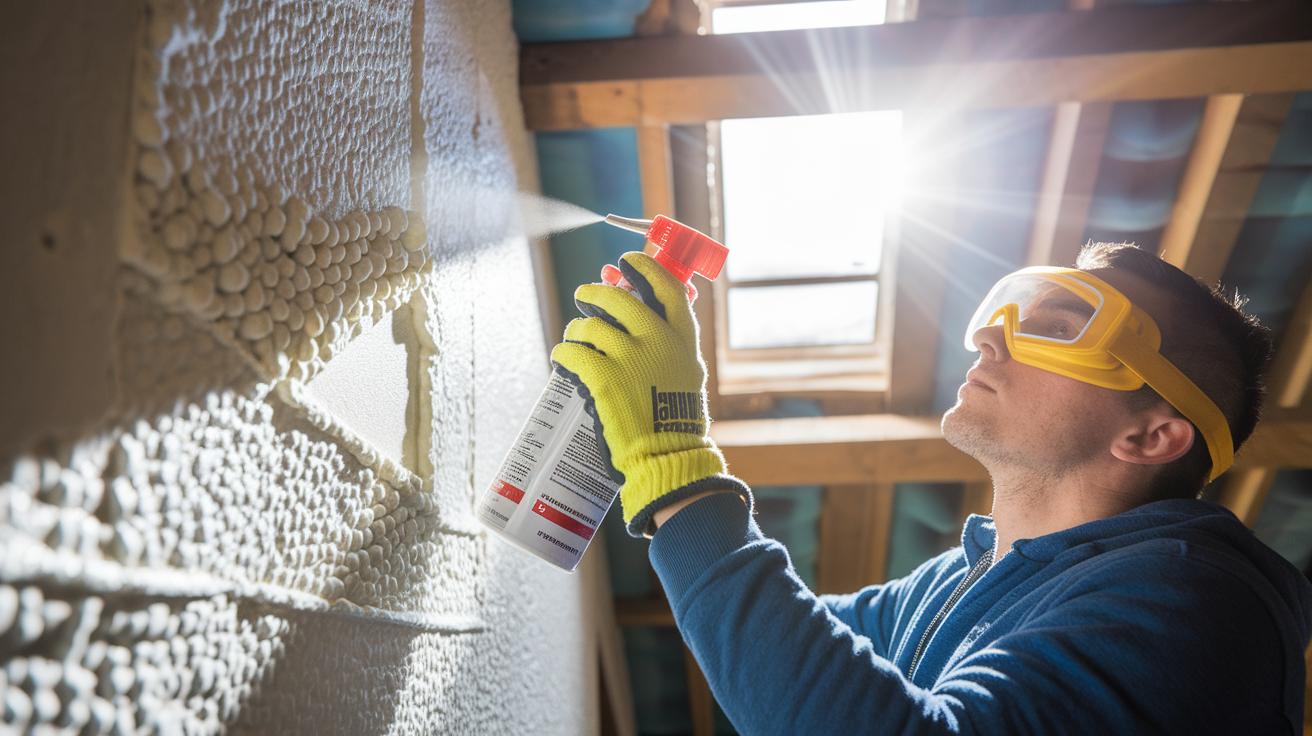
When you add spray foam insulation yourself, you create a tight layer that seals off cracks and stops unwanted air leaks. This strong barrier helps your HVAC system work less hard and can lower your heating and cooling bills by up to 20%. For example, a well-insulated attic keeps cold air out in winter so your furnace runs less often.
A tighter home means fewer temperature swings and less drafty air. Plus, better insulation can boost your home's value. You can also pair your insulation with air sealing to improve energy efficiency and reduce noise inside your home.
Before you start, do a DIY energy check to see where you lose air. After you install the foam, check again to spot any areas that need more coverage. With good planning and steady work, spray foam insulation is a smart upgrade that saves money and makes your home more comfortable.
Final Words
In the action, you’ve reviewed each essential step, from prepping your surfaces and setting up equipment to mixing foam, controlling expansion, and watching for proper cure time. We covered how to choose the right kit, keep safety standards front and center, troubleshoot common slip-ups, and even compare foam types for various spaces.
This diy spray foam insulation project is a smart way to boost energy efficiency and comfort. Tackle each step with care, and enjoy the rewards of your hard work.
FAQ
Spray foam insulation kits 1000 sq ft
The spray foam insulation kit designed for 1000 sq ft covers typical small projects with two 20-lb cylinders, hoses, and a spray gun. It offers ready-to-use materials to protect your space effectively.
DIY spray foam insulation kit
The DIY spray foam insulation kit provides all necessary components and clear instructions so you can install insulation on your own, saving money while maintaining standard coverage and performance.
DIY spray foam insulation R value
The DIY spray foam insulation R value measures the material’s thermal resistance. Open-cell foam offers around R-3.5 per inch, while closed-cell foam can reach approximately R-7 per inch, guiding your insulation choice.
DIY spray foam insulation existing walls
The DIY spray foam insulation for existing walls involves retrofitting by applying foam into drilled openings or cavities, which boosts energy efficiency without major demolition of your interior finishes.
Best DIY spray foam insulation kit
The best DIY spray foam insulation kit balances ease-of-use, reliable coverage, and clear instructions. It includes essential components and is rated for specific project sizes and energy efficiency needs.
DIY spray foam insulation reddit
The DIY spray foam insulation discussions on Reddit share user experiences, equipment tips, and troubleshooting advice. They offer practical insights from real projects to help you avoid common application mistakes.
DIY spray foam insulation for metal buildings
The DIY spray foam insulation for metal buildings addresses thermal bridging and condensation issues on metal surfaces. It forms a tight seal, reducing heat transfer and improving overall energy efficiency.
DIY spray foam insulation crawl space
The DIY spray foam insulation for crawl spaces targets moisture control and energy savings. It seals gaps effectively, enhancing thermal performance while maintaining necessary ventilation and access.
Can I spray foam insulation myself?
The ability to spray foam insulation yourself exists if you follow manufacturer instructions, wear proper protective gear, and provide adequate ventilation, ensuring safe handling of chemicals throughout the project.
Is it worth it to DIY spray foam insulation?
The value of DIY spray foam insulation lies in potential cost savings and energy efficiency improvements when executed correctly, though consider your skill, safety precautions, and project scale before proceeding.
How much does it cost to spray foam for 1500 square feet?
The cost to spray foam 1500 square feet depends on foam type and market pricing, typically ranging from about $750 to $3,000 when considering materials, kit size, and potential equipment rental fees.
Why is spray foam insulation now a red flag?
The idea of a red flag with spray foam insulation points to potential issues like off-gassing, inconsistent curing, or moisture entrapment if not applied correctly. Following proper guidelines helps mitigate these risks.