
Have you thought about spending a little more now to save a lot later? A metal roof may seem pricey upfront, but it can protect your home for 50 to 70 years (15 to 20 decades in metric) while lowering your energy bills and cutting down on upkeep. In this guide, we walk you through every step, from preparing your deck to choosing the right panels and installing a smart underlayment (a protective layer under your roof), so you can enjoy a durable roof that also boosts your home's curb appeal. Get ready to invest in a safer, smarter, and more attractive future.
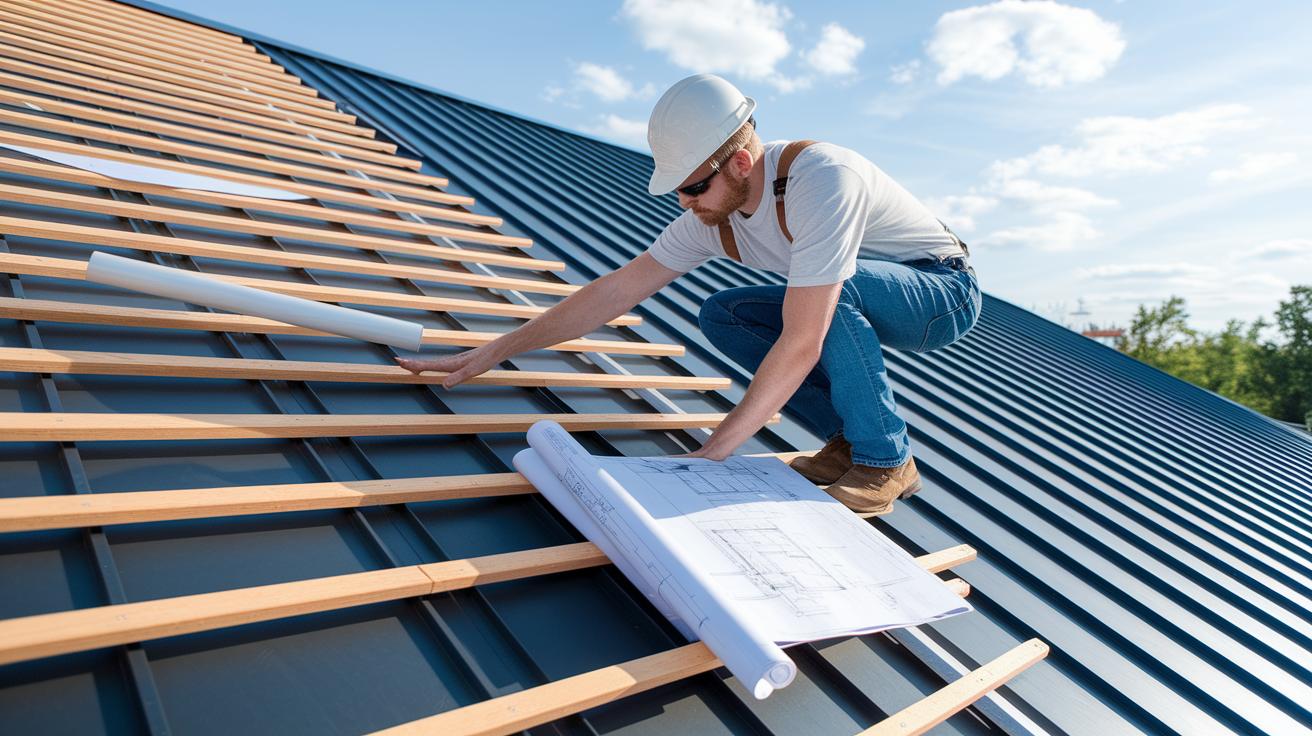
How to Plan and Execute a Metal Roof Installation: Process, Costs & Benefits
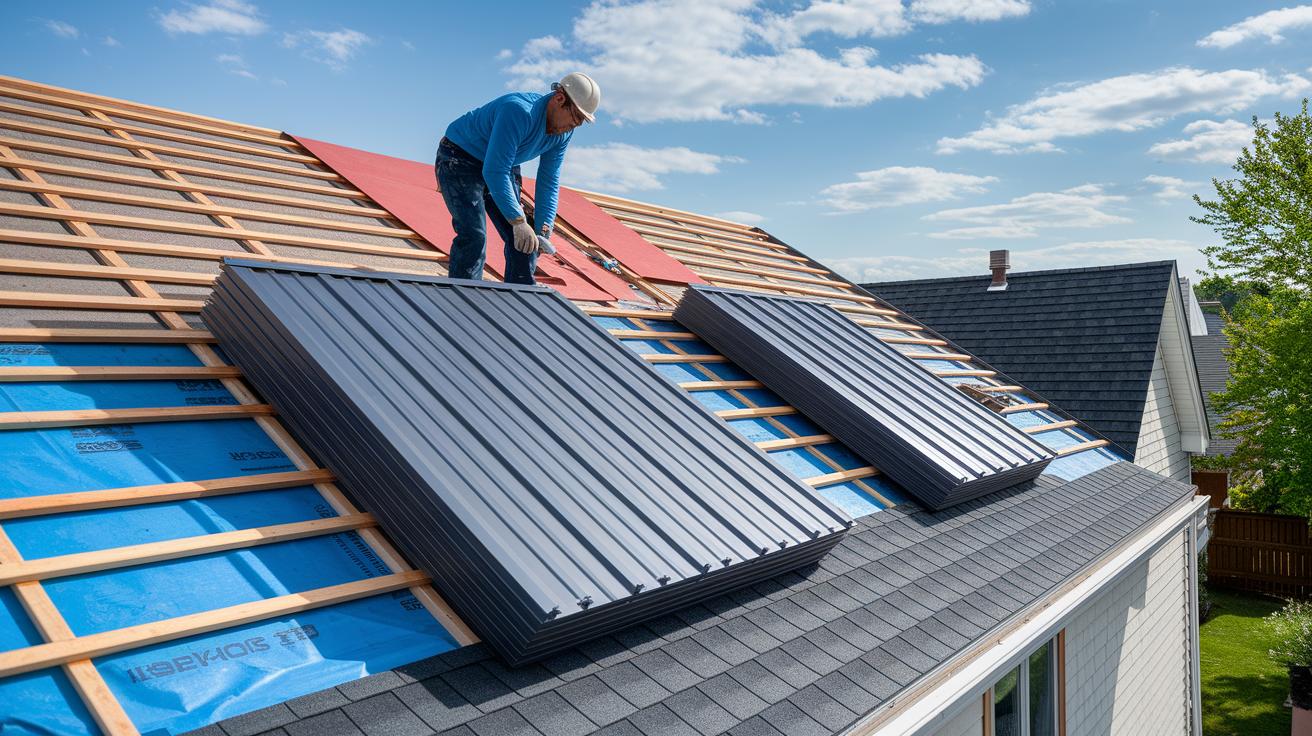
Start by removing any old roofing material and fixing the roof deck so you have a firm base. Next, choose the metal panels that match your needs and lay down a self-healing ice and water underlayment. This underlayment stops moisture and improves the roof’s overall performance. The process follows the latest guidelines from May 9, 2024, and July 07, 2025 to ensure your roof is built to last and saves energy.
Metal roofs may cost about 2-3 times more than asphalt roofs at first, but they can last 50 to 70 years. In the long run, you benefit from better insulation, lower energy bills, and less maintenance. Here’s what you can expect:
- Longevity: Lasts many years longer than traditional shingles.
- Energy savings: Reflects sunlight to help reduce cooling costs.
- Low maintenance: Needs fewer repairs over time.
- Durability: Fights off mold, moss, and harsh weather.
- Aesthetic appeal: Gives your home a modern and attractive look.
Decide if you want to do the work yourself or hire a professional by considering the project’s difficulty. A DIY approach might cut labor costs by about 30%, but it requires careful work, especially when fixing the deck and laying the underlayment. Professionals bring proper licensing, warranties, and the right tools, making them a safer choice for steep or tricky roofs. Think about your skills and the risks before you start to be sure your decision meets both your budget and ability.
Permitting, Code Compliance & Regulatory Standards for Metal Roof Installation
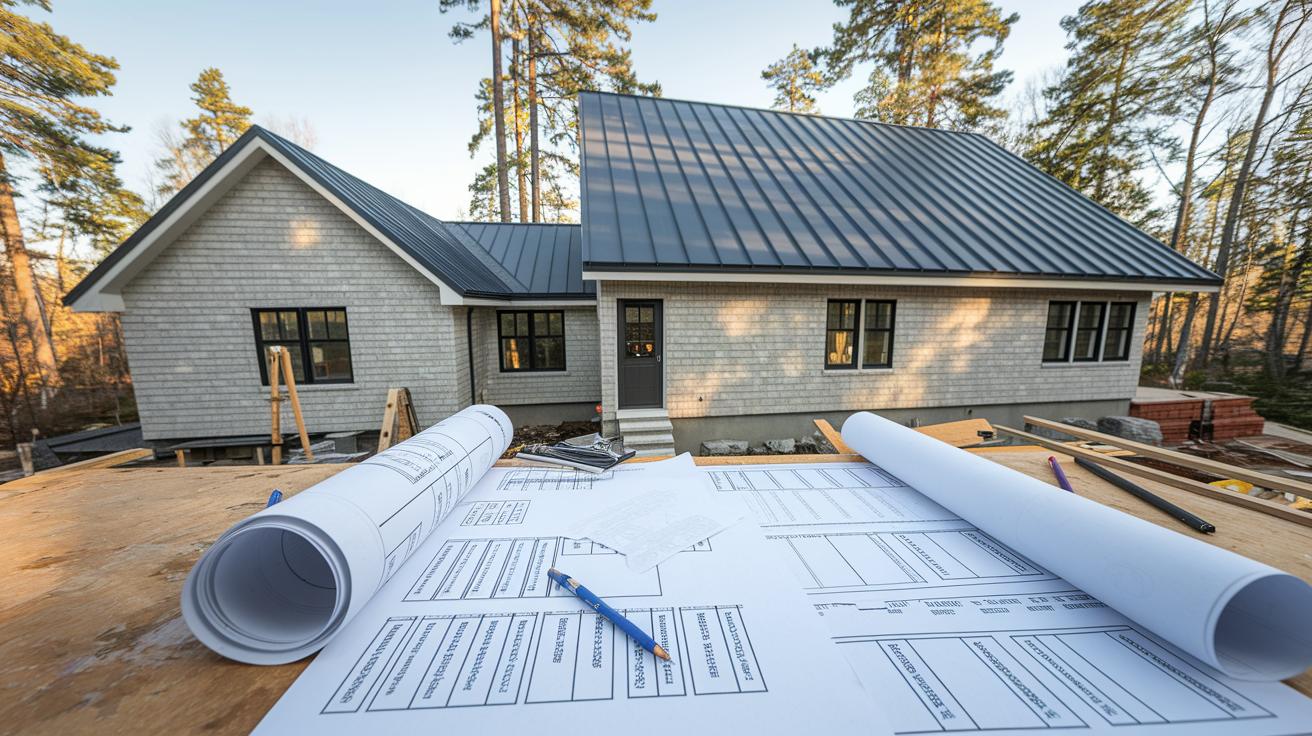
Before you start your metal roof project, check with your local building department to secure all the permits you need. You’ll need to show that your roof meets wind-uplift, snow-load, and fire-rating standards. Check your area’s rules carefully since some places require stricter measures. This step keeps your project safe and helps you avoid fines or delays. For example, your permit application may need detailed plans that prove your roof complies with these codes.
Updated codes from May 9, 2024 set specific performance rules. In high-wind areas, you must use mechanically seamed panels (panels joined with a mechanical device) to resist uplift forces. In regions with heavy snowfall, choose panels with deeper rib profiles (vertical ridges) to support the extra load. Residential projects might have different guidelines compared to commercial ones, where higher standards ensure maximum durability and safety. Always verify that your installation plan matches both local rules and the latest national guidelines before you proceed.
Preparing the Roof Deck & Underlayment for Metal Roofing
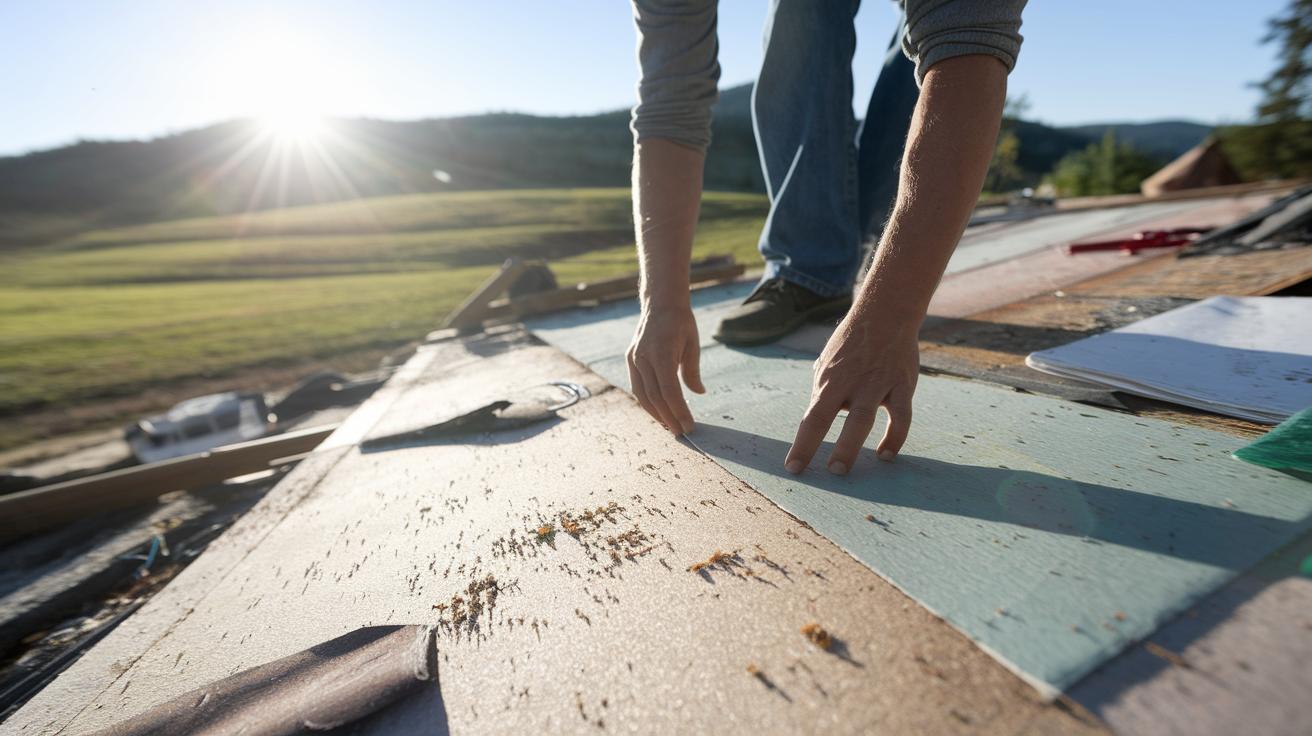
First, remove all old roof material, whether shingles or panels, to expose the roof deck. Check the plywood or OSB (oriented strand board) carefully for rot, water stains, or loose spots. If any section feels soft or shows signs of damage, repair or replace it with proper materials so your base is solid.
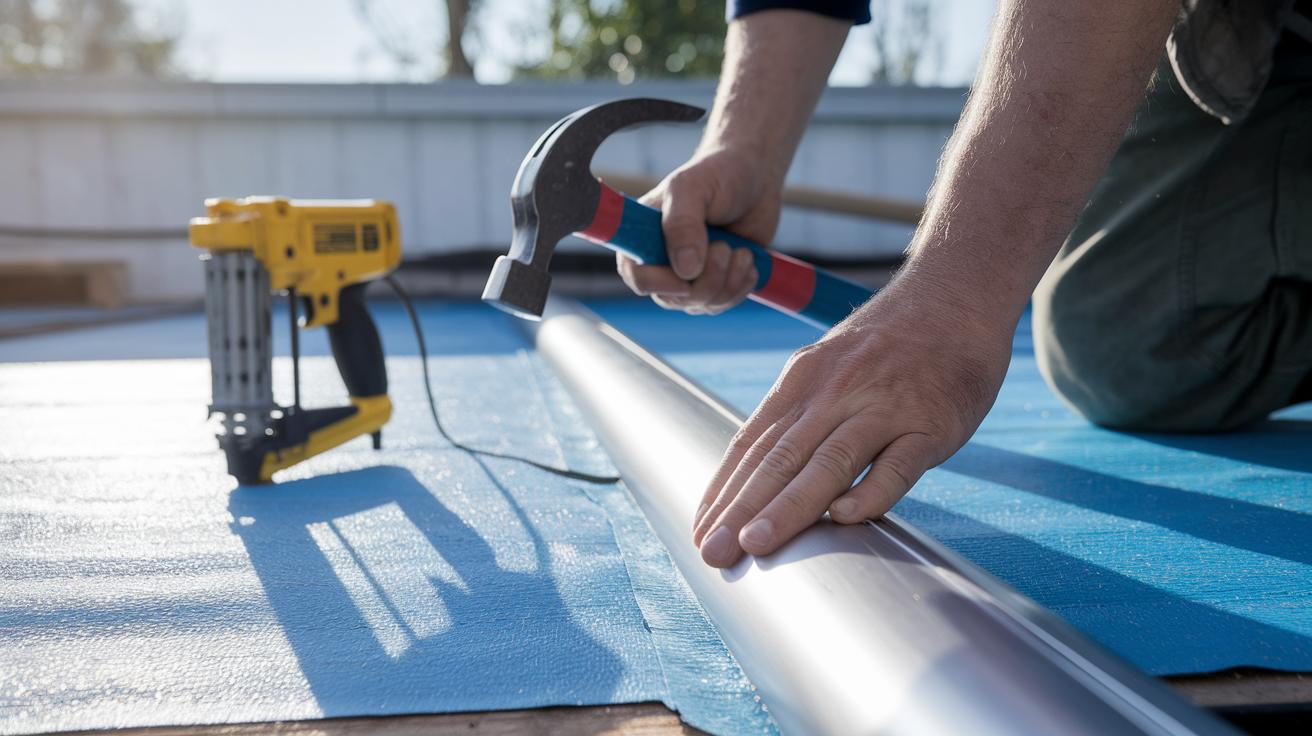
Next, choose a synthetic ice-and-water underlayment rated for over 30 years, especially on roofs with shallow slopes. Roll it out starting at the eave and work upward, making sure each row overlaps the previous one as the manufacturer directs. Think of it like placing shingles on an envelope; each layer covers the previous seam completely. Use the recommended adhesive or fasteners to fasten the underlayment securely.
Finally, follow moisture-management best practices to extend your roof’s life. Seal every seam and edge with a high-quality sealant to block water intrusion. Keep drainage paths clear and add flashing (metal trim for extra protection) around vulnerable areas. These steps will help prevent leaks and ensure your metal roof remains a durable shield against the weather.
Essential Tools, Materials & Safety Protocols for Metal Roof Installation
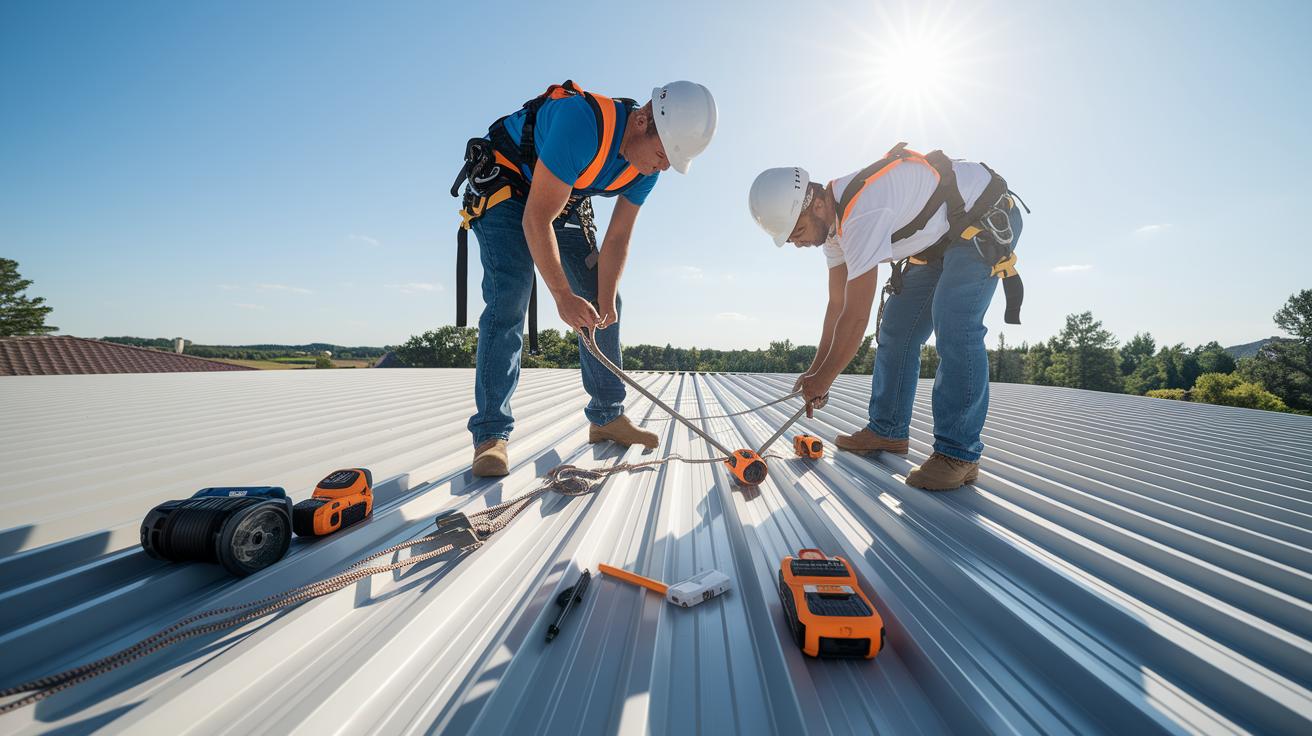
Safety comes first when you install a metal roof. Make sure you use proper gear and approved tools to avoid falls, shocks, or other hazards. Always wear a full-body harness and use ropes, gloves, and OSHA-approved anchors when working at height. For more details on fall protection, check our Jobsite Safety Analysis.
- Full-body harness for fall protection
- Ropes and OSHA-compliant anchors
- Aviation snips for cutting metal panels
- Screw gun for fastener application
- Chalk line (using the 3-4-5 method) to align panels precisely
- Tape measure for exact measurements
- Drill with a magnetic bit holder for efficient fastening
Using the right materials is key to a weatherproof roof that lasts. Install a drip edge along the roof’s border to help direct water away, reducing leaks. Use flashings around chimneys, vents, and valleys to close any gaps that let moisture in. Foam closures help seal the ridges of corrugated panels. Butyl tape and specialized fasteners secure every piece tightly for a durable assembly. Follow these steps carefully to create a roof that stands strong against bad weather while boosting your home’s efficiency and style.
Metal Roof Installation: Elevate Durability & Style
Step 1: Install Drip Edge & Underlayment
Use 1" roofing nails to fasten the drip edge along the eaves and gable ends. This metal strip guides water away and shields your roof materials. Next, roll out self-healing ice-and-water underlayment from the eave upward. Overlap each row by at least 2 inches (5 cm) so you create a continuous, waterproof barrier that meets the manufacturer’s specs.
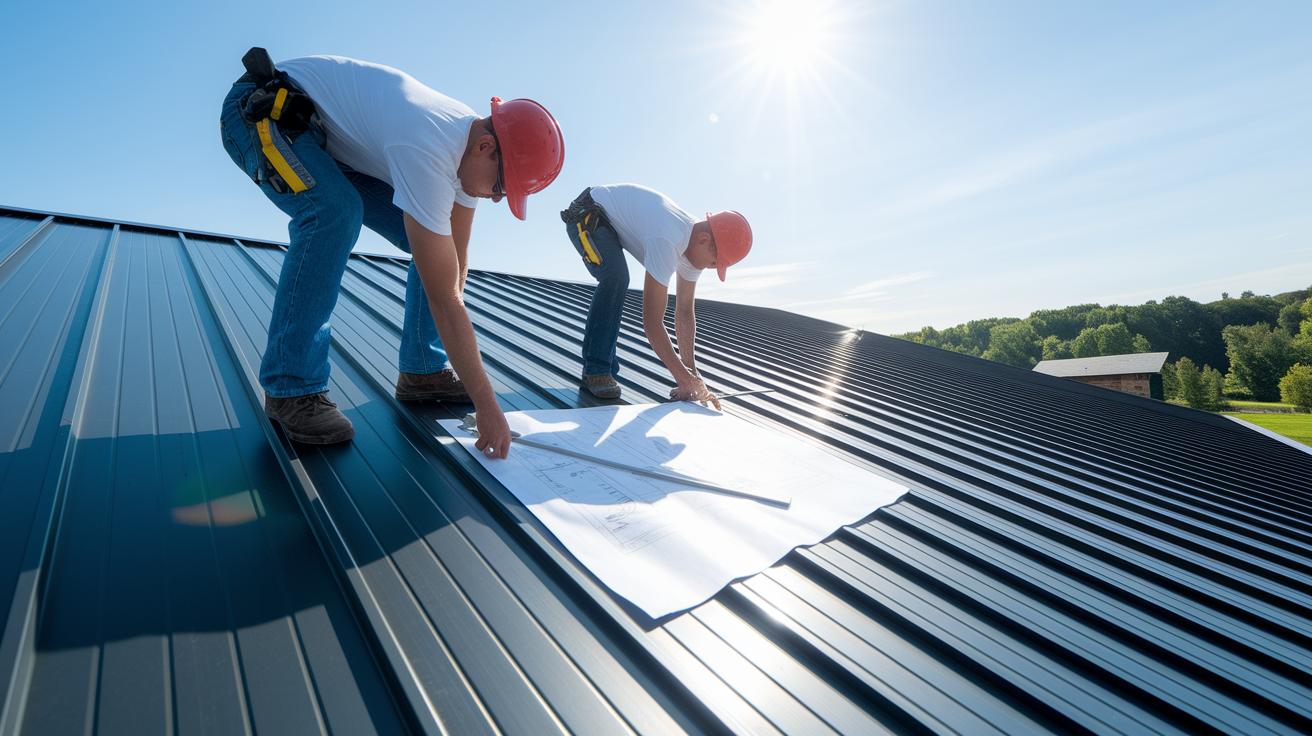
Step 2: Mount Metal Panels
Snap a square reference line with the 3-4-5 method to keep your panels aligned. Place foam closure strips along the eave to create a stable base. Lift each metal panel and set it on the foam strip. Align the panel ribs with your chalk line and drive screws through each rib at the proper spacing to secure them tightly.
Step 3: Install Flashing & Roof Vents
Using aviation snips, cut and bend the trim ends to craft flashing around chimneys, vents, and valleys. Apply a high-quality sealant over every joint, overlapping the flashing pieces by at least 2 inches (5 cm) to ward off water leaks. This method not only stops leaks but also gives your roof a neat finish around all openings.
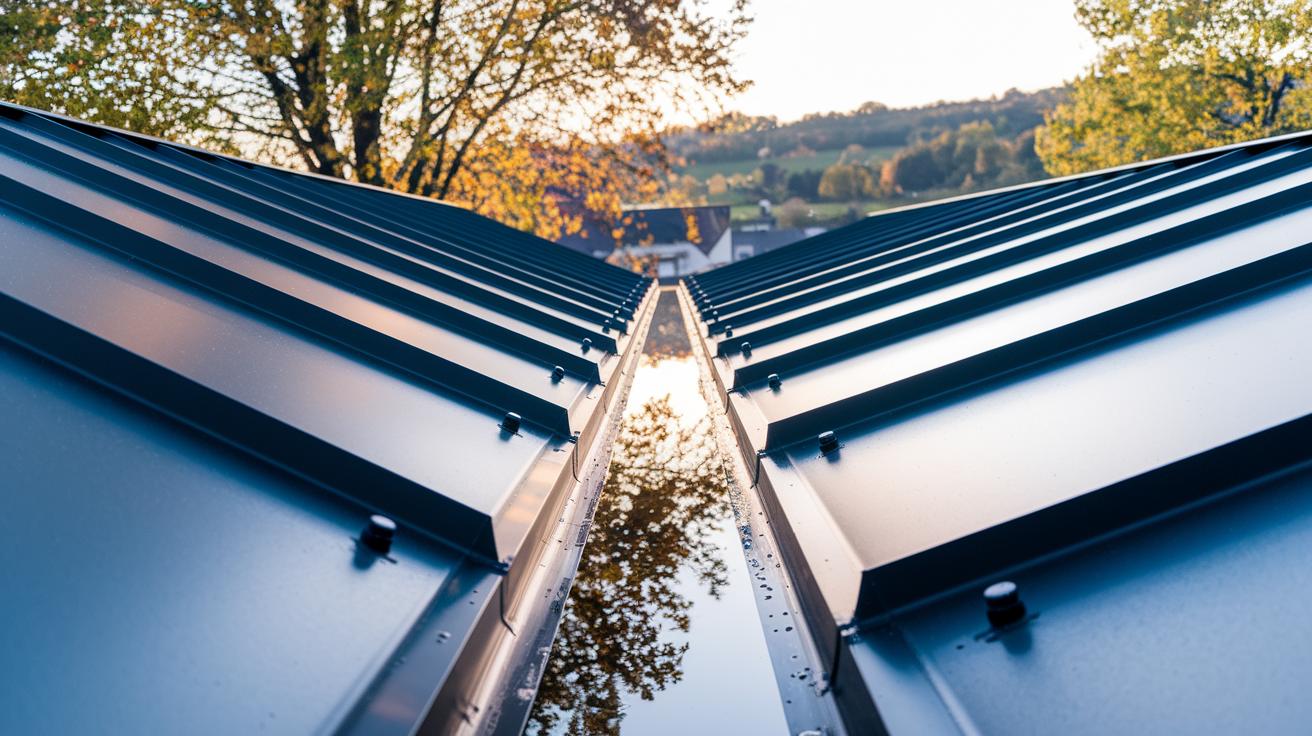
Step 4: Fit Ridge Cap & Final Sealing
Lay butyl tape along the entire ridge line, then place foam closures under the ridge cap. Secure the ridge cap with 2" screws driven through each rib. Finally, inspect all fastenings and seals, tighten any loose screws, and add extra sealant as needed to ensure a weatherproof finish that will protect your roof for many years.
Cost Breakdown & Budgeting for Metal Roof Installation
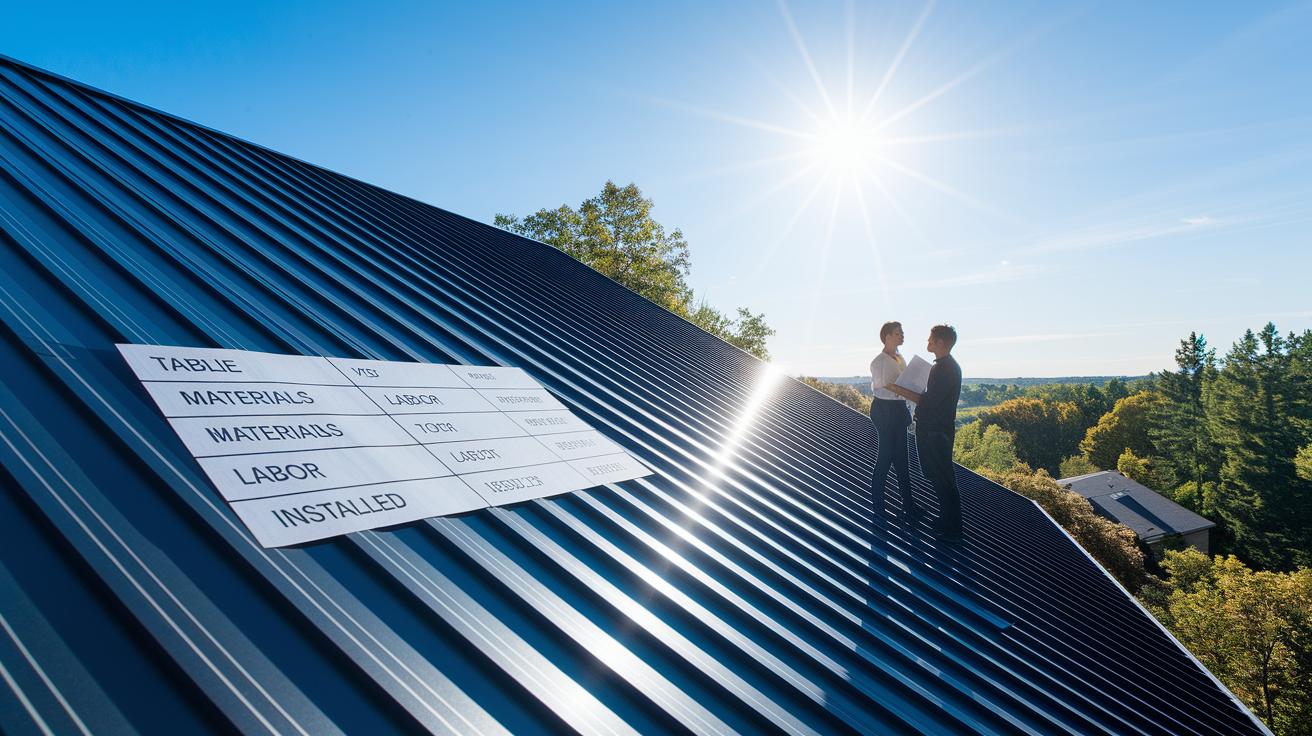
| Cost Element | Low End | High End | Notes |
|---|---|---|---|
| Materials | $5/sq ft | $12/sq ft | Depends on panel type and finish |
| Labor | $4/sq ft | $8/sq ft | Varies with roof complexity |
| Total Installed | $9/sq ft | $20/sq ft | Complex shapes and steep pitches increase costs |
When planning your metal roof, use a cost calculator to fine-tune your budget based on your roof’s layout. Material prices range from about $5 to $12 per square foot. The cost depends on the metal panel type you choose and the finish you want. Labor costs run an extra $4 to $8 per square foot. Keep in mind that roofs with complex shapes or steep pitches will push the labor costs higher. Overall, expect your total installed cost to be between $9 and $20 per square foot.
It helps to consider financing and local energy-efficiency incentives that might lower the upfront expense. Every roof is unique, so adjust these numbers if you have unusual shapes or special details like extra flashing. In short, careful budgeting and using the right cost estimation tools lets you plan your project well while adding a durable, stylish metal roof to your home.
DIY vs Professional Metal Roof Installation: Pros, Cons & Contractor Tips
DIY Installation Advantages & Risks
Doing your own metal roof installation can save you around 30% on labor costs and give you more control over the schedule. Homeowners often find free, step-by-step videos and easy guides that explain each job, from laying the self-healing underlayment to lining up the metal panels. But be careful. Missing key steps like proper underlayment placement or misaligning panels can cause water leaks and lead to expensive fixes later. Even though you might save money at first, a small error could cost you more time and extra materials in the end.
Engaging a Professional Contractor
Hiring a professional gives you the peace of mind that comes with expert work. Professionals have the right licenses, trade insurance, and warranty terms to protect your roof. They know how to install every part, from metal flashings to foam closures, in line with manufacturer guidelines and building codes. They follow strict protocols and have tech support, like Fabral Tech Support at 1-800-432-2725, to help solve any issues quickly. You also get a clear timeline for your project, which removes a lot of the guesswork. Look for installers with a strong local reputation. Ask for references, check their credentials, and go over warranty details before you decide. Though the upfront cost might be higher, a pro-installed roof usually lasts longer and meets all safety and performance standards, especially when dealing with tricky angles or complex designs.
Post-Installation Maintenance & Longevity of Metal Roofs
Metal roofs need little upkeep to keep working well. Regular checks help you spot rust, leaks, or failing sealant early. Rain washes most debris away, which helps limit moss and mold. Still, a simple checklist of tasks can protect your roof in spots that see more wear.
- Check all fasteners and sealant joints once a year to catch any wear.
- Remove stubborn debris that rain might not wash off.
- Reseal panel overlaps every 5–10 years to keep a strong water barrier.
- Inspect flashings and edges for rust, especially where water can pool.
- Make sure water drains freely during storms by keeping drainage paths clear.
Roof warranties often cover 30 to 50 years. With proper care, a metal roof can last 50–70 years while blocking UV rays and helping lower cooling costs.
Common Installation Mistakes & Troubleshooting Metal Roof Issues
One of the most common errors in metal roof installation is skipping proper deck preparation. If you don't repair or secure the deck correctly, water can seep in and wear your roof's structure early. Skipping or misplacing the underlayment (the protective layer beneath the panels) may cause leaks, especially where rain is heavy. Incorrect fastener placement, leaving out screws or putting them too close to the edge, can let panels shift over time. Misaligned panels form weak spots that water can exploit, leading to damage and expensive repairs.
To troubleshoot these problems, begin by inspecting your roof for clear signs of mistakes.
- Check the deck for any missed repairs or damage.
- Confirm the underlayment is continuous and overlapping as required.
- Tighten or replace fasteners that are loose or positioned wrong.
- Examine flashings and foam closures (foam pieces that seal gaps) and reseal or replace them as needed.
Following these steps will help you pinpoint the source of leaks and misalignment issues. Always complete deck repairs before starting your installation, follow the manufacturer’s instructions for underlayment overlap and fastener spacing, and inspect your roof routinely to catch small issues before they grow.
Final Words
In the action, you now have a clear guide to metal roof installation, from planning your project and meeting permit and code requirements to preparing your deck and installing panels with proper safety gear. The steps cover cost breakdowns, key advantages like longevity and energy savings, and offer insights on DIY versus professional help. Your roadmap helps balance budgets, quality, and safety so you can confidently move ahead with your project. Every detail adds up to a solid, efficient, and durable roof installation.
FAQ
What is the average cost to install a metal roof and how much might it cost for a 1,200 ft² house?
The metal roof installation cost typically ranges from $9 to $20 per sq ft, meaning a 1,200 ft² house might cost between $10,800 and $24,000, depending on materials and labor.
Do you need to put anything under a metal roof?
Installing a metal roof usually requires an underlayment such as ice-and-water underlayment to manage moisture and ensure proper weatherproofing.
Is it hard to install a metal roof yourself?
Metal roof installation can be challenging when done DIY as it demands precise panel alignment, strict safety measures, and correct underlayment installation to avoid errors.
Where can I find a metal roof installation diagram or a free guide in PDF format?
Free metal roof installation diagrams and guide PDFs are available online through manufacturer websites, DIY forums, and roofing resource sites offering downloadable materials.
What are common mistakes in metal roof installation?
Common mistakes include neglecting proper deck preparation, skipping the underlayment, incorrect fastener placement, and insufficient panel overlap, which can create leaks and reduce durability.
Can you install a metal roof over existing shingles?
Installing a metal roof over shingles is possible if the existing decking is sound and local codes allow it, but it’s important to inspect for damage and meet structural requirements first.
How can I find a local metal roof installation service?
Searching online for “metal roof installation near me” or checking local contractor directories can help you locate qualified professionals for your residential metal roofing project.
What does residential metal roof installation involve?
Residential metal roof installation involves removing old roofing, repairing the deck, installing proper underlayment, aligning metal panels accurately, and finishing with flashing and ridge cap details.