
Ever thought a new roof might boost your home's value? TPO roofing protects your home and lowers cooling bills with a reflective surface. It also stands up to harsh weather, chemicals, and damaging UV rays.
In this guide we walk you through every step of installing TPO roofing. Each detail matters, much like a mechanic tuning an engine. Learn how this roofing system not only improves safety but also boosts curb appeal and cuts energy costs.
TPO Roof Installation: Complete Process Overview
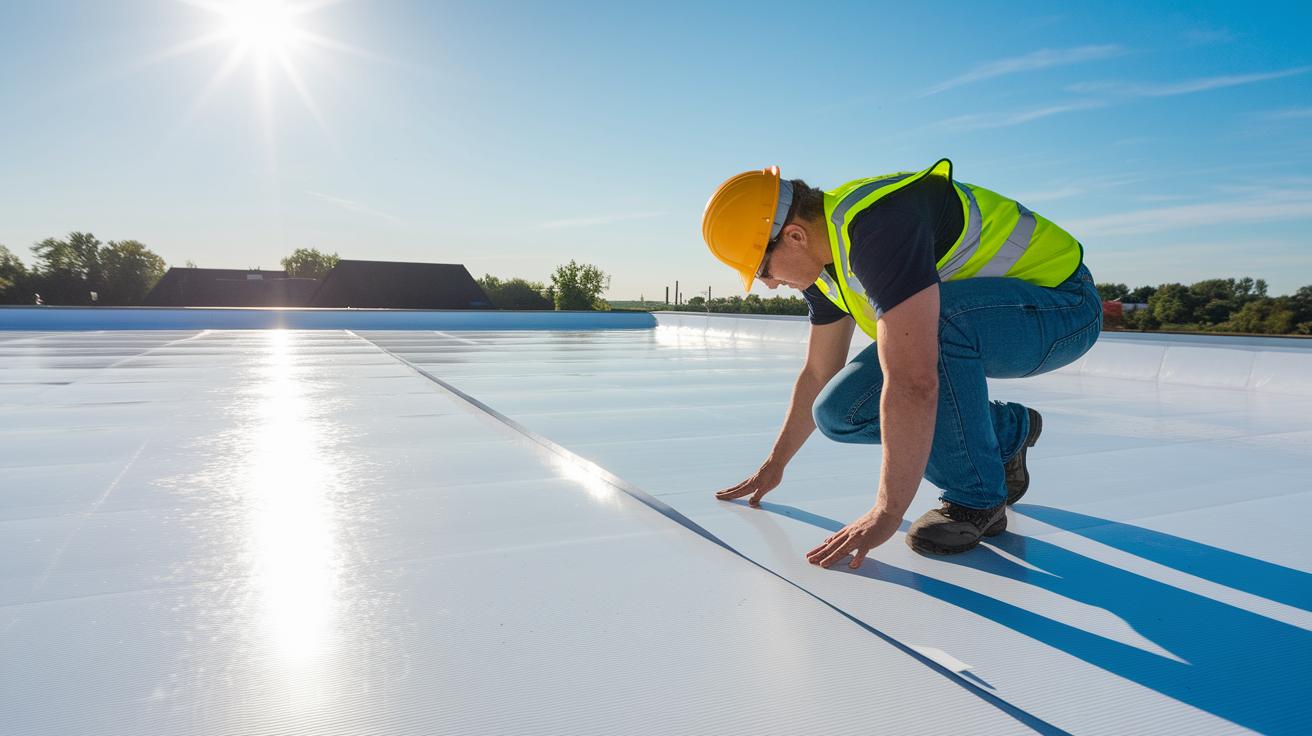
TPO roofing is a single-ply membrane made of polypropylene and ethylene-propylene rubber. Its white surface reflects heat to help cut cooling costs. It also stands up well to UV, ozone, and chemicals. This strong material protects your building while boosting energy efficiency and curb appeal.
Follow these 7 steps for a successful installation:
-
Prepare the roof deck. Clean away all debris and repair any damage. Make sure the deck is dry so the membrane sticks well and leaks are avoided. Think of it like a mechanic checking every part of an engine, every detail counts.
-
Install insulation under the membrane. Use materials like polyiso, expanded polystyrene (EPS), or extruded polystyrene (XPS) to improve thermal efficiency and help keep indoor temperatures steady.
-
Unroll the TPO membrane and let it relax for 30 minutes. This step reduces wrinkles, which gives you a smoother finish when the membrane is in place.
-
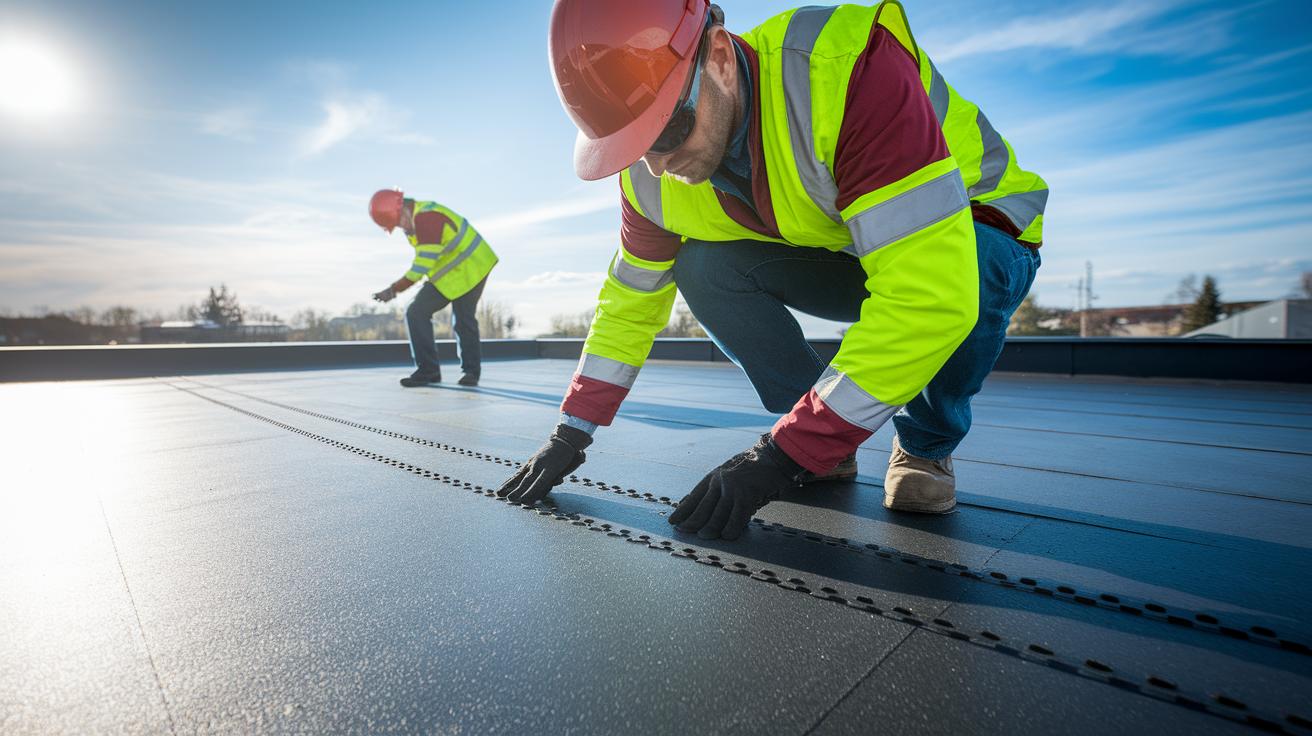
Fasten the membrane using one of three methods: mechanical fasteners, full adhesion, or ballasting (using weight). If you choose mechanical fasteners, space them about 6-12 in (15-30 cm) apart.
-
Weld the seams with a hot-air welder. Keep your speed steady and temperature right to create strong, watertight bonds.
-
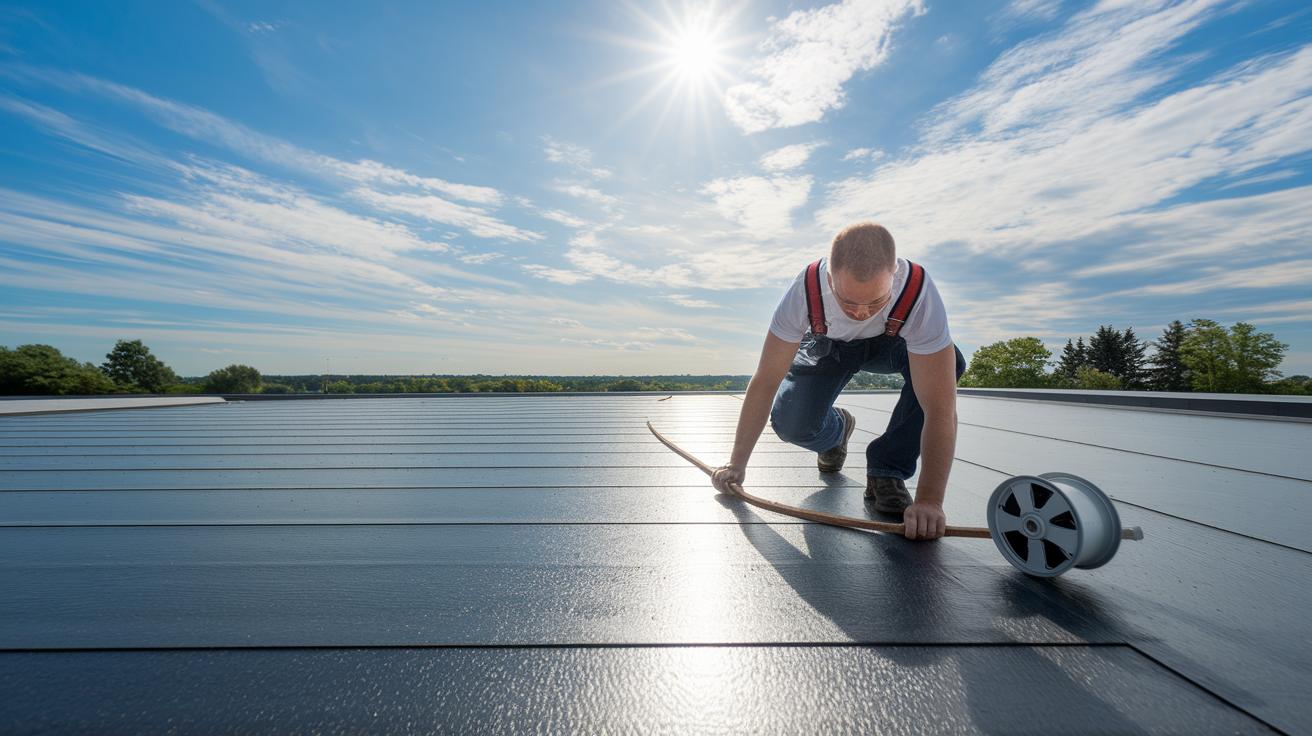
Install flashing around any roof openings like vents, skylights, and HVAC units. Proper flashing stops water from getting in and causing damage.
-
Do a final inspection. Check all seams, seals, and drainage to ensure there are no issues. This final step helps guarantee your roof will perform well over time.
Pre-installation Requirements for TPO Roof Installation
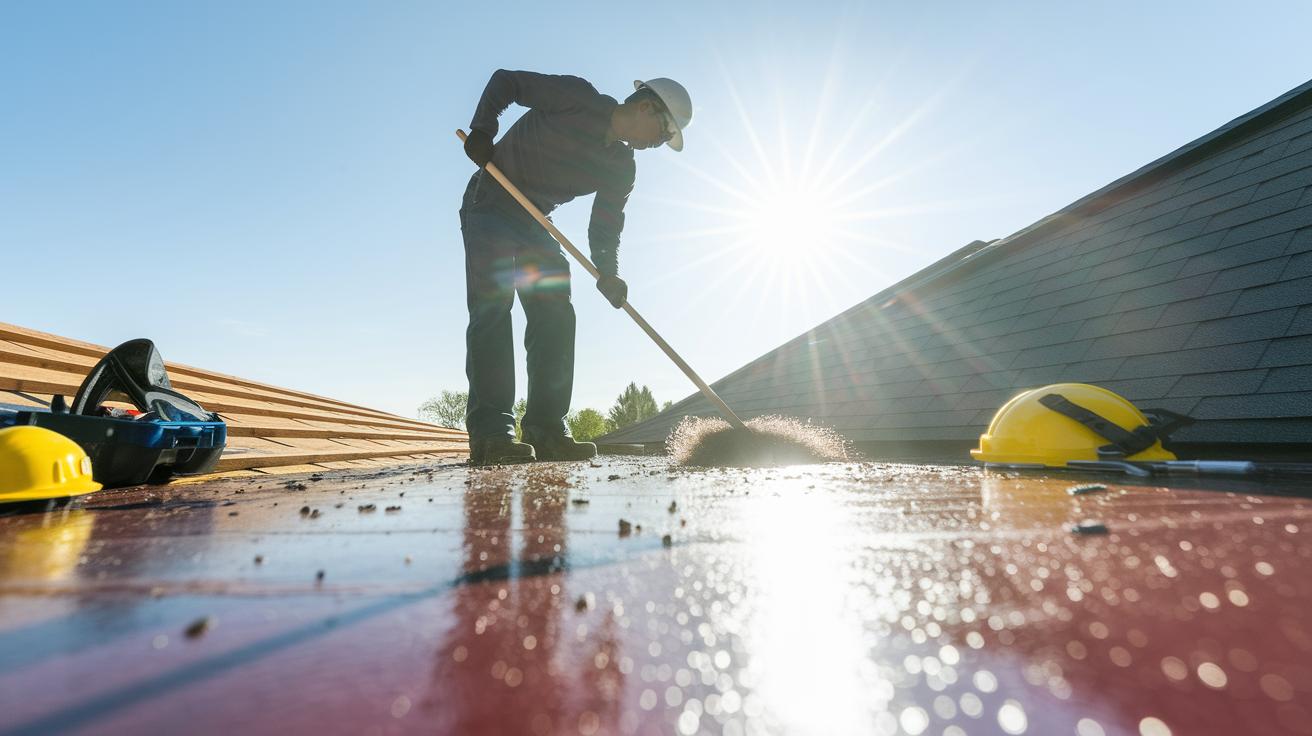
Begin by fully inspecting your roof deck. Remove any debris and loose material, fix damaged or worn areas, and make sure the surface is completely dry. Moisture can cause the roofing to stick badly and lead to leaks. Think of it like sweeping a dusty porch to expose a solid, even surface.
Also, follow these safety and inspection checks:
- Check the roof's structure. Look for sagging or soft spots by testing its firmness, much like you would with a sturdy chair. Remove old roofing if you see signs of damage.
- Make sure the manufacturer-approved underlayment is installed correctly, is clean, and stays dry.
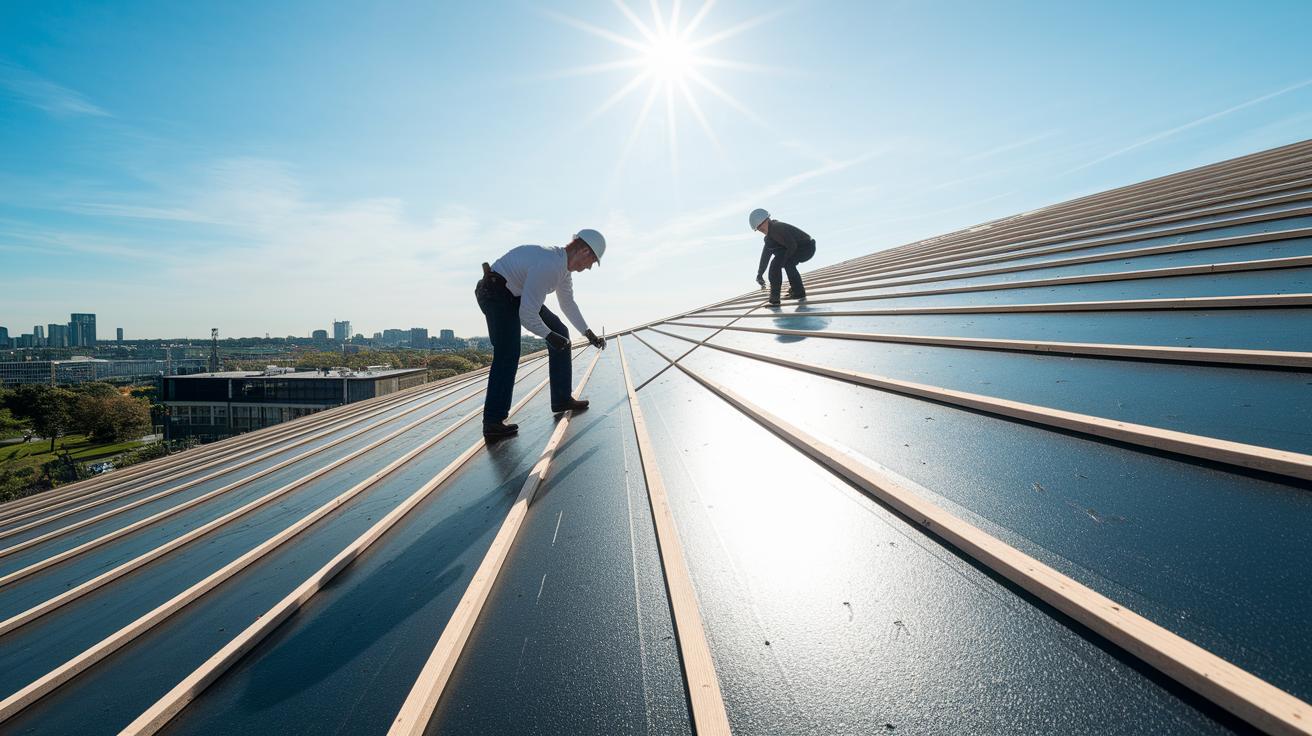
- Keep site safety in mind. Wear fall protection and follow heat-welding safety tips during the roof assembly.
Before you move on, use this checklist:
- Clean and inspect the roof deck thoroughly.
- Repair any damaged or worn sections.
- Confirm the deck is dry.
- Check the structure and remove old roofing if needed.
- Verify that the underlayment is clean and moisture-free.
- Follow all site safety protocols during the installation.
Insulation Integration in TPO Roof Installation
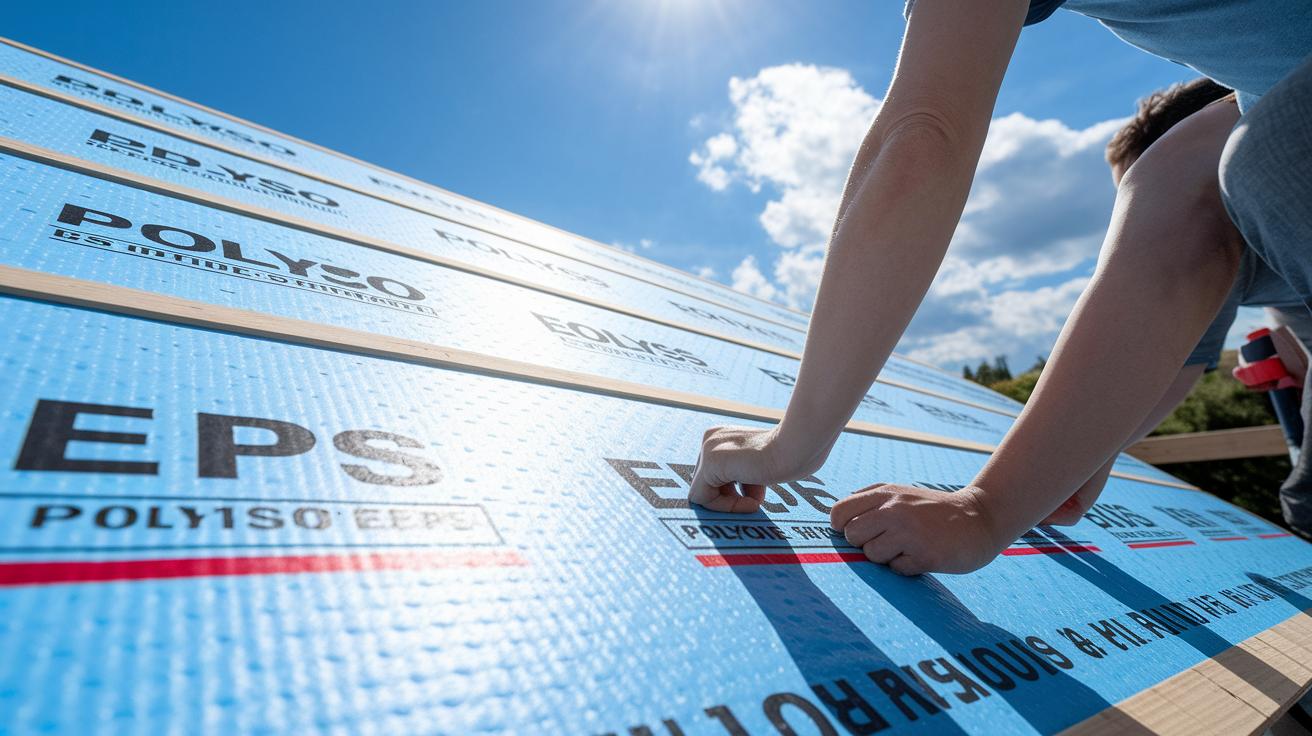
Adding insulation under your TPO roof boosts comfort and cuts energy bills. Choose the right insulation to raise your home’s value and stay warm. You can use polyiso (polyisocyanurate), EPS (expanded polystyrene), or XPS (extruded polystyrene). Polyiso gives the highest R-value per inch (about 6-7 per inch or 6-7 per 2.5 cm), which means it acts like a thick blanket around your home. EPS offers decent insulation at a lower cost, while XPS resists moisture and insulates well.
Make sure you fasten the insulation boards securely to maintain continuous coverage. Check that each board fits tightly and does not shift in the wind. Think of it like putting together a puzzle – every piece needs to lock in properly. Before you fasten the boards, double-check that they line up without gaps that could let cold air in.
| Insulation Material | R-Value (per inch) | Typical Thickness (inches) |
|---|---|---|
| Polyiso | 6-7 | 1-2 |
| EPS | 3.5-4 | 1-2 |
| XPS | 4-5 | 1-2 |
Selecting and securing the right insulation not only holds warmth in but also improves your roof’s durability. This step delivers lasting energy savings and adds strong value to your home.
tpo roof installation: Boosts Home Value
After letting the TPO membrane settle for 30 minutes, lay the sheets gently so they lie flat and stick properly. A roof that is fastened well handles bad weather better and shows quality work that lasts. Using the right fastening methods makes the roof last longer while boosting curb appeal and cutting energy costs.
Mechanical Fastening Methods
TPO sheets can be attached with a plate-and-screw system. Follow the manufacturer’s directions and place screws 6–12 in (15–30 cm) apart along the seams. This method is simple and creates a strong bond that will stand the test of time. Think of it like spacing nails evenly on a board to build a solid frame.
Fully Adhered Method
The fully adhered method uses a layer of adhesive to stick the TPO membrane to the surface. Spread the adhesive with the proper trowel size and work quickly while the adhesive is still open. Use a roller to press out any air pockets or bubbles. Picture it like spreading peanut butter evenly on bread, an even layer makes all the difference. This technique creates a smooth, continuous bond that keeps the roof watertight and adds value to your home.
Ballasted Installation
In a ballasted installation, you lay the TPO sheets and then cover them with heavy materials like smooth river rock or pavers. Make sure the ballast is deep enough and spread out evenly to hold the roof down against wind uplift while protecting the membrane. A well-ballasted system keeps the roof in place and gives it a neat look that adds charm to your property. When done correctly, each fastening method helps build a roof that lasts and boosts your home’s value.
Seam Welding and Flashing Procedures in TPO Roof Installation
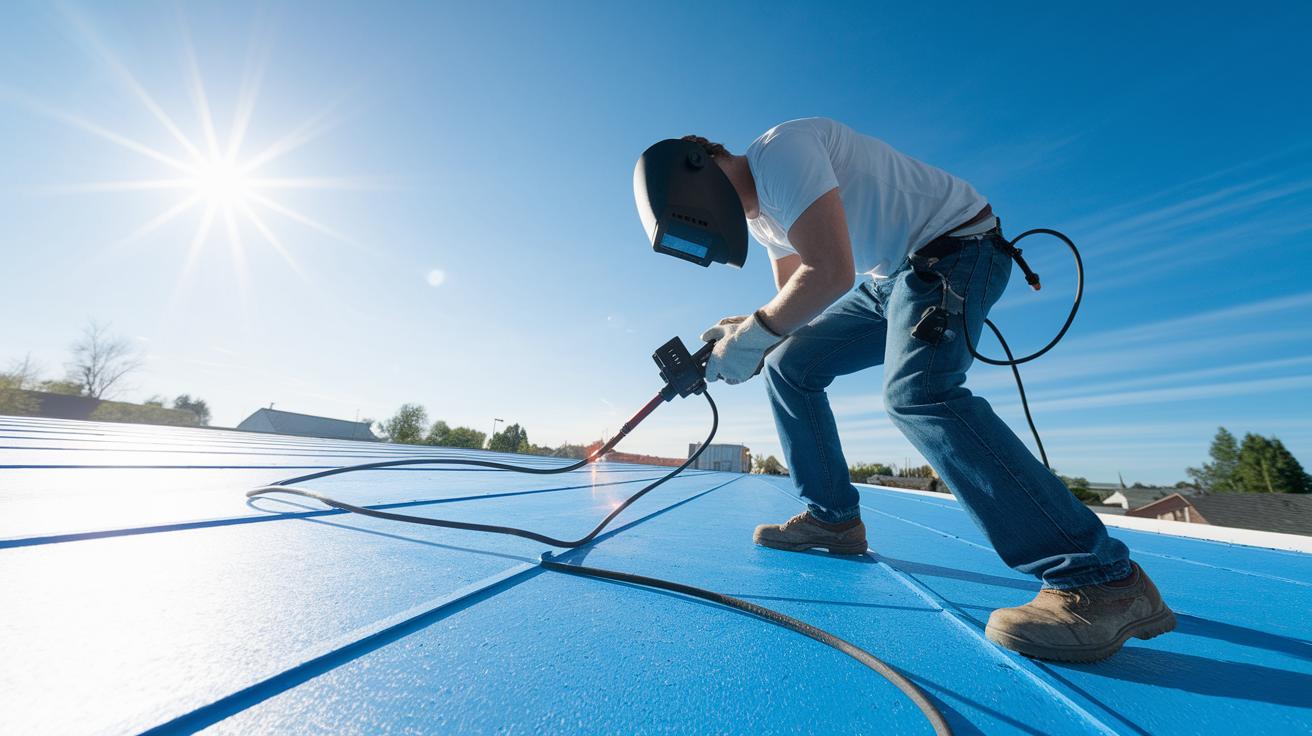
Seam welding melts and fuses overlapping TPO sheets using a hot-air welder to form a continuous, watertight seam. Keep the speed smooth, the temperature steady at 550–650°F (288–343°C), and the airflow constant. For example, move the welder at about 2 ft (0.6 m) per second along the seam to avoid cold or hot spots.
Follow these steps for good seam welding:
- Check that the hot-air welder settings match the manufacturer’s advice.
- Hold the welding gun at a steady distance from the membrane.
- Work in a wind-free area to keep the air pressure steady.
Flashing seals roof areas like vents, skylights, and HVAC curbs to keep water out. Use either pre-made TPO strips or pieces you make custom. Clean the surface well before you apply flashing so it sticks completely. Think of flashing like sealing a window envelope, it blocks any chance for water to slip in.
For flashing installation, remember to:
- Overlap the flashing strips well for a continuous seal.
- Detail the edges carefully to keep no gaps.
- Use the same reliable hot-air welder to fuse the flashing to the membrane for a steady bond.
Using these seam welding and flashing techniques will help create leak-proof joints. A solid installation now means your TPO roof stays strong and durable against harsh weather later on.
Post-Installation Inspection and Maintenance for TPO Roof Installation
Once your TPO roof is finished, give it a full look-over to help it last longer. Start by checking seams, flashings, and roof drains closely. Look for a steady weld bead (the sealed line made by heat-welding) and smooth, even corners. This careful check catches signs of leaks and shows that the welding was done right, like inspecting every stitch on a tough, reliable canvas.
Set up a regular check-up. We suggest examining your roof twice a year for small holes, loose seams, or cracked flashings. If something doesn't look right, fix it immediately. For problems with heat-welded seams or flashings, call a professional. Addressing little issues now can stop big repairs later.
Also, plan to clean your roof every six months. Use a soft-bristle brush and a gentle cleaner to remove leaves, algae, and mold. This not only makes your roof look better but also helps it reflect heat, which can lower your cooling costs.
Keep this checklist handy:
- Check seams for a continuous, watertight bond.
- Inspect flashings around pipes and vents to ensure they hold firm.
- Make sure roof drains are free of debris and flowing well.
- Clean the roof gently every six months to clear off dirt.
Regular care like this keeps your roof strong, cuts long-term repair costs, and helps your building stay in top shape for years.
Cost Analysis and Budgeting for TPO Roof Installation
TPO roof costs can change based on your roof’s size, how tricky the job is, and the type of membrane used. For instance, fully adhered systems cost more per square foot than methods like mechanically fastened or ballasted ones because they require special adhesives and extra labor. Think of it like choosing between a custom, high-end piece of furniture and a simple shelf, extra steps and details add up.
Your material costs cover the TPO membrane (available in 45–80 mil, or 1.1–2.0 mm, thickness), insulation boards, adhesives, and the equipment needed for welding seams. Big roofs often save money by spreading the cost over a larger area, while roofs with many cuts or unusual shapes can mean extra labor and higher expenses.
A smart budgeting tip is to list every material and labor need before you start. Create a detailed spreadsheet that covers membrane prices, insulation costs, adhesives, and even rental fees for welding tools. This clear list can help you avoid surprises and get an accurate project quote.
| Cost Driver | Details |
|---|---|
| Materials | TPO membrane, insulation boards, adhesives, welding tools |
| Labor | Installation time differences based on the method used |
| Equipment | Rental fees for hot-air welders and fastening tools |
For pricing guidance, check the average roof installation cost at https://neull.com?p=
Comparative Analysis of TPO Roof Installation vs Other Flat Roof Systems
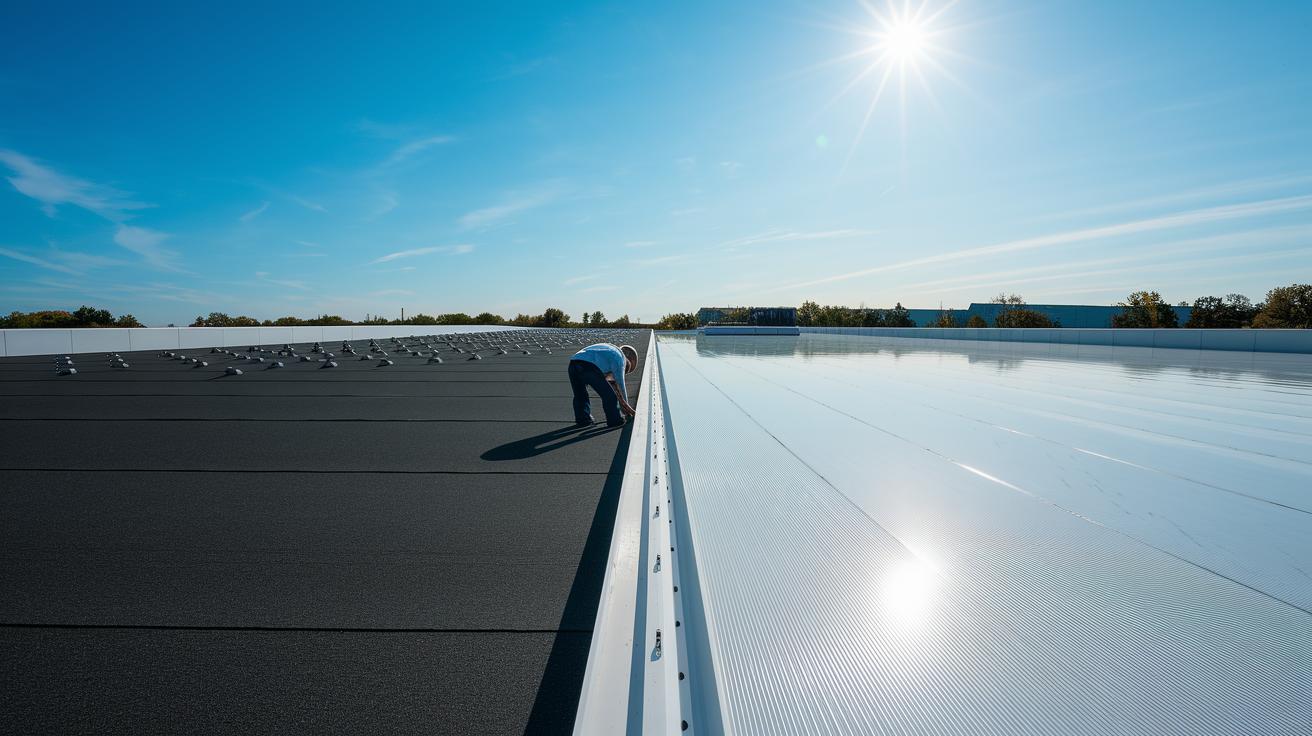
When you compare TPO roofs with other flat roof membranes, the advantages stand out quickly. TPO’s white, reflective surface helps keep buildings cool and resists harmful UV rays and chemicals. With proper installation, you can expect a TPO roof to last between 15 and 30 years.
TPO vs EPDM
EPDM roofs are usually black and absorb more heat. On a sunny day, think of TPO like a built-in sunshade that helps lower indoor temperatures, while EPDM tends to heat up indoors. TPO seams also handle stress better, which means there’s a lower chance of leaks. With its extended lifespan and energy-saving benefits, TPO is a practical choice for boosting home value.
TPO vs PVC
TPO also has an edge over PVC when it comes to cost. Even though PVC offers strong chemical resistance, its materials often cost more. TPO stands out by being easier to weld, which simplifies the installation process. Overall, TPO is an appealing option because it combines good performance with easy installation and lower ongoing energy costs.
Final Words
In the action, we covered everything you need for a successful tpo roof installation, from prepping the deck and integrating insulation to fastening, seam welding, and post-installation care. We broke down methods like mechanical, fully adhered, and ballasted setups. Each step focused on safe practices, quality installation, and smart budgeting. With clear maintenance tips and cost comparisons, you can move forward confidently. Keep these steps handy and enjoy the benefits of a durable and efficient roof system.
FAQ
Where can I find installation PDFs and guides for TPO roofing and GAF TPO instructions?
Finding installation PDFs and guides for TPO roofing and GAF TPO instructions helps ensure correct application. These resources are available on manufacturer websites and supplier portals, detailing step-by-step methods for a proper install.
Where can I find a TPO roofing installation video?
A TPO roofing installation video demonstrates the process from deck prep to seam welding. These videos are available on industry sites and video-sharing platforms, providing clear visual guidance on proper installation steps.
What is the cost of installing a TPO roof?
The cost of installing a TPO roof varies with roof size, system type, and labor. Generally, material and installation costs depend on project complexity, so it’s best to request detailed quotes from local contractors.
How is TPO roofing installed, especially on a mobile home?
Installing TPO roofing, including on mobile homes, starts with inspecting and preparing the deck, adding insulation if needed, unrolling the membrane, fastening it securely, welding seams, applying flashing, and finishing with a final inspection.
What goes under a TPO roof?
Under a TPO roof, you install a clean, dry underlayment and insulation boards like polyiso, EPS, or XPS to boost energy efficiency and support proper adhesion and performance of the membrane.
What are the disadvantages of a TPO roof?
TPO roofs can have disadvantages such as potential seam failures if not correctly welded, a relatively limited long-term performance history, and vulnerability to punctures, so careful installation and regular inspections are key.