
Ever wondered if your roof can look great and stand up to storms? Many homeowners face problems from poor installations that lead to leaks and expensive repairs. This guide shows you a proven method to install asphalt shingle roofs that resist harsh weather. You'll learn how to plan your project, secure necessary permits, carefully lay each shingle, and install the underlayment (a protective water barrier). Follow these steps for a smooth, strong roof that truly protects your home.
Comprehensive Asphalt Shingle Roof Installation Process
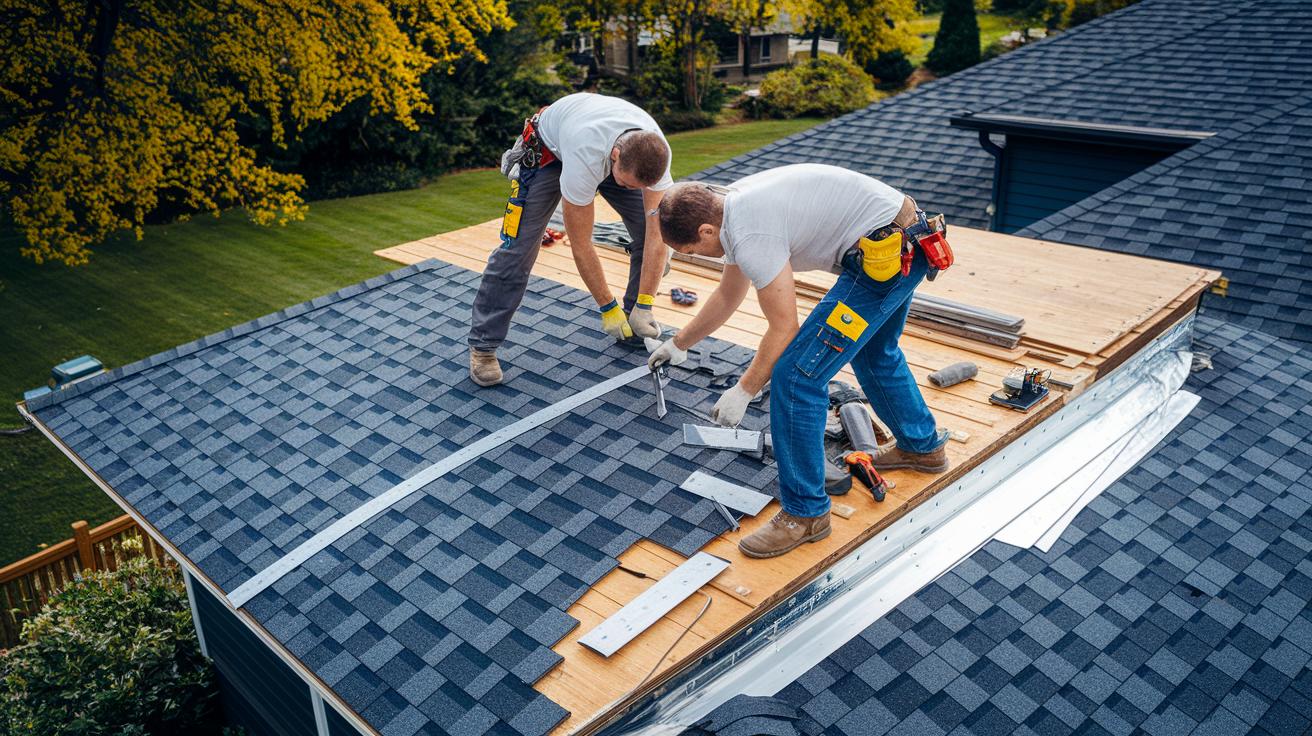
Start by planning your work, setting up safety gear, and checking that you have the proper permits. Next, take off the old shingles and carefully inspect the roof deck for any rot or damage. Fix any issues so you have a strong base before moving on.
Install a drip edge along the eaves (roof edges) to keep water flowing off the roof. Then, lay an ice and water shield up the fascia (vertical edge) to protect against moisture.
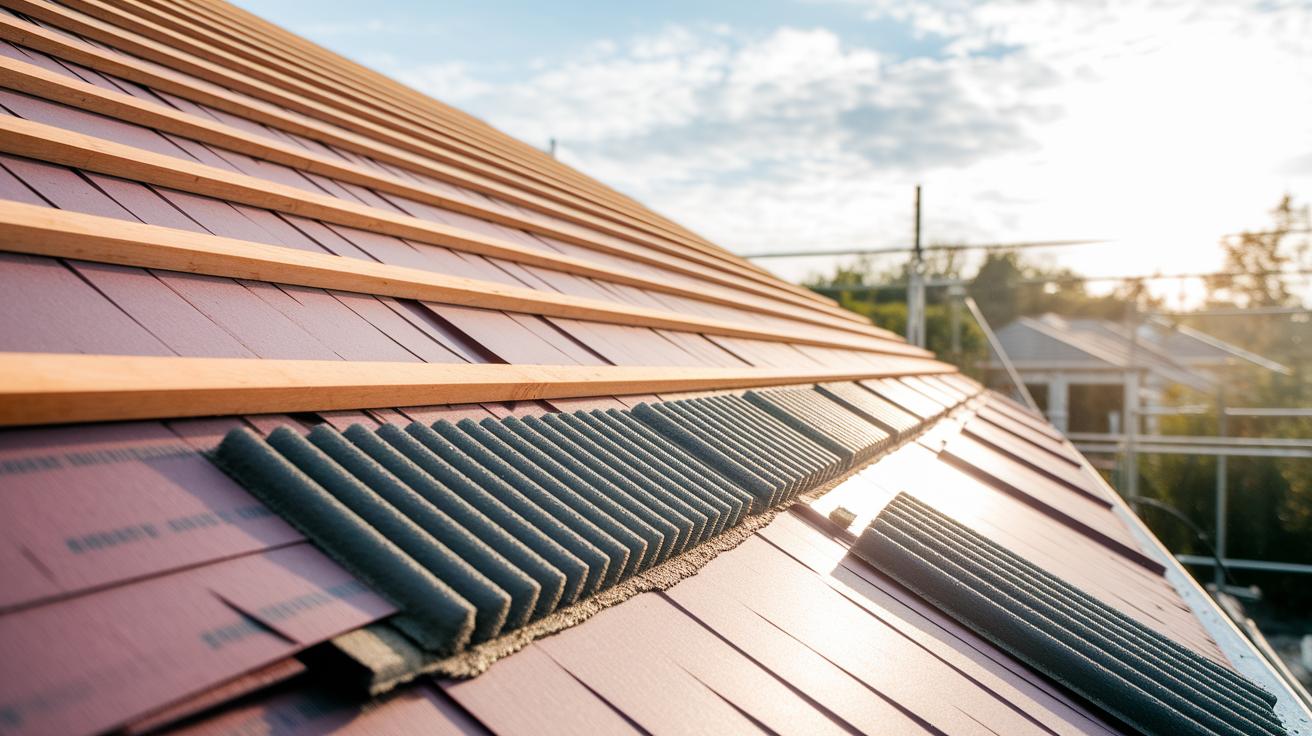
Roll out the underlayment next. Overlap it by 4 in (10 cm) at the eaves and 6 in (15 cm) in the valleys to make a strong, water-resistant barrier. Lay the field shingles in staggered rows using chalk lines set every 5 in (13 cm) as your guide. Nail each shingle in place, usually with 6 nails per shingle, just below the adhesive strip to ensure resistance to strong winds.
Finish by installing the hip and ridge caps on the roof’s peaks. Seal these with asphalt cement to lock out moisture. Following these steps along with local building codes and manufacturer instructions will give you a tough, weather-resistant roof fit for various climates.
| Phase | Actions | Time |
|---|---|---|
| Planning & Permits | Review local building codes, secure permits, and plan materials and safety measures | 1 day |
| Deck Prep & Tear-Off | Remove old shingles and inspect the roof deck for damage | 1–2 days |
| Underlayment & Flashing | Install drip edge and roll out the underlayment with proper overlaps | 1 day |
| Ice & Water Shield | Apply the membrane over eaves and valleys for moisture protection | 1 day |
| Field Shingle Layout | Lay shingles in staggered rows aligned with chalk lines | 2–4 days |
| Hip & Ridge Capping | Place and seal the hip and ridge caps with asphalt cement | 1 day |
| Final Inspection & Cleanup | Check the installation, seal gaps, and remove debris | Half day–1 day |
Planning and Preparation for Asphalt Shingle Installation
Before you begin an asphalt shingle roof installation, secure all required permits and check your local building codes. This ensures your work meets safety standards and local rules.
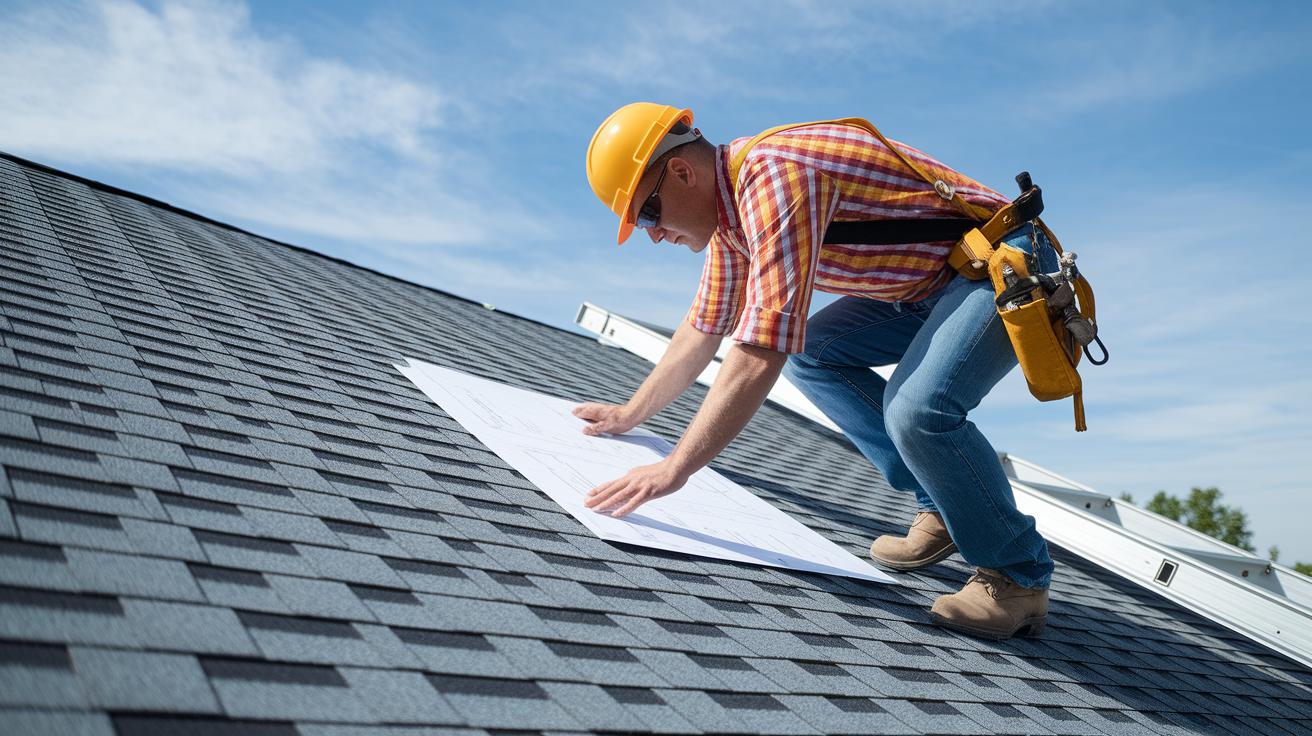
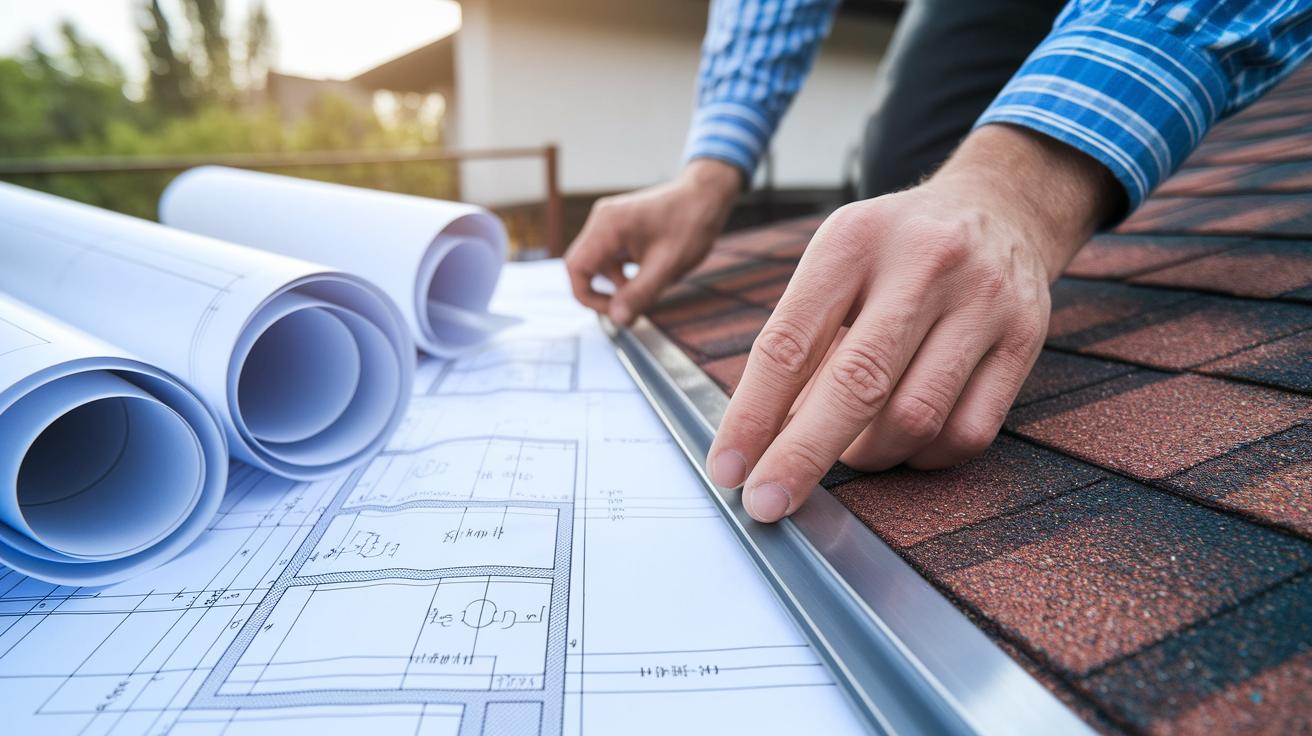
Plan each step carefully. Verify your roof pitch (for instance, a roof with a 4 in 12 pitch, about an 18° angle, may require extra safety harness adjustments). Use your blueprint to calculate how much material you need based on your local weather.
Gather these tools before you start:
- Roofing shovel
- Pry bar
- Hammer or pneumatic nail gun (a tool that drives nails quickly)
- Chalk line (a marked string to draw straight lines)
- Utility knife
- Ladder
- Safety harness
- Drip edge flashing (metal pieces that steer water away from the roof’s edge)
- Underlayment rolls (protective layers placed under the shingles)
- Starter strip and ridge cap shingles
Plan your work timeline. For a roof of about 1,500 sq ft (approximately 139.4 m²):
- Allow 1–2 days for tearing off old materials and preparing the deck.
- Set aside 1 day to install the underlayment and flashing.
- Reserve 2–4 days for laying the new shingles.
Compare the costs and time involved with doing the job yourself versus hiring a professional. Consider your skill level and available help to decide what works best for you.
Inspecting and Preparing the Roof Deck for Shingle Installation
Start by fully removing the old shingles unless you plan to lay the new ones over them. Use a roofing shovel or pry bar to carefully lift off the material. As you work, check the entire roof deck for any signs of rot, warping, or loose nails. Look closely at any areas that seem damaged; these spots can weaken the new installation. Clearing debris from valleys and eaves is key to creating a safe base.
Once the old roofing is off, examine the structure of the deck. Replace any damaged sheathing (the boards that make up the deck) and confirm that the surface is flat, dry, and tightly attached to the trusses (the sloping support beams). Remember that standard asphalt shingles need a roof pitch of at least 2:12 (2 inches of rise for every 12 inches of run). If your roof has a lower slope, use a special underlayment designed for low-pitch roofs. Finally, sweep away any leftover debris and seal gaps to form a stable, smooth surface for your new shingles.
Installing Underlayment, Ice & Water Shield, and Drip Edge for Asphalt Shingle Roofs
Drip edge: Fasten a steel drip edge along the eave so its lower edge sits exactly 1 inch (2.5 cm) above the eave. Use an overhang between 1/4 inch and 3/4 inch (0.6 cm to 1.9 cm) and space the fasteners evenly as shown in the Underlayment & Flashing section.
Ice and water shield: Unroll the membrane so it covers 24 inches (61 cm) up the fascia to block ice dams. Overlap each seam carefully to create a continuous waterproof barrier. Check each seam as you go to avoid any gaps.
Underlayment: Lay the asphalt-saturated felt or synthetic underlayment right over the ice shield. Make sure it overlaps 4 inches (10 cm) at the eaves and 6 inches (15 cm) in the valleys. Tuck it neatly under the drip edge along the rakes. Use fasteners every 8 to 12 inches (20–30 cm), and snap chalk lines every 5 inches (13 cm) to keep the rows straight.
Step-by-Step Asphalt Shingle Placement and Fastening Techniques
Laying Starter Strips
Start by placing your starter strips along the eaves. These strips help shed water and resist wind. Brush a thin layer of roof cement (a sticky sealant for roofing) on the starter tabs to attach them securely to the deck. Space the strips evenly along the bottom edge to create a strong base. If one strip seems off, use a tape measure to double-check and realign it. Think of roof cement as the glue that holds your puzzle together, ensuring a solid start.
Installing Field Shingles
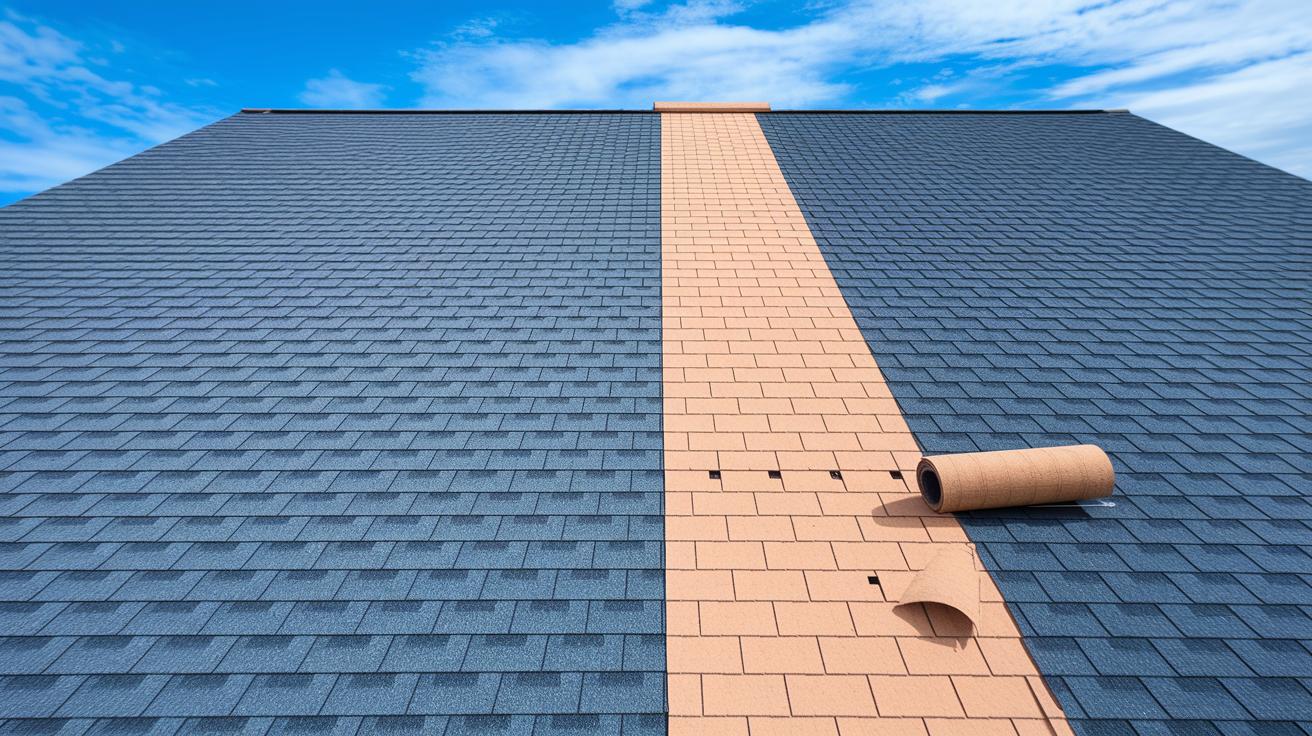
Next, work on the field shingles. Snap chalk lines every 5 in (13 cm) to guide each row. Place 6 nails on each 3-tab shingle, positioning them just below the adhesive strip. If the chalk line starts to fade, lightly mark it again to maintain proper alignment without redoing all previous steps. This method keeps your shingles lined up neatly, much like stacking bricks for a sturdy wall.
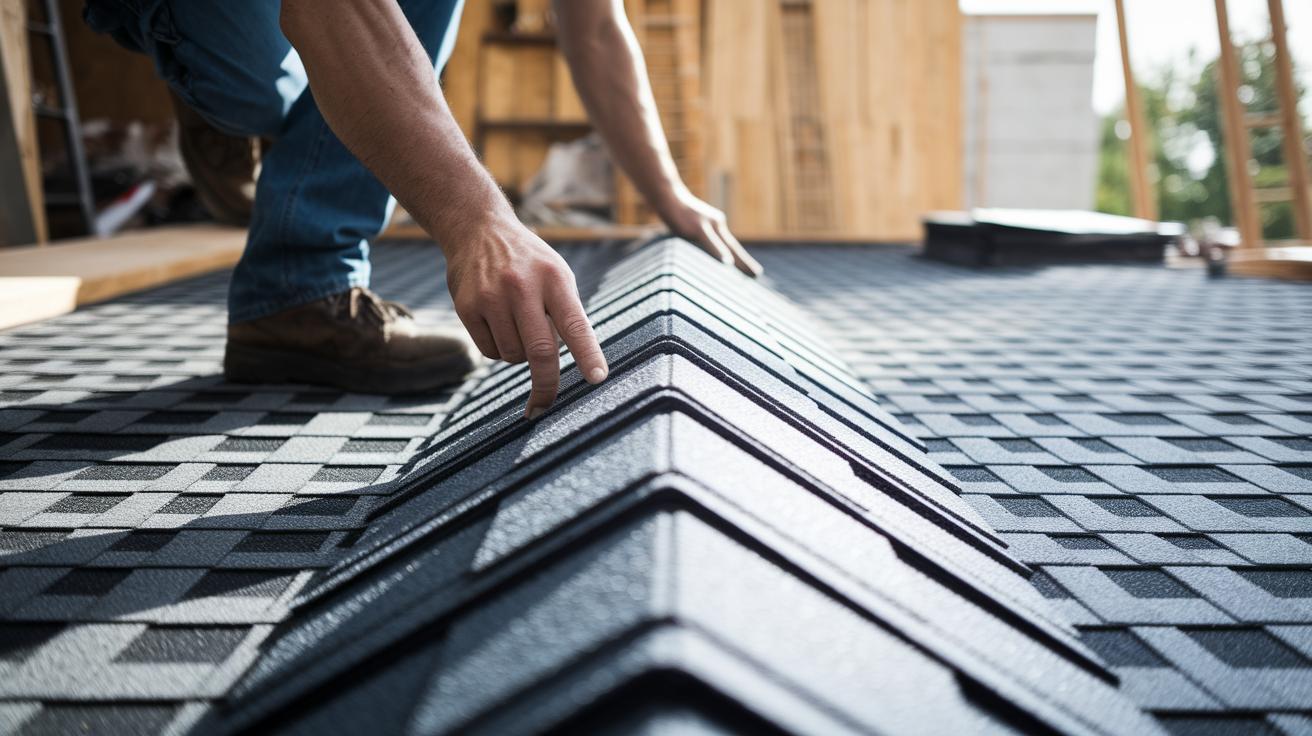
Installing Hip and Ridge Caps
For the hip and ridge caps, use either pre-cut or custom-made caps that match your field shingles. Fasten each cap with nails placed 4 in (10 cm) from both edges. After nailing, seal the nail heads with asphalt roof cement to block moisture. If a cap feels loose, check that the nails aren’t driven too far and that every nail head is covered by a generous bead of cement. This final step locks everything in place, just like adding the finishing piece to a carefully completed puzzle.
Sealing, Flashing Valleys, and Finishing Edge Caps on Asphalt Shingle Roofs
For open valleys, start by centering a 36 in (91.4 cm) strip of ice and water protector. This strip acts as a strong barrier to block moisture. Next, install a 28-gauge metal valley liner. Overlap each piece by 6 in (15.2 cm) so water is kept away.
When you have closed valleys, use woven shingles and seal them with roof cement. This method creates a tight waterproof seal. At walls and chimneys, add step flashing. First, nail the metal flange to the deck. Then, place a shingle over the top flange to guide water away from these vulnerable spots.
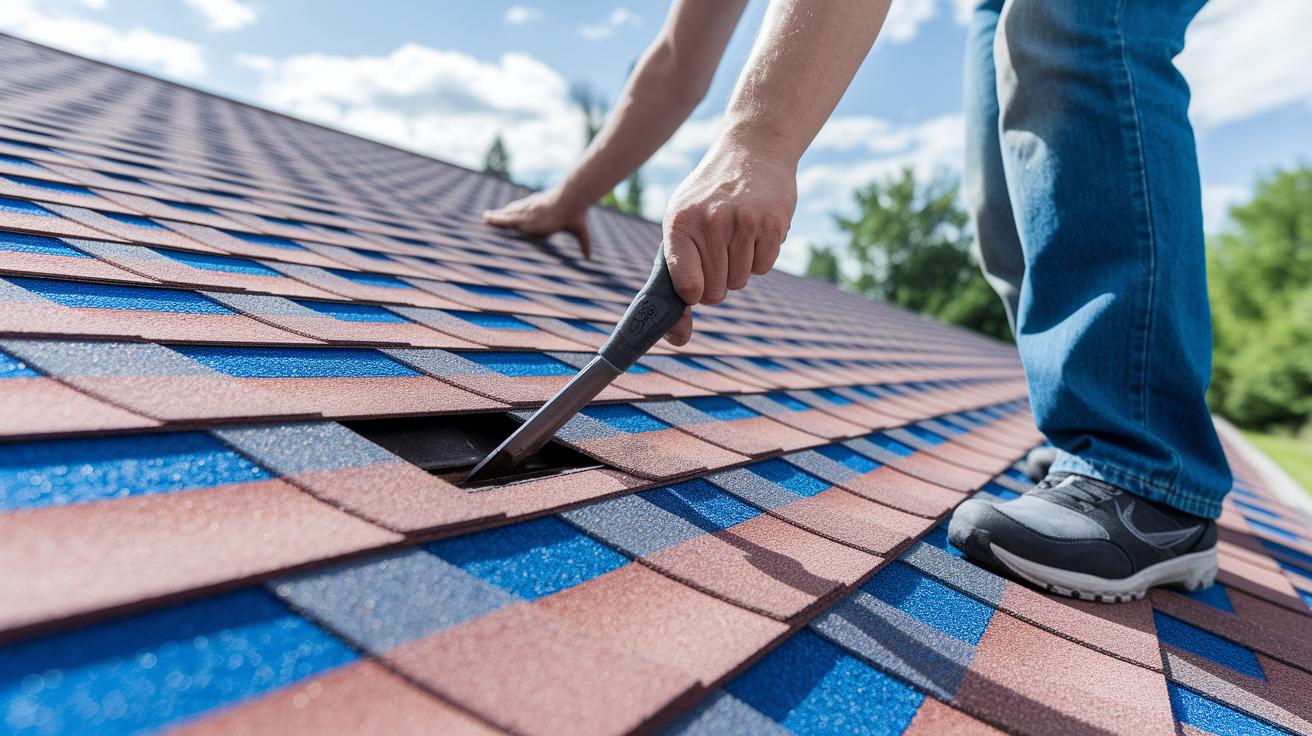
Apply a high-grade silicone roof sealant around vents and pipe boots to fill in any small gaps. Finally, finish the roof edges by installing cap shingles along the rakes and eaves. Nail them according to the manufacturer's instructions so the exposed edges look neat and resist wind and water.
Follow these steps to build a roof that stands up to various weather conditions safely and reliably.
Safety Measures and Best Practices for Asphalt Shingle Installation
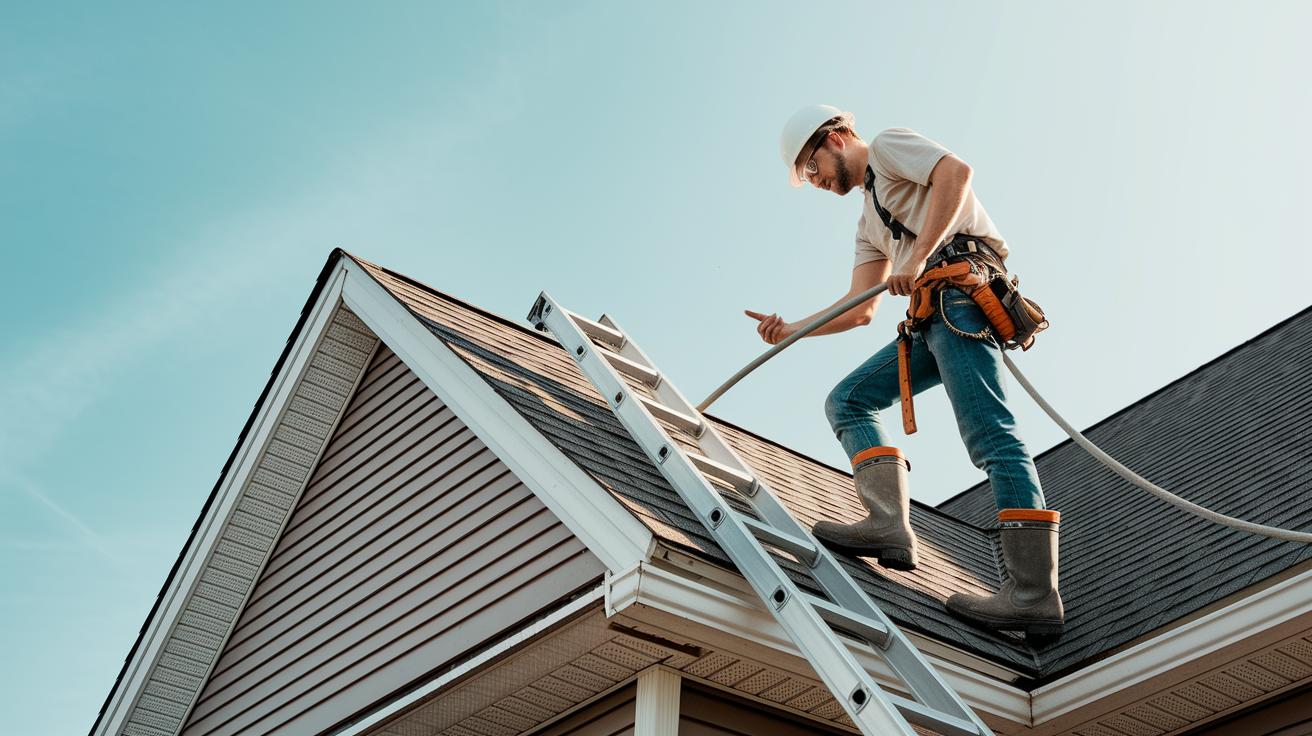
Always wear non-slip roofing boots, a safety harness, a hard hat, and eye protection. These items protect you from falling debris and slips. Make sure your ladder sticks out at least 3 ft (0.91 m) above the eaves. Think of the ladder as a stable platform before you step onto the roof.
Don’t work in poor weather. Roof work is unsafe when winds are over 20 mph (32 km/h) or if it’s raining. Shingles become brittle and lose flexibility below 40°F (4°C). It’s like trying to fold a frozen cloth, the shingles won’t bend properly. Always check the weather forecast to keep your jobsite safe.
Keep your roof clear by removing nails and debris as you work. This simple step cuts down on tripping hazards and keeps the area safe. Also, install ridge and soffit vents before laying the shingles. Good ventilation helps air move through your attic and stops moisture buildup under the shingles, which is key to a long-lasting roof.
asphalt shingle roof installation: Smooth, Superior Results
Knowing how each part costs is important when planning your roof work. Asphalt shingles range from $1.50 to $5.50 per square foot, and the price depends on whether you pick the basic 3-tab style or the thicker architectural style. Underlayment, which is a waterproof layer placed under the shingles, usually costs $0.15 to $0.40 per square foot, and flashings (metal pieces that guide water away) add about $0.10 to $0.25 per square foot. Labor runs about $2 to $4 per square foot, and permit fees can add another $100 to $500 in total. Altogether, you can expect to pay around $4 to $8 per square foot installed.
If you can handle the work yourself, a DIY approach might save you 20% to 50% on labor costs. However, you must have the right tools, safety gear, and enough skill to do the job properly. Hiring professionals may cost more up front, but they bring advantages like warranty protection, strict adherence to local building codes, and a faster turnaround.
| Component | Cost per Sq Ft | Notes |
|---|---|---|
| Materials | $1.50–$5.50 | Depends on the shingle type and quality. |
| Underlayment | $0.15–$0.40 | Essential for waterproofing. |
| Labor | $2–$4 | Needed for proper installation. |
| Permits | Varies | Usually around $100–$500 total. |
When looking at local contractors, get 3 to 4 bids, check their certifications, and review customer feedback. Compare prices with past projects to judge their reliability. Be sure to check the warranty details because a proper installation keeps the manufacturer’s warranty intact. Balancing the DIY savings with the benefits of a professional job is key to a roof that not only looks great but also lasts for many years.
asphalt shingle roof installation: Smooth, Superior Results
Check your roof at least twice a year and after any heavy storm. Look for early signs of wear and tear. Clear debris from valleys and gutters to let water flow freely and avoid water damage. Replace any cracked or curled shingles right away. Fix any broken flashing (metal pieces that stop water from getting under shingles) to keep leaks at bay. Use approved cleaners to treat moss so it does not cut your roof’s life short. Regular checks keep small problems from turning into big headaches.
Asphalt shingle warranties usually last 20–30 years when you install them correctly and keep up with maintenance. Write down installation dates, all materials used, and any repairs done over the years. Good records help with warranty claims or insurance if issues pop up. Keeping detailed notes and staying on top of maintenance protects your roof and keeps it working smoothly for years.
Final Words
In the action, you begin with solid planning and proper permits, prep your deck, and lay down each layer with precision. You carry through safety measures and careful installation steps, from drip edges to hip and ridge caps. Each phase, including thorough cost checks and maintenance recommendations, builds confidence in your DIY process. This step-by-step guide empowers you to tackle an asphalt shingle roof installation safely, efficiently, and cost-effectively. Moving forward with clear instructions will help you keep your project on time and on budget while adding lasting value to your home.