
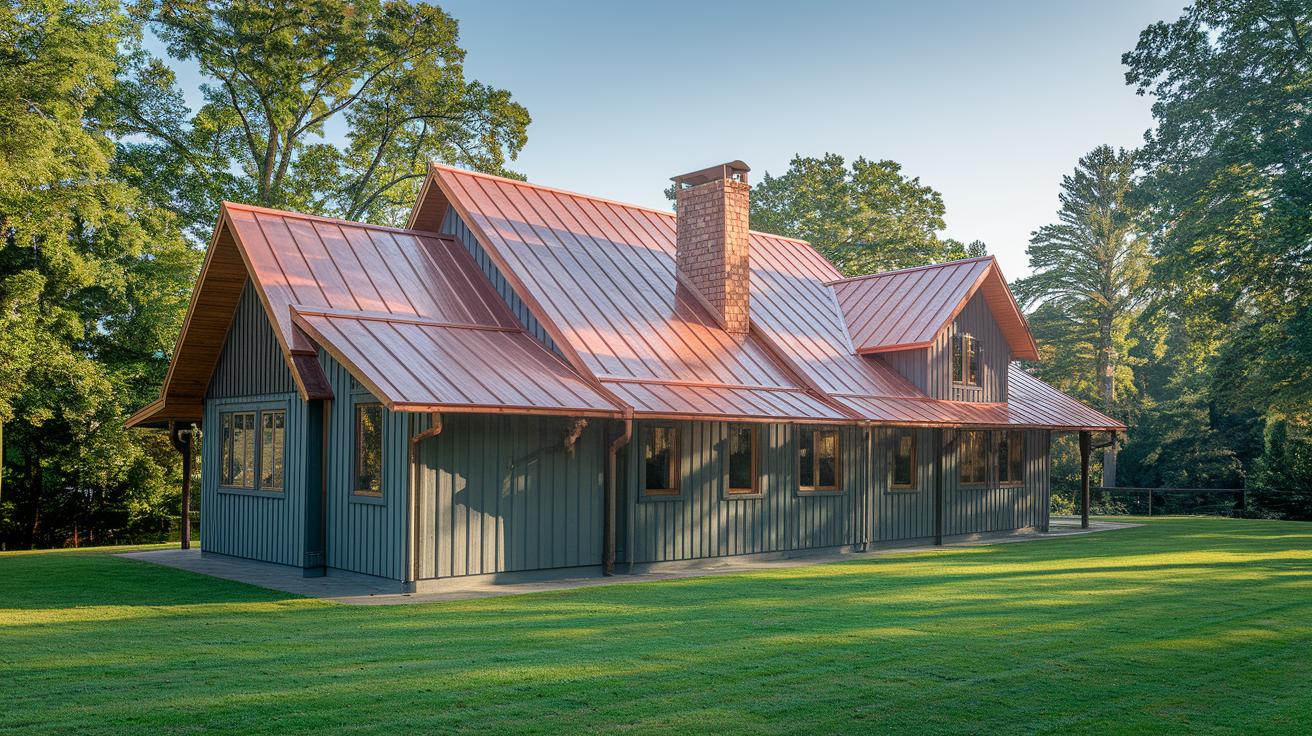
Have you ever wondered why copper roofs are a secret weapon for lasting curb appeal? They are more than just attractive. A copper roof lasts more than 100 years and develops a green patina that adds a living touch to your home. It also reflects sunlight to lower cooling costs and resists rust and wear. Read on to see how investing in copper can give you long-lasting durability and style for decades.
Copper Roof Installation Sparkles with Lasting Charm
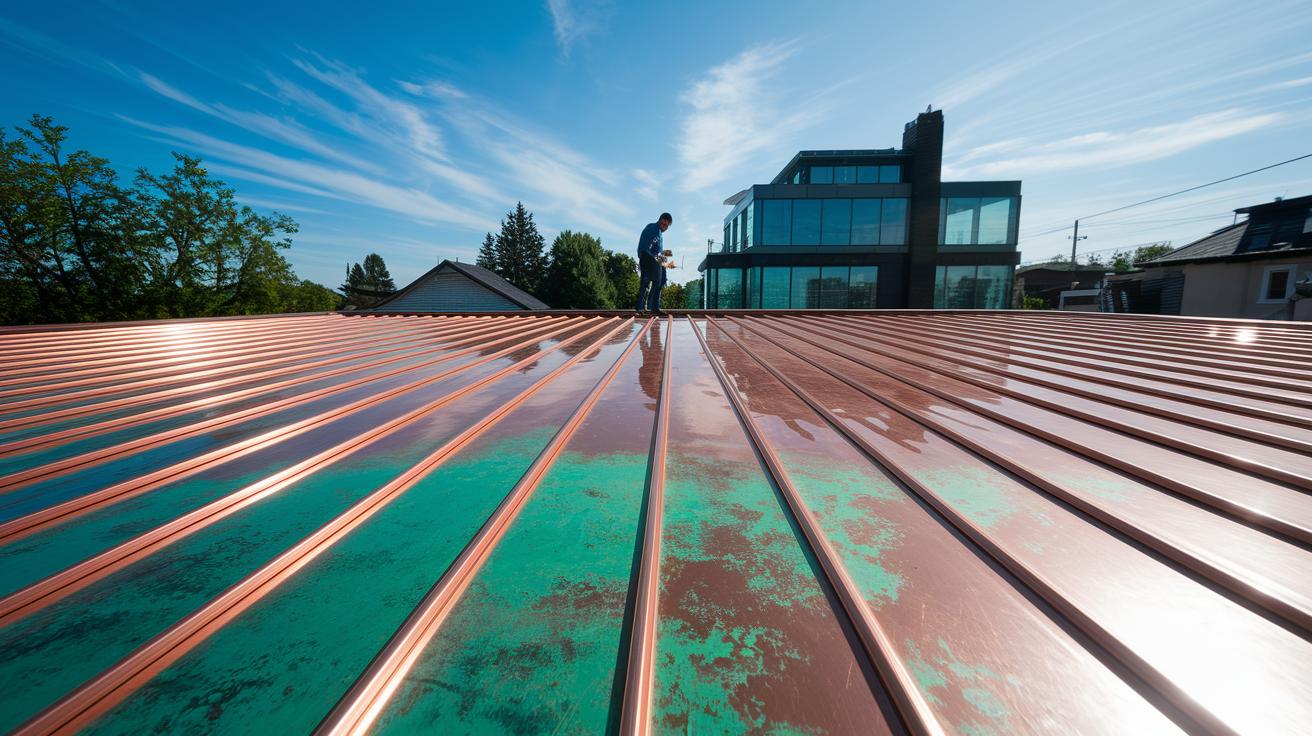
If you're updating your roof, think about using copper. It lasts over 100 years (over 30 m) and develops a natural green finish as it ages. This evolving patina not only gives the roof an appealing, aged look but also boosts its resistance to rust and wear.
Copper roofs help cut cooling costs. Their shiny surface reflects sunlight, which lowers energy bills. Plus, copper is highly recyclable, making it an eco-friendly choice. Simply put, copper roofs can outlast most traditional options by decades while adding a unique, evolving style.
Keep in mind, copper roofs come at a higher initial cost due to premium materials and the need for skilled labor. Also, they might be a bit louder during heavy rain or hail if you prefer a quieter space.
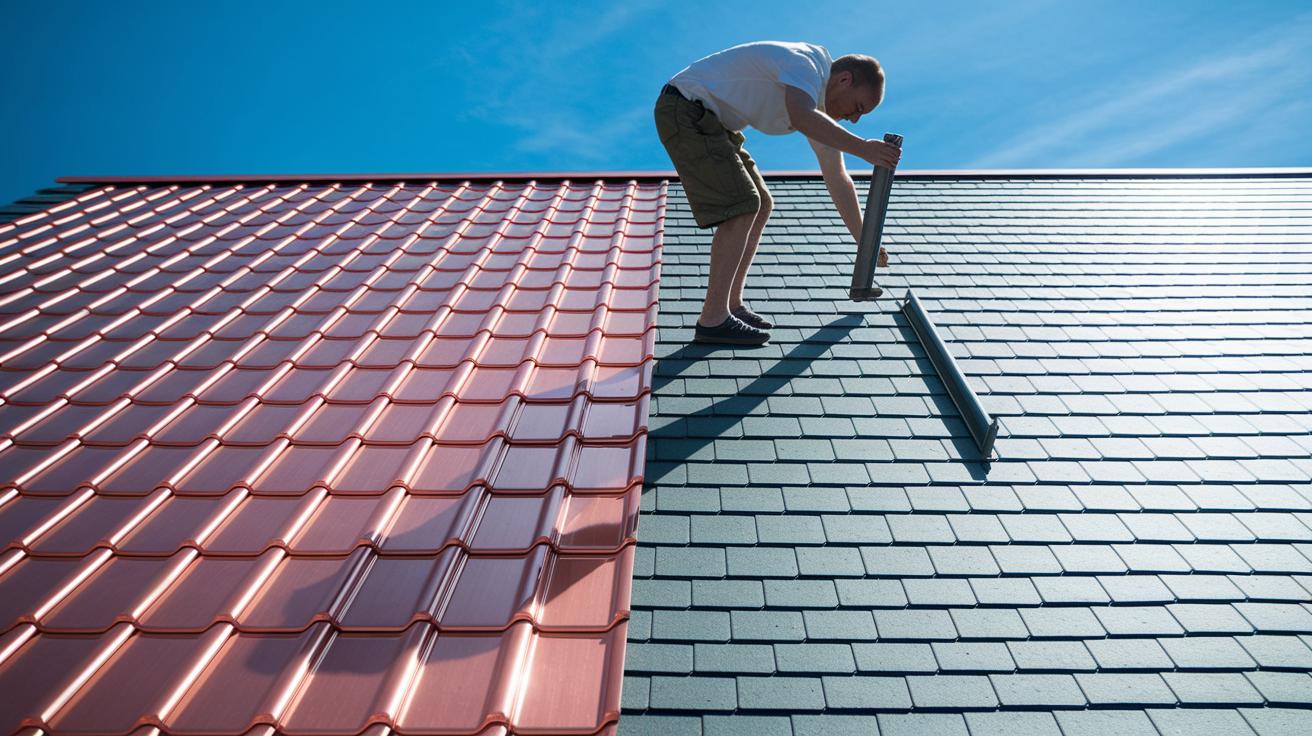
There are two main styles to choose from. One option uses standing seam panels with clean, vertical lines for a modern look. The other mimics traditional shingles while offering excellent durability. Either way, your roof will not only perform superbly but also continue to charm as it ages.
Cost Evaluation for Copper Roof Installation
Copper roofing lasts for decades and looks stunning, but it costs more upfront. The cost per square foot depends on many factors that drive up the price.
First up, the copper material itself is expensive. High-grade copper panels or shingles directly affect the overall price. Next, preparation work adds to the bill. You'll need to remove old roofing and, if necessary, reinforce the structure. Labor and disposal fees can vary by region, with rates differing in places like California or Texas.
Also, installing a top-notch underlayment is essential for blocking moisture and ensuring a long-lasting roof. This careful work pushes the installation costs even higher. In many cases, custom fabrication and flashings (metal pieces that keep water away from the roof) are also required. These are made to fit your roof perfectly and keep water off, further adding to the price. Finally, finishing touches like sealant application and a thorough cleaning complete the project costs.
Take a look at the cost breakdown in the table below:
| Cost Component | Description |
|---|---|
| Copper material purchase | Premium copper panels or shingles made from top-quality metal |
| Roof preparation | Removal of old roofing and any necessary structural work |
| Underlayment installation | Installation of a water-resistant membrane to block moisture |
| Panel fabrication & flashing | Custom fabrication and tailored flashings to ensure water runoff |
| Finishing work | Final touches like sealant application and a thorough cleaning |
Every cost item adds up to the total budget, reflecting both the specialized labor and high-quality materials used in copper roofing. Whether you're comparing prices in regions like California or Texas, knowing these factors will help you understand the true expense of installing a copper roof.
Copper Roof Installation Methods: Standing Seam Panels vs. Copper Shingles
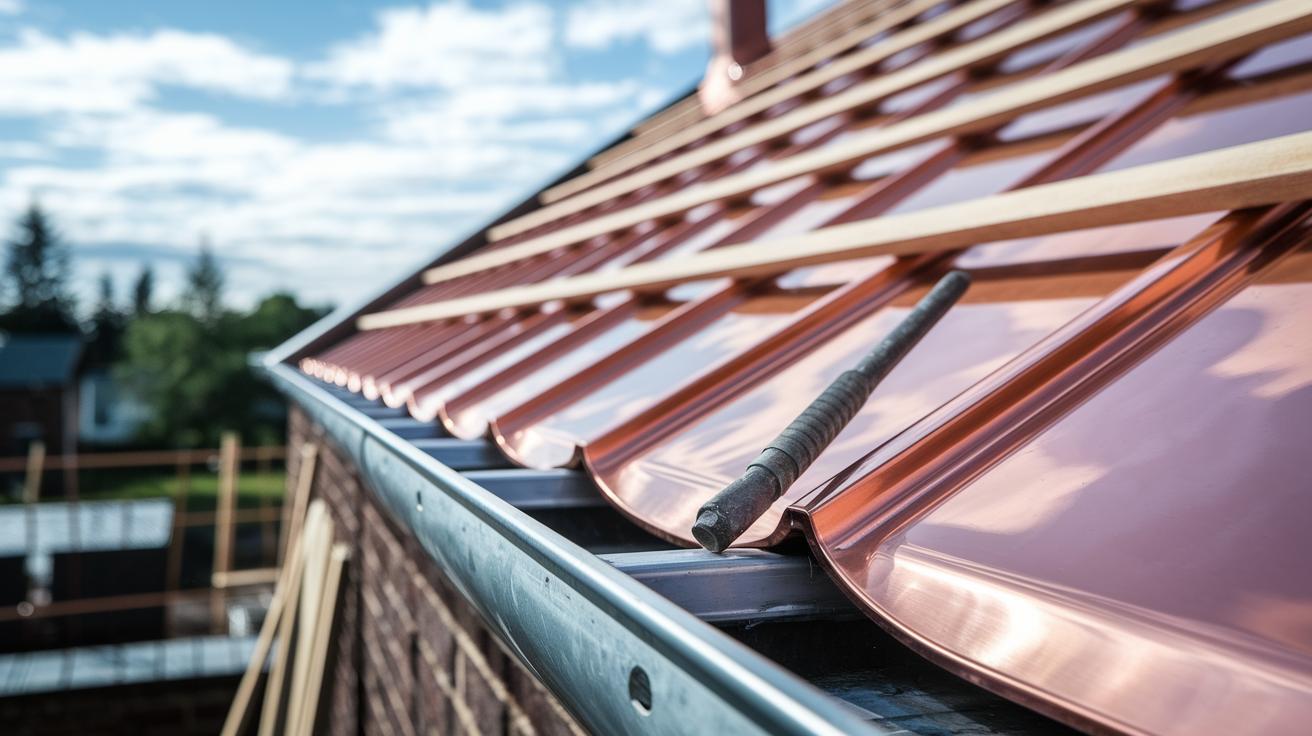
Standing seam copper roofs use vertical panels that join at raised seams. They give your home a modern look and help keep out rain and wind. First, make sure each panel fits just right. Then, crimp the seam and attach the panel with secure hardware. Think of it like snapping together puzzle pieces until you have a solid, water-resistant roof.
Copper shingles look like traditional asphalt or slate shingles but use the strength of copper. Their overlapping layout gives a classic feel with added durability. Each shingle overlaps the next and locks in with special fasteners. Picture it like laying bricks, each piece must align perfectly to keep the roof strong.
Both methods require careful planning and precise work. For more tips on assembling this kind of metal roof, check out our metal roof installation guide.
Essential Tools and Materials for Copper Roof Installation
Before you start your copper roof project, make sure you have all the required tools and materials on hand. First, pick up a top-quality, water-resistant underlayment that meets the specs for copper roofs. This underlayment prevents mold, rot, and leaks while providing a smooth base for copper panels or shingles.
Next, get your copper panels or shingles along with valley flashing, ridge caps, hip covers, and eave and gable trim to complete the system. You’ll also need the correct fasteners and a high-grade sealant to secure everything in place. Take a close look at the copper flashing roll to confirm the thickness and shape match your system’s needs for solid weatherproofing.
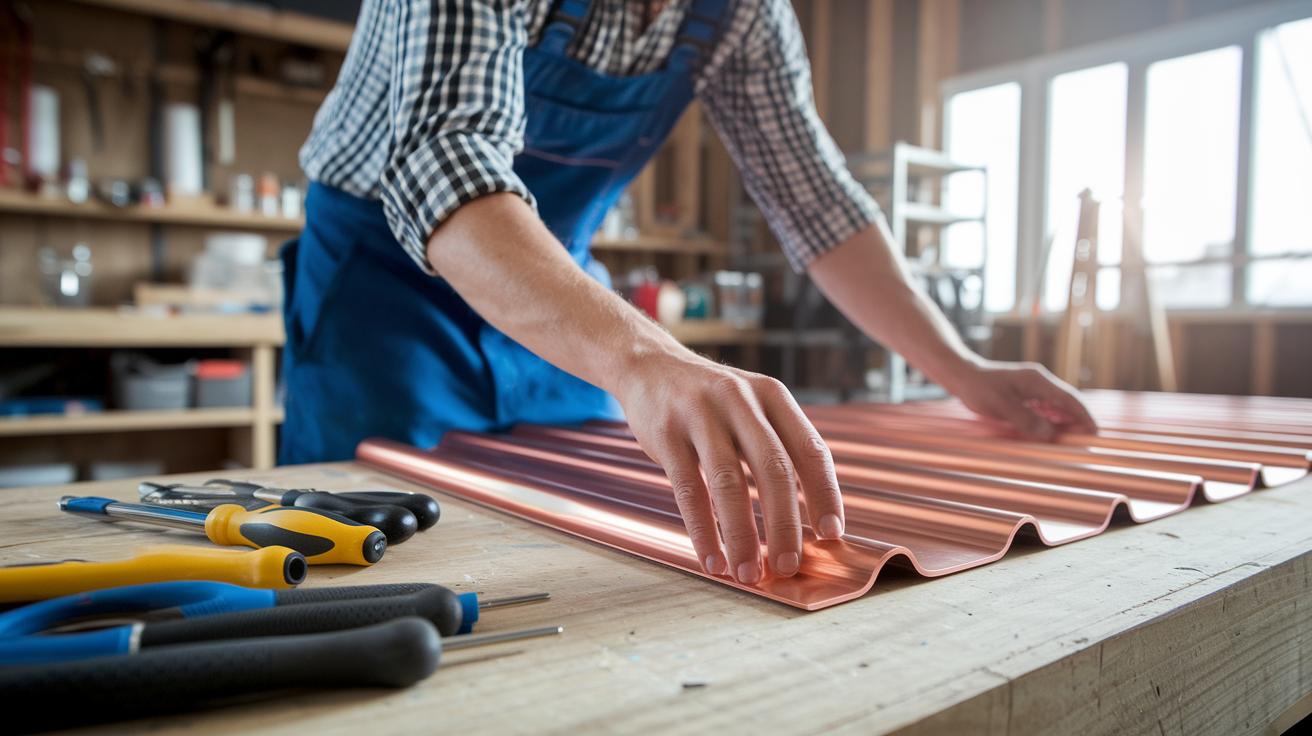
Have your basic hand tools ready too. This means having hammers, tin snips, seam crimpers, and a tape measure for accurate measuring. Always wear safety gear like gloves and eye protection to protect yourself.
Double-check each item against your project plan specifications to ensure you install your copper roof correctly and with long-lasting results.
Step-by-Step Copper Roof Installation Guide
-
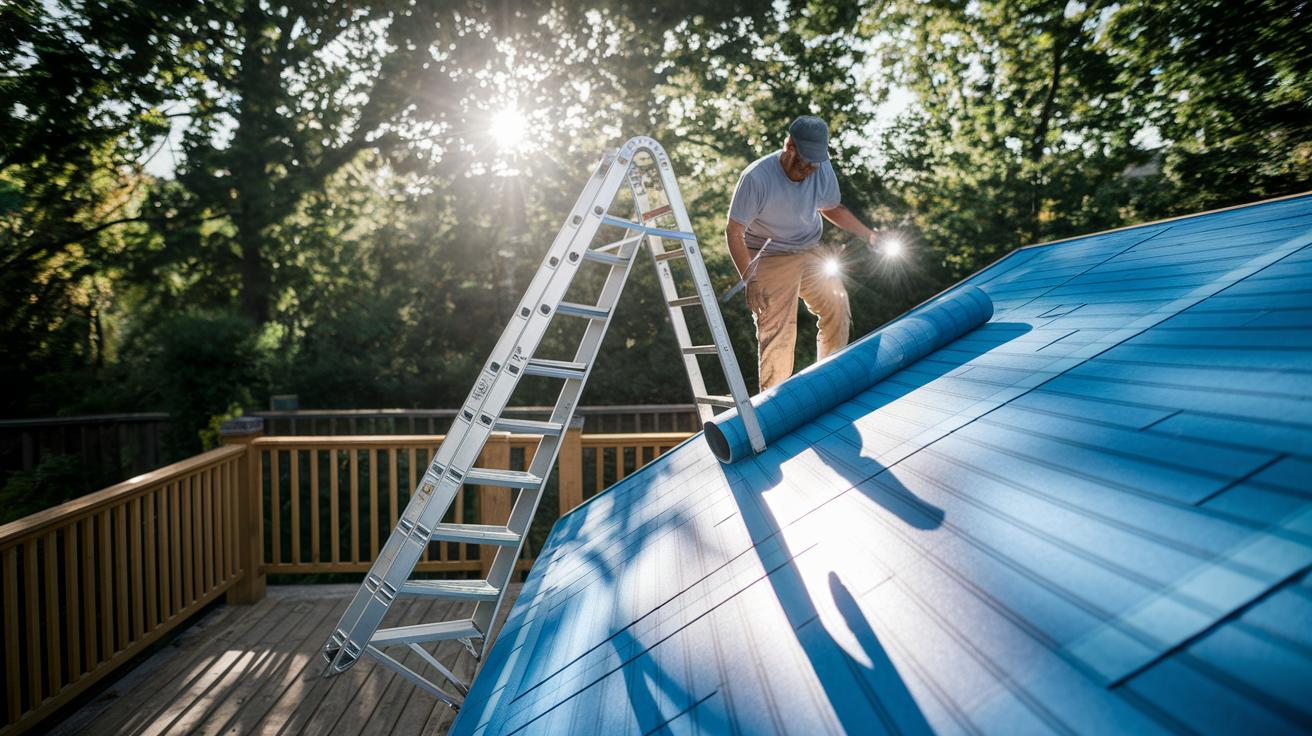
Start by checking the roof structure and removing the old roof. Use a strong ladder and a flashlight to inspect every part of the roof deck for damage or rot. Make sure the deck is solid before you begin.
-
Roll out a water-resistant underlayment over the entire deck. This layer stops water from seeping in and helps the copper panels stick. Smooth out any wrinkles so the surface is even.
-
Measure and set the valley flashing so water flows away from weak spots. Use a tape measure to check lengths and angles. Secure the flashing as shown in the roof flashing installation guide to ensure water is properly diverted.
-
Lay the copper panels starting at the eave and work upward toward the ridge. Each panel should line up with its neighbor, much like fitting pieces in a puzzle. This careful alignment helps prevent leaks.
-
Crimp each panel seam firmly to lock them together. Use a seam crimper to press the overlapping edges tight. A secure seam is essential to keep water out.
-
Install the ridge caps, hip covers, and trim flashings around the roof edges. Follow the same steps as in the roof flashing installation guide and ensure that every piece is well-sealed against the weather.
-
Attach a drip edge along the entire perimeter. This trim guides water away from the edge, protecting both the copper panels and the roof deck underneath.
-
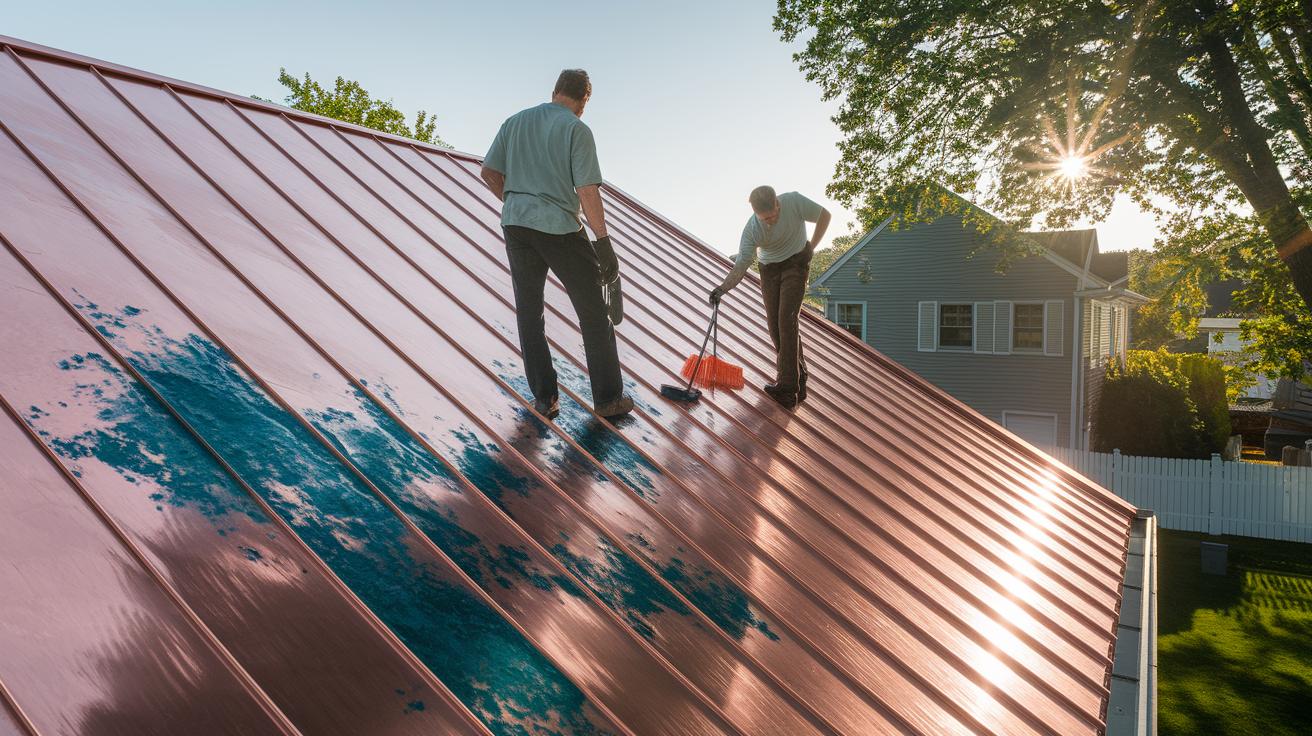
Clean the roof gently with a soft-bristle brush and a bit of mild soap to remove any debris or residue.
-
Finally, test the roof by using a garden hose. Check that water flows off smoothly and fix any leaks right away.
Maintenance and Patina Care for Copper Roofs
Keep your copper roof in top shape with a simple care routine that extends its life for many years. Begin by checking your roof twice a year. Look for cracked sealant, loose or broken flashings (metal pieces that keep water out), and any debris that has built up. Quick tip: inspect every six months to catch small issues before they turn into big problems.
Clean the roof gently using a soft-bristle brush and a mild soap solution. Avoid using harsh chemicals or rough scrubbing tools because they can damage the natural finish and stop the green patina from forming. That developing patina not only gives your roof a charming, aged look but also protects it from corrosion.
Keep your roof waterproof and strong by following these steps:
- Replace or reapply sealant on the flashings as needed.
- Remove dirt and debris carefully to avoid scratching the copper.
- Check the roof edge and valleys for early signs of wear.
Let the copper age naturally. The protective green patina is key to a long-lasting roof, showing that proper care leads to both lasting beauty and reliable performance.
Comparing Copper Roof Installation with Alternative Roofing Materials
Copper roofs come with a higher upfront cost, but their long life and low maintenance make them a solid, long-term investment. With copper, you pay for a roof that lasts over 100 years, while many other options need replacing much earlier. For instance, faux copper metal roofing may mimic the look of real copper at a lower price. However, it never develops the natural patina and tends to have a much shorter lifespan. It’s like buying a piece of art that only gets better with age, even if it costs more at first.
Copper also shines when it comes to energy efficiency. Its reflective surface bounces sunlight away, lowering cooling costs and benefiting both your wallet and the environment. Although aluminum drip edge options might reduce installation costs, a true copper drip edge perfectly matches the rest of the roof, keeping everything uniform and sturdy. Plus, copper is highly recyclable, making it an eco-friendly choice.
In short, even with a higher initial price, copper roofs can save you money over time with fewer repairs and energy savings. If you value long-lasting quality and efficiency, copper outperforms cost-conscious alternatives like faux finishes or aluminum trims.
Choosing Certified Contractors & Local Suppliers for Copper Roof Installation
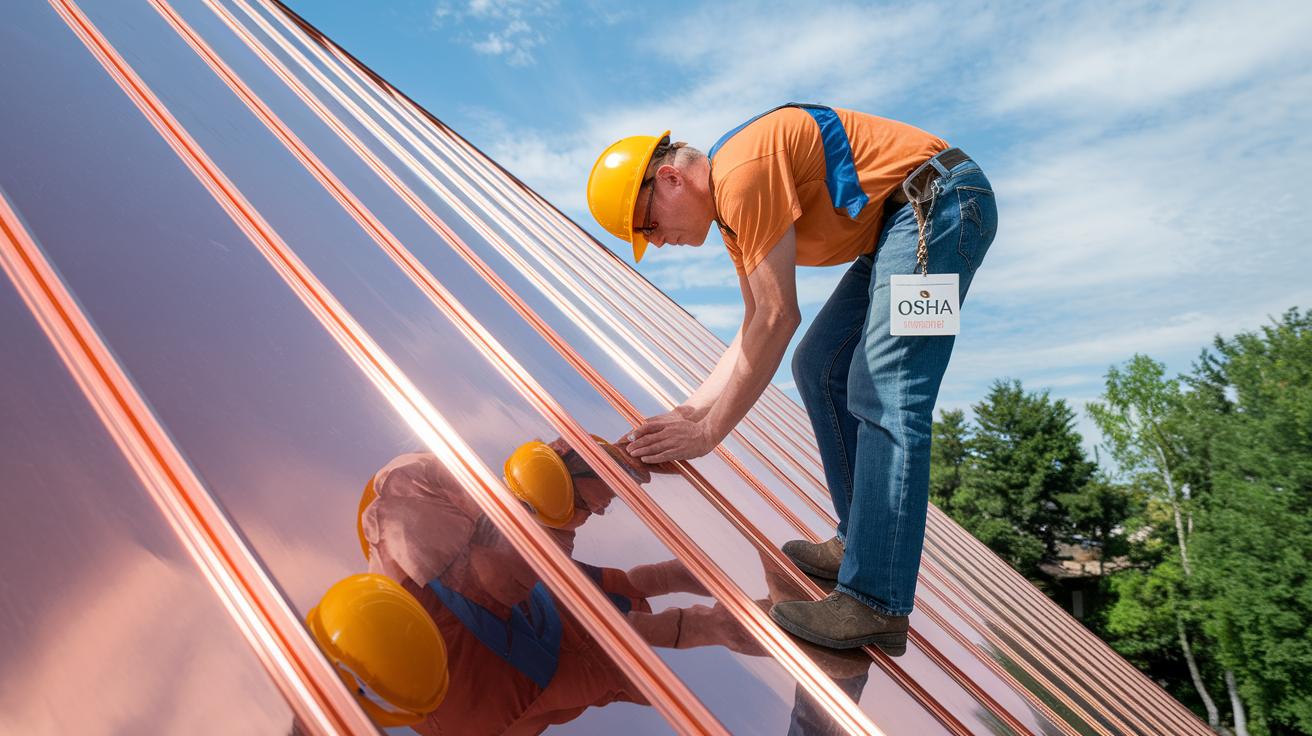
When upgrading to a copper roof, it is crucial to hire certified copper roof contractors. Look for professionals with Copper Development Association certification and solid experience on challenging projects. They must follow industry standards, including installing a minimum slope of 1/4 in per ft (approximately 6 mm per 1.8 m) and using proper underlayment techniques to keep moisture out.
Ask any potential contractor to provide documented examples of past work that meets strict quality standards. Here’s how to pick the right team:
- Confirm that they have a record of installing flashings accurately to create a watertight finish.
- Make sure they know and follow local building codes and the best practices for copper roof installations.
- Verify that their local copper panel suppliers provide warranties, clear material specs, and solid installation support.
For projects on the Gulf Coast, consider working with local service teams. For example, you can reach out to:
| Location | Contact Number |
|---|---|
| Mississippi Central | 601‑647‑3433 |
| Mississippi North | 662‑339‑8861 |
| Coastal | 228‑207‑1398 |
| Alabama | 251‑929‑4538 |
| Louisiana | 985‑590‑6796 |
These contacts help you get genuine architectural copper panels and ensure your project meets all code requirements.
Final Words
In the action of weighing benefits, drawbacks, methods, and costs, this guide walked through the ins and outs of copper roof installation. We broke down the process, from choosing the right materials and tools to detailed step-by-step instructions and maintenance tips. Each section offered practical insights with clear measurements and easy-to-follow guidance. Remember, a quality copper roof can enhance durability and energy efficiency despite a higher upfront cost. Stay informed, follow safe practices, and enjoy the transformation that a new copper roof brings to your home.
FAQ
Copper roof installation cost
The copper roof installation cost covers premium materials, specialized labor, flashings, and underlayment. These expenses lead to a higher upfront investment that is balanced by copper’s exceptional durability and long-term performance.
Copper roof installation near me
The question about copper roof installation near me points to finding locally certified contractors who specialize in copper roofing. Look for professionals with proven experience and proper certification to ensure quality work.
Copper roof installation video
The copper roof installation video offers a visual guide that demonstrates preparation, panel placement, fastening, and sealing techniques. It provides homeowners with clear, step-by-step instructions for achieving a durable, watertight roof.
Copper roof panels
The inquiry about copper roof panels refers to pre-manufactured copper components available as standing seam panels or shingles. These panels provide an attractive, long-lasting roofing solution when installed correctly with proper fasteners and sealants.
How to install ZIP roof sheathing
The question on how to install ZIP roof sheathing explains the process of applying a water-resistant, adhesive-backed board system to the roof deck. This method creates a smooth, secure base for various roofing materials.
ZIP System roofing
The inquiry about ZIP System roofing describes an integrated sheathing and water-resistive barrier method. This system speeds up installation, improves weatherproofing, and simplifies the overall roofing process.
Waterproof roof sheathing
The waterproof roof sheathing query refers to a protective layer installed beneath the primary roofing material. This layer prevents moisture infiltration and safeguards the structure from water damage during harsh weather.
How much does it cost to put a copper roof on a 2000 sq ft house?
The cost to install a copper roof on a 2000 sq ft house depends on material prices, labor, and regional rates. Generally, the premium nature of copper means higher initial expenses compared to other roofing options.
What are the disadvantages of copper roofing?
The disadvantages of copper roofing include a high upfront cost, increased noise during heavy rain or hail, and the need for precise installation to avoid leaks or improper sealing that could lead to future repairs.
How to attach a copper roof?
The question on how to attach a copper roof involves fastening copper panels or shingles properly using designated fasteners and techniques. This ensures secure seam alignment, reliable underlayment integration, and overall roof stability.
What is the biggest problem with metal roofs?
The inquiry about the biggest problem with metal roofs highlights noise during severe weather and the potential for leaks if installations aren’t done with precision. Proper sealing and fastening are crucial to prevent water intrusion.