
Ever wonder why some DIY wall projects fall short? The trick lies in using the right tools. Whether you're a seasoned builder or a weekend handyman, each tool counts. That means having a 25-ft (7.6 m) tape measure and a reliable circular saw (a power tool for making straight cuts) can make all the difference. Quality tools help you meet building codes and build a frame that lasts. This guide explains the must-have items and offers tips to keep your wall framing safe and solid.
Must-Have Tools for Framing a Wall

Using the right tools is key to building a strong, safe wall. Whether you’re a seasoned pro or a weekend DIYer, these quality tools help keep your work in line with local building codes and ensure your structure lasts. Start with the basics to keep your measurements spot on and your cuts straight.
- Tape measure – Use a 25-ft (7.6 m) tape to space your studs accurately.
- Carpenter’s square – Check that every corner is a true 90°.
- Circular saw – Cut your lumber quickly with a carbide-tipped blade for smooth, clean edges.
- Framing hammer – Its balanced 22 oz (624 g) head helps drive nails securely and reduces fatigue.
- Framing nailer – Speed up your project with a nailer that drives 2"–3½" (5.1–8.9 cm) nails consistently.
- Level – Make sure your frame stays plumb and even.
- Chalk line – Mark straight, clear cut lines on your lumber to guide your cuts.
- Speed square – Quickly mark angles and measure cuts to keep your work precise.
- Utility knife – Use this for fast, safe cuts in sheathing and for wrapping materials.
- Power drill – Drive screws smoothly into plates with a cordless drill that offers steady torque.
Together, these tools create a handy kit for framing your wall. Each tool, from marking to cutting and fastening, plays its part in making your project accurate and solid. When you measure carefully, cut cleanly, and fasten securely, your wall will stand strong for years to come.
Selecting the Best Saws for Framing a Wall
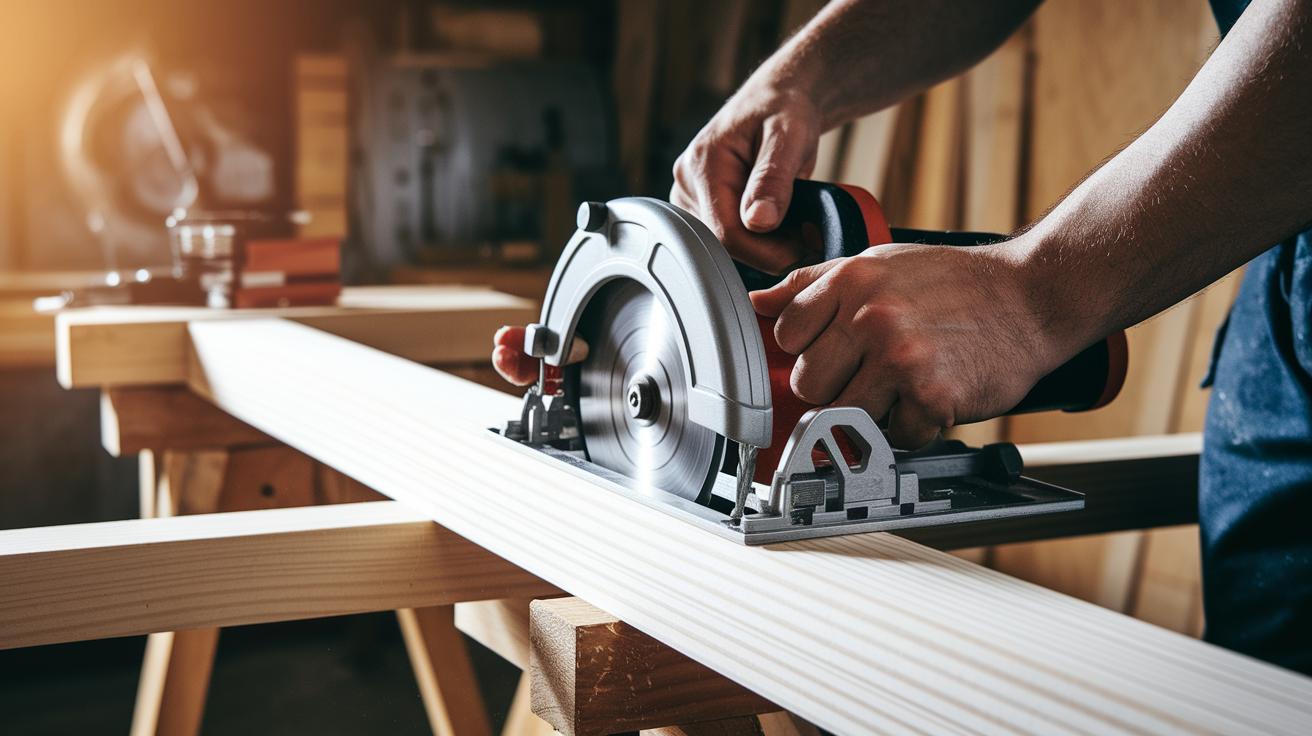
Clean, straight cuts are key to building a strong frame. When wood pieces fit snugly, your wall will stand firm and true, reducing the chance of weak joints. Using a saw that makes smooth, controlled cuts helps avoid rough edges and tear-out. A well-tuned blade gives a neat finish and cuts down on dangerous kickback. For example, a circular saw with a 7-1/4 in (18.4 cm) blade and carbide-tipped teeth works well for both ripping (cutting along the grain) and crosscutting (cutting across the grain).
Choosing the right saw for each job makes a big difference in how quickly and accurately you work. A precision circular saw is great for fast, straight cuts on large panels. A power miter saw, available with common blade sizes from 8 in (20.3 cm) to 12 in (30.5 cm), is perfect for repeated angled cuts and detailed trim work. If you enjoy using hand tools, Western-style saws with 9 points per inch give a familiar feel, while Japanese pull saws with dual edges handle both rip and crosscut tasks with ease. Keep your blades sharp and well-maintained so every cut helps build a solid, well-fit frame.
Framing a Wall: Essential Fastening Tools and Hammers
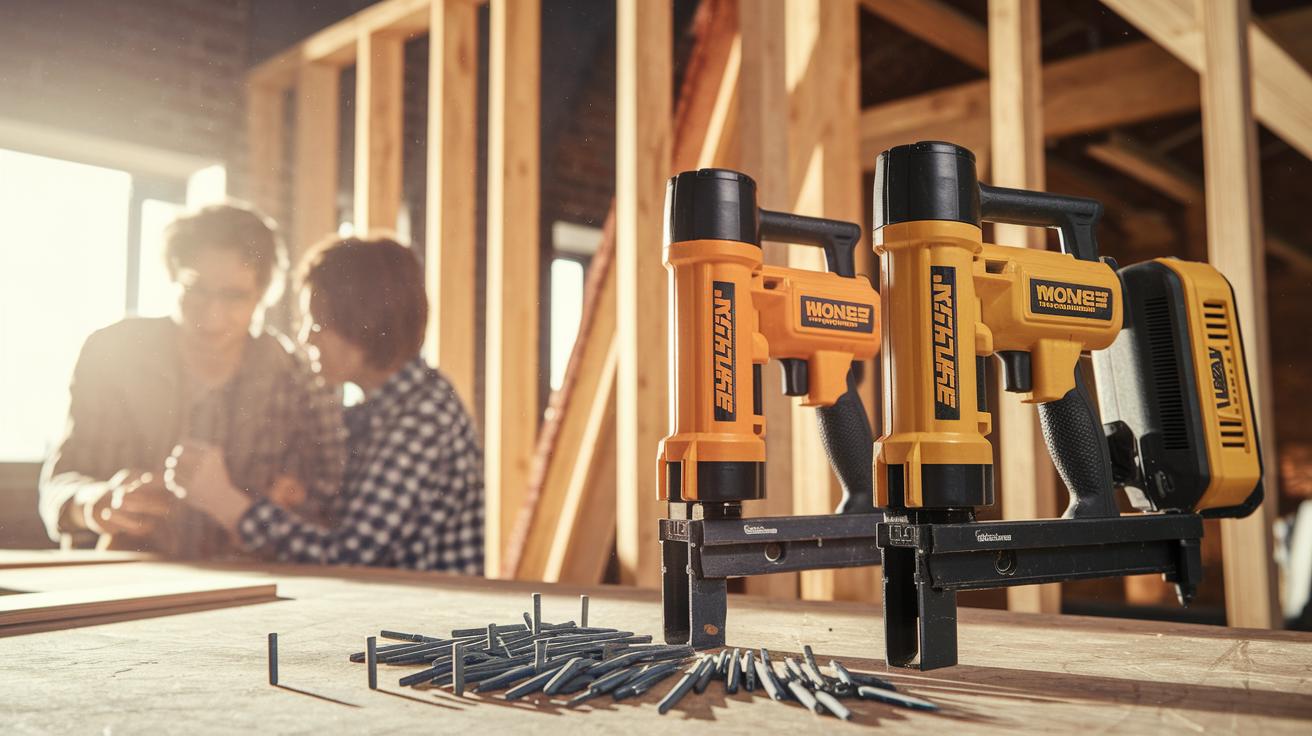
Framing nailers work fast and precise. They drive nails that measure 2 in (5.1 cm) to 3.5 in (8.9 cm) through plates and studs, making the frame strong. Many models hold up to 100 nails, cutting down your assembly time. In short, they join pieces reliably with little effort.
When you pick between cordless and pneumatic nailers, think about the project size and work area. Cordless nailers offer great mobility for small jobs in tight spaces. Pneumatic nailers deliver steady, constant power and work better on larger projects. Always disconnect the power or compressor before clearing a nail jam to keep safety front and center.
Choosing the right framing hammer is just as key. A heavy-duty hammer with a roughly 22 oz head (around 622 g), anti-vibration features, and an ergonomic handle helps reduce fatigue and gives you more control. It makes driving nails easier and each strike even, helping you build a durable, well-constructed wall.
Precision Layout Tools for Framing a Wall

Every strong frame starts with careful measuring and squaring. Use a 25-ft (7.6 m) tape measure that has a non-slip hook so you can set your studs exactly where they need to be. A modern carpenter's square helps keep your corners at a perfect 90°. Use the 3-4-5 rule: measure 3 ft (0.91 m), then 4 ft (1.22 m), and check with a 5-ft (1.52 m) diagonal to make sure your angle is true. When marking an important corner, pull out your carpenter’s square to double-check your work.
Next, use leveling tools, chalk lines, and electronic stud locators to keep your wall plumb and up to code. Laser levels, which are accurate to ±1/8 in (±3 mm) per 10 ft (3 m), give you a high-tech edge. For general alignment, a spirit level works well. Chalk lines with low-dust, colored chalk leave clean, visible marks on your framing. And electronic stud finders, designed to detect wood and metal up to ¾ in deep (1.9 cm), make finding stud locations quick and easy.
Power Drills and Cutting Accessories for Wall Framing
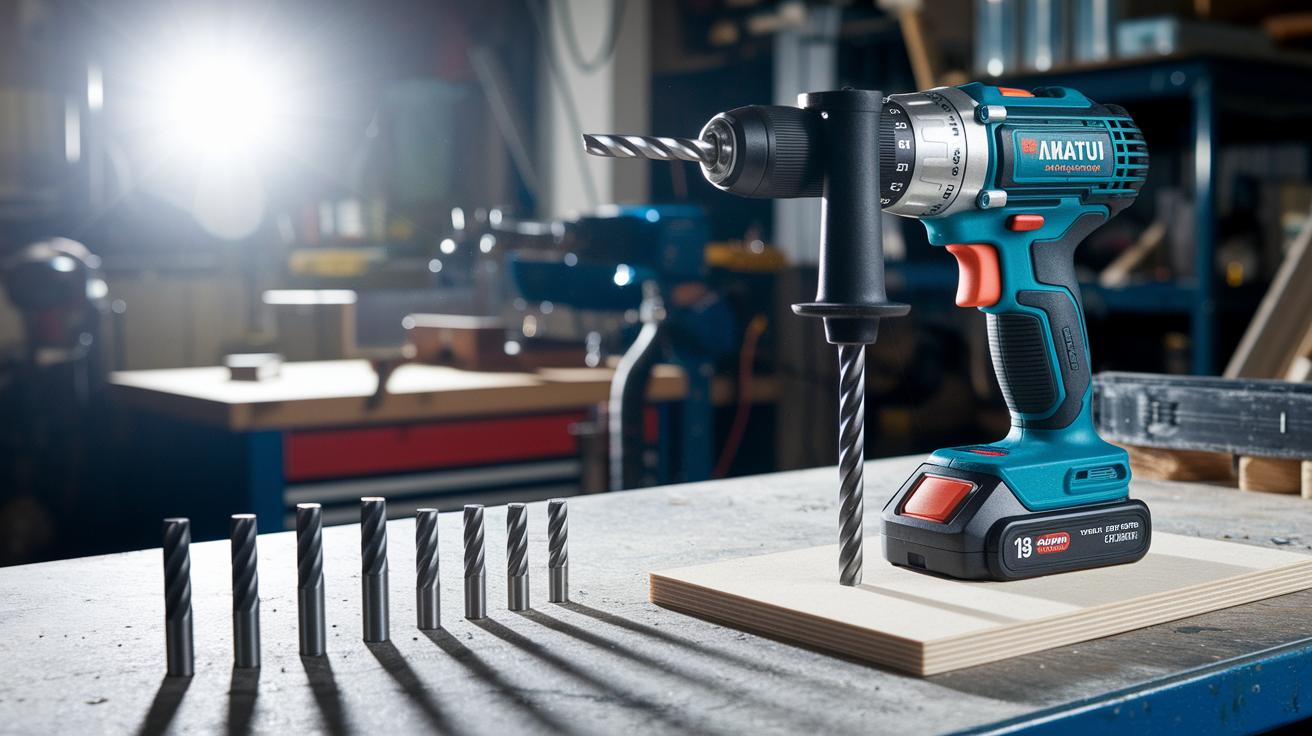
Cordless drills with brushless motors and 18 V batteries offer steady power for solid wall framing. They drive screws into wood plates with enough torque to keep joints tight. Pick a drill that withstands long hours of work and keeps its battery life robust.
Using the right bits and accessories is key. Pilot holes typically range from 1/8 in (3.2 mm) to 3/16 in (4.8 mm), and countersink bits help screw heads sit flush on the wood. Wood spade bits (for quick, flat cuts) and hole saws are necessary for making openings for electrical wiring and plumbing. Follow a clear step-by-step process to keep the wall secure.
Keep a utility knife with a quick-change, retractable blade on hand for sheathing and wrap cuts. This tool speeds up your work and gives you safe, controlled cuts every time.
Safety Gear and Maintenance for Framing a Wall

When framing a wall, always suit up with the right safety gear. Wear a hard hat, safety glasses, ear protection, and cut-resistant gloves to guard against flying debris and accidental impacts. Before you begin, make sure your personal protective equipment (PPE) is on, this keeps you safe and ready to work.
Keep your tools in top shape by cleaning off sawdust and debris after every use. Lubricate moving parts regularly and check nailer seals every 3 months. Always verify that your square is accurate and your bubble level is aligned before starting a project. Using tools with vibration-dampening handles and balanced weights can also reduce fatigue, helping you build walls that stand strong and last.
Final Words
In the action, you learned how each set of tools works together. We covered must-have tools for framing a wall, from tape measures to nailers, saws to drills, to ensure accuracy and safety on every project.
Precise measurements, clean cuts, and regular tool upkeep come together for a sturdy, cost-effective wall frame. Using the right tools for framing a wall can make your project safer, faster, and more budget-friendly. Keep building strong and steady.
FAQ
Frequently Asked Questions
Q: What professional tools are needed for framing a wall?
A: The professional tools for framing a wall include a tape measure, carpenter’s square, circular saw, framing hammer, nailer, and level. These tools ensure accuracy, speed, and adherence to building codes.
Q: What woodworking tools are best for framing a wall?
A: The woodworking tools for framing a wall emphasize precision and include a circular saw, miter saw, utility knife, and layout instruments like a speed square. These help create straight, narrow cuts for solid joinery.
Q: How does a “how to frame a wall from start to finish” PDF help me?
A: The PDF guide to framing a wall from start to finish outlines step-by-step instructions, material lists, and safety tips to take you from accurate measurements to final nail placement for a secure wall.
Q: What is the best approach for framing a wall as a beginner?
A: The beginner-friendly method for framing a wall covers selecting the right tools, measuring carefully, cutting lumber safely, and following clear, sequential steps to build a stable frame.
Q: How do you frame a wall corner correctly?
A: The technique for framing a wall corner involves cutting and aligning lumber with a carpenter’s square, then reinforcing the corner with extra studs to ensure a strong, stable connection.
Q: How is an interior wall framed properly?
A: The process for framing an interior wall requires precise layout, accurate stud spacing, and secure attachment to existing structures, ensuring the wall is plumb and meets building specifications.
Q: How do you frame a wall on a concrete surface?
A: The process for framing a wall on concrete involves securely anchoring the bottom plate using masonry anchors, followed by precise leveling and stud installation to ensure a dependable structure.
Q: What tools are essential for framing a wall?
A: The essential tools for framing a wall include a tape measure, carpenter’s square, circular saw, framing hammer, nailer, level, chalk line, speed square, utility knife, and power drill for efficient assembly.
Q: What are common mistakes when framing a wall?
A: The common mistakes when framing a wall include mis-measuring, uneven stud placement, poor nail or screw alignment, and skipping safety precautions, which can lead to installation errors and structural issues.
Q: Should walls be framed with 2x4s or 2x6s?
A: The decision to frame walls with 2x4s or 2x6s depends on load requirements and insulation needs, with 2x6s offering enhanced strength and space for added insulation where needed.