
Have you noticed that some metal roofs stand up well to the weather while others start to leak after just one season? Small mistakes, like mismeasured panels or loose screws, can cause leaks and add unexpected costs. In this guide, you’ll see where even experienced roofers slip up, whether it’s by skipping the underlayment (a protective layer placed between the roof deck and the metal) or installing flashing (metal strips used to seal joints). Knowing these common errors will help you build a roof that lasts. Ready to learn how to install a metal roof that stays strong season after season?
Top Metal Roof Installation Mistakes and How to Avoid Them
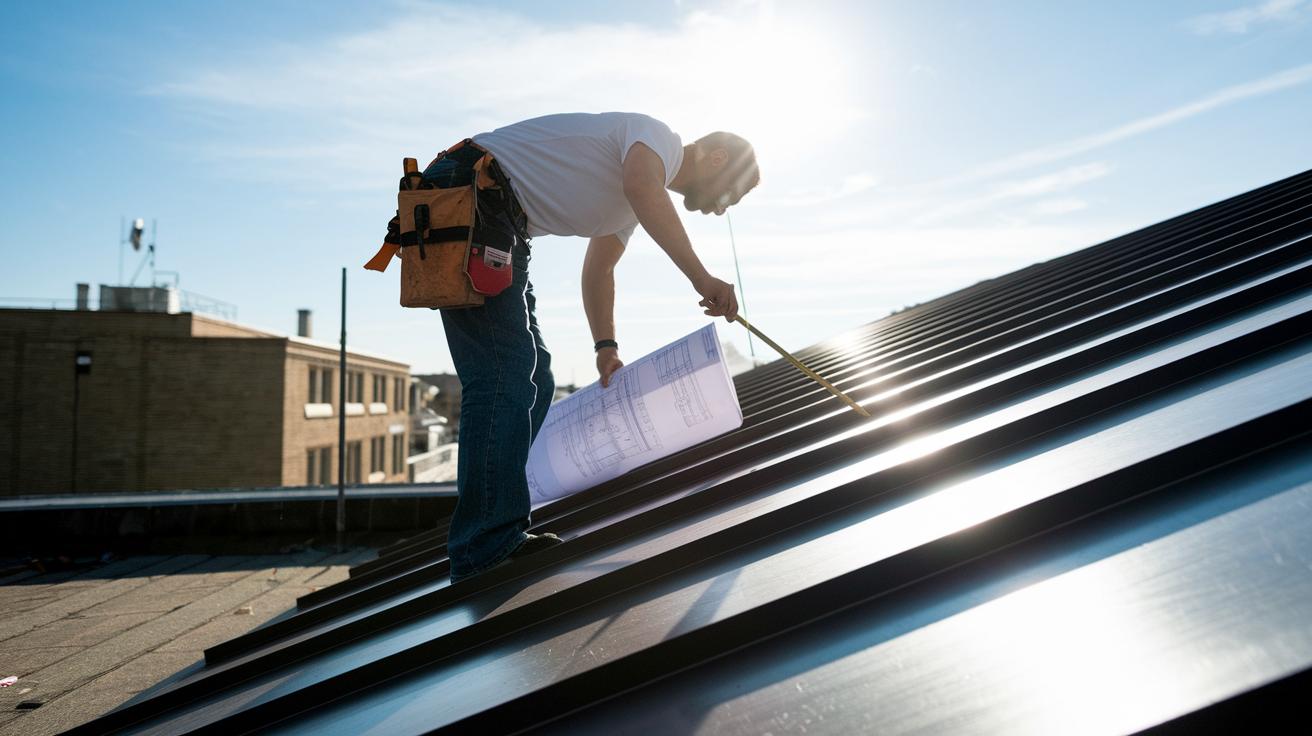
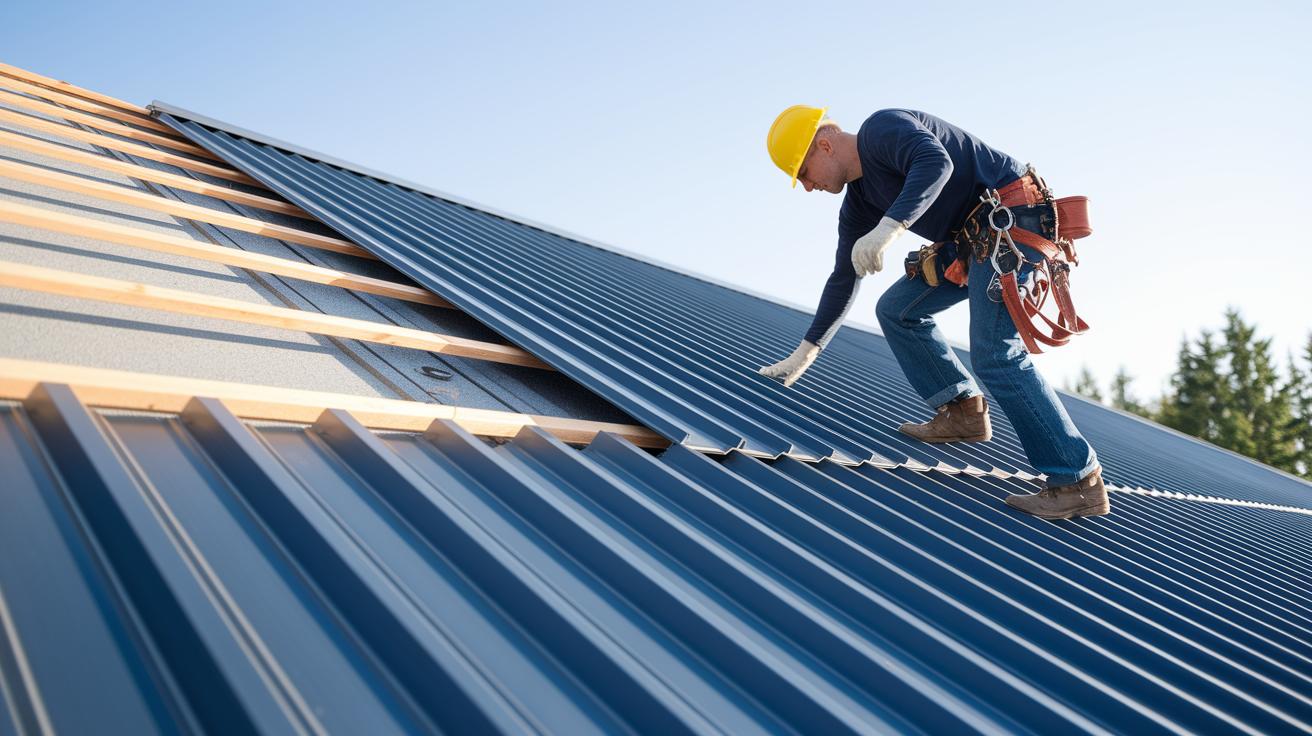
When putting in a metal roof, even small mistakes can lead to leaks, damage, and a roof that doesn’t last. Start with proper measurements. If you get the dimensions wrong, you might order panels that don’t match, which can cause misaligned seams and extra costs. Remember: measure twice, order once.
Another common error is not tightening the screws correctly. Over-tightening or under-tightening screws can break the waterproof seal. Use a torque screwdriver to make sure every screw is set just right.
Skipping the underlayment or picking the wrong one is a big misstep. Underlayment acts as a moisture barrier to keep condensation and rust away from your panels. Think of it as a raincoat for your roof, it stops water from getting through.
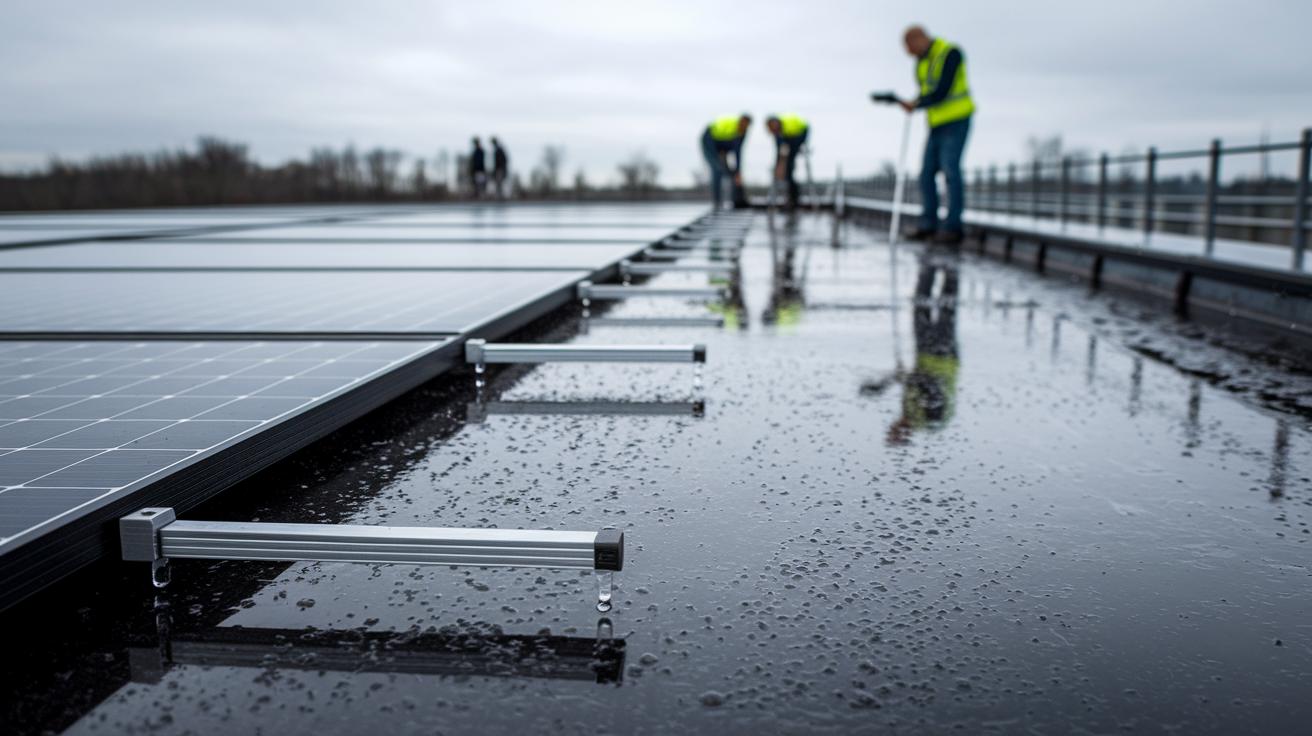
Flashing also needs special care. It must be installed properly around roof features like vents and chimneys to guard against wind damage. Make sure the flashing overlaps by at least 2 in (5 cm) so water can’t sneak in.
Using the wrong sealant is another pitfall. Sealants that aren’t made for metal can lose their glue over time and leave gaps where water and dirt can enter. Also, DIY projects or untrained pros might miss these details, which can weaken your roof over time.
To avoid these issues:
- Verify all field dimensions before ordering materials.
- Use manufacturer-recommended fasteners and sealants.
- Double-check the installation of flashing and underlayment.
- Hire seasoned professionals for complex jobs.
Measurement and Planning Missteps in Metal Roofing Projects

Field measurements that are off by even a little can lead to ordering panels that don’t fit. One roofer measured a 6 ft (1.8 m) slope as 5.5 ft (1.7 m). This mistake meant the panels didn’t cover the roof, which delayed the project and bumped up costs.
Misreading the roof pitch (the angle or steepness) can also cause mismatched seams during installation. When blueprints aren’t followed closely, panels may not line up right. Think of it like a puzzle where every piece has to fit perfectly. If one piece is off, the entire design suffers.
Poor planning can leave you with permit issues and building code mistakes. Skipping a required permit or ignoring local codes might force you to redo the installation. Always check your permits before ordering materials. A good tip is to double-check your measurements, confirm pitch with a level and a protractor, and review every line of the blueprint before you start.
Using a checklist to compare your measurements and the manufacturer’s instructions is a smart move. Start with accurate measurements and a careful plan. This proactive approach helps avoid costly fixes and ensures your metal roof installation is solid from the start.
Underlayment and Moisture Barrier Installation Mistakes on Metal Roofs
Using the wrong underlayment or skipping it can remove an important water-resistant layer. This lets water seep in and causes condensation, much like leaving your door open during a rainstorm. One surprising fact: A single gap in your underlayment can create enough condensation to damage your roof’s structure over time.
Common mistakes include choosing an underlayment not made for metal roofs and not overlapping it as the manufacturer suggests. When pieces don’t overlap correctly, water can collect in small gaps. This pooling can boost the risk of rust and lower the roof’s thermal performance. Insufficient moisture barriers expose metal panels to wetter conditions, speeding up rust and degradation.
To avoid these problems:
- Use an underlayment rated for metal roofs.
- Overlap every piece by at least 2 in (5 cm) to direct water off the roof.
- Follow the manufacturer’s instructions carefully.
- Check all installed sections to catch any misaligned areas early.
Taking these simple steps will help control condensation and significantly extend your roof’s life.
Fastener and Screw Placement Errors on Metal Roof Panels
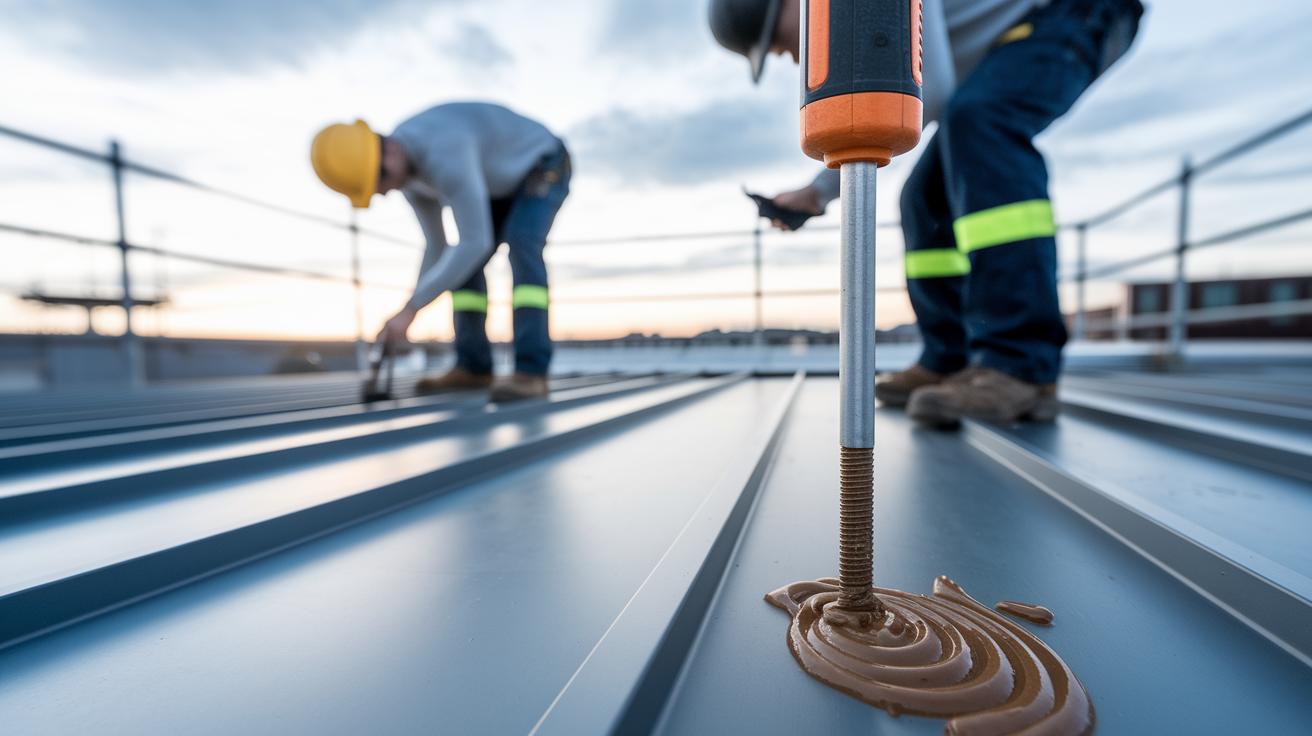
Wrong screw placement and improper tightening can turn a solid metal roof into a leaky mess. When screws are off-center, small gaps in the sealant let water slip under the panels. For example, one roofer found that a single misplaced screw created a gap large enough for rainwater to seep through, wasting both time and money.
Over-tightening screws can squeeze the metal, damage the sealant, and even warp the panel. Not tightening them enough leaves the screws loose, which can cause the panels to move in strong winds. Both issues create weak spots that may lead to misalignment and eventual failure. Always use a torque screwdriver (a tool for setting the exact tightness) to get each screw just right.
Using screws made from the wrong material can lead to rust over time. When fasteners rust, they break the waterproof seal and hurt the roof’s strength. To avoid these problems, follow these steps:
- Check that the screw material matches the metal panel.
- Center washers on the screws and line them up with the manufacturer’s pattern.
- Use a calibrated torque screwdriver for precise tightening.
Treat screw placement like finishing a puzzle: every screw must be in its correct spot and tightened with the right pressure. This careful method improves waterproofing and keeps your roof strong for the long haul.
Common Flaws in Flashing and Edge Detailing for Metal Roofs
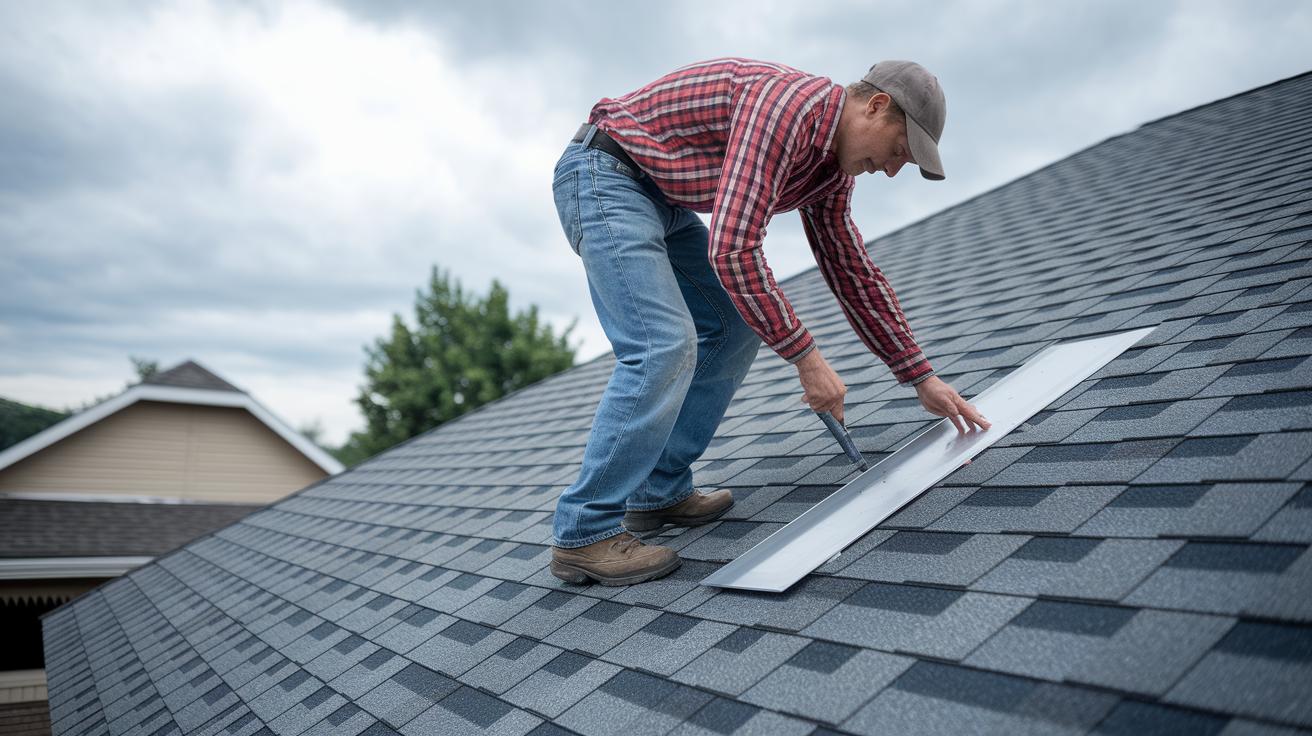
Flashing that isn't installed correctly can create major problems for metal roofs. When flashing around vents, chimneys, or other roof openings isn’t fastened securely, strong winds can loosen it during a storm. Loose flashing leaves gaps where water can seep in during heavy rain. Even a tiny gap can quickly turn your roof into a water magnet.
Another frequent error is setting the drip edge incorrectly. The drip edge (a metal strip that guides water off the roof) must be placed just right. If it sits too far in or too far out, water can seep under the eaves, leading to leaks and trapped moisture that may cause wood rot or mold later.
Faulty fascia integration is also a concern. Fascia boards (the boards along the edge of the roof) that are misaligned or not securely fastened leave gaps. These gaps allow moisture and debris to collect, which can block drainage and weaken the roof edge.
To avoid these issues:
- Secure flashing using the fasteners recommended by the manufacturer.
- Check that drip edge measurements match the manufacturer’s guidelines.
- Make sure fascia boards are aligned and fastened firmly.
For more details, see the "Roof Flashing Installation" guide.
Overlap and Panel Alignment Failures in Metal Roofing Systems
Bad panel overlaps create gaps that let water seep into your roof. When panels aren't lined up right, tiny gaps can become big leak paths. Misaligned ribs also block the needed gap for thermal expansion, which leads to oil canning (stress wrinkles that make the roof look bumpy).
One common mistake is ignoring the manufacturer's overlap chart. Without those guidelines, seams turn out inconsistent and unsightly. For instance, one installer skipped the chart and ended up with uneven gaps that collected water during heavy rains.
To correct these issues, follow these steps:
- Measure each panel's overlap with a tape measure; most manufacturers call for a 2 in (5 cm) overlap.
- Line up the panel ribs as shown on the chart to keep a steady expansion gap, which stops oil canning.
- Check your alignment again as you progress, making sure every seam follows your plan.
Following these simple instructions and measuring carefully will keep your roof watertight, let it handle temperature changes, and give it a smooth, even look, protecting your investment for years to come.
Ventilation, Insulation, and Weatherproofing Oversights in Metal Roof Installation
Missing proper airflow under a metal roof can trap moisture. This moisture may lead to a weakened roof deck and eventual rot. To avoid this, plan for clear airflow using soffit vents, ridge vents, and gable vents. For example, install vents on opposite ends so air can move freely, much like opening windows on a breezy day.
Using the wrong insulation also causes issues. Insulation not rated for metal roofs can block proper heat regulation and waste energy. Check that your insulation meets metal roof standards and has the right R-value (a measurement of thermal resistance) for your local climate.
Weatherproofing mistakes are common too. Poor-quality sealants may not flex with metal expansion and contraction, allowing water and debris to seep through. Always choose flexible, metal-specific sealants that follow the manufacturer’s directions.
To recap:
- Plan for proper ventilation to stop moisture buildup.
- Use insulation made for metal roof systems.
- Apply sealants that move with temperature changes.
Addressing these points helps prevent damage and keeps your metal roof strong, even in harsh weather.
Safety and Cost Implications of Metal Roof Installation Mistakes
DIYers sometimes think installing a metal roof is a quick fix. Rushing without proper planning can put your home and your health at risk. For instance, one installer worked on a 2×4 (actual 1.5 in x 3.5 in / 38 mm x 89 mm) frame without proper fall protection. That mistake could easily lead to a dangerous fall and high medical bills.
Missing costs can sneak up fast. Skipping details like permit fees or extra material waste may push your budget well beyond your estimate. One roofer ended up 15% over budget because he forgot to include extra fasteners required after a safety inspection. These errors can strain your finances and delay the project, adding more labor expenses.
Skilled installation makes a big difference. Untrained workers may skip key safety steps like harness anchorage and proper fall protection. They might also ignore a thorough review of blueprints, leading to more errors during the build. This kind of carelessness often means recurring repair visits and rising costs over time.
Budget and safety should work together. To keep costs in check and risks low:
- Choose installers who are well-trained and familiar with local codes.
- Set aside extra funds for unexpected material waste or permit fees.
- Always use safety gear and follow proper fall protection steps.
Following these tips will help you keep your metal roof project both safe and cost-effective. Spending a bit more on professional expertise upfront can reduce risks of injury, structural damage, and surprise expenses.
Warranty Void Risks and Longevity Strategies for Metal Roofs
Skip the manufacturer’s instructions and you could lose your warranty. For example, using the wrong sealant or tightening fasteners incorrectly can hurt the roof’s waterproofing and void the warranty. The maker might refuse repairs if any issues come up because you didn’t stick to their guidelines.
It’s important to check your roof often. Missing one inspection can let small problems turn into big, expensive repairs. A good rule is to inspect your roof every 6 months (about 180 days) and after any severe weather. Look for loose screws, dried-out sealant, or rust spots. Just like a car needs an oil change, your roof needs these checks to keep the warranty intact.
Here’s a simple maintenance routine:
- Check all metal panels and fasteners every 6 months.
- Tighten screws to the manufacturer’s torque specs using a calibrated torque screwdriver.
- Look at the sealant at seams and flashing and reapply when needed.
- Make sure any repair work follows the manufacturer’s setup guidelines.
Keep detailed records of your inspections and repairs. These notes help keep your warranty valid and can extend your roof’s life. Follow these steps to protect your investment and keep your roof working well over time.
Final Words
In the action, we tackled common pitfalls in metal roof installation mistakes, from measurement blunders to ventilation oversights. We broke down issues like underlayment errors, improper fastener placement, and flashing missteps. Each step showed what can go wrong and how simple fixes can prevent costly repairs later.
By following our practical tips, you'll keep your project safe, on time, and within budget. Stick to these guidelines, and enjoy a durable, dependable roof for years to come.