

Ever wondered if a simple wall frame could brighten up your dark basement and give it a fresh, sturdy look? Building a frame for your basement walls is the first step in a quality renovation. With clear plans, accurate measurements, and the right pressure-treated lumber, you can turn your basement into a safe, welcoming hangout or extra living area. This guide explains how to build a wall that stands strong and looks great, so your basement fits your lifestyle perfectly.
Basement Wall Framing: Comprehensive Construction Overview
Framing basement walls is the first step in finishing your basement, it moves you from planning and measuring to hands-on building. Start by drawing a clear plan that shows where the wall goes and where every stud (vertical support) will be placed. You can either build the wall flat on the floor and then raise it into place, or frame it right on site by transferring a level line from the bottom to the ceiling with a pressure-treated 2×4 (actual 1.5 in x 3.5 in / 38 mm x 89 mm). Most local codes require pressure-treated lumber for the bottom plate to fight moisture where the wall meets the slab.
Before you start, measure carefully. For walls built on the floor, take measurements at several points along the planned wall line. Then subtract 3 in (7.6 cm) to allow for the top and bottom plates. Next, cut each stud to match the shortest height you measured, minus ¼ in (0.64 cm) for clearance. These steps help you build a wall that is both strong and even.
- Measure several points along the planned wall line.
- Subtract 3 in (7.6 cm) to account for the combined thickness of the top and bottom plates.
- Cut each stud to the shortest measurement minus ¼ in (0.64 cm) for clearance.
- Assemble the wall flat, making sure the studs line up.
- Either lift the finished section into place or build it in place by stick-framing.
A well-framed basement wall forms the backbone of any livable space. Whether you choose to build it on the floor first or frame it in place, every step matters. From marking each stud’s location to installing a moisture-resistant bottom plate, careful work makes for a wall that lasts. With these clear techniques, your basement wall will be a stable, durable partition that brings your remodeling vision closer to reality.
Basement wall framing: Strong, Chic Construction
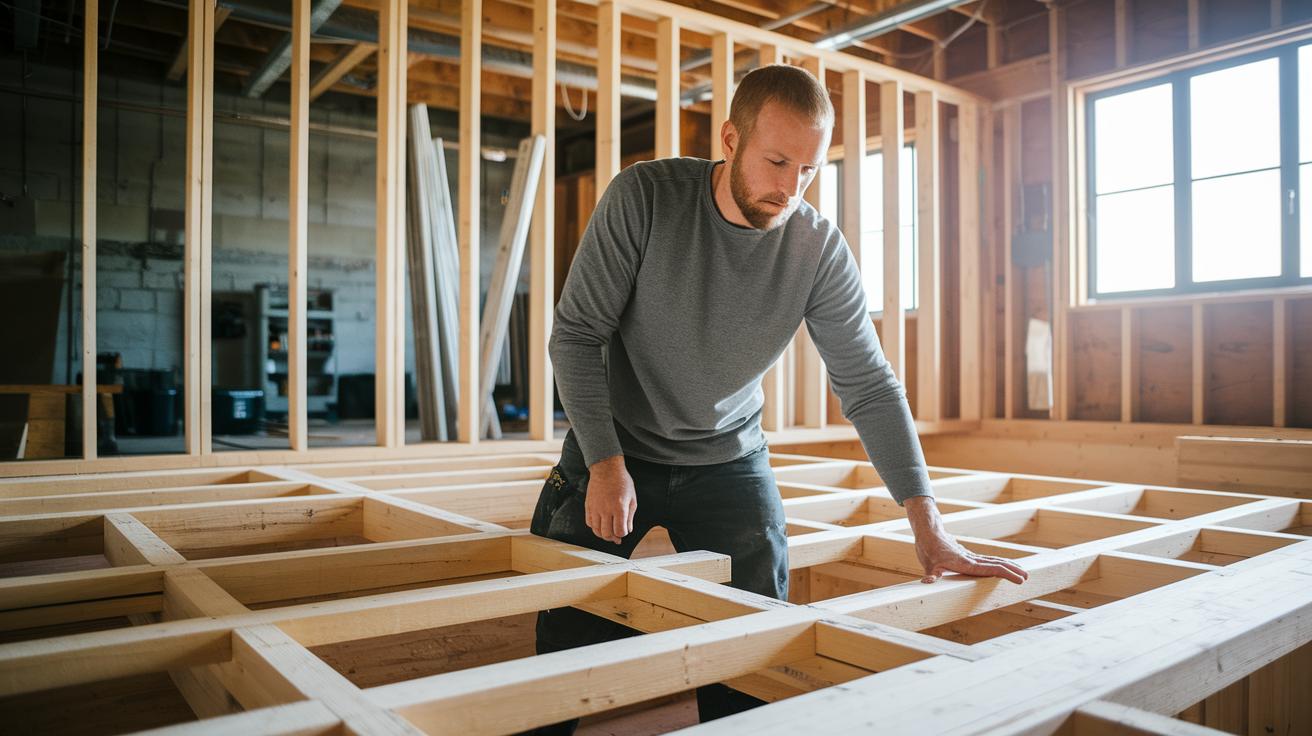
When framing your basement walls, choose SPF (spruce-pine-fir, a budget-friendly lumber) grade studs in either 2×4 (actual 1.5 in x 3.5 in / 38 mm x 89 mm) or 2×6 (actual 1.5 in x 5.5 in / 38 mm x 140 mm) sizes to create a strong, code-approved structure. Use pressure-treated 2×4 bottom plates (wood treated to resist moisture and rot) to keep slab moisture at bay and meet local building codes. Quality lumber not only gives your walls added strength but also helps prevent moisture issues over time.
| Lumber type | Best for |
|---|---|
| 2×4 SPF | Standard walls that are cost-effective and easy to install |
| 2×6 SPF | Walls needing extra support and insulation in load-bearing or energy-efficient designs |
| Prefab panels | Quick, precise framing when the slab dimensions are exact and anchoring is done correctly |
Fasten the bottom plate securely to your concrete foundation. Use Tapcon screws or powder-actuated nails following local code guidelines and pick corrosion-resistant fasteners as recommended by the IRC (International Residential Code). If you need a speedy setup, consider prefabricated panel systems; they offer consistent quality but require exact slab measurements and proper anchoring. This careful preparation sets the stage for a durable basement wall that is both robust and stylish.
Moisture Control and Vapor Barrier Techniques in Basement Wall Framing
Begin by cleaning the bare concrete and applying a masonry waterproofing product. This stops water from moving upward through tiny pores (capillary action). Do this before adding any other barriers.
After you install fire-slowing measures, lay down a layer of poly sheeting, a plastic barrier 6 mil (0.15 mm) or 10 mil (0.25 mm) thick. Seal every edge with tape or caulk so the barrier is continuous.
Before moving on, check that the foundation is dry. Bond a 2 in (50 mm) XPS foam board (a type of insulation foam) to the wall using an adhesive made for foam. Leave a ½ in (12.7 mm) gap at the bottom plate. This gap stops moisture from being drawn up and gives room for a little movement, reducing condensation issues.
- Spread the masonry waterproofing evenly over the bare concrete.
- Install 6 mil or 10 mil poly sheeting after fire-slowing measures, and seal all edges with tape or caulk.
- Bond a 2 in (50 mm) XPS foam board to the wall using foam-specific adhesive, keeping a ½ in (12.7 mm) gap at the bottom plate.
- Add horizontal blocking to support the top plate when joists (horizontal floor beams) run parallel to the wall.
This layered setup not only prevents moisture from transferring but also boosts energy efficiency by working together to create a strong, moisture-resistant wall system.
Basement Wall Framing: Strong, Chic Construction

Upgrade your basement framing with some practical tips. Start by measuring carefully. Use chalk to mark a line 4 in (10 cm) from the foam board. This line gives you a clear guide while allowing a 1/2 in (1.3 cm) gap behind the bottom plate for foam board clearance. Take several measurements from the floor to the joists and then cut each stud 1/4 in (6 mm) shorter than the smallest reading.
Next, align your walls so they run either parallel or perpendicular to the joists. This simple step makes it easier to fasten the wall and add proper blocking. For load-bearing walls, use a 16 in (40.6 cm) on-center stud spacing, and for non-load-bearing walls, you can space the studs up to 24 in (61 cm) on-center. Keeping the wall lined up with the joists also simplifies installing the top plate and ensures a sturdy frame.
Step-by-Step Basement Wall Framing Methods
When framing basement walls, you have two main methods: build your wall flat on a level surface first or frame it directly in place. Both methods use similar steps involving measuring, cutting, and fastening. Choose the method that suits your space and follow these practical steps.
Floor-built method:
- Lay out the bottom and top plates on a level surface and mark them clearly.
- Nail studs to the plates. For load-bearing walls, space them 16 in (40.6 cm) on center; for non-load-bearing walls, use 24 in (61 cm) on center. Trim each stud 1/4 in (6 mm) shorter than the wall height.
- Assemble wall sections that are 1–2 ft (30–61 cm) shorter than the full height. This makes lifting the sections easier.
- Secure the bottom plate to the floor with Tapcons or powder-actuated nails placed every 6 ft (1.8 m) and within 6 in (15 cm) of each end. Pre-drill holes if needed for smoother work.
In-place (stick framing) method:
- Install a pressure-treated bottom plate along your marked line.
- Mark where the studs go on both the bottom and top plates. Use a level to draw a plumb line upward.
- Toenail each stud by driving two nails on one side and one on the other.
- Shim the studs every 4 ft (1.2 m) to adjust for small variations in floor or ceiling height.
- Fasten the top plate securely to the ceiling joists, then attach a double top plate to help distribute the load evenly.
Always check that each section is square, plumb, and level. If any studs look misaligned, add shims or re-mark the positions. Wear eye and hearing protection when cutting or fastening, and use corrosion-resistant fasteners that meet code for a safe, sturdy build.
Insulation Strategies for Energy-Efficient Basement Wall Framing

Picking the right insulation makes a big difference in keeping your basement energy-efficient. Fiberglass batts in 2×4 stud walls offer roughly R-13 (a measure of thermal resistance), while mineral wool usually provides about R-15 and adds extra fire safety. Adding a layer of continuous XPS foam behind the studs increases your overall R-value and acts as a thermal barrier to cut down on heat loss. Each type has its advantages, so choosing the right one helps keep your finished basement at a steady temperature.
| Insulation Type | R-Value | Pros/Cons |
|---|---|---|
| Fiberglass | ~R-13 | Budget-friendly and simple to install; may settle over time |
| Mineral Wool | ~R-15 | Better fire resistance and durable; can be more expensive |
| XPS Foam | Boosts overall R-value | Creates a continuous barrier; requires careful sealing during installation |
When you install the insulation, make sure it sits flat against your framing so it doesn’t get compressed. Leave the small air gaps required by your local code to help with drying and reduce moisture buildup. Seal the perimeter and any holes with low-expansion foam to maintain a continuous insulating layer and keep moisture at bay. This method helps your basement work efficiently while meeting building code standards.
Code Compliance and Fire Blocking in Basement Wall Framing
When framing your basement wall, use treated bottom plates and double top plates to keep moisture in check and spread the load evenly. Before you begin, secure your permits and plan for inspections right after installing the bottom and top plates to meet local rules. Use corrosion-resistant fasteners with treated lumber to comply with ICC standards.
Fire blocking is key to slowing down the spread of fire. Apply solid wood or fire-resistant caulk at important spots. This extra step not only meets safety codes but also boosts your home's protection. Key areas to fire block include:
- Where the top and bottom plates meet
- Around wiring openings in the wall
- At plumbing penetration points
- Every 10 ft (3 m) along the wall
- Near door or window openings in partition walls
Plan your fire blocking carefully. Before adding insulation, check all fire-stop spots to ensure every potential flame path is securely sealed. This approach gives you a strong, code-compliant wall that protects your home and meets professional standards.
Framing Doorways and Window Openings in Basement Partitions

When framing door and window openings in a basement partition, careful measurements and strong support are a must. Use doubled 2×10s (actual 1.5 in x 9.25 in / 38 mm x 235 mm) or LVL beams (engineered wood) to carry the load. Install a jack stud (short support post) beneath each end of the header and place a full-length king stud next to each jack stud. This setup makes sure your opening can support heavy loads and meets safety rules.
For block-set windows, begin with sill plates made from treated lumber. Use proper flashing (waterproof barrier) or foam shims under the boards to ward off moisture. Always check that the opening dimensions match your door or window specs, adding ½ in (12.7 mm) on each side for shimming. Also, toenail cripple studs (short studs that support drywall) above the window to give extra backing for your wall.
Follow these six steps for proper rough-opening framing:
- Measure the rough opening and add ½ in (12.7 mm) on each side.
- Cut headers from doubled 2×10s or LVL beams sized to support the load.
- Install a jack stud under each end of the header.
- Place king studs immediately beside the jack studs.
- Set sill plates with treated lumber and secure them with proper flashing or foam shims.
- Toenail cripple studs above the window openings for extra drywall support.
Cost Estimation and Budgeting for Basement Wall Framing
Before you start, it helps to break down your costs. Know your material and labor charges so you don’t get surprised later. For example, treated bottom plates run about $3–$5 per linear foot (0.305 m). A 2×4 stud (actual 1.5 in x 3.5 in / 38 mm x 89 mm) costs roughly $2–$4 each, and insulation is around $0.50–$1 per square foot (0.093 m²). Labor can cost about $15–$25 per square foot (approximately $161–$269 per m²), though this number can change by region.
A simple way to estimate is to use this formula: (linear feet of wall ÷ stud spacing) + bottom plates + extra for fasteners. For instance, if you have 100 LF (linear feet) of wall with studs set 16 in apart (16 in ≈ 0.41 m), you can quickly know how many studs you’ll need along with extra materials.
If you plan to do the work yourself, you might save on labor. Renting powder-actuated tools is an option and typically costs around $30 for a day.
| Cost Item | Unit Price | Quantity Estimator |
|---|---|---|
| Bottom Plate | $3–$5 per LF | Total linear feet of wall |
| Studs | $2–$4 each | Wall length ÷ stud spacing |
| Insulation | $0.50–$1 per SF | Wall area in SF |
| Fasteners | Allowance varies | Based on LF and end placements |
Stick to your budget by using a calculator to plug in these numbers, adjusting for local costs, and considering DIY approaches to cut labor expenses. This straightforward method keeps your project on track and costs clear from the start.
Troubleshooting Common Basement Wall Framing Issues

When framing basement walls, problems can slow you down if you don’t fix them right away. Warped studs, uneven concrete floors, misaligned top plates, and water damage are common issues that hurt the wall’s strength. Warped lumber can create gaps and make the wall unstable. An uneven concrete floor may cause the bottom plate to lean, which in turn makes the studs and top plates unsquare. Moisture can weaken your connections and lead to mold if leaks aren’t sealed. Spotting these issues early and fixing them quickly will help you build a strong wall that meets code and lasts through daily use.
- Rotate warped studs so the curve faces up or swap them out, and store lumber flat to stop future warping.
- Shim the bottom plates every 2–4 ft (0.6–1.2 m) until they sit plumb.
- Add shims or sister frame the top plate to close any gaps.
- Seal any leaks, replace damaged parts, and add a new vapor barrier.
Final Words
In the action, this guide walked through every step of basement wall framing, from material picks and moisture control to layout planning, step-by-step assembly, and cost checks. We touched on pressure-treated bottom plates, precise stud cuts, and secure fasteners so your build stays safe and within budget.
Keep your measurements spot on and follow code guidelines for a strong finish. With clear directions and practical tips, your project can run smoothly and finish with a sense of accomplishment.
FAQ
What are the best methods for framing a basement wall on concrete?
Framing on concrete typically involves using a pressure-treated 2×4 bottom plate secured with Tapcon screws or powder-actuated nails. This method resists moisture and provides a stable base for the wall.
What stud spacing should be used, 16 in. or 24 in.?
Studs are usually spaced 16 inches on center for load-bearing walls and 24 inches for non-load-bearing walls. Local codes and wall requirements should guide your final spacing choice.
What basement wall framing kits and ideas are available?
Framing kits often include pre-cut, treated lumber, instructions, and fasteners, streamlining installation. Creative ideas may incorporate unique layouts or additional insulation to meet local building conditions.
Is there a required gap between the basement wall and the framing?
A gap is typically left between the concrete wall and the framing to install a vapor barrier or insulation. This gap helps control moisture and improves overall thermal performance.
What are the basement framing code requirements?
Codes commonly require pressure-treated bottom plates, specific stud spacing, secure fasteners, and appropriate fire blocking. Always check local regulations and obtain necessary permits before starting the project.
How much does it cost to frame a 1000 sq ft basement?
Costs vary based on material and labor. Material prices may range from $3–$5 per linear foot for bottom plates and $2–$4 per stud, with labor adding around $15–$25 per square foot, subject to regional rates.
Should basement walls use 2×4 or 2×6 lumber, and what are the size specifications?
Basement walls use 2×4s (actual 1.5 in x 3.5 in) for non-load-bearing applications and 2×6s (actual 1.5 in x 5.5 in) for added strength or insulation space. Your choice depends on wall load and thermal requirements.
Do you need a vapor barrier when framing a basement?
A vapor barrier is recommended as it helps control moisture by preventing damp air from reaching the framing. Poly sheeting or foam board installed behind the studs can improve insulation performance.
Where can I find a comprehensive basement wall framing PDF?
A detailed basement wall framing PDF, including diagrams and step-by-step instructions, is often available on trusted construction websites or local building authority resources for updated, code-compliant methods.