
Have you ever wondered what makes a drywall taping knife so important for a project? This tool can be the difference between a rough finish and a smooth, professional wall. In this article, we explain how using different blades, such as a 6 in (15 cm) knife and a 12 in (30 cm) option, can boost your work quality and save time. We also share why trusted brands choose these knives and how they help achieve a great finish on every drywall job.
Drywall taping knife: Brilliant Finish Tool
Drywall taping knives are must-have tools that help you spread and smooth joint compound on seams, joints, and corners fast. They give your drywall a neat, seamless finish. You'll find options in stainless steel for rust resistance and carbon steel for extra flexibility and a sharper edge. For small repairs and tight spots, a 6 in (15 cm) blade priced at $10–$25 works great. For wider seams and larger areas, opt for a 10 in (25 cm) or 12 in (30 cm) knife, costing about $15–$30 and $20–$35 respectively. There’s also a special corner knife with a 90° angle that makes crisp inside and outside corners; it usually costs around $15–$25.
These tools consistently deliver solid results and are a favorite among contractors when included in essential drywall kits, such as those found on tools for drywall installation (https://neull.com?p=278). Plus, deals like free shipping on orders over $30 and a 30% discount on purchases over $300 add extra value.
Top brands like Kobalt, DeWalt, Marshalltown, and Hyde are trusted choices in user reviews. These manufacturers design their knives to be durable and easy to use, with strong blades, stable edges, and ergonomic handles. Whether you’re starting a new project or fine-tuning your finishing steps (https://neull.com?p=139), these drywall taping knives offer great performance and affordability to help you achieve a brilliant, smooth finish.
Drywall Taping Knife Size Guide: 6", 10", 12" & Corner Tools
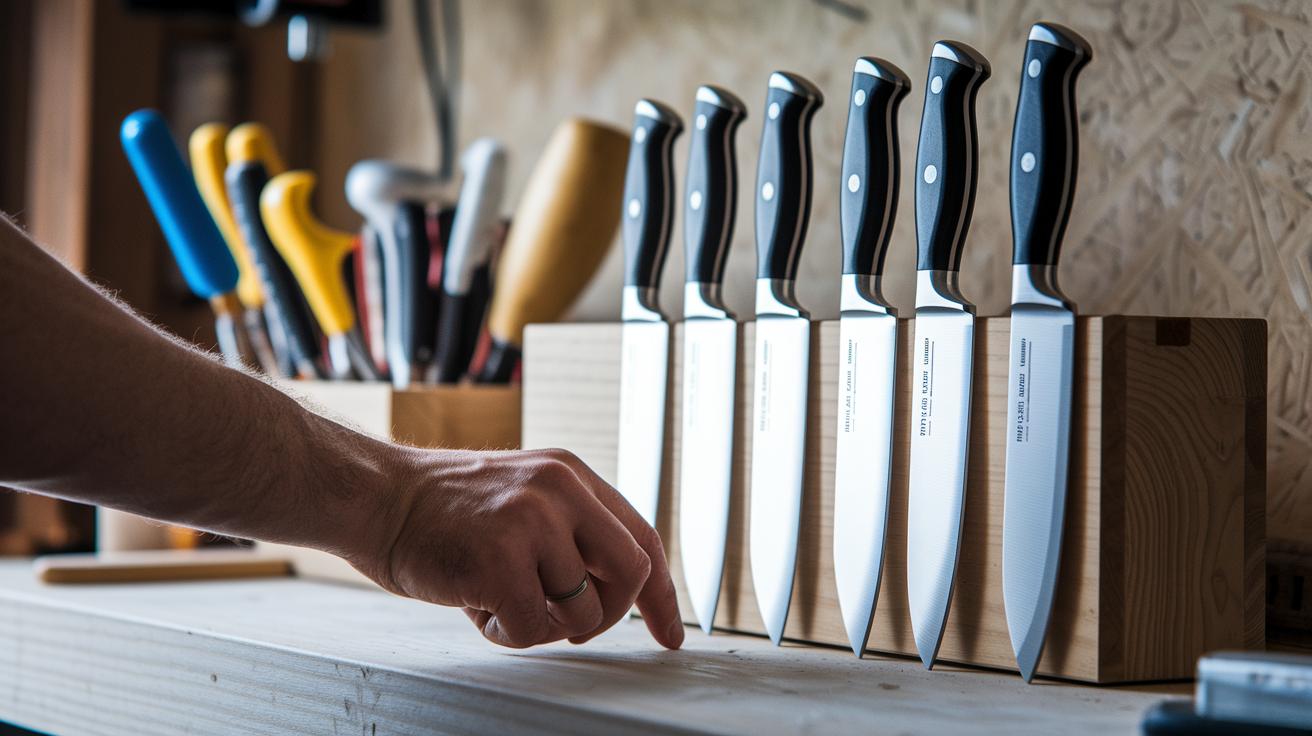
Choose your knife based on the job and the wall size. A 6-inch knife fits well in tight spaces and small touch-ups. Use it on narrow seams to control the flow of the joint compound. For medium seams and blending compound along edges, a 10-inch knife does the trick. When covering large areas, a 12-inch knife quickly spreads the first coat, saving time and effort. For clear, sharp corners, a corner knife with a 90° angle gives you precise control.
Tip: Check the knife's edge before you begin to ensure clean cuts and prevent compound buildup.
| Size | Ideal Application | Average Price |
|---|---|---|
| 6″ | Narrow seams, small patches, tight spots | $10–$25 |
| 10″ | Wider seams, medium area feathering | $15–$30 |
| 12″ | Large surfaces, first coat spreading | $20–$35 |
| Corner | 90° angle for precise corner work | $15–$25 |
Using the right knife size keeps your drywall work controlled, efficient, and professional.
Drywall taping knife blade materials & design
Stainless steel blades resist rust and hold a sharp, even edge, which makes them a solid choice for damp areas. They are usually made in thicknesses from 0.5 mm (0.02 in) to 1.0 mm (0.04 in). This range affects how the joint compound flows and how well you can control it.
Carbon steel blades, on the other hand, offer more flexibility and come with a sharper edge right away. These blades need extra care, always dry them completely after cleaning to keep them from rusting. For example, a 0.5 mm (0.02 in) carbon steel blade provides great precision for intricate taping but needs careful maintenance.
A comfortable, well-balanced handle is key for long taping sessions. Ergonomic handles help reduce hand fatigue and give you a secure grip for better control. In the end, your choice between stainless and carbon steel blades will depend on your project needs, personal preference, and how you care for your tools.
Drywall taping knife buying guide: brands, pricing & retailers

When you’re looking for a drywall taping knife, you’ll find options that suit both beginners and experienced users. Home Depot offers brands like Hyde and Marshalltown. You can grab an entry-level 6 in (15 cm) knife for around $10. This cost-efficient tool works great for small repair jobs and gives you a smooth finish. Also, special offers like free shipping on orders over $30 may help cut costs even on the more professional knives.
At Lowe’s, you’ll discover trusted brands such as Kobalt and DeWalt. They mix performance with style so you can upgrade your toolkit confidently. For example, a 10 in (25 cm) knife offers clean, even application during your taping sessions. Prices are set to strike a balance between quality and affordability for everyday projects.
Amazon is another solid choice where customer reviews guide your decision. They stock a range of options, from entry-level knives to professional-grade 12 in (30 cm) models that can cost up to $40. Users praise these tools for their ease of cleaning and durable blades. Plus, deals like free shipping on orders over $30 or occasional 30% discounts on bulk orders make it easier to find the best tool for your drywall needs.
Drywall taping knife maintenance & care tips
Right after using your drywall taping knife, wash it with warm water (around 104°F/40°C) and a mild detergent to remove the joint compound. Rinse the blade well to get all the residue off and then dry it with a clean cloth.
For carbon steel blades (steel that can rust if not cared for), make sure you dry them completely. Once dry, apply a light coat of mineral oil by running a small drop over the blade to keep rust away and protect it.
Store your knife in a blade guard or hang it on a dedicated rack. This keeps the edges safe from nicks or damage. Occasionally, sharpen the blade with a fine-grit sharpening stone or diamond sharpener.
Follow these steps:
- Clean the blade with warm water and mild detergent.
- Dry it completely, then apply mineral oil if the blade is carbon steel.
- Store it in a blade guard or on a hanging rack.
- Hone the edge as needed.
Drywall taping knife pro techniques for smooth finishes

Achieving a smooth drywall finish takes steady hands and simple tips. Keep your blade at a 10 to 15° angle (a slight tilt that lets you control the mud) when you smooth the joint compound. This angle helps control the flow and creates clean, even joints without extra work later.
Apply the compound in thin, even layers. Start at the seam’s center and sweep outward. This minimizes pooling and helps every pass smooth out the surface. Extend your strokes 2 to 3 inches (5 to 8 cm) past the seam to blend the compound and remove harsh edges.
Wipe off excess mud from the blade between passes. This small step stops buildup that could create ridges. If you want to boost your skills, practice on scrap drywall. A steady grip and careful pressure will help you handle even tough joints.
Here’s a quick checklist for your next project:
- Maintain a steady blade angle
- Apply thin, even layers of compound
- Overlap strokes to feather the joint
- Clean your blade between passes
- Feather edges beyond the joint line
- Practice on test panels
Final Words
In the action, we walked through top drywall taping knife models, size comparisons, and material benefits. We discussed trusted brands, cost ranges, and proper care techniques to keep your tools in top shape. Quick care tips and pro techniques were shared to boost finishing accuracy and ease.
Your drywall taping knife becomes a key part of smooth, cost-effective projects when maintained and used properly. Keep practicing the techniques to boost your skills and enjoy great results.
FAQ
What defines a professional or best drywall taping knife?
The best drywall taping knives feature durable materials like stainless or carbon steel and ergonomic handles. They offer the precision and control needed to apply and smooth joint compound for a professional finish.
Where can I buy a drywall taping knife or set?
Drywall taping knives and sets are available at major retailers such as Home Depot, Lowe’s, and Amazon, as well as local hardware stores. These options often include multiple sizes for varied drywall tasks.
Do you need a taping knife for drywall?
A taping knife is needed for drywall work as it is essential for applying and smoothing joint compound. This tool helps create an even, seamless finish that is critical for successful drywall installation.
How do you use a taping knife for drywall?
Using a taping knife for drywall involves spreading joint compound along seams with a consistent 10–15° angle while overlapping strokes. This technique helps ensure an even layer ready for finishing touches.
What is the difference between a jointing knife and a taping knife?
The difference is that a jointing knife is usually larger for applying broader layers of compound, while a taping knife is slimmer and designed for detailed smoothing of joint compound along seams.
What are common drywall taping mistakes?
Common mistakes include overapplying compound, inconsistent blade angles, and neglecting to clean the blade between strokes. These errors often result in uneven finishes and unnecessary rework.