
Ever wonder if a simple checklist can protect your job site from electrical hazards? Every year, faults cause fires and shocks that lead to serious damage. This guide explains easy steps: test your GFCI outlets (these outlets cut power when they detect a ground fault), check your wiring, and verify your breaker capacity. Follow these steps to lower risks and keep your crew safe. Just as you inspect a load-bearing beam, a regular check on your electrical system keeps your work site secure and up to code.
Essential Items in an Electrical Safety Checklist for Construction Sites
This checklist helps lower risks by ensuring every part of your electrical system is checked for faults that could lead to fires or shocks. Electrical fires cause thousands of incidents each year, often with severe damage and loss of life. Take simple steps like testing your GFCI outlets (outlets that cut power when they detect a ground fault) each month to catch problems early.
Every item here works to reduce hazards on your site. Check for signs of wear such as damaged panels or loose wiring. Confirm that circuit breakers can handle the load and that all circuits are clearly labeled. These steps not only keep you safe but also help you follow national electrical codes and wiring standards. Regular checks prevent circuit overload and keep a clear maintenance record. For example, inspect busbars (metal strips that distribute power) for corrosion just as you would look for rust on a metal beam.
- Check panels and enclosures for physical damage.
- Confirm that circuit breakers have the proper capacity.
- Look over wiring for frays, breaks, or exposure.
- Tighten any loose connections.
- Perform voltage tests at both main and branch circuits.
- Use a megohmmeter (a tool for insulation resistance testing) for checking insulation.
- Test all GFCI outlets and circuit breakers.
- Inspect busbars for signs of corrosion or loose fittings.
- Verify that all indicator lamps function.
- Ensure electrical meter readings match consumption.
- Check that panels are accessible and have the required clearance.
- Confirm that circuits and panels are properly labeled.
- Have a licensed electrician perform professional inspections every few years.
- Document and file all inspection results.
Following this checklist will help you keep your construction site safe and in line with regulatory requirements. It gives you a clear plan to spot potential hazards, set up proper lockout-tagout procedures (methods to control hazardous energy), and ensure protocols are in place to prevent shocks, ultimately protecting lives and property.
Construction Site Hazard Evaluation and Onsite Power Risk Review
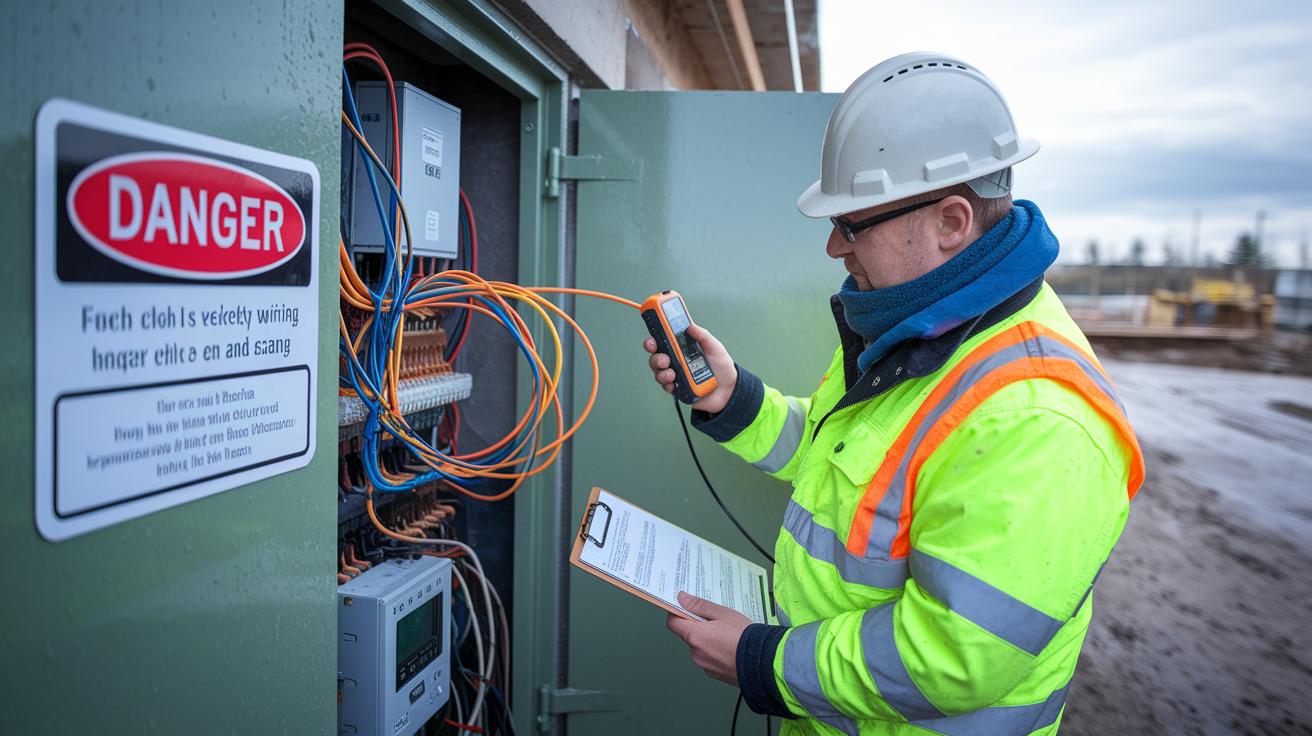
Begin by walking your entire job site. Look for frayed or damaged wiring because even a small defect can cause shorts, overheating, or even a dangerous fire. Use a voltage detector to check for live circuits, especially in areas that might be wet or damp. Overloaded circuits from running several high-power tools can trip breakers often, so take action when you see this sign. Mark any exposed wiring or worn panels, and note spots where heavy tool use might have weakened outlet connections.
Write down every detail you find. Snap clear photos of risky areas and jot down specific issues. Check for problems with surge protection; even a small power spike can harm sensitive equipment. Look for arc flash hazards (a sudden burst of electricity) and make sure your emergency power-off plans are ready. This careful review not only lowers the risk of electrical accidents but also creates a clear plan for managing active systems. A solid hazard and power risk check helps keep your site safe at every step of the project.
Temporary Power Distribution and Wiring Inspection Procedures
Temporary wiring on job sites must follow NEC and local codes, even for short-term use. Check all cables and conduits to spot any cuts, abrasions, or overloads that may lead to dangerous electrical faults. Make sure distribution panels have a solid grounding system to stop stray voltages and lower shock risks on busy sites. Verify voltage control procedures to ensure circuits can handle sudden loads without equipment failure, and use surge protection devices to shield portable power units and sensitive tools from power spikes.
Regular inspections keep your temporary power setup safe and efficient by confirming that cables are routed properly to avoid trip hazards and physical damage. The HTML table below lists five key checkpoints for maintaining a safe temporary power installation.
| Inspection Item | Purpose | Recommended Frequency |
|---|---|---|
| Wiring physical condition | Detect cuts, abrasions, and frays | Daily |
| Conduit and cable routing | Avoid trip hazards and mechanical damage | Daily |
| Grounding system audit | Ensure proper grounding and voltage stability | Weekly |
| Voltage control checks | Confirm circuit stability under load | Weekly |
| Surge protection | Guard against power spikes | Monthly |
Live Circuit Safety Assessment and Lockout-Tagout Compliance

When working on live circuits, always check that power is completely off after isolation. After you isolate a circuit, use a voltage detector to look for any stray voltage. This extra step confirms that the circuit is safe before you begin work. Following lockout-tagout procedures helps prevent accidental power restoration and guards against unexpected electrical surges. Only certified electricians should perform these checks to ensure safety.
Stick to strict isolation and verification steps to reduce hazards. When some parts of the system stay energized, use a clear circuit isolation plan. Safe disconnect methods keep everyone aware of which circuits are still active. Checking for zero voltage with a reliable tester makes sure emergency stops work as they should. This method not only protects workers but also meets regulatory standards for managing live circuits.
Lockout-Tagout Procedure Steps
- Identify all energy sources.
- Isolate and turn off the circuits.
- Secure controls with locks and tags.
- Confirm zero voltage using a voltage detector.
- Restore power only after confirming safe conditions.
Personal Protective Equipment and Safety Signage Verification for Power Work
Before starting any electrical work, inspect your personal protective equipment (PPE) to ensure it is in top condition. Check nonconductive gloves, mats, and tools for tears, cuts, or wear that might reduce their ability to protect you from electrical hazards. Verify that your arc flash clothing and face shields meet the required ratings and show no sign of damage. Test your GFCIs and RCDs (devices that cut off power to prevent shock) every month by using their built-in test/reset buttons.
Make sure that your worksite has clear, visible signs marking high-voltage areas and emergency shutoffs. Use bright and easy-to-read safety signs to steer workers away from danger and to provide quick access to power cut-offs. These regular checks not only protect everyone on the job but also help you comply with electrical safety protocols, reducing the risk of unexpected hazards.
Documentation, Regulatory Compliance, and Audit for Construction Electrical Safety

Good record-keeping is vital for managing electrical safety on busy construction sites. Keeping detailed records lets you track fixes and follow both national electric codes and local rules. Using digital checklist apps makes it simple to snap photos, add notes, and log follow-up actions. This up-to-date documentation helps smooth equipment audits and can prevent fines and expensive hazards.
Regular audits are key to controlling electrical risks. Licensed electricians should inspect your site every 2–3 years. They check wiring (the cables that carry electricity) against regulatory standards and confirm that all equipment is certified. Such audits verify proper wiring practices, correct panel labeling, and needed clearance, which keep the site safe and support ongoing maintenance while boosting jobsite electrical education.
By monitoring and recording your work continuously, you can quickly fix any issues that arise. This steady cycle of inspecting, noting, and reinspecting makes your safety protocols stronger and ensures you meet national electric codes. For more tips, consult your construction site safety guidelines.
Final Words
In the action, we walked through steps from inspecting panels and verifying wiring to evaluating hazards and ensuring proper temporary power distribution. Each part of the post helps lower risks on construction sites by emphasizing clear procedures and strict lockout-tagout practices. We also took a close look at safety signs, PPE inspections, and essential documentation for meeting local codes. Use these insights to build confidence and cut unexpected costs. Stick to an electrical safety checklist for construction to keep your project safe and on track.
FAQ
How can I obtain a printable electrical safety checklist for construction or a free PDF version?
A printable construction electrical safety checklist is available as a free PDF. It covers essential steps like panel, wiring, and breaker inspections to help maintain a safe work site and meet regulatory standards.
Does an electrical safety checklist template for construction come in Excel format?
An Excel checklist template is offered to digitally track and update inspection details. It includes wiring tests, lockout procedures, and hazard identifications to streamline your safety audits.
What details should an electrical safety checklist for a construction site cover?
A construction site checklist covers critical elements such as panel inspection, wiring integrity, circuit breaker tests, grounding, surge protection, and proper labeling to reduce risks and comply with local codes.