
Ever wonder why some doors fit just right while others miss the mark? Framing a door opening in a wall may feel overwhelming at first, but following these clear steps makes it easier. First, measure the rough opening (the basic cavity before finishing) carefully. Next, remove any finish material with care. Finally, secure supports for your header (the beam above the door) to keep everything strong. Keeping your measurements exact and following each step will help you avoid costly errors and ensure a solid finish. Ready to turn a plain wall into a welcoming door frame?
Essential Steps to Frame a Door Opening in a Wall
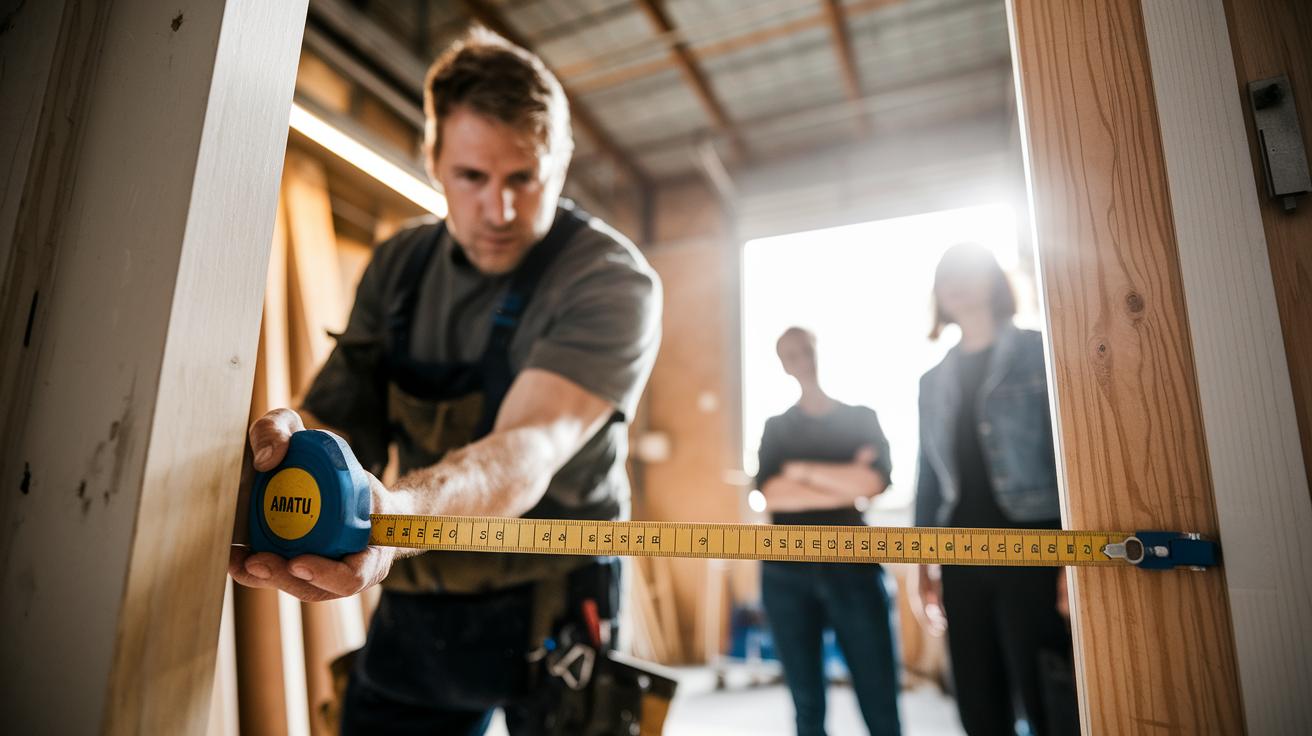
Getting the rough opening size right is key to a strong door frame. Start by checking the pre-hung door packaging for the door jamb and rough opening dimensions. Add an extra ½ in (1.3 cm) for wiggle room. For example, if the door height is listed as 80 in (203 cm), plan for an 80.5 in (204.6 cm) opening. Always double-check your measurements in both inches and centimeters to avoid costly errors.
Before making any cuts, carefully remove the plaster or drywall from both sides of the wall. This keeps as much of the original material intact as possible, which helps reduce future repair work. Support the top plate (the top horizontal board) with temporary jacks or adjustable props so it can hold the load safely while you work. Next, trace the door jamb layout onto both the soleplate (the bottom board) and the top plate. Cutting full panels instead of small sections helps maintain strong, intact framing members, which makes it easier to update the structure once your door opening is complete.
After clearing away the finish material, mark the plates precisely. Measure the header (the horizontal support above the door) by adding the door jamb height to the header thickness. Cut the soleplate next to where your jack studs (short studs that support the header) will sit, leaving a bit of room for adjustments. Install king studs (full-length support studs) on each side to carry the load. Then, toenail the jack studs to the header by angling two 3 in (7.6 cm) deck screws through pre-drilled pilot holes. This method offers dependable load support, keeping the frame level and secure before you install the pre-hung door.
Planning the Rough Door Opening and Ensuring Code Compliance

Start by checking your local building codes. Look for rules on minimum rough-opening sizes, fire blocking (material placed to slow fire spread), and structural header (the beam that supports the load above the door). These codes tell you what header size you need and how to protect the opening. For example, if your door is in a load-bearing wall, the rules may require extra clearances or reinforcement. Confirm that your header is strong enough and that any required fire blocking is added. Doing this check early saves time and prevents expensive fixes later.
Next, measure the door jamb width. Then, add jack stud allowance, which is usually double the stud width (for instance, a 2×4 is 1.5 in x 3.5 in / 38 mm x 89 mm) and add an extra ½ in (1.3 cm) for wiggle room. Mark these measurements on your top and bottom plates. Also, decide whether to move or keep the cripple studs (short studs below the window or door) by figuring out where to place the extra king stud. Use the door jamb width plus the jack stud allowance and extra space to mark its spot. These careful marks help ensure your door opening is both accurate and strong.
Installing Temporary Supports and Removing Wall Sections for Door Framing

Start by placing adjustable props or support jacks under the top plate to hold up the wall before you begin cutting. Give the top plate a light tap to check that the props are steady. Use a level to be sure everything stays true and secure. Always follow construction site safety guidelines to keep the work area safe.
Then, use a reciprocating saw to cut halfway through each stud. This minimizes damage to the wall and nearby materials. Remove plaster or drywall in full panels from both sides to keep as much of the original material intact as possible. Pry the wall sections off slowly and carefully to avoid cracking the adjacent finishes. These steps help you work cleaner and make reinstallation or repairs easier.
Header and Stud Assembly for Door Framing

Start by measuring your door opening. For openings 3 ft (91 cm) or less, use a 2×4 (actual 1.5 in x 3.5 in / 38 mm x 89 mm) header; for openings up to 5 ft (1.5 m), opt for a 2×6 (actual 1.5 in x 5.5 in / 38 mm x 140 mm); and for any opening wider than 5 ft (1.5 m), choose a 2×8 (actual 1.5 in x 7.25 in / 38 mm x 184 mm). Also, be sure to calculate the finished header height by adding the door jamb height to the header’s thickness plus any extra clearance needed. For example, if your door jamb stands at 80 in (203 cm) and you need an extra 2 in (5 cm) for the header, make sure your opening can accommodate that total height.
Next, work on the stud installation. First, trim a king stud from the top plate down to the soleplate. Secure it firmly using two 3 in (76 mm) deck screws that go in at an angle through pre-drilled pilot holes. Then, use toenailing (driving screws at an angle) to attach the jack studs to the header ends. For every 3 ft (91 cm) or less of opening, cut additional cripple studs to support the frame. Following these steps ensures that the header and studs create a strong, square frame ready for your door installation.
| Opening Width | Header Lumber Size |
|---|---|
| ≤ 3 ft (91 cm) | 2×4 |
| Up to 5 ft (1.5 m) | 2×6 |
| > 5 ft (1.5 m) | 2×8 |
Finalizing the Framed Door Opening: Soleplate Cutting, Shimming, and Inspection
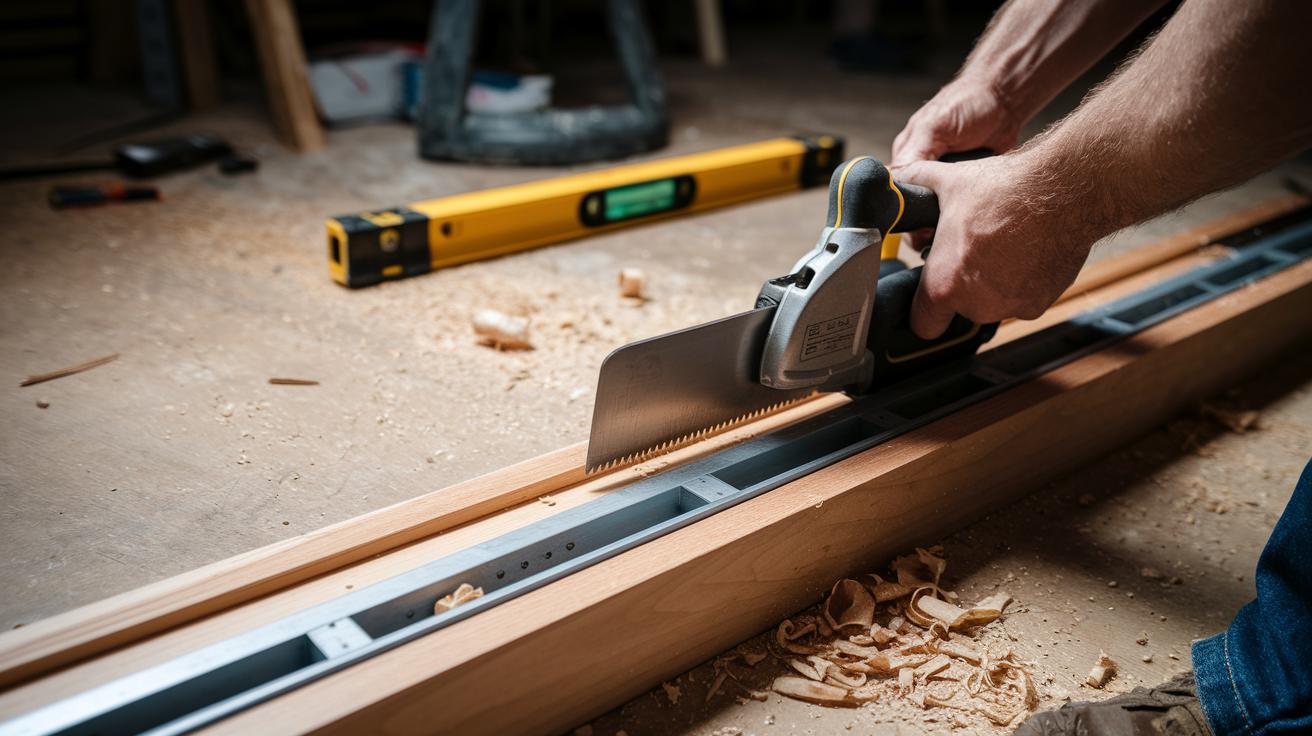
Cut the soleplate next to the jack studs with a handsaw. Leave about 1/8 in (3.2 mm) of material above the floor. This small gap keeps your cut neat and prevents damage to the support.
After sawing, tap a chisel with a hammer to remove excess material. Work slowly to form a clear channel for the door frame. If you see any uneven edges, give a few light taps with the chisel to smooth them out.
Check the jack studs for plumb alignment. If a stud is short by 1 in (25 mm), use two pieces of ½ in plywood as shims. This builds out the stud and maintains a spacing of 16 in (40.6 cm) on center. Use a level to make sure each stud is straight before you fasten it permanently.
This final check ensures your frame is aligned and sturdy, setting you up for a smooth drywall installation.
Compliance Checks and Structural Integrity Verification for Door Openings
First, check that your header can handle the weight by reviewing the lintel load transfer calculations and local building codes. Make sure the load travels in a continuous path from the header through both the jack (short support) and king studs (full-length frame member) down to the foundation. Use accurate measurements to confirm that every piece matches the manufacturer's specs and code rules. This check helps ensure that the header, which supports your door opening, safely moves the weight through the structure. For instance, look over each stud and connection point to spread the load evenly and lower the risk of failure.
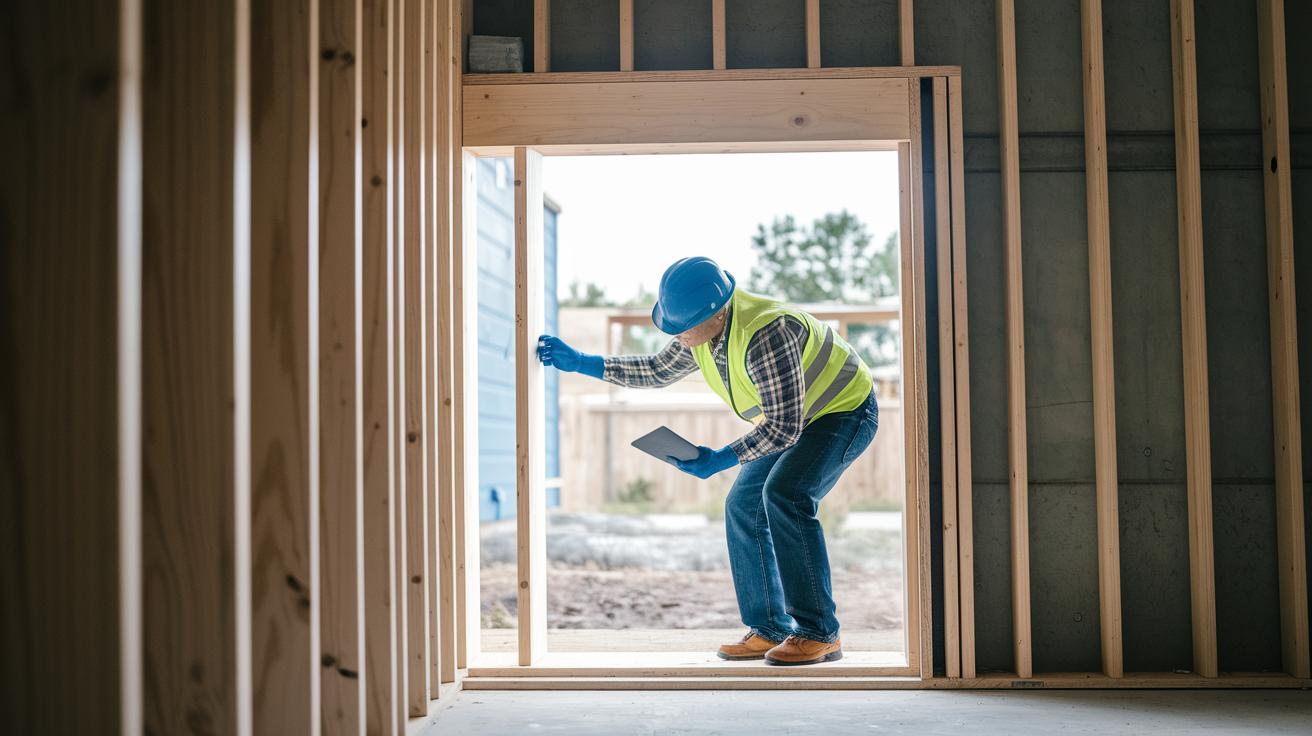
Once the frame is set, arrange a municipal inspection to confirm everything meets local rules. Add fire blocking between studs to slow fire spread and install foam insulation to boost energy savings. Also, check every opening meets fire-resistance guidelines and that insulation is installed correctly. These reviews make sure local codes are met and that the door opening will perform well over time.
Final Words
In the action, we broke down framing a door opening in a wall. You learned how to measure the rough opening precisely, remove wall finishes neatly, and set up temporary supports safely. Next, we explained cutting the soleplate, sizing the header, and installing king and jack studs for proper load support. By carefully following these steps, you can frame a door opening in a wall confidently while keeping your project safe and on budget. Every well-planned detail brings you one step closer to a successful home project.
FAQ
What does framing a door opening in a wall cost?
The framing cost factors include door type, lumber prices, header size, labor, and local building codes. Typical costs range from about $150 to $500 depending on material quality and required structural reinforcement.
How does building a door frame in an existing opening work for interior and exterior walls?
Building a door frame involves measuring door jamb dimensions, adding a ½″ wiggle space, tracing rough openings on plates, removing finish material, installing temporary supports, and cutting the header to size before fitting king and jack studs.
How does framing an interior wall with a door differ from regular wall framing?
Framing an interior wall with a door requires adding a header to support the load and installing cripple studs around the opening. Accuracy in stud spacing and door measurements ensures a proper fit and structural stability.
How does a doorway framing diagram help in construction?
A doorway framing diagram shows header placement, the location of king and jack studs, and sill cuts. It provides a clear visual guide for precise cuts, material placement, and ensuring proper support for the door.
How much space should be between a door opening and the wall?
The door opening should allow an extra ½″ around the door jamb. This wiggle space ensures proper adjustment during installation and compensates for slight unevenness in wall surfaces.
How do common mistakes affect wall framing?
Common mistakes include inaccurate measurements, incorrect header sizing, insufficient temporary supports, and neglecting stud spacing or local code requirements. Such errors can compromise structural integrity and complicate door installation.
Can I put a doorway in a load-bearing wall?
Adding a doorway in a load-bearing wall is possible with proper measures. It requires a correctly sized header with supporting king and jack studs and must comply with local codes; consult a professional to ensure safety.