
Ever considered changing your home's layout by framing a load-bearing wall? It might sound risky, but with a solid plan and proper safety measures, you can pull it off. A load-bearing wall supports key parts of your building, so every cut and brace matters. Our clear guide walks you through checking the wall’s role, setting up shoring (temporary supports), and scanning for hidden obstacles so you can transform your space safely and confidently.
Key Steps to Frame a Load-Bearing Wall Safely

Start your project with a clear plan. When you work on a load-bearing wall (a wall that carries the building’s weight), missing steps can lead to collapse or injury. Always use safety gear and follow the construction site safety rules (see https://neull.com?p=115). Before you cut anything, set up temporary shoring (temporary supports that hold up the structure).
A careful process helps you avoid surprises such as hidden wiring, plumbing, or ductwork. It also makes sure you get the proper permits and advice from experts, keeping your work safe and on track.
- Confirm that the wall is load-bearing.
- Get the required permits and expert input.
- Set up temporary shoring.
- Remove wall finishes and check for hidden utilities.
- Saw and remove the studs (vertical framing members).
- Install a header (support beam) and build the new frame.
Each step must be done with care. Check the wall’s role in the structure so you know what to do next. Use temporary supports to safely hold the weight of the building while you work. Look carefully for any hidden elements to avoid surprises. Following these steps will keep you safe and ensure that your new opening is strong and durable.
Assessing and Planning Before Framing a Load-Bearing Wall
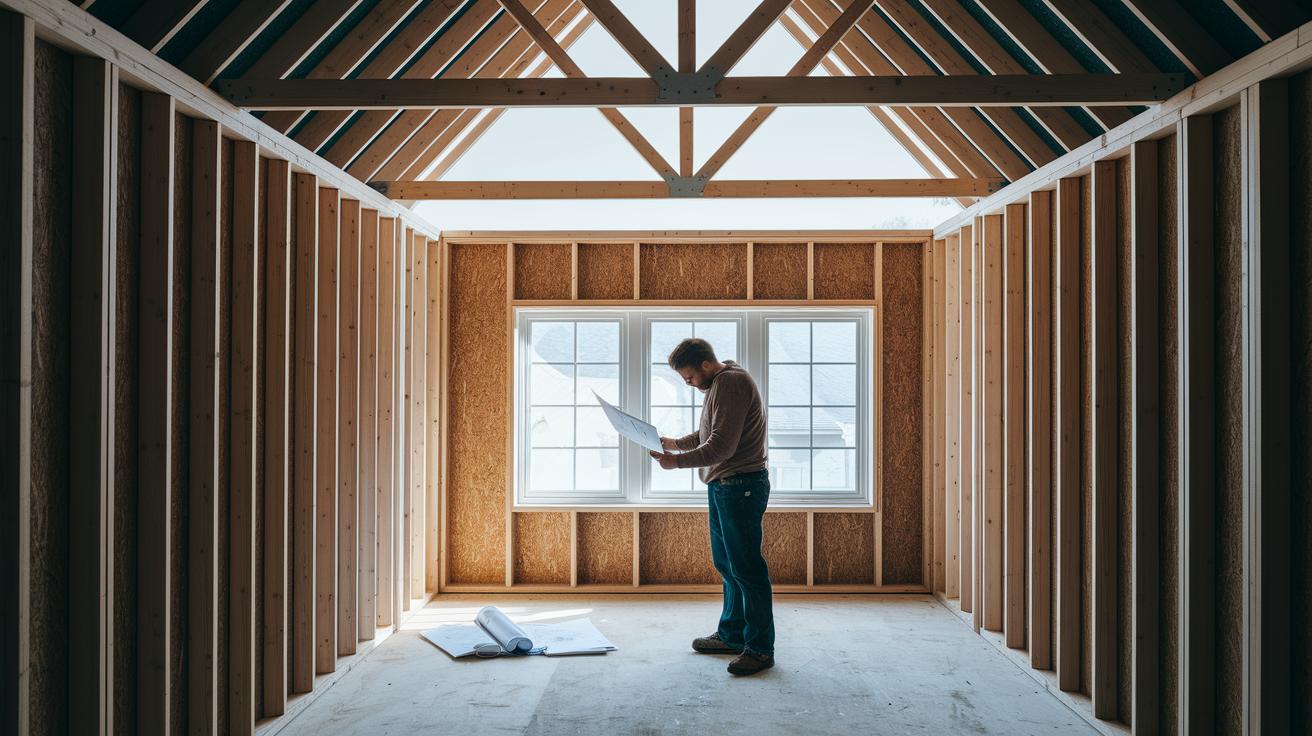
Before you start framing, trace how the load travels through your structure. Look at how forces move from the roof and upper floors down to the foundation. Check if the wall supports major parts like second-floor joists (horizontal floor beams that hold up the floor), roof parts, or even hidden systems such as plumbing and ductwork. If the wall connects directly to the roof beams, it means the wall carries the weight. This check helps keep your building safe.
Make sure you meet all local building codes and have the right permits. Many local rules need a detailed review, and sometimes a professional inspection is required to confirm the wall’s role. It is smart to consult a structural engineer, especially when finishes hide important details. Following permit procedures not only keeps you safe but also avoids future building or legal problems.
Finally, look for hidden utilities and other support functions within the wall. Check for concealed wiring, plumbing, or HVAC ducts. Also, note any openings for windows or doors and areas that support the roof. Mark these features and review past renovation plans if you can. This careful look ensures your project stays safe and sound before you move forward.
Tools and Materials for Framing a Load-Bearing Wall

Start with only the straightest 2x4s (actual 1.5 in x 3.5 in / 38 mm x 89 mm) for your top plates, bottom plates, and studs. Mark each stud so that the centers are 16 in (40.6 cm) apart, beginning the first stud at 15.25 in (38.7 cm). This method keeps your wall true and evenly spaced.
For headers, use two 2x components with a ½ in (1.3 cm) plywood piece sandwiched in between. This build gives your header extra strength for heavy loads. Measure and cut each piece carefully so everything fits neatly in the rough opening.
Gather your shoring and support gear before you start. Use shoring jacks, adjustable posts, and strong fasteners to hold the structure while you remove or adjust any load-bearing parts. This keeps your work area safe and stable.
When you need to remove old materials, use a 10 in (25.4 cm) jobsite saw with a dust-control port or a reciprocating saw. Always wear safety gear, like eye protection and gloves, to keep yourself safe as you cut and assemble.
Installing Headers and Load-Transfer Components in a Load-Bearing Wall

A load-bearing header carries weight from above over doors, windows, or other openings. It is made with two 2x pieces (for example, a 2×6 [actual 1.5 in x 5.5 in / 38 mm x 140 mm]) and a ½ in (12.7 mm) plywood spacer in between to spread the load evenly. This setup not only supports the roof or second story but also keeps the wall steady when you make an opening.
| Rough Opening Width | Header Configuration | Max Load Support |
|---|---|---|
| 3 ft (0.91 m) | 2×6 + ½ in plywood + 2×6 | Single-story |
| 4 ft (1.22 m) | 2×8 + ½ in plywood + 2×8 | Single-story |
| 6 ft (1.83 m) | 2×10 + ½ in plywood + 2×10 | Double-story |
| 8 ft (2.44 m) | 2×12 + ½ in plywood + 2×12 | Double-story |
Measure your rough opening carefully and cut each header piece to fit. Use approved fasteners like lag screws or nails to secure the two 2x pieces and the plywood spacer together. Make sure each part lines up perfectly for a snug fit.
Before you add the wall studs, check that the header is both plumb (vertically straight) and level (horizontally even). Drill pilot holes if needed to avoid splitting the wood, and tighten the fasteners slowly. If you spot even a slight lean, use shims to adjust it until the header is perfectly straight.
During installation, add temporary shoring to support the structure until the header is fully secured. This extra step eases stress on the wall while you remove or adjust studs. Double-check the header’s alignment using a level along its top and bottom edges. Following these steps ensures the header safely carries the load above and keeps your load-bearing wall strong and reliable.
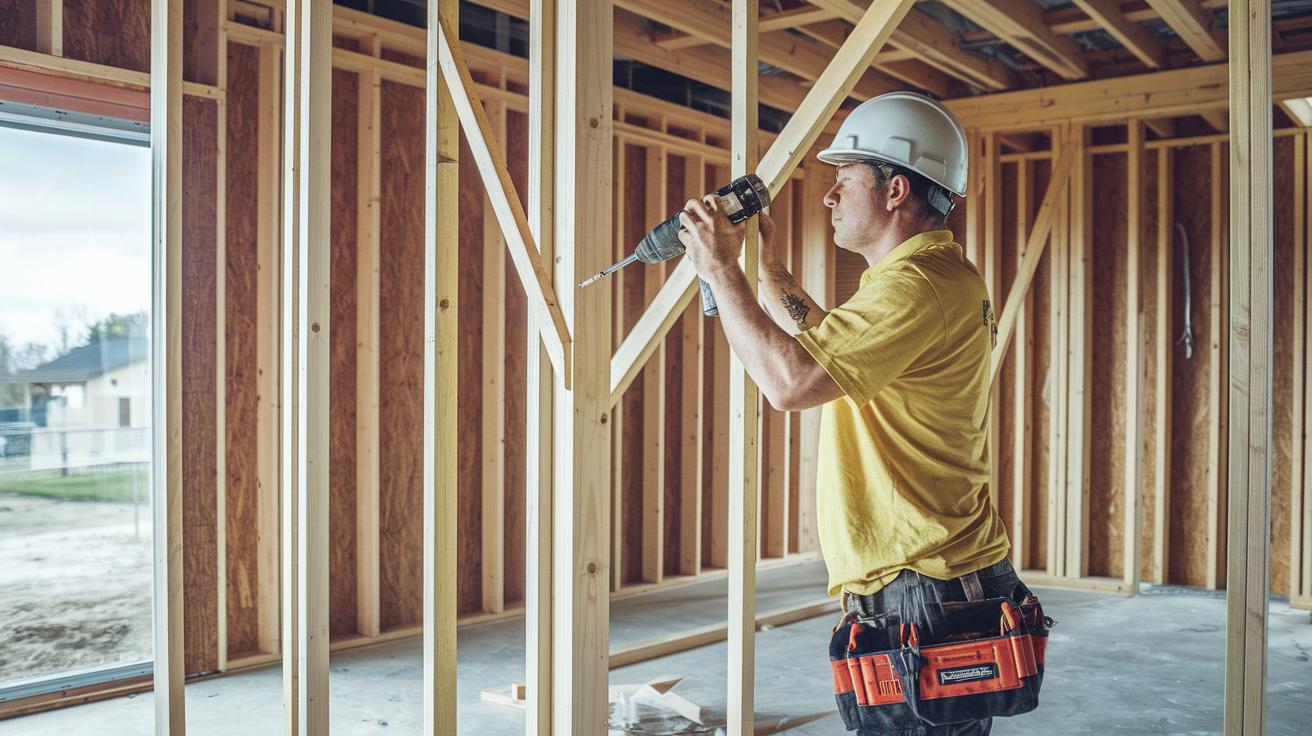
Erecting Studs and Plates for Optimal Load Distribution in a Load-Bearing Wall

Start by choosing two straight 2×4 plates (actual size: 1.5 in x 3.5 in / 38 mm x 89 mm). Mark stud positions every 16 in (40.6 cm) from center to center. Make your first mark at 15¼ in (38.7 cm) to show the stud’s left edge. Use a tape measure and a carpenter’s square to check your work along the wall. Also, mark spots for window and door openings, T-junctions, and corners. This clear layout helps ensure the studs distribute weight correctly.
Next, raise the studs by lining them up with your pre-marked plates. Secure each stud and check that they are plumb (vertically straight) at all times because even small misalignments can affect load management. Pay close attention to stud spacing around openings and corners for steady support. For extra help, look up a step-by-step guide on framing a wall.
Finally, double-check that everything is level, square, and properly aligned to build a safe, strong frame.
Securing and Reinforcing a Framed Load-Bearing Wall
Start by adding diagonal bracing. Install 2x4s (actual 1.5 in x 3.5 in / 38 mm x 89 mm) diagonally across the studs to keep the wall plumb (vertical) before adding the sheathing. This step cuts down on side-to-side movement and makes the frame firmer.
Next, use T-framing for interior corners. Fasten a short 2×4 across the corner to form a T joint that supports sheetrock installation. For example, position the 2×4 so its vertical leg strengthens the meeting of two walls.
There are two ways to frame corners. One method uses a single stud with an extra blocking piece, which works well for lighter loads. The other method adds extra studs for a sturdier corner, perfect when the wall must handle heavier loads or needs extra stiffness. Pick the option that best fits your wall’s load needs.
Finally, install a double top plate to evenly spread out ceiling, floor, or roof loads. Place the first plate flush against the studs and secure a second plate on top. This layered setup locks your framing together and ensures the load transfers safely. Always check that the plates are level and firmly fastened.
Inspections, Permits, and Expert Tips for Framing a Load-Bearing Wall

Before you start, check with your local building department for permit rules. Set up inspections at key stages to make sure your framing meets every safety code.
Work closely with local inspectors to know which tests and certificates you need. Apply for permits early so your project stays on track. Plan your timeline so each critical phase is inspected and any issues are caught early.
If you run into problems like hidden wiring, plumbing, or unsure wall roles, call in a professional. A structural engineer (a specialist who checks a wall's support) with 20 years of experience can spot problems like weak supports or headers that are too small. Their guidance removes guesswork and ensures your work follows both the International Residential Code and local rules.
Don’t make common mistakes like missing hidden utilities, skipping temporary supports, or straying from the design plans. Save money and avoid repairs by double-checking your measurements and making sure every step meets building codes. If you notice signs of stress or uneven load distribution, call a pro right away to review your plan. Always compare your work against current codes, update your plans when needed, and keep a clear record of each inspection and adjustment for a safe, code-compliant renovation.
Final Words
In the action, we broke down the project into clear steps, from assessing support and checking for utilities to installing headers and reinforcing with precision. We covered essential tools, materials, and permit requirements to keep your work safe and up to code.
Taking structured safety measures and expert advice can make all the difference. Stay focused and positive when framing a load bearing wall, and your project will be built to last while keeping your schedule and budget on track.