
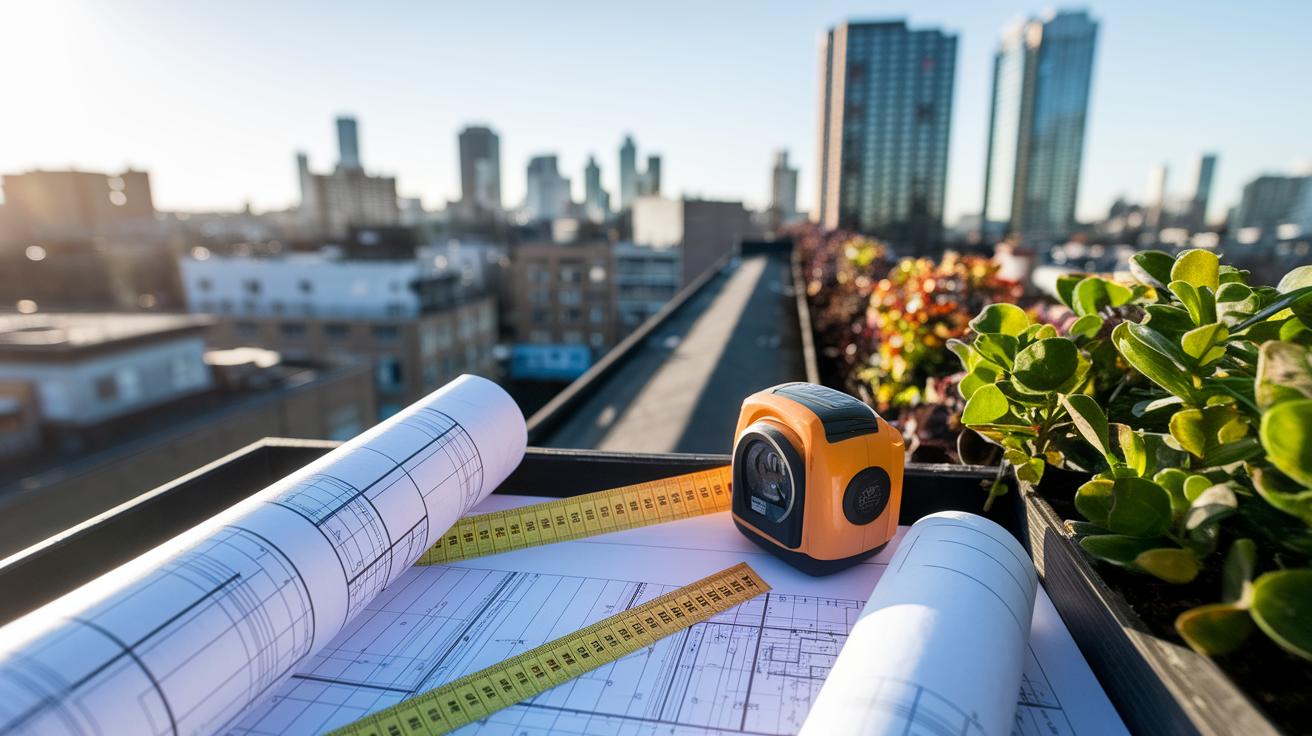
Ever thought your old roof might hide a secret? You can turn that unused space into a green retreat that saves money, protects your building, and helps the planet. A green roof lowers energy bills, cools your home on hot days, and gives you a natural escape in the city.
This guide shows you how to plan your project, add a waterproof layer (a seal to keep water out), and set up the planting trays. Follow these steps for a roof that not only looks good, but works hard to cut costs and boost your home's energy efficiency.
Overview of the Green Roof Installation Process
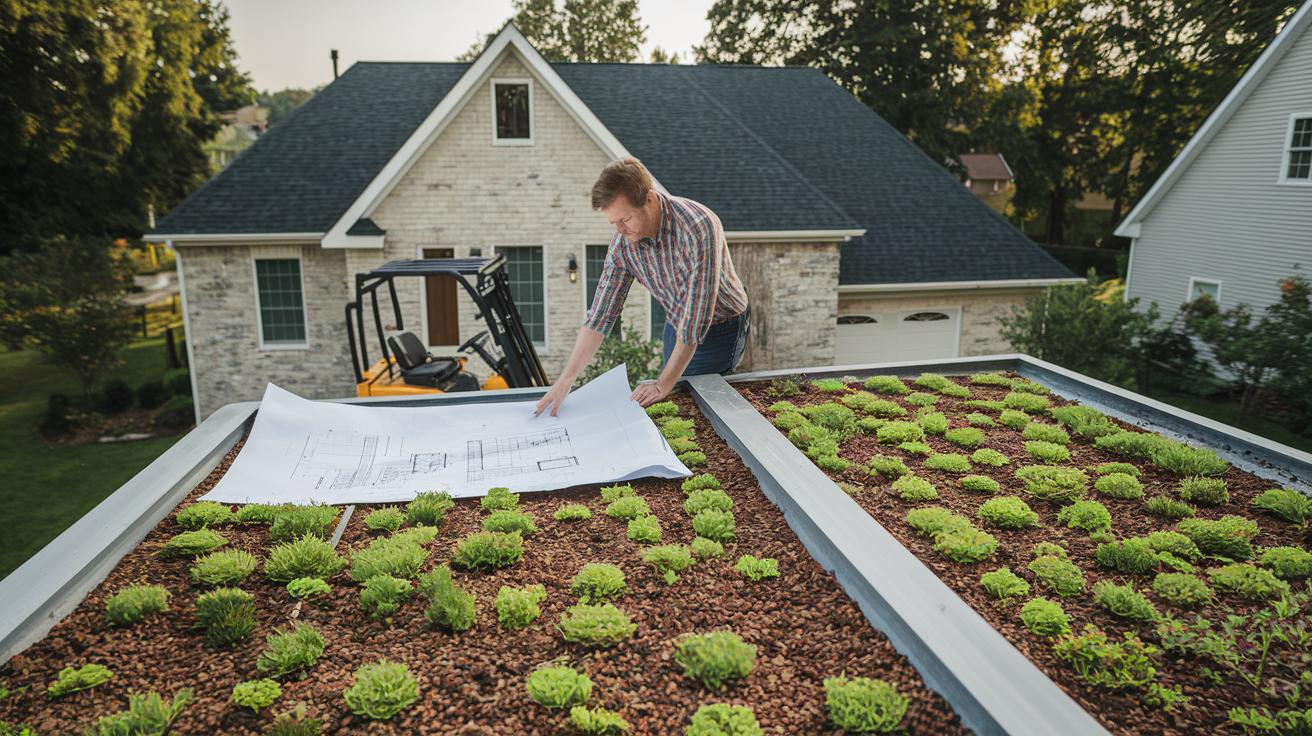
Start by planning your green roof design. Measure your rooftop’s dimensions and slope (at least 0.25 in [6.35 mm] per 1 ft [0.3048 m] for proper drainage) and review your local climate conditions. Also, check the roof’s structure to ensure it can handle extra weight, most roofs support about 25 psf (approximately 122 kg/m²), though wet trays can add around 30 psf (roughly 147 kg/m²). Always measure carefully to steer clear of issues later on.
Next, set up your waterproofing. Install a primary waterproofing membrane, then add a rubber roofing membrane that also acts as a root barrier. This layered approach protects your building and makes your green roof last longer. Think of it like slipping on a raincoat before you head out.
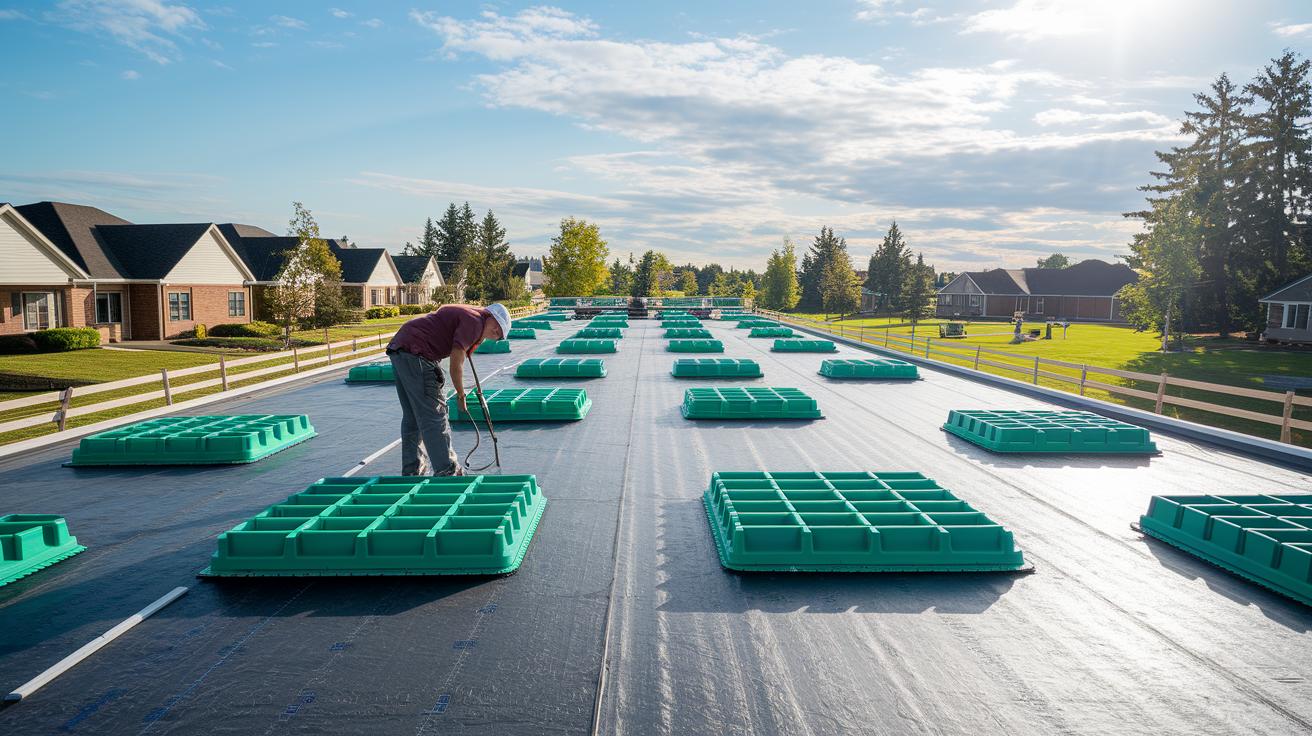
With the site ready, it’s time to lay down the modular trays. Unpack each black polypropylene tray, sized 1 ft x 2 ft (about 30.5 cm x 61 cm) and weighing around 40 lbs (18 kg). Begin at the lowest corner of the roof. Use temporary L-shaped aluminum edging with weights to hold the trays in place. Fit each tray by aligning its overlapping plastic lips and be sure to leave a gap of 0.5 in (1.3 cm) for water runoff. If a tray doesn’t match the roof’s edge, trim it with a gas-powered concrete saw.
Then, insert soil elevators that are 4 in (10 cm) tall in each section. After laying several rows, remove these elevators carefully so the soils touch and bond together. Secure the aluminum edging with exterior-grade screws as you work across the entire roof. Finally, water the assembly to help settle the soil and kick off your regular maintenance routine.
Designing and Planning Your Green Roof Installation
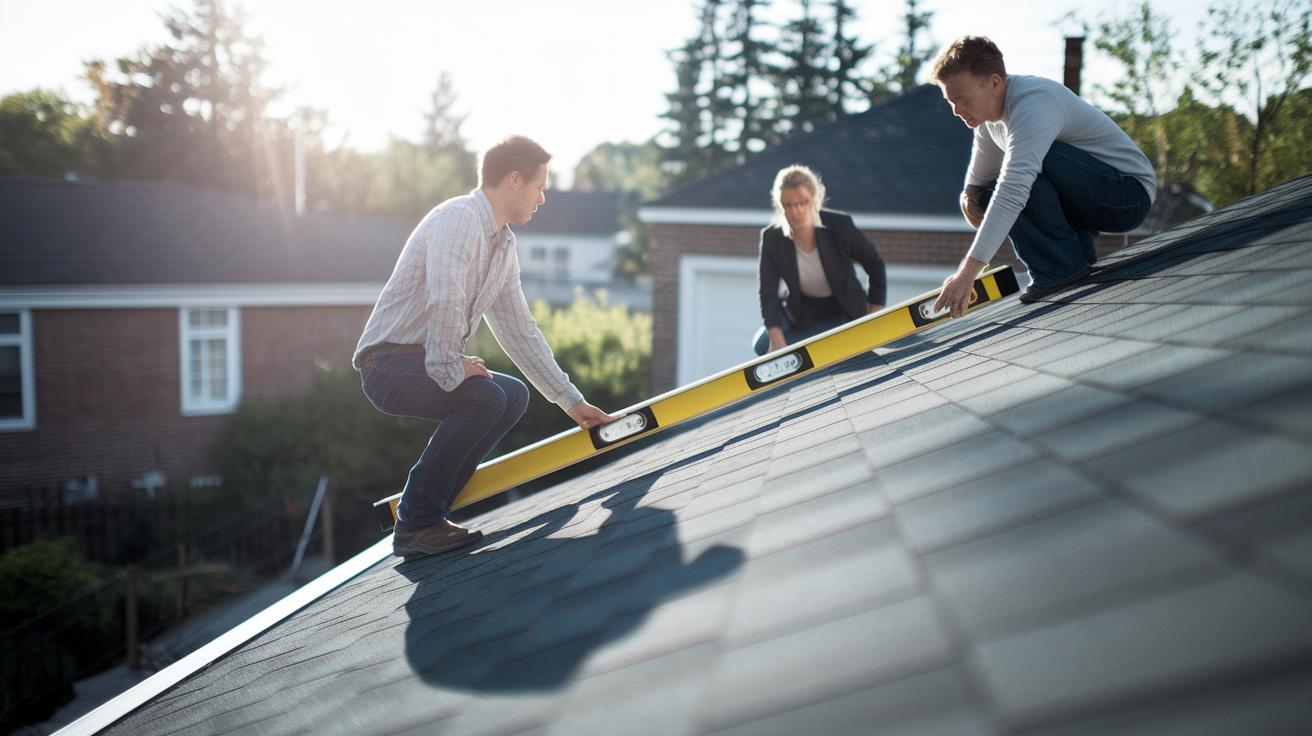
Start by checking the size and angle of your roof. For water to drain correctly, the surface should have a slope of at least 1/4 in per foot (about 6 mm for every 0.3 m). Measure your roof carefully so you know how much material you need and to see if the project is doable.
Next, look at your local weather. Check average rain and extreme temperatures to pick plants that will thrive. One homeowner even found that a smart design not only saved water but also lowered energy bills.
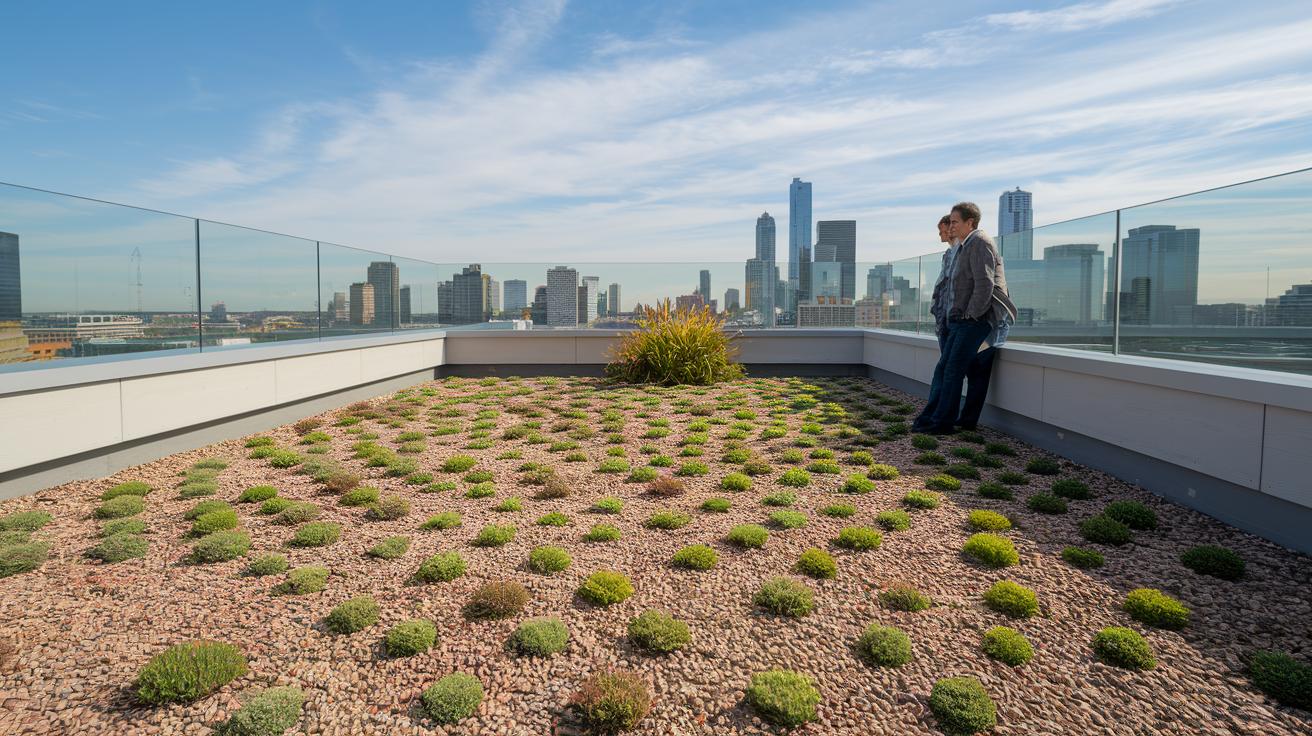
Choose between two main options. An extensive system uses a thin layer of growing medium and lighter plants for an easy-care setup. An intensive system allows for deeper soil and supports a wider variety of plants. Think about your building limits and design goals before you decide. Then, select plants that match your local climate; hardy sedums and succulents work great for low-maintenance roofs, while more decorative plants might be an option if your roof can handle extra weight.
Finally, decide if you will tackle this urban green roof as a DIY project or if you need professional help.
| Step | Action |
|---|---|
| 1 | Measure rooftop dimensions |
| 2 | Check drainage slope |
| 3 | Review climate conditions and plant needs |
Good planning leads to a green roof that is not only attractive but also practical, boosting curb appeal and lasting performance.
Assessing Structural and Waterproofing Requirements for Green Roof Installation
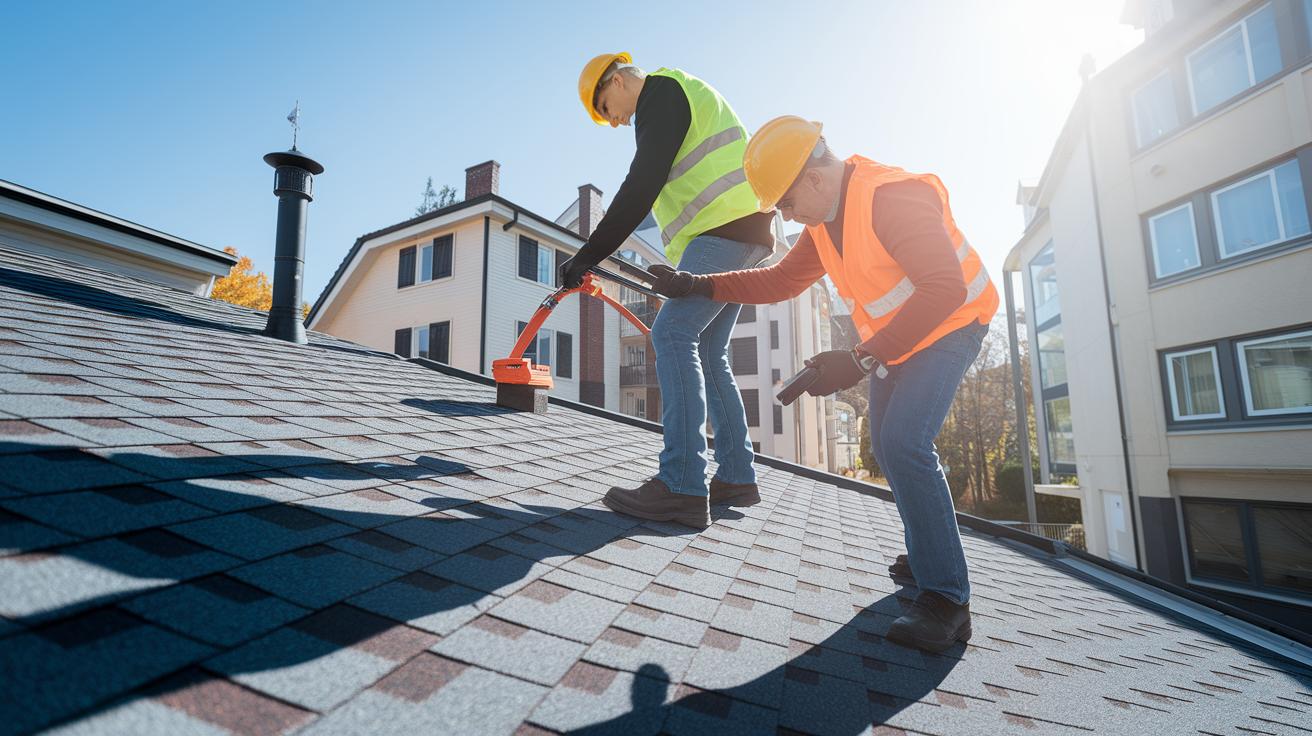
After you complete the initial load test and membrane installation, make regular checks to catch early signs of stress. Use a moisture meter or an infrared camera to spot weak areas. Start with a visual scan, look for small bubbles or color changes on the waterproof layer that may signal early deterioration.
Carry out a full structural inspection at least once a year. Check for sagging, water stains, or loose fasteners. Have your engineer review any changes in the roof’s load capacity and investigate alerts from monitoring devices.
Also, maintain the waterproofing layers. Try a flood test by applying water to a controlled area to see if leaks appear. Run your hand gently over the membrane; a rough or peeling feel, or any cracks and root intrusion, means repairs are needed.
| Inspection Step | Guideline |
|---|---|
| Structural Check | Check for sagging and water stains; involve an engineer to reassess the roof’s load capacity each year |
| Waterproofing Inspection | Use visual, touch, and flood tests to verify the membrane stays intact and leak-free |
| Long-term Maintenance | Review the roof annually and repair weak spots promptly to reduce overall stress |
Regular upkeep like this helps keep your green roof safe and effective.
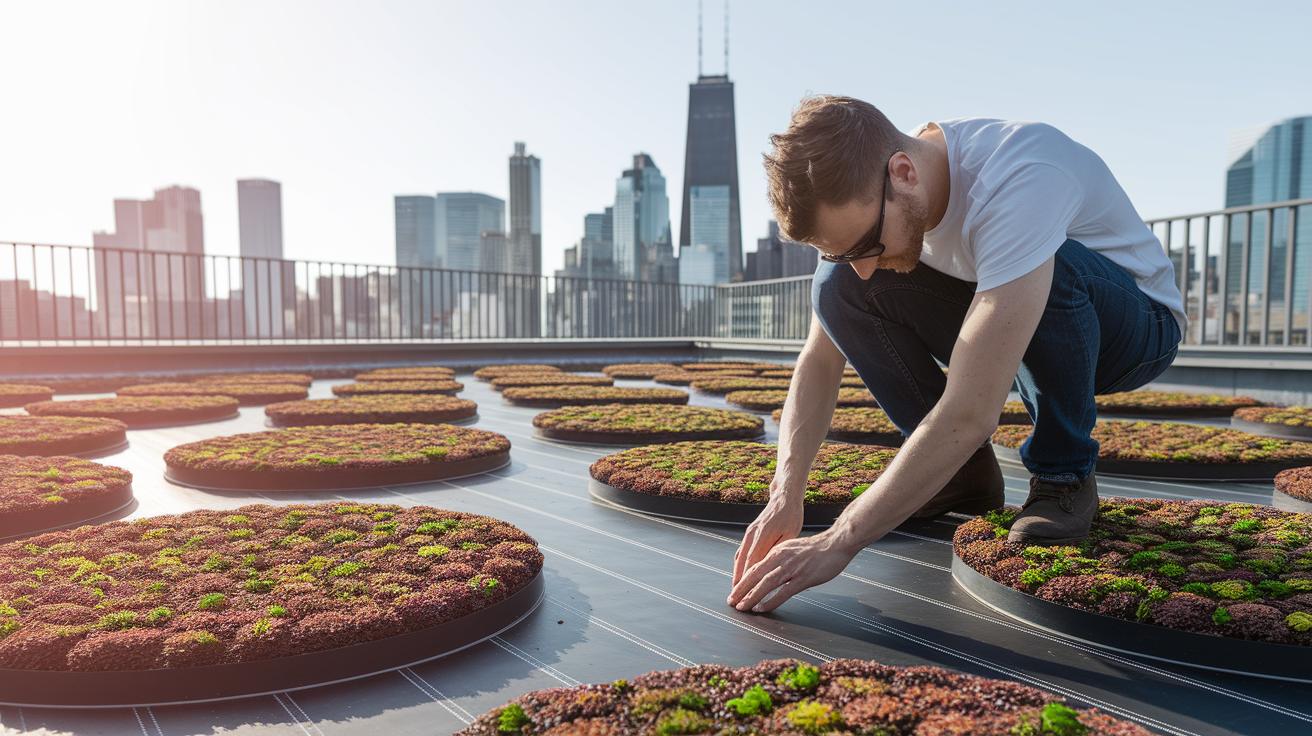
Installing Modular Trays in the Green Roof Installation

Start by unpacking your 1×2 ft (actual approx. 1.5 in x 3.5 in / 38 mm x 89 mm) polypropylene trays from the stacked racks. One homeowner mentioned, "I opened the last box and was impressed by the sturdy design."
Begin at the lowest corner of the roof to guide water runoff. Lay an L-shaped aluminum edging along this side and secure it with temporary weights. Always wear eye protection and gloves when handling sharp edges or heavy trays.
Connect the trays by overlapping their plastic lips and leave a ½ in (1.3 cm) gap between them for proper water flow. If you need to adjust a misaligned tray, trim it carefully with a gas-powered concrete saw fitted with a masonry blade. Quick tip: precise cuts help keep your layout uniform.
After each row, insert soil elevators about 4 in (10 cm) high to lift the growing medium. This ensures good soil-to-soil contact and proper insulation. As you build the assembly, gradually remove these supports.
Fasten the aluminum edging with exterior-grade screws to secure the complete tray setup. Finally, water the trays to settle the soil and stabilize the structure before you continue with further maintenance or planting.
Cost Analysis and ROI of Green Roof Installation
When planning your green roof project, you need to consider several main cost parts. First, check if your roof needs extra support. Your current roof might require additional reinforcement to handle the extra weight, which will add to the initial cost. Next, you’ll have to install a waterproofing membrane. This layer stops leaks and helps your roof last longer. Then come the modular tray kits. These pre-planted trays simplify the job, but they do cost more because of the design and materials. Finally, labor is another expense. Professional installers ensure that your green roof is built right for long-term use. For a cost breakdown per square foot, check our average cost for roof installation.
Energy savings are a big part of the return on investment. A green roof can cut your heating and cooling bills and lower stormwater fees. Plus, a longer-lasting roof membrane and an increase in property value add more long-term savings. Tax incentives and rebates can also help reduce these upfront costs. One homeowner said, "After installation, my energy bills dropped noticeably, making the upfront investment worthwhile." With careful planning, your green roof becomes a smart, financially sound eco upgrade.
Maintenance Strategies for Long-lasting Green Roof Installation
Keep your green roof healthy with regular, hands-on care. Begin by inspecting your roof each season. Walk the roof and check drainage paths and the waterproofing layer. Look for cracked or bubbling spots on the surface. Think of it like checking your car’s brakes, catch small issues before they turn into big repairs.
When you go through a dry spell and get less than 1 in (2.5 cm) of rain over 4 weeks, give your roof a gentle watering. Use a self-coiling garden hose with light water pressure. This provides sedum (a low-growing ground cover) a neat drink without soaking it too much.
Once a year, trim the sedum like you might give a plant a haircut. Cut away dead growth to encourage fresh, healthy expansion. Follow soil test guidelines to add fertilizer. This simple step keeps your plants strong and the soil nutrient-rich. Also, be sure to pull out any weeds and fix signs of erosion quickly.
Finally, after heavy rain, check that the soil remains evenly spread and not too compact. Make sure drainage isn’t blocked and no patches have dried out. This careful upkeep will help your eco-roof perform well for years to come.
Design Options and Plant Selection for Green Roof Installation
Select drought-tolerant sedum species like Sedum acre, Sedum album, and Sedum spurium for your rooftop. These plants need little water and add a unique texture to your living roof. Sedum acre thrives in dry conditions, giving urban spaces a rugged look.
Mix succulents with flowering sedums to create a colorful display that also attracts pollinators. This blend boosts biodiversity and supports local ecosystems.
Tailor your substrate depth to your roof system type. For an extensive green roof, use 2–3 in (5–8 cm) of growing medium to keep it light and easy to care for. For a semi-intensive roof, opt for 4–6+ in (10–15+ cm) to support a wider range of plants and richer soil.
Match your plant choices with your building’s style. Consider how colors, textures, and heights work together. Try layering short ground covers with taller flowering plants for a vibrant, eco-friendly retreat.
Regulations and hiring a professional for green roof installation
Before you begin, make sure your project meets local permits and building codes. Vegetated roofs have rules about how much weight they can hold, drainage, and waterproofing. This means your roof needs to support extra weight and direct water away to avoid leaks. Check with your local building department to see what permits you need. Missing the right permits can hold up your project.
When picking a contractor, choose one who is certified for living roof (eco-roof) installations and has special training. They should show proof of their certifications and how they meet building standards. Look at their past work and ask for references to be sure they have a good track record. One proven system is the GreenGrid modular system by Weston Solutions, Inc., used since 2001, which follows standard industry practices.
Follow these steps when vetting contractors:
- Ask for their certification details.
- Review portfolios of past installations.
- Confirm they know local building codes and permit processes.
- Request written estimates that show how they meet safety standards.
Doing your homework ensures your green roof is safe, follows the rules, and works as planned.
Final Words
In the action, we covered every aspect of a green roof installation. We broke down the design, planning, and structural assessments with waterproofing details. You got a step-by-step guide on installing trays, understanding costs, and keeping your roof well maintained. We also touched on plant selection and navigating permit rules or hiring a pro. This guide makes each stage repeatable and affordable. Keep these steps in mind to achieve a lasting, energy-saving green roof installation that enhances both your home and budget.
FAQ
FAQ
Green roof installation near me
Green roof installation near me signals local service providers who specialize in installing living roofs on residential and commercial buildings, making it easier to compare options and schedule a site evaluation.
How much does it cost to install a green roof?
Green roof installation cost covers materials, labor, waterproofing, and possible structural upgrades. Expenses typically range from $15 to $40 per square foot (approx. $161 to $431 per m²) based on project size and location.
How can I complete a residential or DIY green roof installation?
Residential and DIY green roof installation involves planning for proper waterproofing, structural support, and plant selection. Homeowners can tackle smaller projects using modular tray systems or hire professionals for more complex builds.
Is there a video guide for green roof installation?
Video green roof installation provides visual step-by-step instructions that show everything from waterproofing to tray placement, offering a practical reference for both DIY enthusiasts and professionals.
Where can I find green roof construction details and drawings?
Green roof construction details and drawings include PDFs or blueprints that outline tray layout, waterproofing layers, and installation sequencing, serving as essential guides for accurate project planning.
What are the structural requirements for a green roof?
Structural requirements for a green roof mean checking roof load capacity, ensuring proper pitch for drainage, and verifying that the building can support the additional weight of soil, vegetation, and water.
How is a green roof installed?
Green roof installation starts with evaluating the roof structure, applying waterproof membranes, placing modular trays with overlapping lips, securing edging, and finishing with initial watering followed by regular maintenance.
What are the disadvantages of green roofs?
Disadvantages of green roofs include higher upfront costs, added maintenance, potential structural load concerns, and installation complexity, which can complicate compliance with local building codes.