
Ever wonder how a new roof can transform your home? A fresh roof is more than just protection from rain. It boosts curb appeal, raises your property value, and keeps your family safe. This guide lays out eight simple steps, from inspection through final cleanup, to help you choose the right contractor and finish the job with ease. Ready to see how a well-installed roof makes your home both safe and stylish? Let’s dive in.
Comprehensive Home Roof Installation: Key Stages, Contractor Selection, Timeline & 8-Step Guide

The roof installation job breaks down into eight clear steps. First, inspect the roof and plan the work. Next, prepare your work area. Then remove old materials, repair the deck, add a metal drip edge, apply underlayment with an ice barrier, put in flashing and vents, and finally, lay the shingles and cap the ridge. For small homes, this might take 1 day. Bigger houses could need 2–3 days. Asphalt shingles usually hold strong for 20–25 years when they are properly installed and maintained.
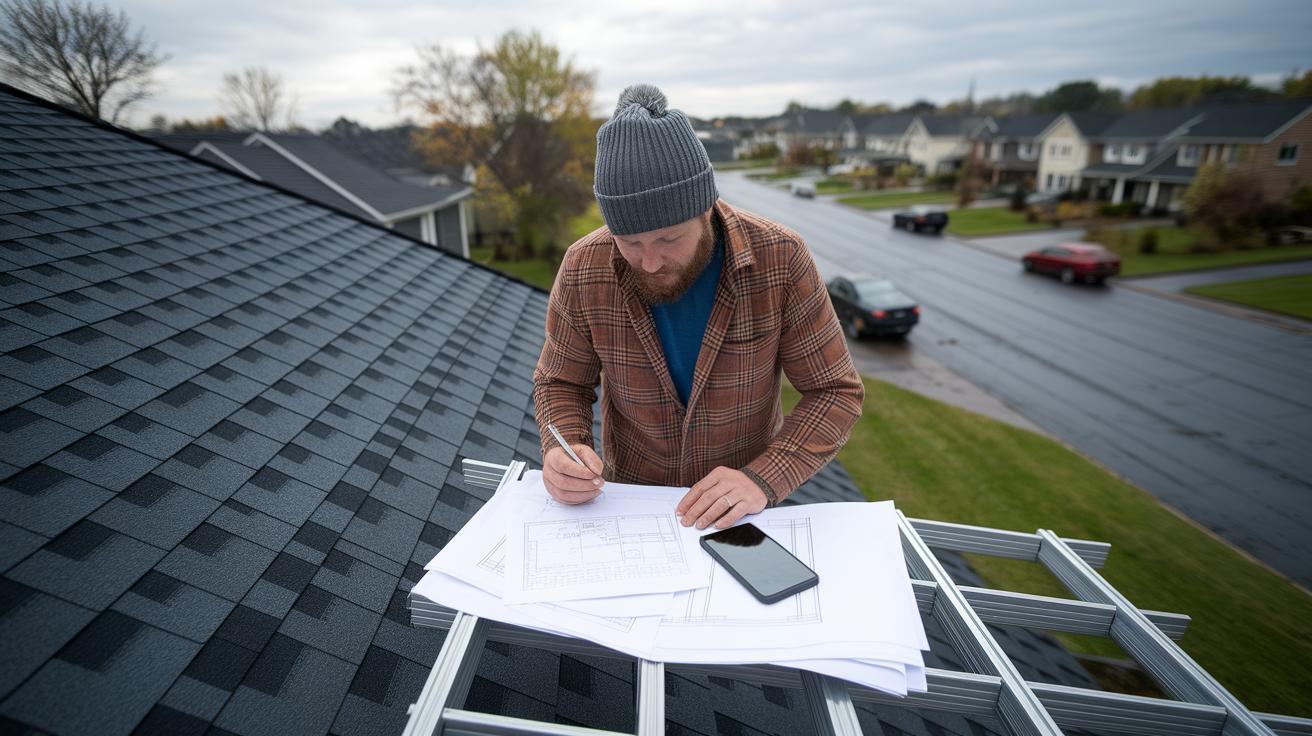
When choosing a contractor, make sure they have a current license, follow local building codes, and can work on weekends if needed. This helps keep the job safe, smooth, and on schedule.
-
Inspection and planning: Check the roof deck and overall structure. Look for areas needing repair and note any loose nails or weak spots.
-
Work area prep: Cover plants and outdoor features with large tarps. Clear the area and have a dumpster ready for debris.
-
Tear-off: Remove old shingles and underlayment with care. Gather the loose nails with a magnet or in a container for safety.
-
Deck repair: Look over the roof decking and replace damaged parts using 1/2 in CDX plywood (actual 1/2 in thick). Secure new panels with 1 1/2-inch nails.
-
Drip edge installation: Install metal drip edges along the eaves. Use 1.25-inch nails every 2 ft (approximately every 0.6 m). Trim the edge neatly with tin snips to steer water away.
-
Underlayment and ice barrier: Lay a self-stick ice and water barrier where required by local codes. Then, add a layer of 15-lb felt paper for extra water resistance.
-
Flashing and vent installation: Fit flashing around roof features and vents. Seal nail heads and joints with roof sealant to keep water out.
-
Shingle and ridge cap installation, final check, and cleanup: Begin with starter shingles that overhang slightly. Install the remaining shingles using five 1.25-inch zinc-coated nails per shingle above the adhesive strip. Overlap shingles on the ridge to form a cap. Finish the job with a thorough inspection and clear away all debris.
Comparing Roofing Materials for Home Roof Installation: Asphalt, Metal & Eco-Options

Choosing the right roof is important for protecting your home against the elements, staying on budget, and boosting curb appeal. Your choice affects how long your roof lasts and how much care it needs. Each option has its own lifespan and installation steps, so knowing the strengths and weaknesses helps you pick what works best for your local weather and design style.
- Asphalt shingles last about 20–25 years. They come with sticky layers that hold them in place, making them affordable with good impact resistance. Note that they may fade over time.
- Metal panels are known for long life and low upkeep. They need proper valley flashing (metal pieces used at roof valleys to keep water out) to avoid leaks. Check out Metal Roof Installation for detailed guidance.
- Wood shingles create a classic, natural look, but they need regular maintenance and can be more affected by changing weather.
- EPDM (rubber) membranes work well for low-slope roofs. They are waterproof and durable, although installing them can be tricky, so you might want professional help.
- Solar-ready systems are built to easily support photovoltaic panels, which help increase energy efficiency. They cost more at first but add long-term value.
For extra protection, consider the underlayment. In areas with strict codes, self-stick ice-and-water barriers are a must. In milder climates, 15-lb felt paper (15 pounds per 100 square feet / about 6.8 kg per 9.3 m²) might work, but harsher conditions may require the heavier 30-lb felt variant.
Match your roofing material to your local weather, design vision, and how much upkeep you can manage.
Residential roof installation: Stunning Results for Homeowners
Before you start any roofing project, check permit triggers. A quick initial inspection makes sure your roof deck, flashings, and overall building envelope meet standards. You might need reports or material lists to show everything complies with local codes. Getting an inspection before the tear-off phase saves time and avoids extra costs. Make sure your work plan matches permit rules to keep your project running smoothly and protect your investment.
Choosing the right materials is key. In heavy rain or freezing weather, you may be required to use self-stick ice-and-water barriers. Local codes might also call for a specific underlayment, like 15-lb felt paper (commonly used) or the heavier 30-lb version when weather demands it. At the same time, take safety seriously. Check the weather, plan safe access routes, and use fall-protection gear every time you’re on the roof. Following these steps not only meets code but also helps you build a durable roof that looks great and lasts.
Key Timeline & Cost Factors for Home Roof Installation

The time it takes to install a new roof depends on your home's size. For a small home under 1,500 sq ft (about 139 m²), the work is usually done in 1 day. A medium home, between 1,500 and 3,000 sq ft (about 139-279 m²), generally needs about 2 days. Larger homes above 3,000 sq ft (over 279 m²) can take 2 to 3 days. This simple timeline helps you plan and coordinate your materials and labor.
| Home Size | Installation Time |
|---|---|
| Small home (under 1,500 sq ft) | 1 day |
| Medium home (1,500–3,000 sq ft) | 2 days |
| Large home (over 3,000 sq ft) | 2–3 days |
Costs come into play with these time frames. Materials, labor, disposal fees, and permits are the main factors that set the price. For example, the type and quality of asphalt shingles (or alternatives) affect both the upfront cost and long-term upkeep. Labor rates and fees to remove old materials can add to the total expense. If paying all at once is tough, consider low-interest loans or installment plans. A roofing price calculator can give you a custom estimate so you can budget correctly. Always match your financing choice with your home's layout and roofing needs to avoid unexpected costs.
Maintenance & Warranty Insights After Home Roof Installation
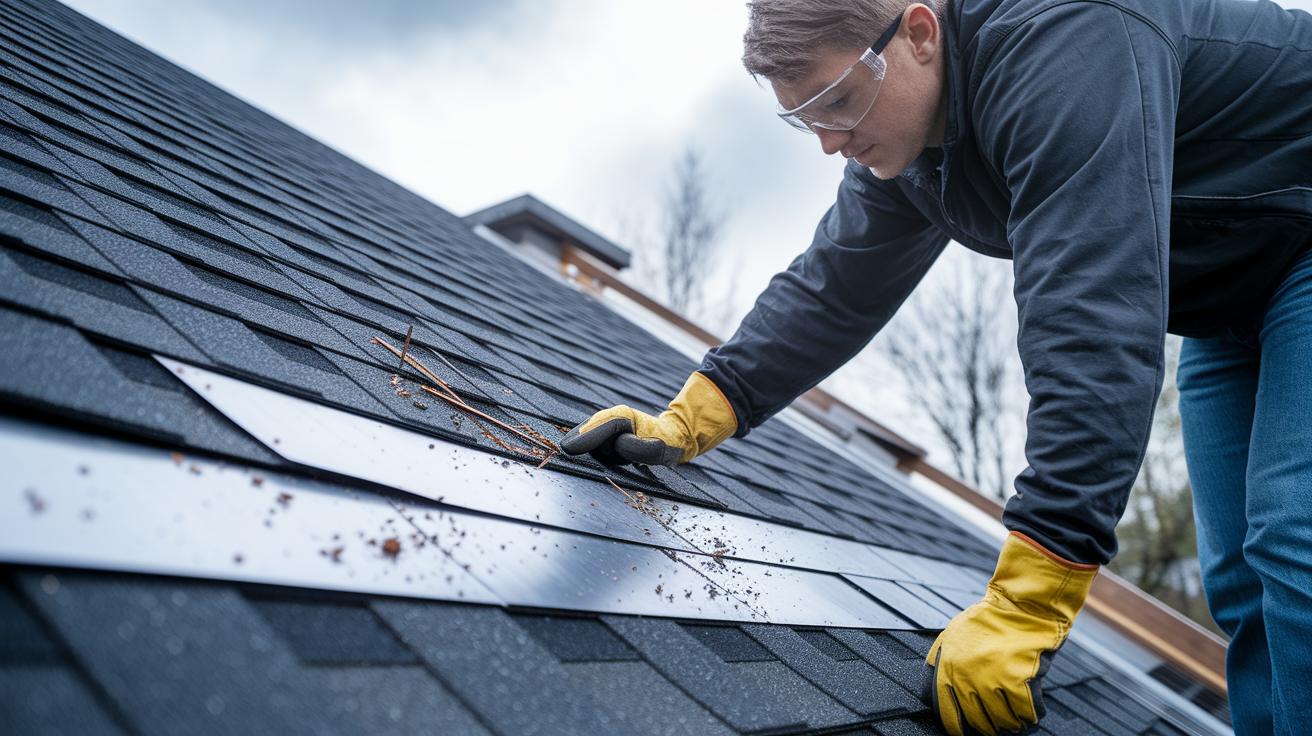
After a heavy storm, clear off any debris left on your roof. Walk around and look for loose leaves, branches, or any damaged spots. Check the metal flashings (the thin strips where the roof joins other surfaces) to make sure they are still secure. Removing loose granules and fixing small damage early helps stop bigger problems later.
Choose a strong sealant like Lexel to cover exposed nails and vent flashings. Follow the manufacturer's instructions for application and drying times. This step keeps water from sneaking in and cuts down on the need for extra repairs.
Register your warranty right away and schedule a detailed inspection during the first year. When you meet with your installer, confirm the work meets top Original Equipment Manufacturer (OEM) standards. Ask them to point out any areas that might need attention as the roof settles. Taking these steps helps you fix early issues fast and keeps your warranty intact, so your roof stays strong for many years.
Final Words
In the action, the guide walked you through each step, from planning and prep to tear-off, repairs, and final cleanup. It highlighted the eight key stages, realistic timelines, and detailed contractor vetting tips to keep your project safe and on budget.
Every detail builds your confidence for a successful residential roof installation. Keep these steps handy to avoid surprises and maintain quality. Enjoy the process and watch your home transform for the better.
FAQ
Q: What is the residential roof installation cost?
A: The residential roof installation cost depends on materials, labor, and location. It typically increases with home size and design complexity, so expect variations based on the specific project and regional pricing.
Q: How does the roofing process work step by step?
A: The roofing process step by step includes inspection and planning, removal of old materials, deck repair, underlayment installation, shingle application, and final cleanup. Each stage follows specific safety and material guidelines.
Q: What is involved in the new roof installation process?
A: The new roof installation process involves careful planning, tearing off the old roof, repairing the deck, applying underlayment and ice barriers, installing shingles with proper nails, and finishing with a thorough final inspection.
Q: How does a roof installation diagram help?
A: A roof installation diagram helps by visually outlining the order of components like drip edge, underlayment, shingles, and flashing. It assists in understanding how each part fits into the overall roof setup.
Q: What does Home Depot roof installation include?
A: Home Depot roof installation includes access to vetted contractors, clear project timelines, material options, and sometimes financing plans. It aims to provide a reliable, hassle-free experience for homeowners.
Q: How does Lowe’s roofing installation work?
A: Lowe’s roofing installation works by offering material selection guidance, contractor referrals, and a structured installation process. Their service aims to deliver cost-effective and efficient roofing solutions for homes.
Q: How is the overall roof installation cost determined?
A: The overall roof installation cost is determined by factors such as home size, roofing materials, labor rates, and permit fees. Detailed estimates consider each of these elements, ensuring transparent pricing for homeowners.
Q: How does roof installation financing help homeowners?
A: Roof installation financing helps homeowners by offering flexible payment plans or loan options, making it easier to manage the upfront cost of installing a new roof and easing the financial burden.
Q: What is the average cost to put a roof on a house?
A: The average cost to put a roof on a house varies based on home size, chosen materials, labor expenses, and permits. Regional market differences also play a significant role in the final pricing.
Q: What does the 25% rule in roofing mean?
A: The 25% rule in roofing means that if 25% or less of the shingles are damaged, repair may be an option instead of a complete replacement, though local building codes and conditions will guide the decision.
Q: What is the average cost of a new roof in Arkansas?
A: The average cost of a new roof in Arkansas is typically lower than the national average due to local labor and material costs, but it will vary with the roof’s size and the specific materials used.
Q: What is the average cost of a new roof in Virginia?
A: The average cost of a new roof in Virginia reflects regional factors such as higher labor or material expenses and weather-related requirements, leading to pricing that aligns with local market conditions.