
Ever noticed how a small piece of metal can play a big role in protecting your home? Roof flashing is a metal strip that seals gaps around chimneys, vents, and roof edges. It stops water from getting in and adds strength to your roof. Installing flashing the right way prevents leaks and helps your roof last longer. In this guide, we walk you through every step, from cleaning the deck to fastening the metal, so you can improve your home’s durability with confidence.
Comprehensive Roof Flashing Installation Guide
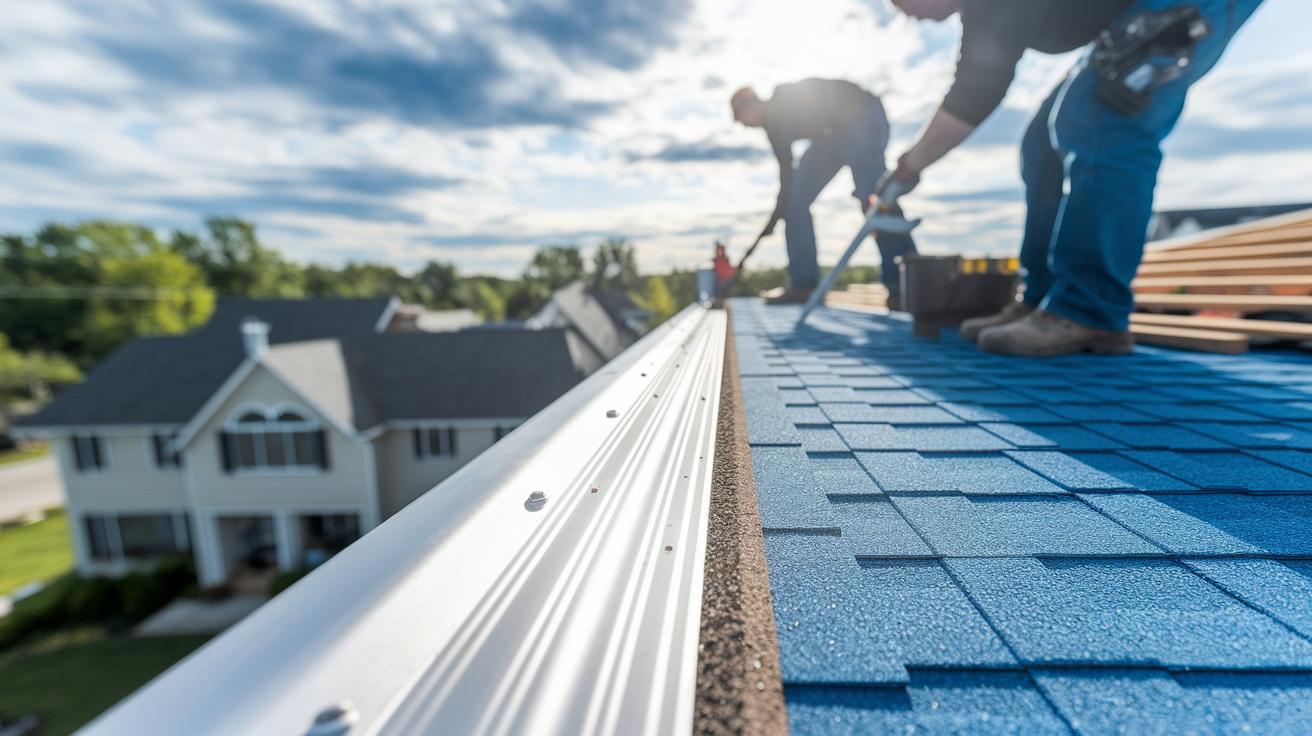
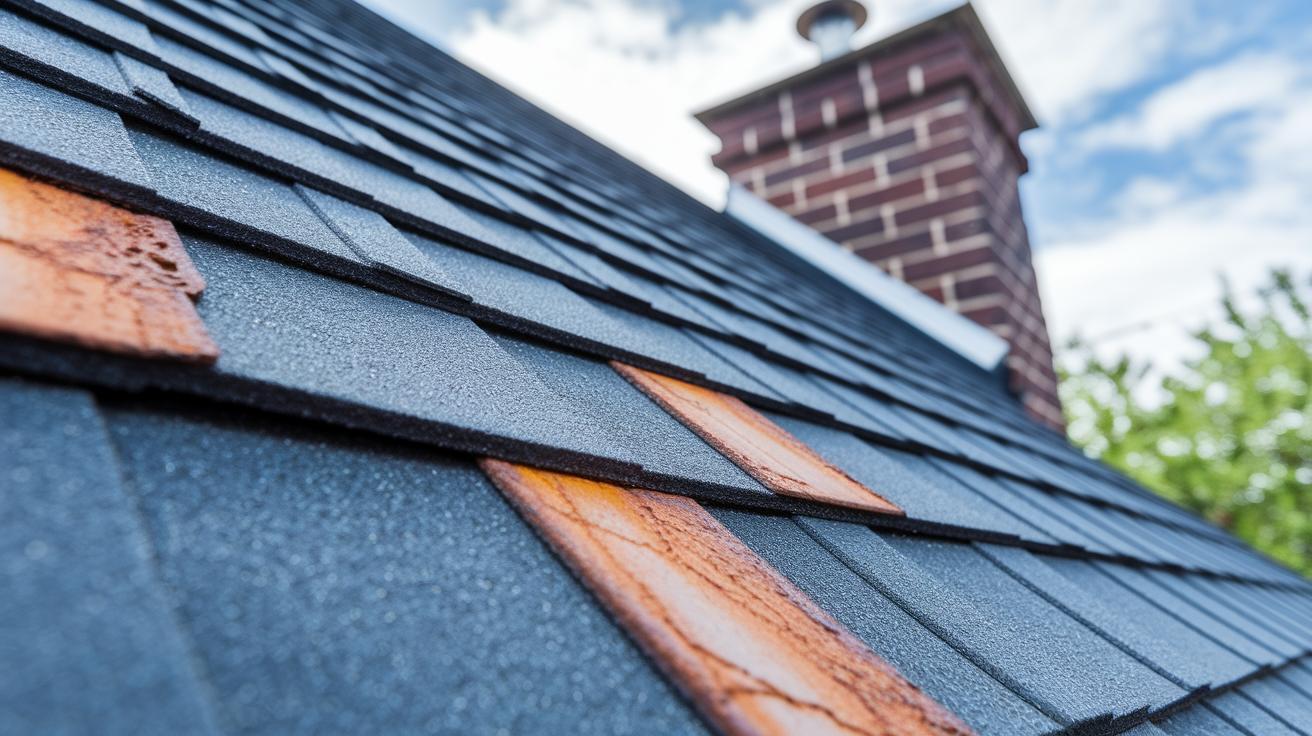
Roof flashing is a key part of your roofing system. It protects where roof surfaces meet and shields areas around chimneys, vents, and edges. Overlapping metal pieces guide water away, helping to stop leaks and extend the life of your home.
Begin by cleaning the roof. Remove all dirt, debris, and old nails. Clear out any previous flashing to start with a fresh surface. Next, lay down a waterproof underlayment such as felt or tar sheets. This underlayer stops moisture from seeping into the roof deck once you add shingles.
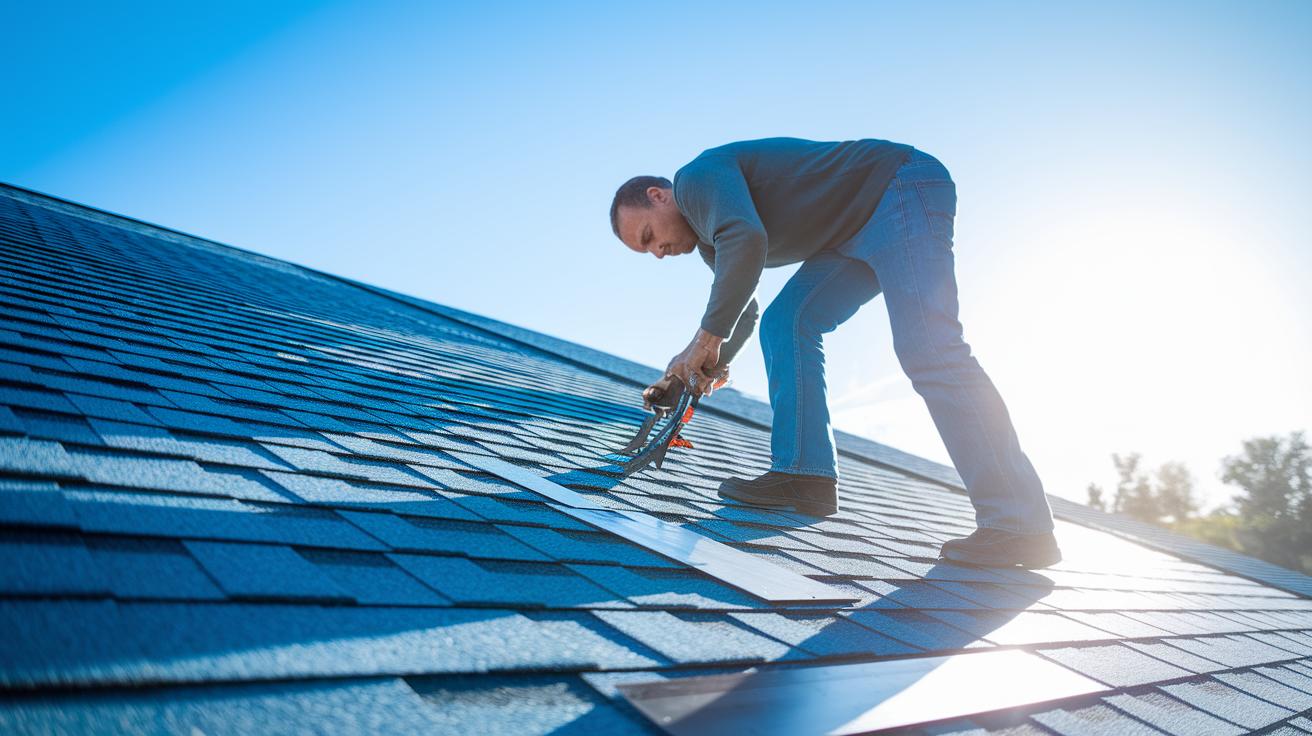
After the underlayment is set, install the shingles. Start at the bottom and work upward so each row overlaps the one below. This method covers the flashing fully and keeps water out. For step flashing, be sure each metal piece is hidden under the next row of shingles.
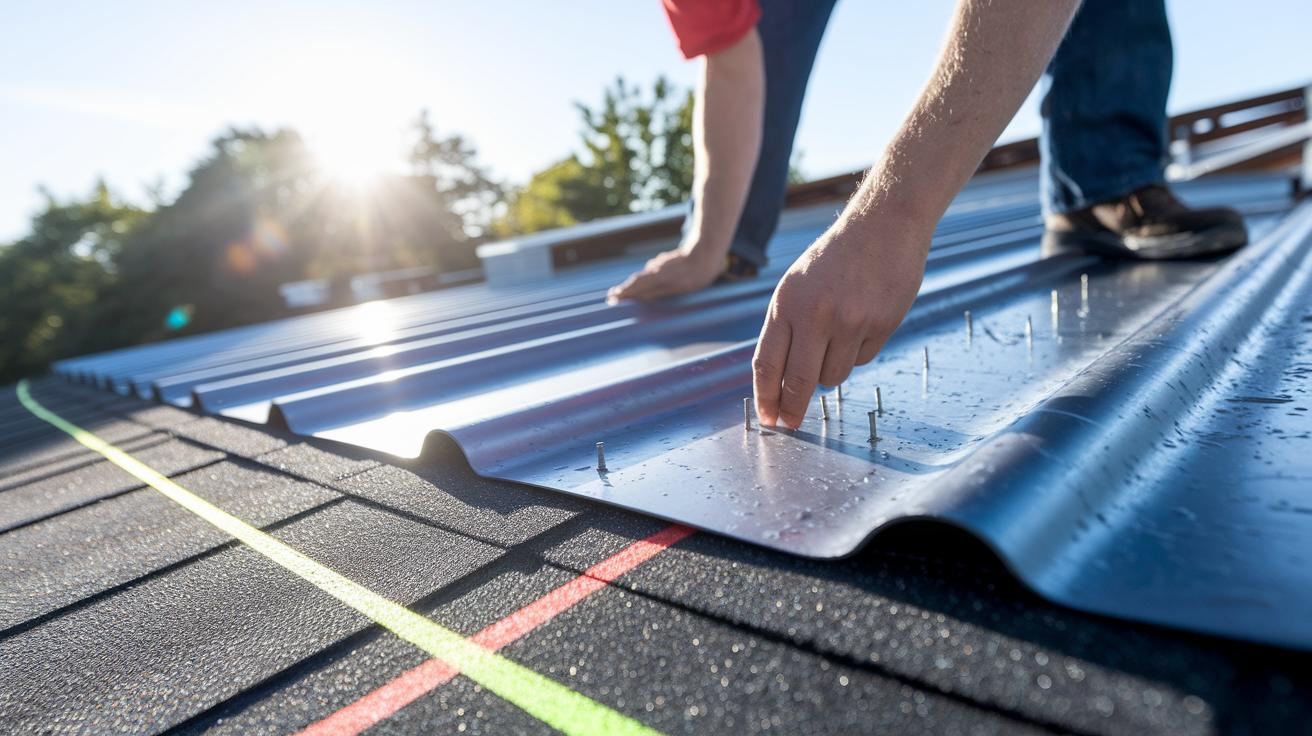
Now it's time to add the new flashing. First, spread a 3 in (7.6 cm)-wide strip of asphalt-based roofing cement (an asphalt sealant you apply with a trowel) along the area where the flashing will sit. Tuck the metal flashing under the shingle above and over the shingle below. Then secure it to the roof deck with two galvanized roofing nails per piece. Nail only into the deck, not the vertical wall, to allow for the metal’s expansion and contraction.
Finish by testing for leaks. Simulate heavy rain for about 15 minutes while checking the attic for any signs of moisture. This check confirms that your installation is watertight and effective.
Essential Materials and Tools for Roof Flashing Installation
Quality materials keep your roof leak-free and prolong its life. Choose products that suit your local weather and follow your building codes.
- Steel flashing available in 24-, 26-, or 28-gauge. A common size is 10 in (25.4 cm) by 8 in (20.3 cm) with 5 in (12.7 cm) on the wall and 5 in (12.7 cm) over the deck. Lower gauge numbers mean thicker, stronger metal, but they also add extra weight.
- Asphalt-based roofing cement. Apply a 3 in (7.6 cm) wide bead along the flashing edges to seal out water.
- Galvanized roofing nails. Use two nails per piece to prevent corrosion and secure the flashing firmly.
- Underlayment such as felt or tar sheets. These add an extra waterproof layer.
- A roofing hammer for accurate nail placement.
- Tin snips for trimming the steel flashing to the required length.
- A chalk line to mark straight, even lines on the roof deck.
- A trowel to spread roofing cement smoothly.
Review the technical data from your suppliers to compare how each material performs. Tip: In areas with heavy snowfall, using 28-gauge flashing can help reduce stress during freeze-thaw cycles.
roof flashing installation Elevates Your Home's Durability
Step 1: Prepare the Roof Surface
Clean your roof deck using a stiff brush to remove all stubborn debris. Ensure water does not pool anywhere. Remove loose nails and shingles only where needed, then lay a waterproof underlayment to keep moisture at bay.
Step 2: Lay Shingles in Overlapping Rows
Starting at the eave, work your way upward. Lay the shingles in rows with even exposure to fully cover the flashing. Check each row to ensure proper alignment and overlap so moisture cannot sneak in.
Step 3: Measure and Cut Flashing Pieces
Measure out a 10×8 in (25.4×20.3 cm) piece of steel flashing. Use tin snips to cut it accurately. For pipe vents, chamfer (bevel) the ends so the flashing fits snugly and directs water away properly.
Step 4: Apply Roofing Cement and Position Flashing
Spread a 3-in (7.6 cm) wide strip of asphalt-based roofing cement along the flashing slot. Immediately press the flashing in place by sliding its top edge under the shingle above and its bottom edge over the shingle below. This creates a solid seal.
Step 5: Secure Flashing to the Roof Deck
Fasten each flashing piece with two galvanized roofing nails placed into the deck flange only. Ensure the nails sit flush with the surface so they don’t disrupt the shingles and still allow for thermal movement.
Step 6: Perform the Leak Test
Simulate heavy rain by dousing the roof for 15 minutes. Then, inspect the attic for any moisture. If you find damp spots, re-seal the affected area immediately to prevent further leaks.
Common Roof Flashing Types and Installation Methods
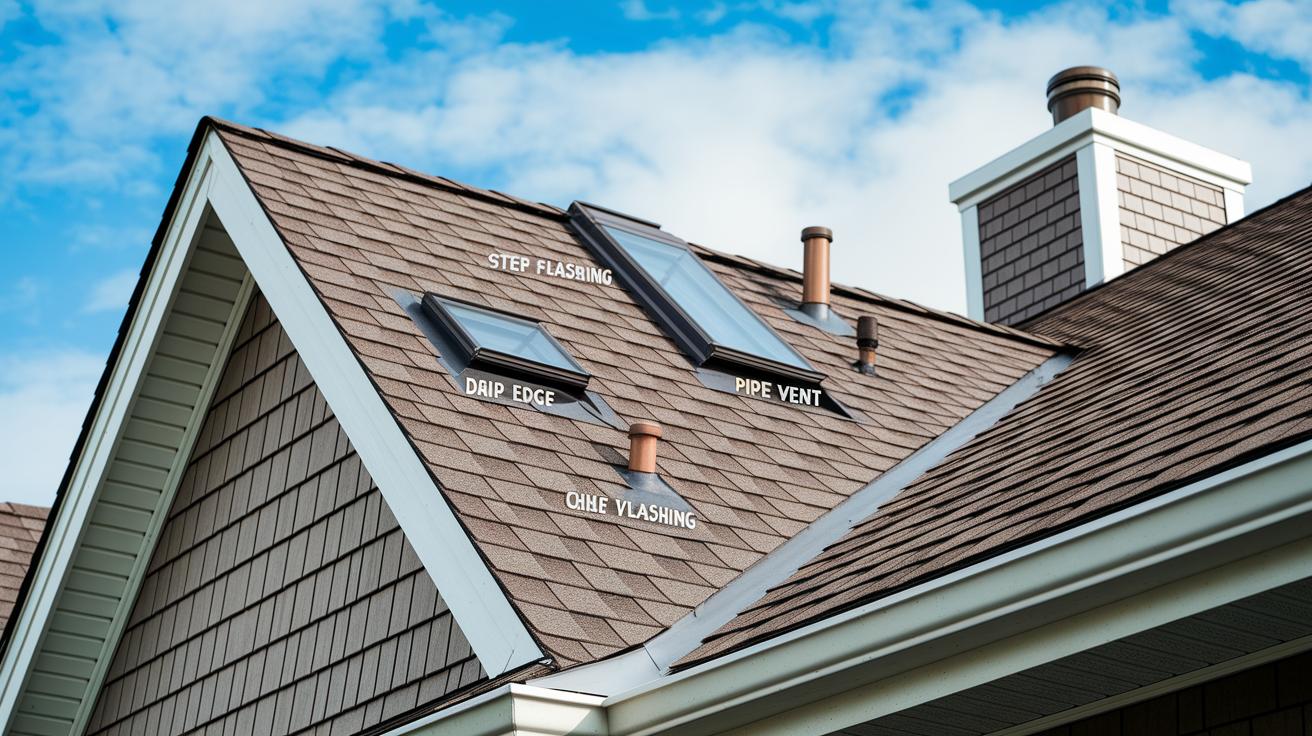
Choosing the right flashing is key to keeping your roof dry. Each type targets a specific spot where water might seep in. For example, step flashing is built into the shingles at the point where the roof meets a wall, and drip edge flashing is nailed along the eaves (the roof’s edge) and rakes to channel water off the roof.
Knowing what each flashing does helps you install it correctly. Valley flashing gathers water from roof sections and guides it away, reducing the chance of water pooling. Pipe vent flashing and chimney flashing protect areas where pipes or chimneys break through the roof by diverting water away from vulnerable spots. Chimney setups usually need two parts: a base flashing and an overlapping cap or counter flashing to create a full waterproof seal. Headwall flashing is used at dormer or window corners to keep water from coming in above windows. Sidewall flashing is placed along building sides to block moisture from entering wall structures, while apron flashing is installed under roof edges for an extra layer of sealing at important transitions.
| Flashing Type | Location/Purpose |
|---|---|
| Step flashing | Used where roof meets a wall; woven with shingles |
| Drip edge | Nailed along eaves and rakes; guides water off the roof |
| Valley flashing | Installed in roof valleys; directs water runoff |
| Pipe vent flashing | Encircles pipe penetrations; seals gaps against water |
| Chimney flashing | Found around chimneys; includes base and cap flashings |
| Headwall flashing | Placed at dormers or window intersections; prevents leaks |
| Counter flashing | Overlaps base flashing; used for chimneys and skylights |
| Sidewall flashing | Applied along building sides; stops water infiltration |
| Apron flashing | Set under roof edges; adds extra sealing at transition points |
Make sure every flashing is installed with care. Overlap, seal, and nail each piece correctly to keep your roof safe from water damage.
Troubleshooting Roof Flashing Leaks and Maintenance Tips
Roof flashing issues can quickly lead to expensive water damage if not fixed in time. You may see rust, cracks, or holes in the metal, and even trouble with asphalt-based roofing cement not sticking well. Poor shingle overlap can also leave the flashing open to water seepage. Look out for water stains on your ceilings or walls, signs of mold, or warping in the decking.
To check for problems, inspect all the parts of your roof that you can reach. Focus on tricky spots like where the chimney meets the roof, around pipes, and where the roof hits a wall. Look closely for any rust or discoloration on the metal. Even small gaps or cracks can let water through.
Here are some repair tips:
- Use a wire brush to scrub off any surface rust.
- Apply a new bead of asphalt-based roofing cement about 3 in (7.6 cm) wide along the flashing edges.
- Replace any flashing pieces that show clear cracks or holes.
- Make sure each shingle fully covers the flashing so water is directed away from the roof.
Also, check that the flashing is secured with galvanized roofing nails. If any nails are loose or missing, reattach the flashing firmly to help prevent leaks. Regular maintenance using these steps can extend your roof’s life and help you avoid costly fixes later on.
Roof Flashing Installation Cost Estimates and Professional Options

DIY projects can look like a good way to save money at first. For example, doing your own pipe flashing might cost about $150 to $250 per vent. On the other hand, replacing chimney flashing can run $300 to $500 or more because it needs pricier materials and extra labor. Messing up a DIY job can lead to water damage that costs far more than the initial savings.
Hiring a pro costs more up front but pays off in the long run. Professionals use proper step flashing techniques. They place and overlap each metal piece correctly so water flows off your roof. They also break down material costs to show the value of quality supplies. Plus, you get warranties and code compliance that help prevent pricey repairs later.
Consider these points:
- DIY might lower upfront costs but can lead to poor sealing.
- Professionals use correct methods for lasting durability.
- Paying now for expert work can stop expensive water damage in the future.
Balancing immediate costs with long-term reliability is key to a leak-free roof flashing system.
Safety Precautions and Code Compliance for Flashing Installation
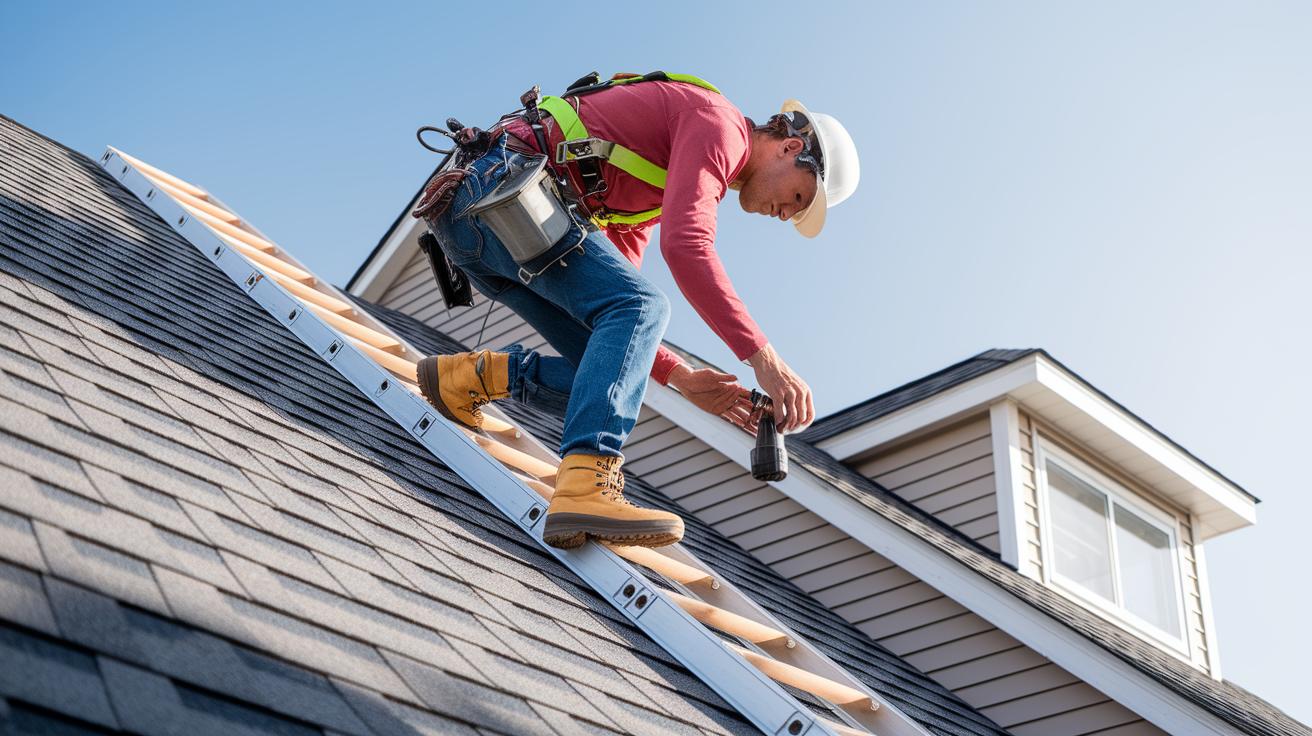
Roof work can be risky. Always gear up with proper fall protection. Use a safety harness or secure guardrails, and be sure to work with sturdy ladders and wear non-slip boots. These simple steps help keep you safe on the roof.
Local building codes require that your flashing work meets strict guidelines. Tuck the flashing legs under the house wrap or building paper, then overlap them according to the manufacturer's instructions. This method creates a protective envelope that keeps your home waterproof.
Before you start, keep these pointers in mind:
- Wear fall protection gear and non-slip boots to lower your accident risk.
- Install every flashing component with consistent overlap so that the shingles are completely covered.
- Apply sealant beads firmly along all seams to lock in a durable, waterproof bond.
Also, do not nail the vertical flashing legs to the wall. This helps allow the material to expand with changing temperatures. When your job is done, inspect every piece to ensure it fits correctly, the sealant is even, and your work follows local building codes. Stay safe and double-check your work for a roof that lasts.
Final Words
In the action, we've walked through how to prepare your roof, gather quality tools, and follow a step-by-step guide for roof flashing installation. Each step, tool, and material recommendation is aimed at keeping repairs leak-free and cost-effective. You now have clear ideas on troubleshooting, safety measures, and when to bring in a pro. Every tip presented helps pave the way for a durable, efficient project. Keep this guide handy and enjoy the benefits of a well-protected roof.
FAQ
What does a roof flashing installation diagram illustrate?
A roof flashing installation diagram illustrates how flashing layers are positioned beneath, between, and over shingles, showing the proper placement of underlayment, roofing cement, and nails to direct water away and prevent leaks.
What does metal roof flashing installation involve?
Metal roof flashing installation involves securely nailing pre-cut steel or aluminum pieces with roofing cement beneath the shingles. This method ensures water is diverted away from vulnerable intersections and edges.
How do you install roof flashing against a wall or on the side of a house?
Installing roof flashing against a wall requires placing the metal piece so it overlaps both the roof and wall wrap. Secure it with nails into the roof deck and ensure proper overlap for effective water runoff.
How do you install flashing on a lean-to roof?
Installing flashing on a lean-to roof involves aligning the flashing with the low-slope roof, applying roofing cement, and overlapping it correctly with the shingles to channel water away from the wall.
What is the roof flashing installation cost?
Roof flashing installation costs vary based on materials and labor. DIY projects may range from $150 to $500 per section, while professional work can be higher due to expertise, warranty, and code compliance.
What are the different roof flashing types?
Roof flashing types include step, drip edge, valley, chimney, headwall, counter, pipe vent, sidewall, and apron. Each type is designed for a specific location to effectively divert water away from the structure.
What do Oatey roof flashing installation instructions include?
Oatey roof flashing installation instructions include applying roofing cement, positioning flashing beneath the shingles, and securing it on the roof deck. Follow the manufacturer’s guidelines closely for proper installation and leak prevention.
How should roof flashing be properly installed?
Roof flashing should be properly installed by cleaning and preparing the deck, applying underlayment and roofing cement, placing flashing in overlapping layers, and securing it with nails to ensure an effective barrier against water.
Is $500 expensive to replace roof flashing?
A $500 replacement cost can be reasonable for roof flashing depending on project size, material quality, and labor rates. It reflects the need to ensure proper installation and long-term leak prevention.
Does flashing go over or under shingles?
Flashing is installed under the shingles so that each new layer of shingles covers the flashing. This ensures proper overlap and water shedding, preventing moisture from seeping underneath.