
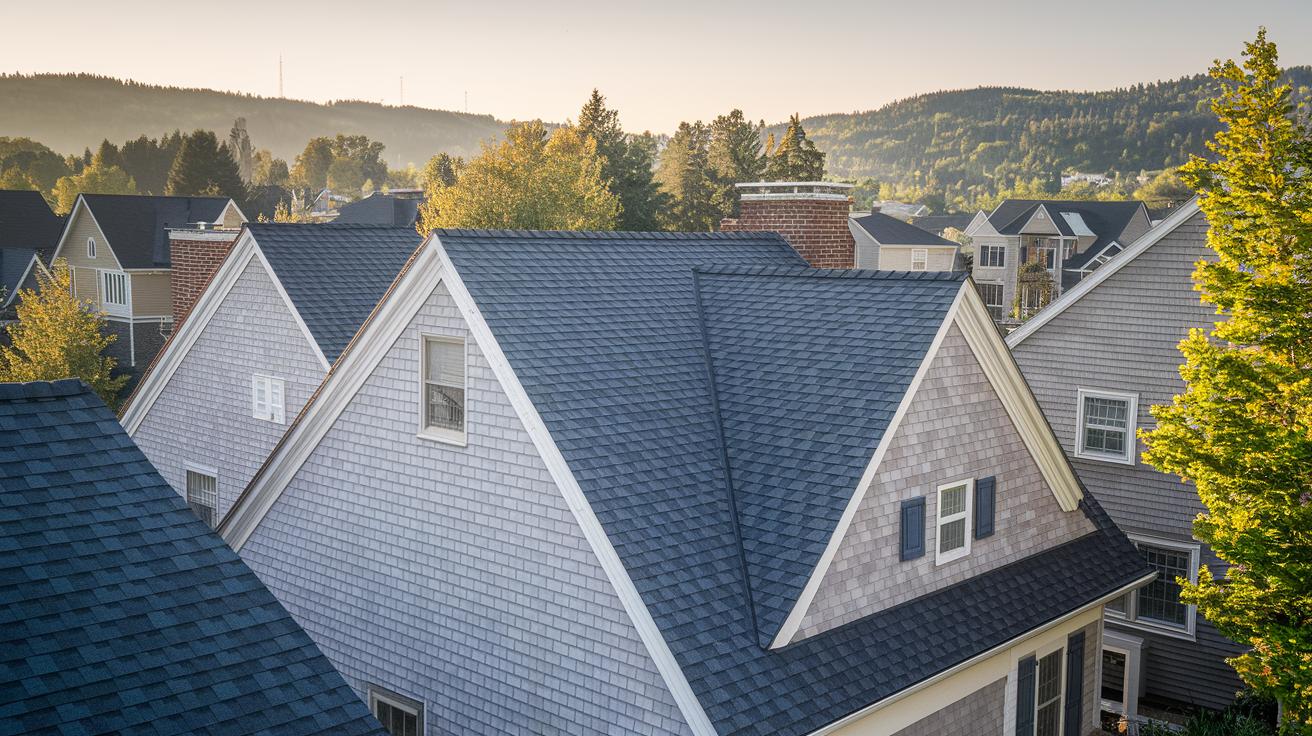
Have you ever thought your roof might boost your home's value? Shingle roofing does more than simply cover your house. It brightens your curb appeal and draws in potential buyers. Shingles work by overlapping layers to keep water out while adding a neat look and solid protection. In this guide, we break down how shingle roofing works, from simple asphalt to modern synthetic options, and why many homeowners see it as a smart investment. Stick with us to learn how a small upgrade can add real value to your home.
Shingle Roofing Fundamentals: Benefits, Materials, and Applications
Shingle roofing is common in North America because it looks good, works well, and is simple to install. Homeowners value these roofs for their natural water-shedding design that uses gravity and overlapping layers to prevent water damage. With proven weather and hail resistance, shingle roofs boost your home's appeal and market value. Many choose asphalt shingle systems to get an affordable yet attractive solution.
Shingle roofs start with a sturdy fiberglass mat that acts as a base. This mat is coated with an asphalt binder mixed with mineral fillers, then covered with granules that block UV rays. A treated back surface stops sticking during production and storage. These parts work together to create a roof tested for wind and weather. The main types are 3-tab shingles with a single asphalt layer for basic protection, architectural shingles (a laminated design that improves wind resistance), and premium designer shingles that mimic slate or shake.
New alternatives now join traditional asphalt. Synthetic shingles, available since about 2000, use special polymers and recycled materials. They often last 40 to 50 years while keeping out the weather. Stone-coated metal shingles blend a metal core with a finish similar to asphalt, lasting over 50 years. Both options help keep roofs cool and can lead to long-term savings.
Major Shingle Roofing Types and Material Advantages
Choosing the right shingle means weighing cost, how long it lasts, looks, and how it performs in tough weather. Let’s break down five popular types with their key traits and technical details.
3-Tab Asphalt Shingles
3-tab shingles use one layer of asphalt for simple protection. They are an affordable option with a life around 15–20 years and offer basic wind resistance. Think of them as the reliable workhorse that gets the job done without frills.
Architectural (Dimensional) Shingles
Architectural shingles are built with two layers. This extra material boosts strength and makes your roof look better. They typically last about 25 years and meet Class F/H wind ratings, making them a solid mid-range choice.
Premium Designer Shingles
These shingles have a multi-layer design that can mimic natural slate or shake. They last 30–40 years, come with a Class H wind rating, and even offer UL2218 impact resistance. They blend high performance with striking style for those who want more than the basics.
Composite/Synthetic Shingles
Made from special polymers, composite shingles provide an eco-friendly choice that lasts 40–50 years. They have a Class F wind rating and are recyclable, making them a modern option for strong performance and sustainability.
Metal (Stone-Coated Steel) Shingles
Metal shingles consist of a steel core covered with stone granules. They combine strength with an asphalt-like look and deliver top durability with over 50 years of life and a Class H wind rating, which is great for harsh weather.
| Type | Construction | Wind Rating | Expected Lifespan |
|---|---|---|---|
| 3-Tab Asphalt Shingles | Single asphalt layer | Basic wind rating | 15–20 years |
| Architectural Shingles | Two laminated layers | Class F/H wind | ~25 years |
| Premium Designer Shingles | Multi-layer design | Class H wind/UL2218 | 30–40 years |
| Composite/Synthetic Shingles | Polymer based | Class F wind | 40–50 years |
| Metal (Stone-Coated Steel) Shingles | Steel core with stone granules | Class H wind | 50+ years |
Proper Shingle Roofing Installation Techniques
-
First, set up a safe work space and inspect your roof deck. Make sure the deck is smooth, dry, and free of gaps or holes. A clean deck is essential for a secure roof that lasts.
-
Install the drip edge along the eaves. Secure the drip edge to keep water from climbing upward. Then, add an ice and water protector that overhangs ¼ in (6 mm) to ¾ in (19 mm) and extends 24 in (61 cm) inside the wall. This step helps reduce ice dam issues.
-
Roll out your underlayment next. You can use asphalt felt or a synthetic material. Overlap the ice barrier by 4 in (10 cm) at the eave and add a 6 in (15 cm) overlap over any valley flashing. A solid underlayment gives an extra layer of moisture protection.
-
Place a rake drip edge over the underlayment along the roof rakes. This extra line boosts wind resistance and helps protect the roof under strong winds.
-
Protect your valleys by lining them with a 28-gauge galvanized metal liner. The liner should be at least 36 in (91 cm) wide and overlap by 6 in (15 cm). This step guards areas where water tends to build up. For more details on flashing around roof penetrations, check our roof flashing installation guide.
-
Lay the starter strip along the eaves. This strip sets the right shingle exposure and makes sure the field shingles line up for a uniform look.
-
Install the field shingles using the manufacturer’s guidelines for exposure, offset, and nail placement. Doing this correctly boosts wind resistance and helps keep your warranty valid.
-
In closed valleys, trim each shingle row 2 in (5 cm) back from the centerline. This cut seals the joint and stops water from getting in.
-
Attach the hip and ridge caps with longer nails that go into the deck. Then seal the nail heads with asphalt cement to block moisture entry.
-
Finally, set up your gutters properly and inspect the moisture barrier. This last check ensures that all layers work together to give you a durable, weather-resistant roof.
Shingle Roofing Cost Estimation and Budget Planning

Estimating shingle roofing costs means figuring out the price per square foot. For example, basic 3-tab shingles run about $3–6 per square foot, architectural options are around $5–9, and premium choices can cost $10–14. These prices depend on things like your roof's pitch, whether you tear off the old roof or add a new layer, the type of underlayment (a protective layer beneath the shingles), permit fees, disposal charges, and local labor rates. For a detailed cost breakdown, check out our guide on average roof installation costs.
Getting your roof measurements right is key to an accurate budget. Measure the length along the eaves and multiply by the length of the rafters. Then, adjust that number with a pitch factor (for example, use 1.12 for a 6:12 slope). This method ensures you purchase enough shingles and plan your labor costs correctly.
Key factors that affect the final budget include:
- Roof pitch and design complexity
- Choosing tear-off versus overlay installation
- Quality and type of underlayment used
- Local permit and disposal fees
- Regional labor rates
Break down your estimate into material costs and labor charges, and always add a little extra for waste from cuts and overlaps. A clear, step-by-step approach like this helps you stick to your budget and results in a roof that boosts your home’s curb appeal and stands the test of time.
Shingle Roofing Performance Ratings and Durability Benchmarks
Roof shingles face a lot of weather challenges. Tests like ASTM D3161 and D7158 check how well they handle wind. Shingles with a Class F rating (from ASTM D3161) work well in moderate winds. Those that hit a Class H rating (from ASTM D7158) are built tougher for strong gusts. In one test simulating hurricane-force winds, Class H shingles held firm where others might have failed.
Hail can also do serious damage. Shingles are put through UL Standard 2218 tests for hail impact. A Class 4 rating means the shingle acts like a sturdy shield against hard hits. This strong protection helps prevent cracks and fractures, giving homeowners extra peace of mind during severe storms.
Fire safety and sun protection go hand in hand. Shingle assemblies usually earn a Class A rating on UL 790 and ASTM E108 fire tests. Special granules on the shingles do double duty: solar-reflective granules help lower roof temperatures by bouncing sunlight away, while copper-infused granules work to stop algae buildup. This means your roof not only resists flames but also stays cooler under a hot sun.
Shingle lifespan is another key factor. Architectural shingles often last about 25 years, premium choices up to 40 years, and composite shingles can protect your home for around 50 years. Picking shingles with these tested ratings is a smart way to invest in a roof that will stand the test of time.
Shingle Roofing Maintenance, Inspection, and Repair Strategies
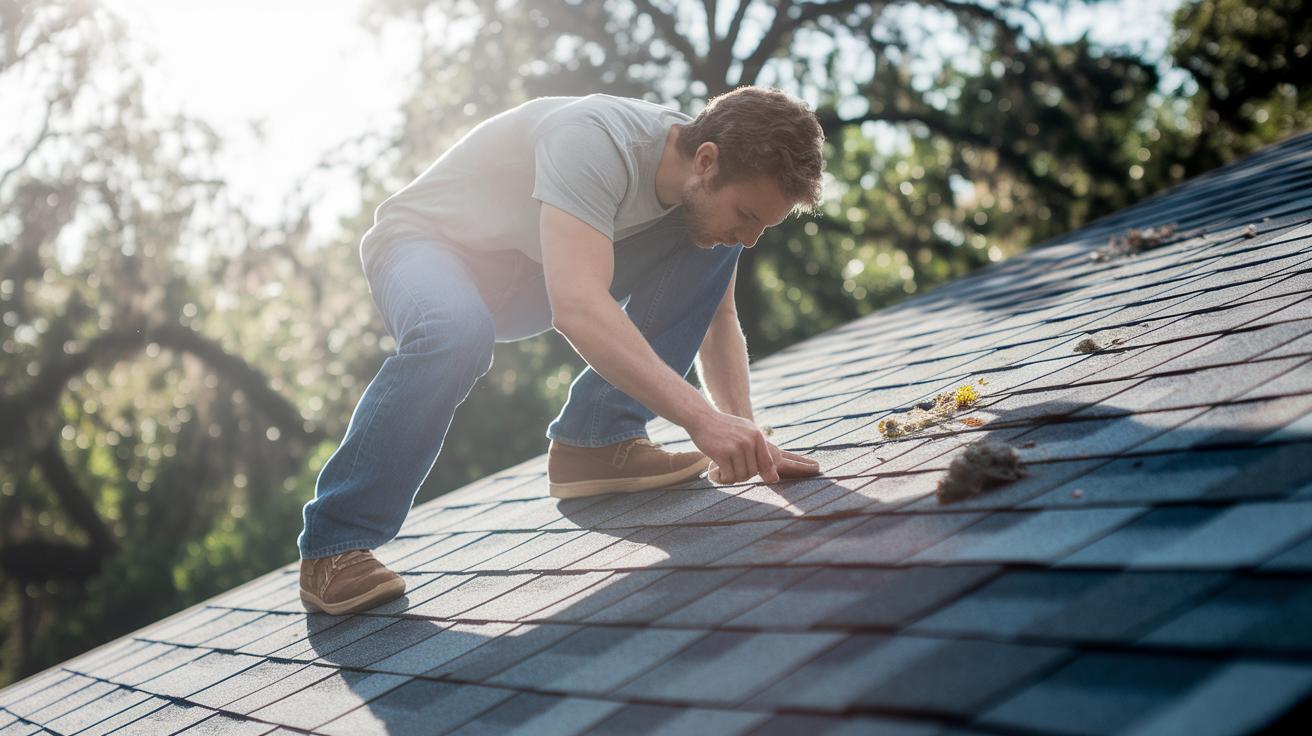
Check your shingle roof often to keep it in good shape. In places like Florida, inspect your roof in both spring and fall so you can spot damage early. Look for clogged gutters, piles of leaves or other debris, and any algae or mold on the shingles. Also, check metal pieces around roof joints (flashing) and vents to make sure they are tight and sealed well. These quick checks help stop leaks and keep your home’s value high. For a full list of tasks, see our home maintenance checklist.
When you find a problem, fix it right away. Replace any cracked or missing shingles and remove debris that might hold moisture and cause rot. Have a plan for bad weather that covers checking your roof’s moisture barrier (a layer that stops water) and how it attaches to the roof deck. Fast repairs and planning for storms help keep your roof strong and protect your home over time.
Energy Efficiency and Environmental Impact of Shingle Roofing
Shingle roofs can boost your home's value while cutting energy bills and reducing environmental impact. New choices like solar-reflective shingles lower attic temperatures and may even earn you tax credits. Good attic ventilation cuts moisture and cooling loads. This helps your roof keep your home cool with less energy use.
Composite shingles last longer. This means you replace them less often and produce less waste. Today, many programs recycle asphalt shingles. They turn old shingles into paving materials, giving waste a new purpose.
- Use solar-reflective shingles and improve attic ventilation to lower energy bills.
- Pick composite shingles to reduce replacements and landfill waste.
- Support recycling programs that turn old asphalt shingles into useful paving materials.
Aesthetic and Style Trends in Shingle Roofing Design

Today, many homeowners choose shingle roofs that mix different colors and textures to match their outdoor design. Earth tones like charcoal, slate, and brown give roofs a natural, classic look while light-colored granules help keep the roof cool. Premium shingles can even mimic the look of slate, cedar shake (wood shakes), or tile, giving you a unique style without the upkeep of real materials. Some shingles come with layered textures that add depth and make the roof pop. For example, granite-like granules can give your roof a soft, stone-like finish.
Matching your roof's color and texture with the siding and trim can really boost your home's curb appeal. When the colors and materials work together, your entire home looks more by design. You might try a slate-toned roof with matching trim for a cohesive look or add a bold contrasting color that stands out against neutral siding for a modern twist. Choices like these not only add charm but can also increase your home's market value.
Selecting Contractors and Planning Your Shingle Roofing Project
Choosing the right contractor is key to a long-lasting roof. Professional installation is important because working on a roof has safety risks and must meet local building codes. Check local reviews and look for manufacturer-accredited installers. Always verify they have proper licenses and current insurance. This step shields you from possible liability and shows the installer knows how to handle things like the underlayment (a protective layer under the shingles), ventilation (airflow systems that cool the roof), and flashing (metal strips that keep water out).
Before starting the work, put together a checklist of important tasks. For example, make sure all permits and inspections are in place. Include steps such as confirming insurance documents, discussing details of the roofing system, and setting clear expectations for tricky spots like valleys and roof penetrations. Also, plan to work during mild weather. This helps avoid delays and makes sure adhesive materials stick well.
Key planning tips:
- Check and compare local contractor reviews.
- Verify licensing, certifications, and insurance.
- Secure all needed permits and plan inspections.
- Schedule the project for days with moderate temperatures.
Following these steps sets you up for a strong roof that adds lasting value to your home.
Final Words
In the action, this article broke down shingle roofing essentials, from core materials and performance ratings to proper installation steps and cost planning. It outlined inspection tips, energy-saving options, and design trends while offering practical advice on scheduling and contracting work. The discussion also underscored the importance of upkeep and smart budgeting to keep projects on track. Every step builds confidence, making home projects safer and more cost-effective. Keep these straightforward tips handy as you start your next home project with optimism and clear direction.