
Ever thought your roof could become a piece of art? A slate roof makes your home both beautiful and strong. Just like a painting needs a solid frame, your roof depends on a well-prepared deck (flat base), accurate measurements, and strong support. When done right, natural slate can last over 100 years (more than 30,000 days), far outlasting many synthetic options. With careful planning and a keen eye for detail, you can boost your home’s appeal and ensure it stands the test of time.
Slate Roof Installation: Elevate Your Home
Installing a slate roof takes careful planning and precise work. Start by preparing the deck (the base roof surface) so it can support the weight of natural slate. Think of it like building a strong foundation before hanging a fine piece of art. Every detail matters.
Next, follow a detailed guide that covers headlap measurement (the overlap between tiles), proper tile exposure (the visible part of the slate), and exact nail placement. For instance, measure a 3 in (7.6 cm) headlap on a 4:12 slope accurately. Even a 1/4 in (0.6 cm) error can allow water to seep in and may cut the roof’s life short.
Real slate stands out for its strength and beauty compared to synthetic materials. But slate is much heavier than asphalt shingles. That’s why you may need to reinforce the structure by strengthening or sistering (adding extra support beside) the rafters to hold the extra load safely.
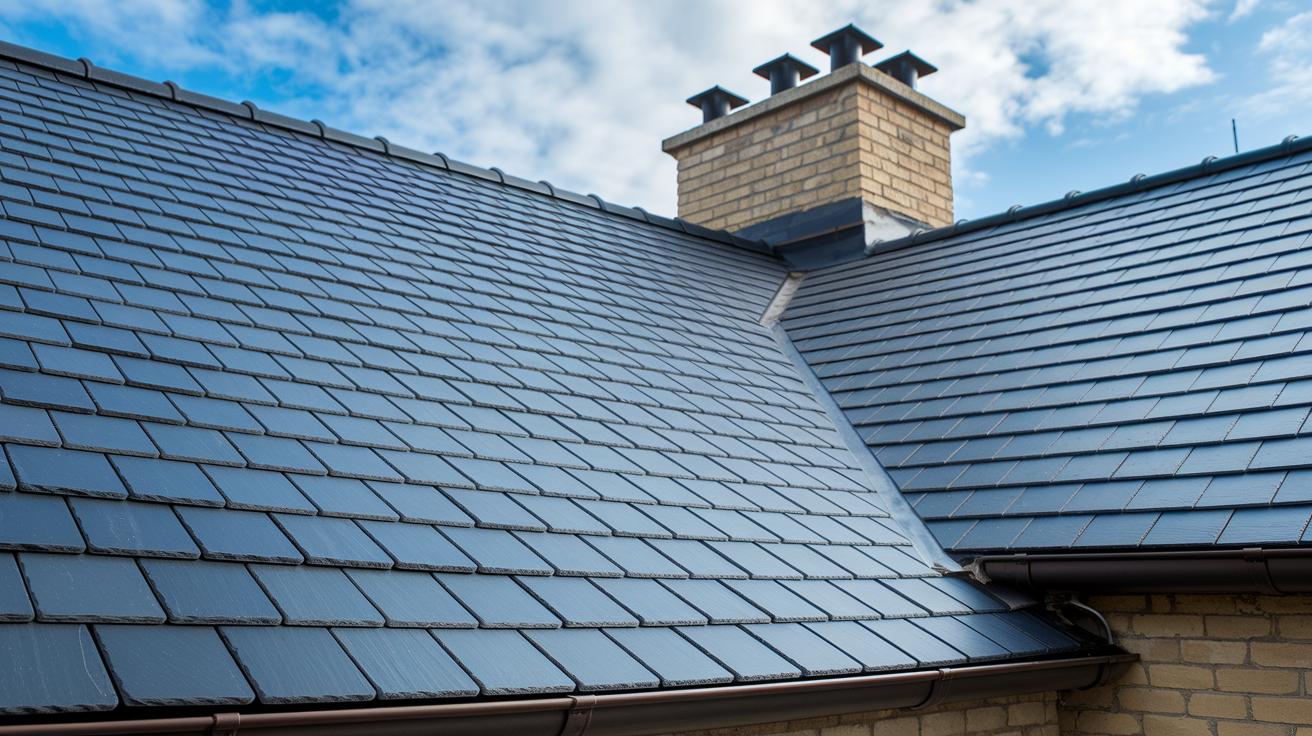
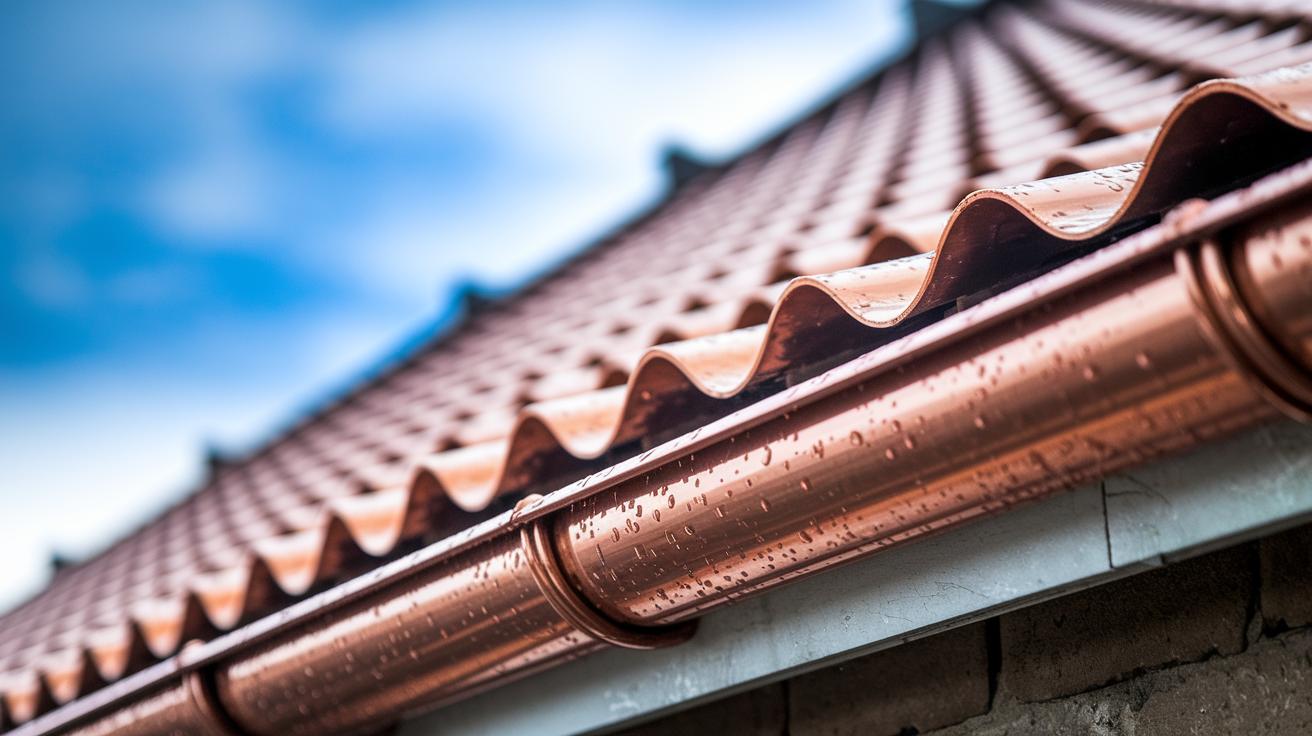
Also, proper flashing (metal strips that keep water away) is essential. When flashing is installed correctly, it directs water off the roof and protects vulnerable spots. With careful work and the right materials, your slate roof can last from 75 to over 100 years.
Structural Preparation for Slate Roof Installation
Slate roofs are very heavy, weighing 800–1,500 lb per square (363–680 kg). You must check that your building can handle this load. A good way to strengthen your roof is to add extra support by sistering (attaching a new joist alongside an existing one) or using metal supports. Start by inspecting the roof framing to ensure all parts are secure and strong.
A roof pitch of at least 4:12 is needed for proper water shedding. If your roof slopes less steeply, you might need extra headlap (overlap of slate pieces) or waterproof membranes to stop leaks. Maintaining the correct pitch is important not only for water control but also for the overall structure when using heavy slate.
Examine the decking under the slate. It should be made of solid plywood or wood sheathing that is undamaged and firmly attached to give you a smooth, level surface. After you confirm the decking is good, put down a quality underlayment. Synthetic felt or ice & water shield works best, especially in valleys and eaves where water runoff is heavy.
Before you begin any work, review your safety protocols to avoid injuries. For detailed safety steps, see the Construction Site Safety Guidelines. Also, check that your modifications meet local building codes and get a professional inspection if you reinforce your structure.
Planning ahead is key. Double-check your measurements, make sure you have the right tools, and plan for any metal support additions needed for reinforcement. By following these steps carefully, you create a strong base for your slate roof installation.
Selecting Slate Tiles and Materials for Slate Roof Installation
When choosing slate tiles for your roof, you'll need to pick between natural and synthetic options. Natural slate comes in three main types. Standard slate is 6–9 mm (0.24–0.35 in) thick and offers a steady color and texture. Graduated slate varies from 4 to 38 mm (0.16–1.5 in) for a layered look. Textural slate mixes sizes and colors for a rougher, distinctive style. Test a few samples to see which look fits your home best.
North American quarries supply many top-quality slate options. Areas like Pennsylvania’s Lehigh district, Vermont’s Bennington and Rutland regions, New York, and Virginia’s Arvonia zone produce durable slate. Canada’s Quebec and Newfoundland are also well-known for excellent slate choices.
Synthetic slate is a lighter and cheaper alternative, weighing around 50–60 lb (23–27 kg) per square. Options made from matrix composite (a mix of materials) or PVC (a type of plastic) can be friendlier to the environment, though they usually don’t last as long as natural slate.
Before making your final choice, check your roof’s support structure, think about the look you want, and set your budget. Try laying sample tiles on your deck to see how they catch the light. This practical test can help you plan a successful installation.
Step-by-Step Slate Roof Installation Guide
When you put in a slate roof, every detail matters. Use these steps to help you set each slate correctly and create proper overlap for water run-off and long-lasting strength.
-
Start by putting down a drip edge and an underlayment (use synthetic felt or ice & water shield in valleys) to keep moisture away from the decking. For example, lay the drip edge along the eaves for a neat, protective edge.
-
Snap layout lines on the roof and plan your headlap, ensuring at least a 3 in (7.6 cm) overlap on a 4:12 slope. Clear markings help keep the slates lined up and direct water away from the roof.
-
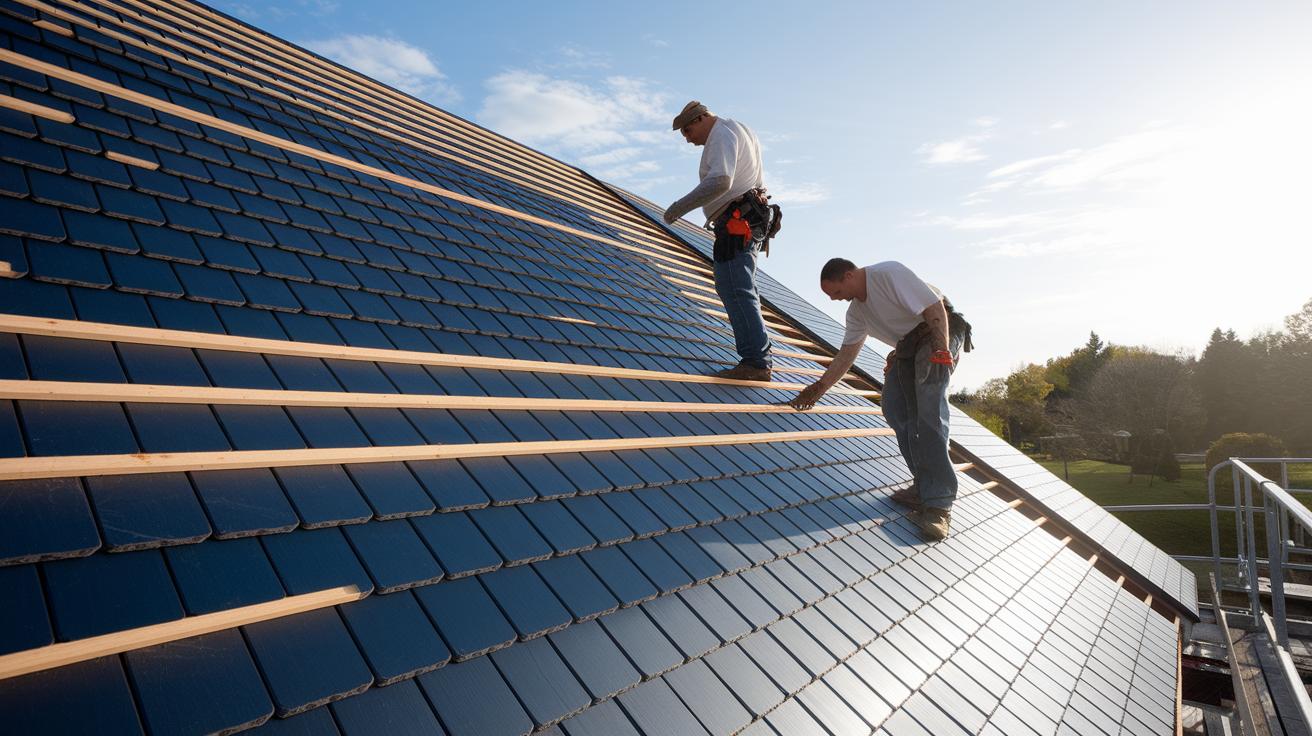
Install a starter row using half-slates along the eaves. Secure them with copper or stainless steel nails to form a solid base for the rest of the slates. For example, start with neatly cut half-slates to set a clear roof edge.
-
Place each full slate so that its bottom edge is 1 in (2.5 cm) above the previous slate and its top is 1 in (2.5 cm) lower than the slate above. This method makes sure each slate is level and evenly spaced. For example, check that each slate fits snugly without gaps.
-
Continue with the main field courses. Stagger the joints, aiming for an exposure of about 5–6 in (13–15 cm) for balanced looks and efficient water shedding. For example, vary the joints so the pattern stays consistent and attractive.
-
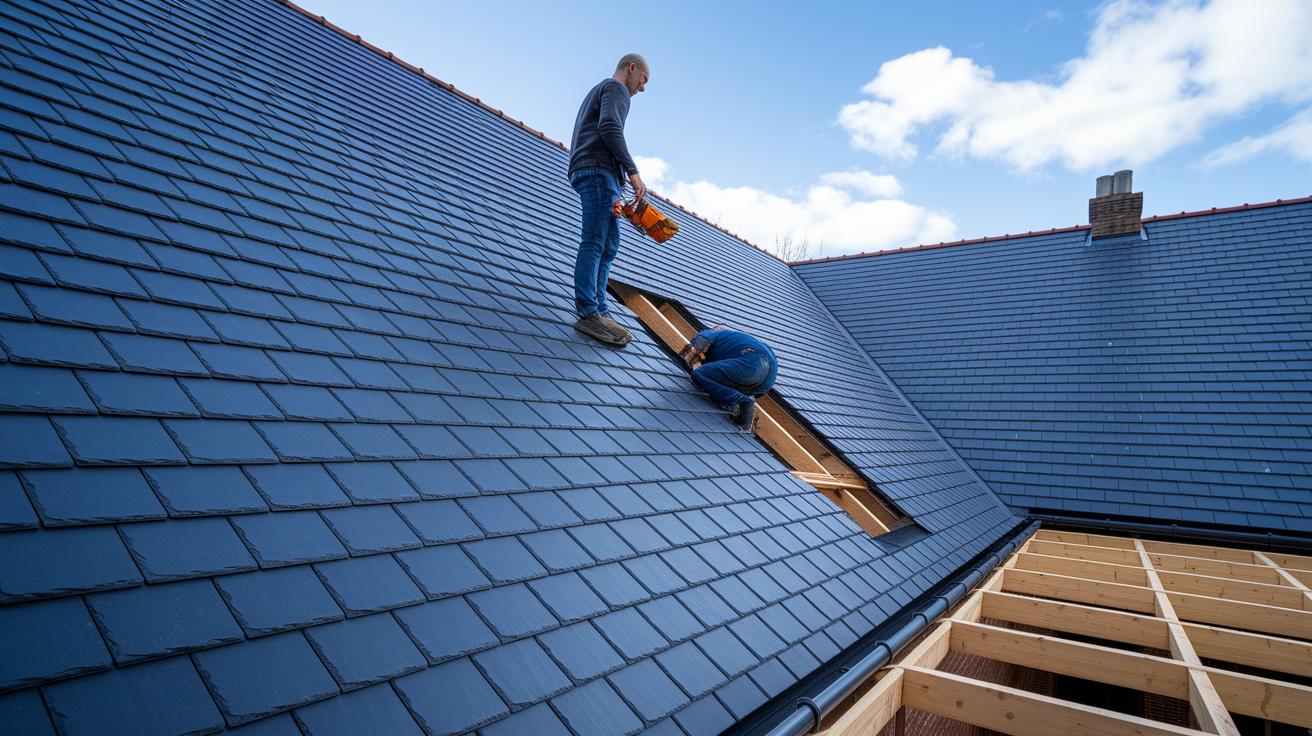
Form the valleys, hips, and ridges using either woven or closed-mitred techniques with copper flashing. This careful fit stops leaks in these critical spots. For example, press the copper flashing firmly around each seam for the best seal.
-
Finally, work around chimneys, vents, and other roof penetrations by applying step and counter flashing. This seals off any water entry points and protects your roof. For example, carefully fit the flashing to cover all the vulnerable areas.
Each step builds on the one before it, guiding you to a roof that’s safe, durable, and built right.
Weatherproofing, Flashing, and Ventilation for Slate Roof Installation
Start by using top-quality flashing to keep moisture away from your slate roof. Choose copper or lead-coated copper for step flashing, valley lining, and pipe boots. These metals, when installed with a sturdy underlayment (a waterproof layer under your roofing material), stop water from seeping in. For example, use lead-coated copper step flashing to direct water off the roof joints. For more flashing options, check out Roof Flashing Installation.
Next, install metal drip edges along all roof edges. These drip edges guide water off the roof deck and protect the roof sheathing (the board or layer beneath your slate) from water damage. Secure them firmly to keep water from getting under the slate.
Also, proper ventilation is essential. Install continuous ridge vents or static roof vents to help air move through your attic. This reduces moisture and heat buildup, cutting the risk for condensation and mold, and helps your roof last longer.
These steps, using quality flashing, adding metal drip edges, and installing effective vents, work together to keep leaks and moisture at bay, ensuring your slate roof stays strong for years to come.
Cost Breakdown and Budgeting for Slate Roof Installation

Planning your slate roof budget means looking at several cost factors. Natural slate is a quality choice known for its beauty and durability, but its installation takes more time and skill, which drives up the cost. On the other hand, synthetic slate costs less upfront but might need replacing sooner, which can affect the overall value.
Your total cost depends on a few key elements. These include the type of slate, the shape of your roof (such as hips and valleys), and whether you need to beef up the structure to support the heavier slate. If you have to replace or strengthen roof parts, like fragile joists (horizontal support beams) or rafters, be sure to add extra for both parts and labor. Local labor rates also play a big role.
Regional differences matter too. For example, coastal areas often charge 10–20% more than inland regions because of stricter building codes and a need for extra wind resistance.
Here are the main categories to keep in mind:
- Materials: the slate type (natural vs synthetic), plus flashing and underlayment.
- Labor: local roofing rates and the installer’s experience.
- Reinforcement: any costs for upgrading roof supports to handle heavier slate.
- Regional pricing: coastal areas tend to be more expensive than inland ones.
| Category | Cost Influence |
|---|---|
| Slate Type | Higher for natural; lower initial cost for synthetic |
| Roof Complexity | Extra costs for areas with hips, valleys, and other details |
| Structural Reinforcement | Additional expense if extra support is needed |
| Regional Variations | Coastal regions can be 10–20% more expensive |
For more detailed comparative data, check the Average Cost for Roof Installation at https://neull.com?p=223.
Maintenance and Longevity of Slate Roof Installation
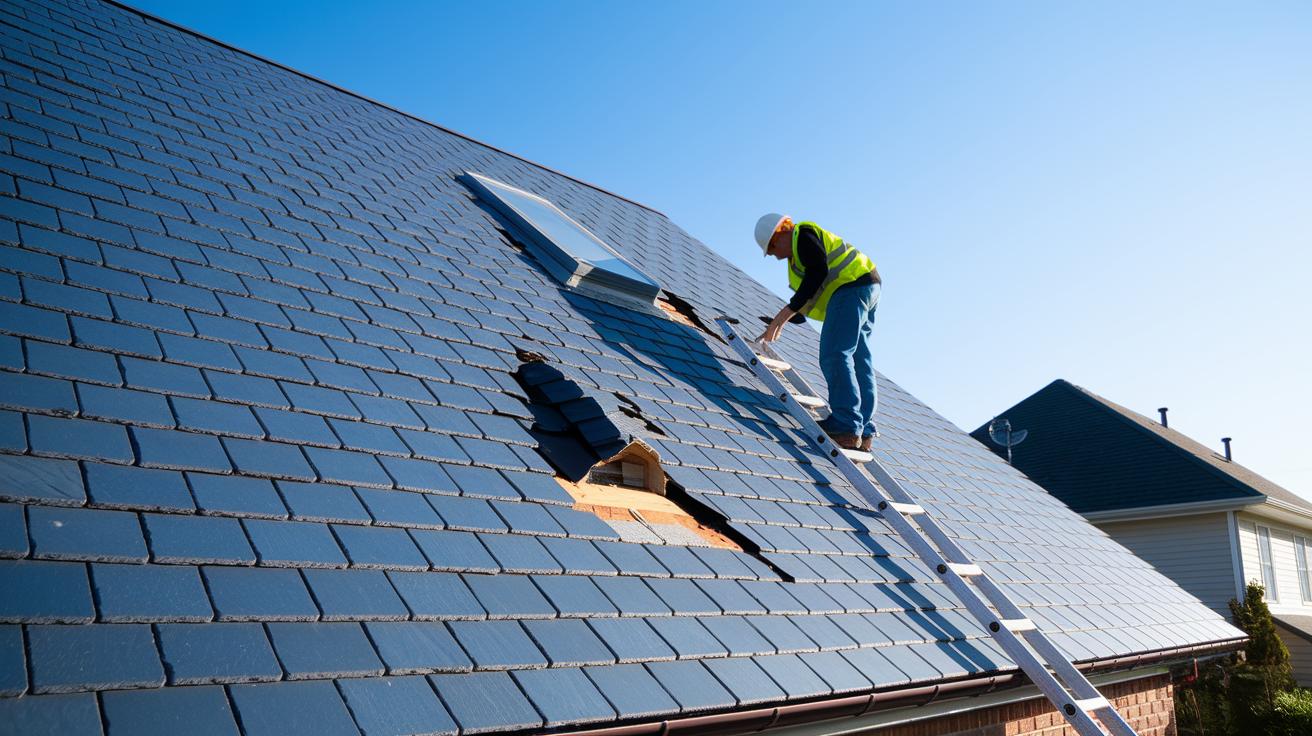
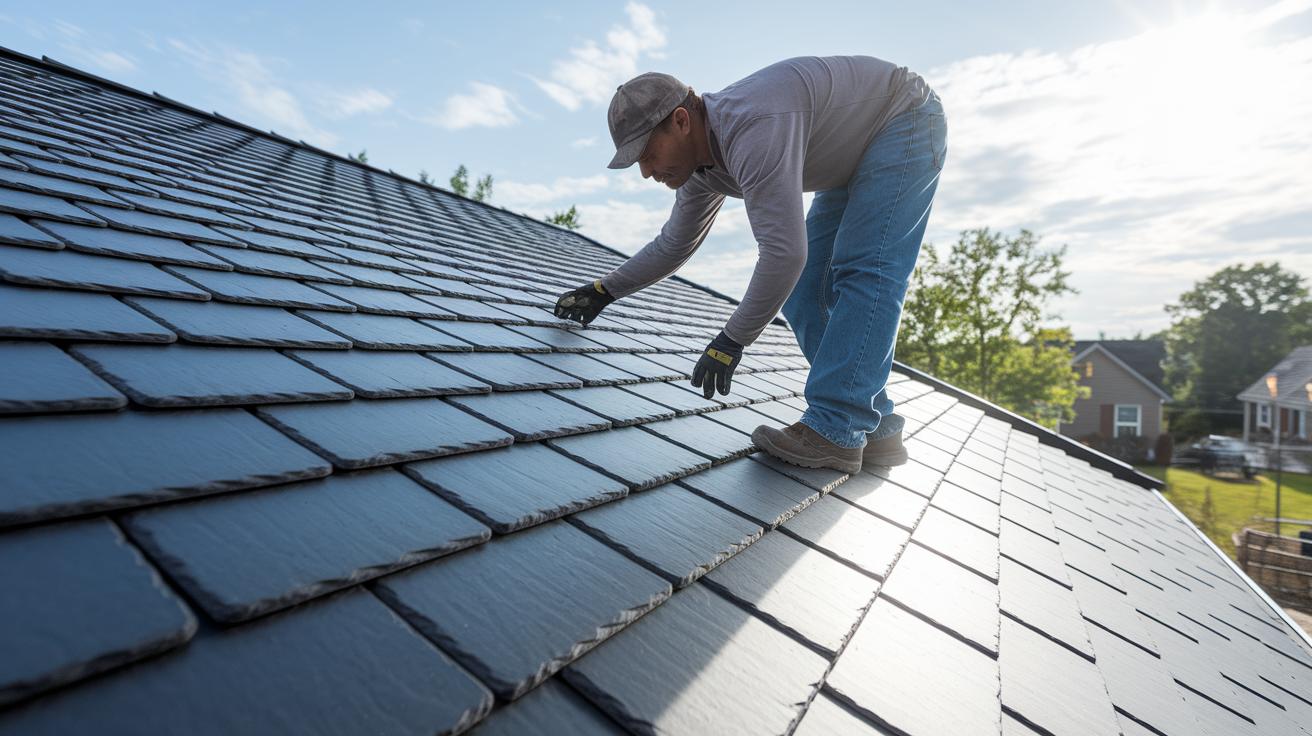
A slate roof built right can last 75 to 100+ years, but it needs regular care to keep doing its job. Routine checks help you spot issues early, like missing or cracked slates that might expose the underlayment and cause leaks.
Make sure to inspect the roof after storms and at least twice a year. While you’re up there, check that all the flashing (metal pieces that keep water from seeping in) is secure. Look for loose or cracked copper nails and fix them by replacing or tightening as needed. Also, clear your gutters of debris since clogged gutters can back up water and harm both the slate and the decking below.
Here are some maintenance tasks to keep in mind:
- Inspect your roof twice a year and after heavy storms.
- Replace any slates that show cracks.
- Reseal damaged flashing immediately to keep moisture out.
- Clean gutters regularly to ensure proper water drainage.
Sticking with these steps will preserve your slate roof’s beauty and extend its life for many years to come.
DIY vs Professional Slate Roof Installation: Which Is Right for Your Project?
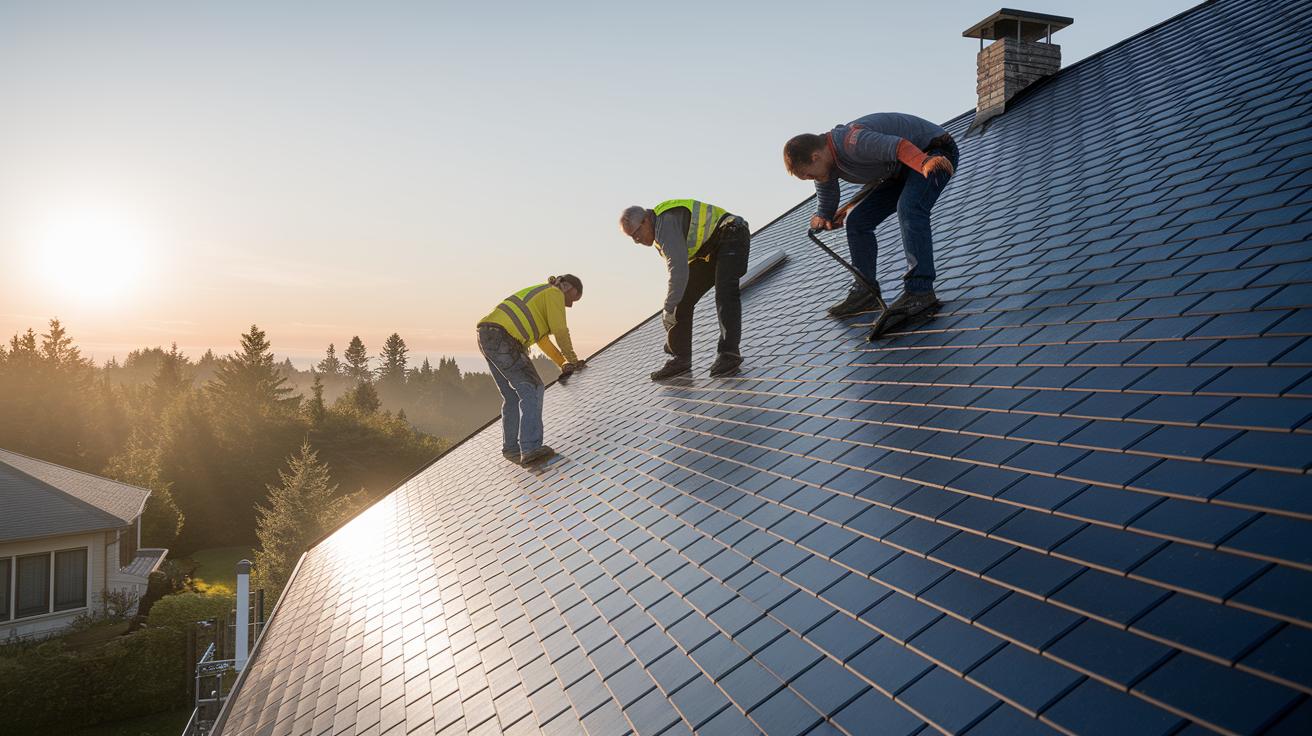
Installing a slate roof is a big job. You work with heavy, brittle tiles at heights, and even a small error in nailing or flashing can void your warranty. Each tile has a headlap (the part that overlaps the tile below) and the right slate exposure must be maintained. Think of it like balancing on a narrow beam while carrying a load, a slip can cause serious damage.
Before you start a DIY project, be honest about your skills. Do you have the right tools, enough experience, and proper safety gear to work at heights and move awkward tiles? A small mistake can hurt your roof and your safety.
Professional roofers bring building-code expertise, wind resistance certification, and liability coverage. These experts know local regulations and are ready to handle the unique challenges of slate roofing. They ensure everything, from structural support to waterproofing, is done correctly.
Weigh the risks and benefits. If the project seems too tough or the stakes are high, hiring professional installers could save you time, money, and a lot of stress.
Final Words
In the action, we broke down the slate roof installation process step by step. From prepping the structure and calculating headlap to carefully placing tiles and installing flashing, every detail matters. We covered key tips on safety, budgeting, and long-term maintenance while weighing DIY versus pro approaches. The guide reflects practical know-how and smart planning, ensuring your project is safe, cost-effective, and built to last. Happy building and here’s to a durable roof that stands the test of time.
FAQ
Frequently Asked Questions
What is the average cost of installing a slate roof?
The cost of a slate roof installation depends on slate type, roof complexity, and necessary structural reinforcement. Prices are premium and vary regionally, so always request local estimates for accurate budgeting.
Where can I find a slate roof installation PDF guide?
A slate roof installation PDF usually details step-by-step instructions, including deck preparation and flashing methods. Check contractor resources or manufacturer websites for a complete downloadable guide.
How can I watch a slate roof installation video?
A slate roof installation video demonstrates proper slate placement, nail positioning, and flashing techniques. Look for professional roofing channels or manufacturer sites for clear, step-by-step visual guidance.
What are key slate roof construction details?
Key construction details include correct headlap calculation, precise nail placement, and proper flashing. These steps ensure the roof is weatherproof, safe, and built to last 75 to over 100 years.
Is there a slate roof starter course available?
A slate roof starter course covers the basics of material selection, measurement, and installation safety. It offers a solid foundation for DIYers and pros by explaining essential techniques and best practices.
What should I know about slate roof tiles?
Slate roof tiles can be natural or synthetic. Natural slate offers unmatched durability and elegance but needs proper structural support and careful installation to maximize its long lifespan.
How are roof slates attached?
Roof slates are attached using copper or stainless steel nails. The correct method positions each tile securely with proper exposure and overlap to ensure a tight, weatherproof seal.
Can I install a slate roof myself?
Installing a slate roof yourself is feasible if you have advanced skills, proper scaffolding, and knowledge of slate techniques. However, mistakes can be costly, so professional help is often recommended for safe, compliant results.