
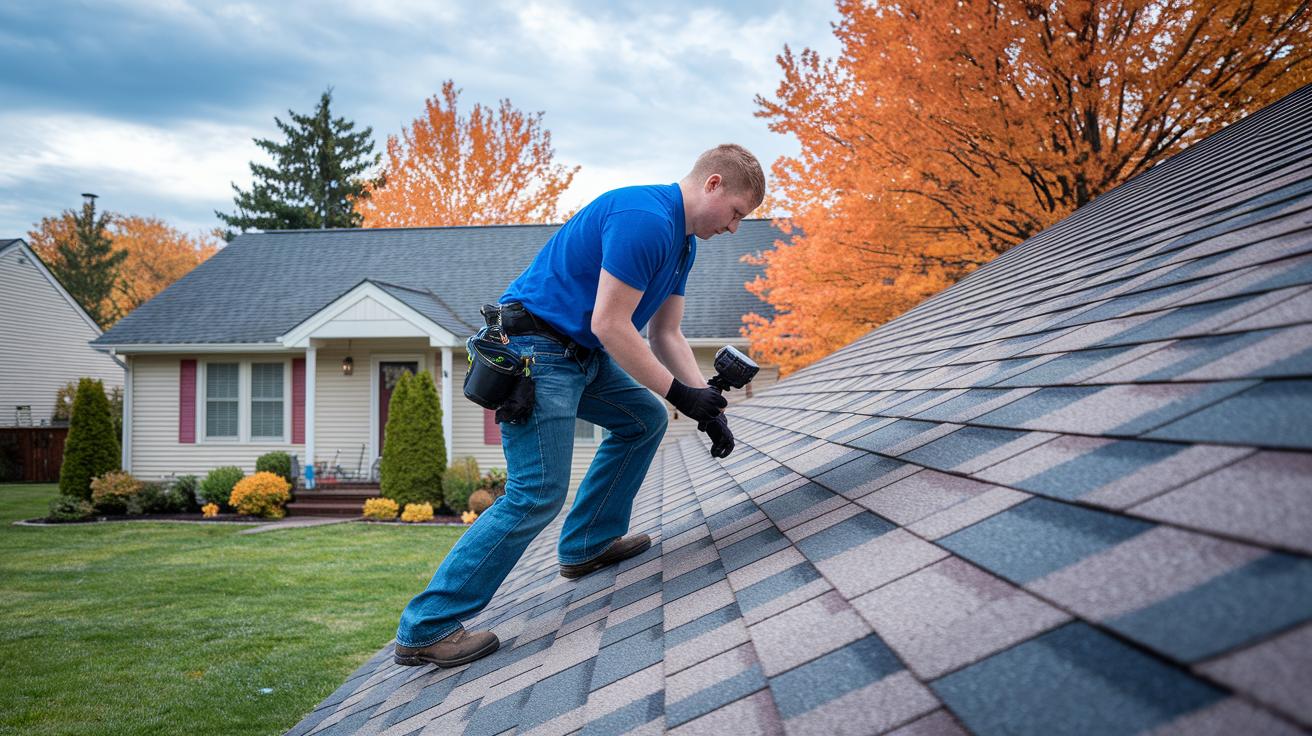
Could spray foam roofing be your roof's quick upgrade? With spray foam installation, a liquid foam is applied that spreads and expands into a smooth, continuous barrier. This barrier stops water leaks and reduces heat transfer (the movement of heat from one area to another), which saves energy and cuts long-term costs. You don’t have to remove the old roof, and the process takes just a few days, making it an affordable choice for commercial buildings. Read on to learn how spray foam roofing can turn any roof into a sturdy, energy-saving asset.
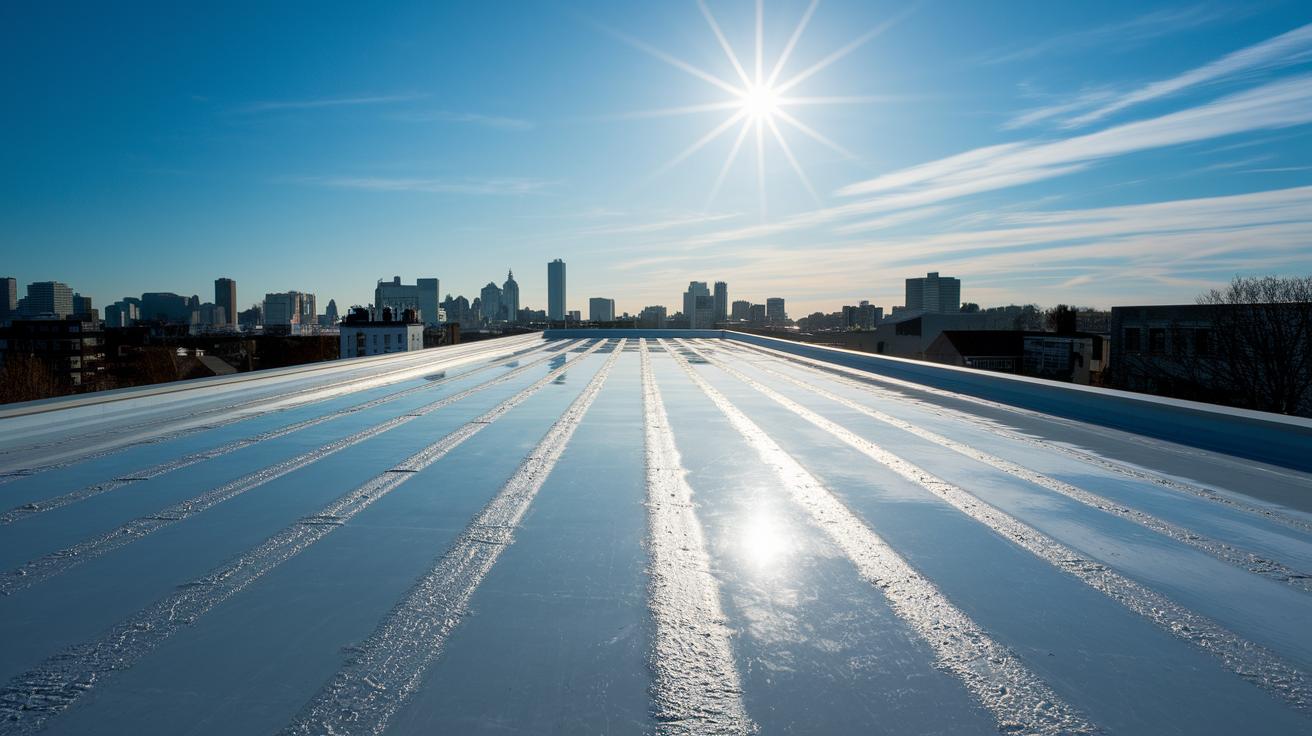
Overview of Spray Foam Roof Installation Process
Spray foam roof installation involves applying spray polyurethane foam (SPF) directly over your existing roof. The liquid foam spreads out and expands into one smooth, uninterrupted layer. This method eliminates seams, the weak spots where water might seep in.
The foam forms a continuous barrier of insulation that can cut heat transfer by up to 30%. It works well for commercial buildings, including roofs measuring around 20,000 sq ft (approximately 1,858 m²).
Because the foam bonds well with many surfaces like metal, asphalt, and TPO (a type of roofing membrane), you won’t need to remove the old roof first. For a commercial roof of this size, the whole project usually takes 2 to 5 days. This period covers important prep work such as cleaning off dirt, debris, and loose material, plus any repairs needed to ensure the roof can hold the foam properly.
Once the roof is ready, technicians mix the foam parts as the manufacturer instructs and do a test spray to check that the mix is right and sticks well. After a successful test, they apply the foam in controlled layers. Each new layer bonds with the one below it, gradually building up insulation to the correct thickness while keeping the roof watertight.
Overall, spray foam roofing is chosen for its quick application, energy savings, and lower long-term upkeep costs. Its fast installation and minimal disturbance to the building make it a smart, cost-effective choice for commercial roofing projects.
Essential Materials & Equipment for Spray Foam Roof Installation

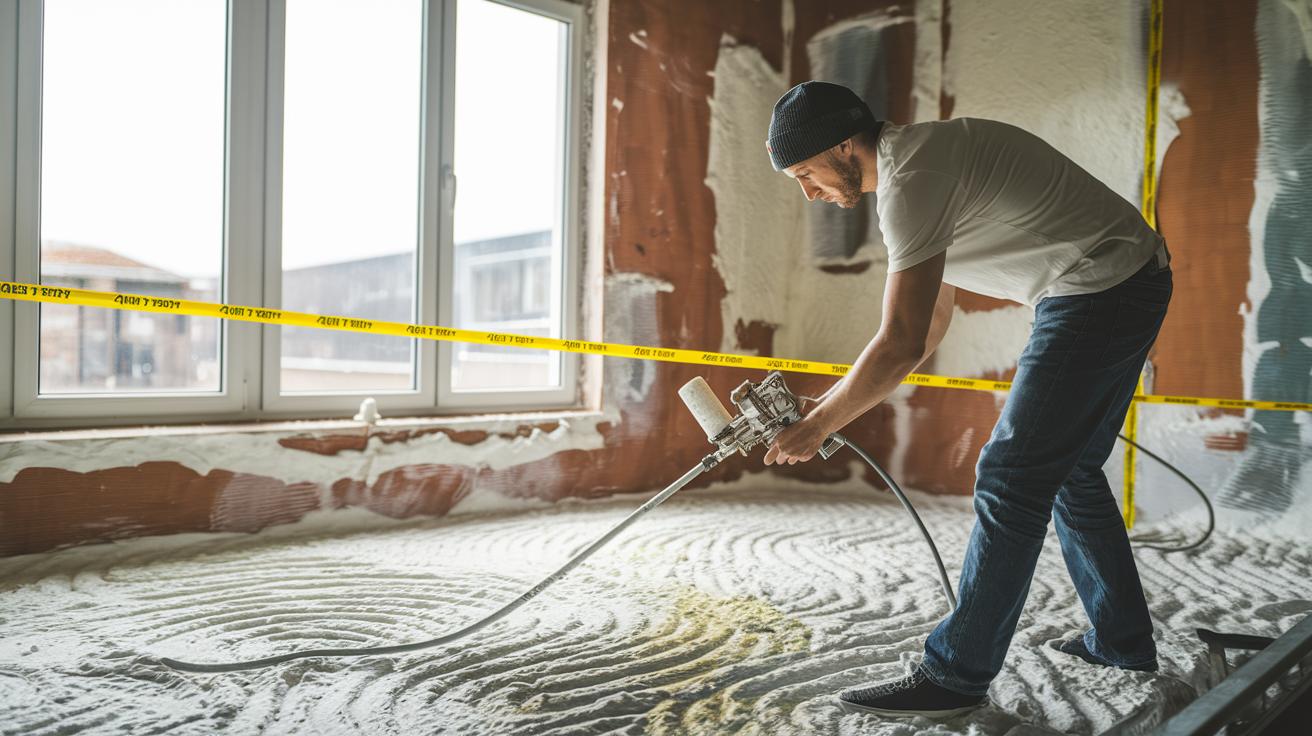
Before you begin a spray foam roof installation, gather the right tools and materials. You need a two-component SPF kit with A and B tanks mixed according to the manufacturer’s guidelines. Test the mix with a small spray to make sure it is working correctly. Heated hose systems help keep the foam consistent even in cool weather, which is especially useful on large commercial jobs.
For professional work, use a heated plural-component spray rig that warms the foam to the proper temperature. This rig, combined with high-pressure hoses and a static-mix spray gun, spreads the foam evenly over the roof to form a strong insulation layer.
Always protect yourself and your crew with proper safety gear. Your safety list should include:
- Two-component SPF kit (A/B tanks)
- Heated plural-component spray rig
- High-pressure hoses
- Static-mix spray gun
- Portable generator (for reliable power)
- Full-face respirators
- Chemical-resistant goggles
- Protective gloves and coveralls
These items work together to build a lightweight, secure foam layer that typically weighs 0.5 to 1 lb per square foot (approximately 2.4 to 4.8 kg per square meter). Follow the mixing and application instructions precisely to minimize risks and boost the roof’s energy efficiency and durability.
Preparing the Roof Substrate for Spray Foam Application
Start by cleaning the roof so that it is dry, free of debris, and in good shape. Remove dirt, loose material, or dust with a high-powered vacuum, air blasts, or a thorough sweep. If stubborn particles stick to the surface, tap them loose with a hard brush. This step is essential for the foam to stick properly.
Next, inspect the roof closely. Look for any signs of damage such as cracks, blisters, or leaks. Repair these issues right away because any damage left unchecked can lead to water leaking in later and ruin the insulation job.
Then, check that water can drain freely by verifying clear drainage paths and the right roof slope. Good drainage stops water from pooling under the foam, which can hurt its performance and durability. If your roof has a metal deck, be sure the surface is completely dry and free from rust. For more details on metal roofs, see the metal roof installation guidelines.
spray foam roof installation: Fast, Smart, Cost-Effective
-
Start by checking your roof. Walk the roof looking for damage and use an infrared scan to spot moisture, decay, or any structure issues. This first check helps you know where extra repair work might be needed before you spray foam.
-
Clean and repair the roof surface. Remove all debris, dust, and loose bits. Smooth out rough spots and fix any cracks, blisters, or leaks so the foam will stick well.
-
Mix the spray foam components exactly as the manufacturer instructs. Do a small test spray on a hidden section of the roof to confirm the mix’s consistency and stickiness. This step works even when the foam is applied over different surfaces, like TPO (a type of roofing material). For TPO guidelines, check the special resource.
-
Spray the foam in layers about 1–2 in (2.5–5.1 cm) thick. Let each layer fully expand and set before you add the next. This layering builds a strong thermal barrier and improves insulation and weatherproofing.
-
Continue adding layers until you reach about 1.5–2 in (3.8–5.1 cm) total thickness. Use a depth gauge to check your work. Keeping the thickness even ensures good energy efficiency.
-
Finally, inspect your work closely. Make sure the foam covers the roof evenly with no gaps. Fix any small areas that need touch-ups before you apply the protective top coat.
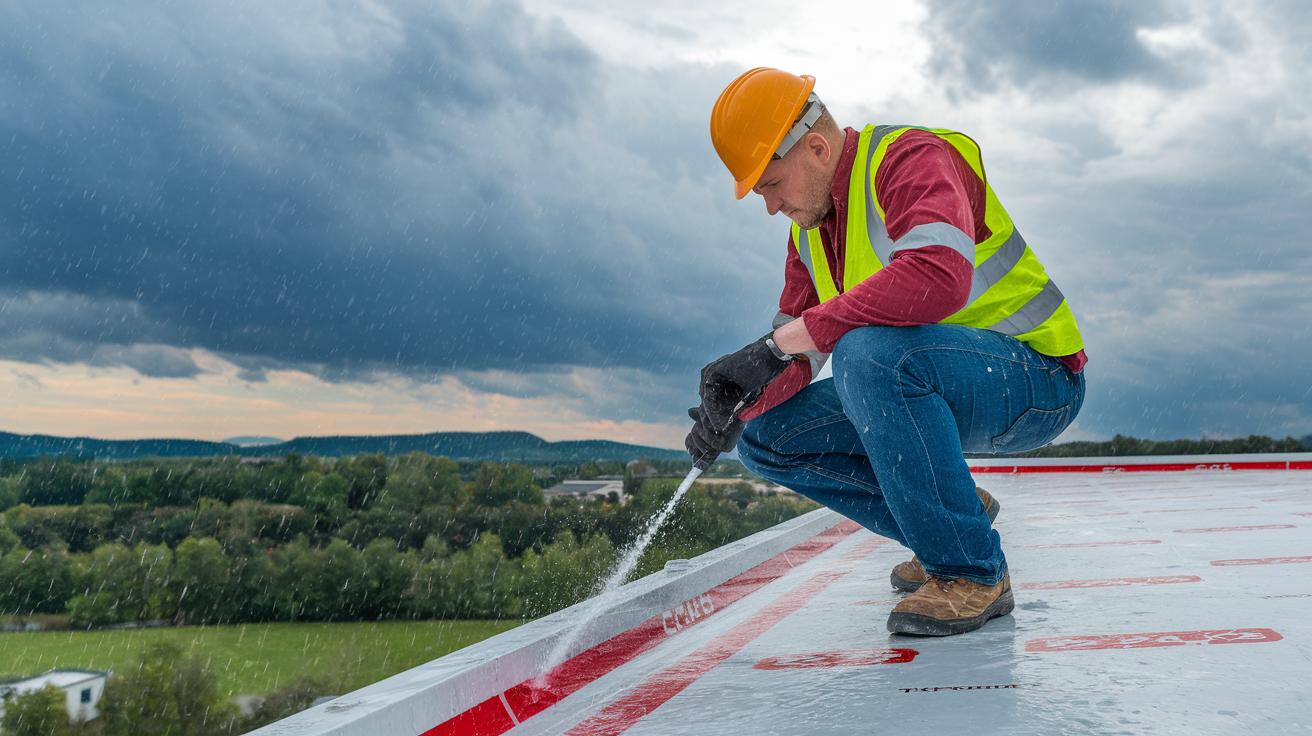
Protective Coating & Curing in Spray Foam Roof Installation
Let the spray polyurethane foam (SPF) cure for 24 to 48 hours. This waiting time lets the foam settle and reach its full insulation strength. After curing, spread a silicone or acrylic top coat at a thickness of 20–30 mils (0.02 in / 0.5 mm). This coat protects the foam from ultraviolet (UV) rays and bad weather.
Apply the top coat within 72 hours after putting up the foam to keep the surface in good condition. If you finish a foam layer and let it cure properly, coating it right away stops damage caused by too much UV light. Reapply the top coat every 10 to 15 years to keep it effective and extend the roof’s life.
A good protective coating not only keeps the SPF layer working well but also cuts down on repair work later. This method helps your roof stay energy efficient and strong through all seasons and weather changes. The fast curing of the foam paired with a tough liquid barrier delivers long-term value and lasting strength.
Cost & Energy Savings of Spray Foam Roof Installation
Spray foam roofing offers a smart, cost-effective alternative to traditional systems. It usually costs about $5.00–$10.00 per square foot, while built-up roofs run about $7.00–$12.00 per square foot. Skipping tear-offs and using less labor cut costs, and the quick install keeps your project disruption to a minimum.
This roofing creates a continuous layer of insulation that can reduce heat transfer by 20–30 percent. That means lower cooling bills and a more stable indoor temperature, for example, a large office may see noticeable utility savings. Over time, these energy savings help you recoup your investment faster.
Homeowners, investors, and building managers appreciate spray foam because it requires fewer repairs and lasts longer. Fewer fix-ups and a long roof life combine with energy savings to boost your return on investment.
| System Type | Cost per Square Foot |
|---|---|
| Spray Foam Roofing | $5.00 – $10.00 |
| Built-Up Roofing | $7.00 – $12.00 |
| Single-Ply Membrane | $5.00 – $10.00 |
These numbers show why spray foam roofing is a fast, energy-saving, and cost-smart choice.
Benefits of Spray Foam Roofing Systems
Spray foam roofing systems create a one-piece, waterproof layer that has no seams. This means there are no spots for water to seep in, much like a sealed envelope keeps its letter dry. With an insulation value (R-value) of 6.0 to 7.0 per inch, this roof helps keep your home cozy and lowers your energy bills. Plus, the foam is very light, weighing only 0.5 to 1 lb per square foot (about 2.4 to 4.8 kg per square meter), so it doesn’t add much extra weight to your building.
The foam also forms its own seal around openings for vents and skylights, which protects any weak spots. When you apply the proper coating, a spray foam roof resists harmful UV rays and weather damage for 20 to 30 years, requiring little maintenance. The dense foam even cuts down on outside noise, creating a quieter indoor space. All these features, energy savings, light weight, and lasting durability, make spray foam roofing a smart, practical choice.
- Seamless, leak-resistant waterproofing
- Excellent thermal insulation (R-value between 6.0 and 7.0 per inch)
- Lightweight construction (0.5–1 lb per square foot / 2.4–4.8 kg per square meter)
- Self-sealing around roof openings
- UV and weather-resistant for 20–30 years
- Better noise reduction from outside sounds
Troubleshooting Common Issues in Spray Foam Roof Installation
Spray foam roofing can sometimes run into problems that hurt its performance. One big problem is the weather. You can’t spray foam during rain, in high humidity, or when winds are strong. Wet or stormy conditions can stop the foam from sticking well or expanding evenly. Always check the weather forecast and reschedule if needed.
Overspray is another issue. When foam drifts onto nearby lawn or walls, it can damage them and need extra cleanup. Use barriers or other methods to keep the foam on the roof only.
Also, if the foam stays unprotected for more than 72 hours (3 days), sunlight (UV rays) will break it down. This can reduce how long the foam lasts and hurt the insulation. Uncoated foam can also get punctured by bumps or debris, which creates weak spots.
Try these steps to solve the problems:
- Keep an eye on the weather and delay spraying if conditions aren’t right.
- Use containment techniques to stop foam from overspraying.
- Apply the protective top coat within the recommended 72-hour window.
- Limit walking or impacts on the fresh, unprotected foam.
By watching the weather and taking these steps, you can keep problems at bay and help your spray foam roof work well for many years.
Maintenance, Recoating & Longevity Practices for SPF Roofs
Keep your SPF roof in top shape by following these simple steps. First, inspect your roof every year. Walk the surface and look closely for cracks, blisters, or spots where the foam seems thin. After harsh weather, like strong winds, heavy storms, or hail, check the roof right away to catch any damage early.
Next, clean your roof regularly. Gently remove debris, leaves, and dirt. Use either a soft washing method or a low-pressure spray. This cleaning not only keeps your roof looking neat but also prevents moisture from getting trapped against the foam, which could hurt the insulation. Think of it like unclogging a filter to keep air moving freely.
Every 10 years, apply a new protective coat to the foam. This recoating locks out harmful UV light and helps keep the roof durable. Be sure to use a product that matches the manufacturer's recommendations since the warranty often depends on using the correct coating thickness.
If you spot a small puncture, repair it quickly with a sealant that works with your roof foam. Taking care of small issues right away stops them from becoming bigger and more expensive problems. Following these tips helps maintain your roof’s long life and supports any warranty claims you might need.
DIY Versus Professional Spray Foam Roof Installation
Doing a spray foam project yourself can trim labor costs, but it also brings tough challenges. On your own, you must invest in costly equipment and learn to mix the foam just right. Getting the mix ratio correct and calibrating your gear is a must; a misstep can cause poor adhesion and create leaks.
Professional contractors earn certification from foam manufacturers. They are trained to set up their equipment, maintain the correct mix, and apply the foam evenly. Their teams perform quality checks during the job, which helps cut down on waste and keeps safety standards high.
Consider these points:
- DIY work saves money on labor but demands careful study and costly equipment.
- Pros back their work with manufacturer warranties.
- Correct setup and mix control are key to preventing adhesion issues.
- Certified crews ensure site safety by using proper gear and controlling overspray.
- DIY mistakes may lead to expensive repairs if the foam is applied unevenly or develops leaks later.
If you’re a homeowner or small contractor who isn’t comfortable managing these precise requirements, hiring a professional can save you time, money, and heartache in the long run.
Safety Protocols & Contractor Selection Tips for SPF Roofing
When you install SPF roofing, safety comes first. Every installer needs full personal protective equipment (PPE), including a respirator with organic-vapor cartridges, goggles, gloves, and coveralls. Make sure the work area has good ventilation and set up barriers to keep overspray away from work crews and nearby property.
It’s also smart to choose a contractor who has completed SPF manufacturer training and holds proper certifications. Ask to see detailed bids that list labor, materials, and equipment costs separately, for example, one bid might show labor at $2,000, materials at $3,000, and equipment at $500. And don’t forget to verify that the contractor is insured and bonded, with good customer references.
Consider these simple steps when planning your SPF roofing project:
- Ensure all crew members wear the required PPE: respirators, goggles, gloves, and coveralls.
- Keep the site well-ventilated and use measures to contain overspray.
- Confirm the contractor has completed SPF manufacturer training and holds the necessary certification.
- Request clear, detailed bids that break out labor, material, and equipment costs.
- Check that the contractor is properly insured, bonded, and backed by reliable references.
Following these guidelines helps create a safer work environment and sets you up for a successful roofing project.
Sustainable & Eco-Friendly Aspects of Spray Foam Roof Installation
Spray foam roofs reduce energy use and cut carbon emissions. They create a continuous insulation layer that minimizes the need for extra heating or cooling. This helps lower greenhouse gases and supports green, sustainable insulation choices.
New spray foam mixes use low-GWP HFO blowing agents (substances that expand the foam) to lessen global warming risks. A reflective top coat reduces solar heat gain, keeping indoor spaces cooler during hot months and lowering air conditioner use.
Spray foam roofs last a long time and can be recoated instead of being replaced entirely. This simple maintenance saves resources and reduces waste. Tests show that spray foam performs reliably in various climates, making it a smart, eco-friendly option for homes and businesses alike.
Final Words
In the action, we covered each step of the spray foam roof installation process, from gathering essential tools and preparing the substrate to following a clear, step-by-step application and curing guide. We touched on troubleshooting tips, cost-saving strategies, and practical maintenance practices to help keep your project running smoothly. Breaking down the process into clear sections makes it easier to complete projects safely and on budget. Spray foam roof installation can deliver lasting quality and significant energy savings for your home.
FAQ
Spray foam roof installation near me
Searching for spray foam roof installation near me points you to local contractors specializing in SPF roofing. They install seamless insulation systems that increase energy efficiency and extend roof lifespan.
DIY spray foam roof installation
DIY spray foam roof installation means you attempt to apply SPF yourself. It requires proper equipment, strict adherence to mix ratios, and safety gear to avoid uneven application or performance issues.
Spray foam insulation
Spray foam insulation is a method that delivers an airtight barrier by expanding to fill gaps and cracks. It improves energy efficiency and reduces drafts when correctly applied to your building.
How to install spray foam insulation in existing walls
How to install spray foam insulation in existing walls involves prepping the area, ensuring dry, clean surfaces, and applying foam evenly into wall cavities. Professional help is advised for proper coverage and compliance.
Roof insulation
Roof insulation refers to techniques that add a thermal barrier above the ceiling, including methods like spray foam. It reduces heat transfer and can provide added waterproofing when installed properly.
Spray foam insulation kit
A spray foam insulation kit includes the necessary A/B chemical tanks, heated hoses, and a static-mix spray gun. These kits enable you to apply foam yourself if you follow the manufacturer’s instructions carefully.
TPO roofing installation details
TPO roofing installation details involve applying thermoplastic polyolefin membranes over a clean substrate. Heat welding is used for seam bonding, and it can complement SPF systems for added durability.
How to use spray foam insulation kits
How to use spray foam insulation kits involves accurately mixing chemicals to manufacturer specs, performing a test spray, and then applying even layers while wearing appropriate safety gear for effective insulation.
Is spray foaming a roof a good idea?
Is spray foaming a roof a good idea is answered by its benefits—enhanced energy efficiency, seamless waterproofing, and durability—yet proper application and professional evaluation are key to ensuring success.
How much does it cost to spray foam a 2000 foot attic?
How much it costs to spray foam a 2000-foot attic depends on factors like labor and materials, usually averaging between $5.00 and $10.00 per square foot, resulting in an estimated total of $10,000 to $20,000.
Why is spray foam a red flag for lenders?
Why spray foam is a red flag for lenders ties to concerns over potential installation issues. Lenders worry improper application may affect long-term roof performance and property value, risking future repairs.
What are the disadvantages of spray foam roof insulation?
What the disadvantages of spray foam roof insulation are include the need for skilled application, higher initial costs, and sensitivity to installation weather conditions, making professional execution crucial.