
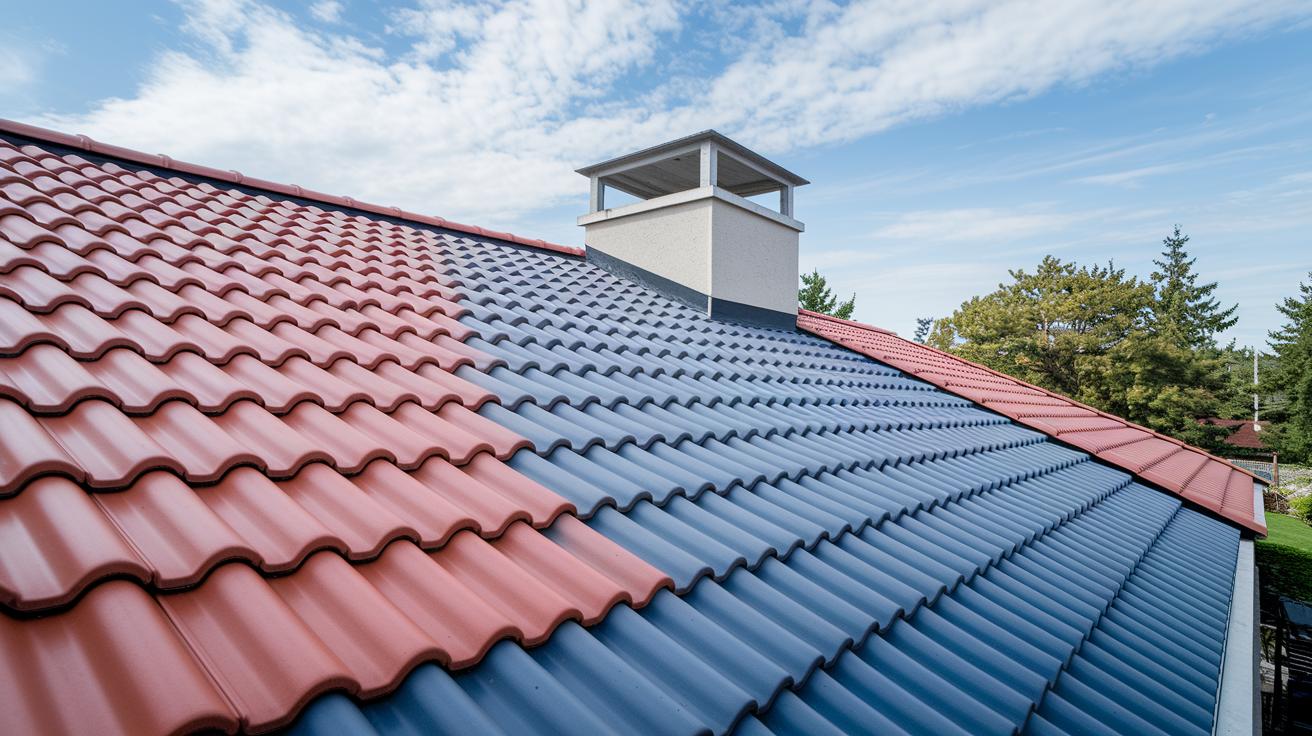
Ever wonder if a new tile roof could change your home's look overnight? Installing one not only boosts curb appeal but also strengthens your roof. Start by checking your roof deck for damage. Then, lay each tile carefully to meet building code and safety standards. With the right planning, proper materials, and clear, step-by-step guidance, you can achieve a durable roof that makes your home stand out.
tile roof installation Boosts Your Home Appeal
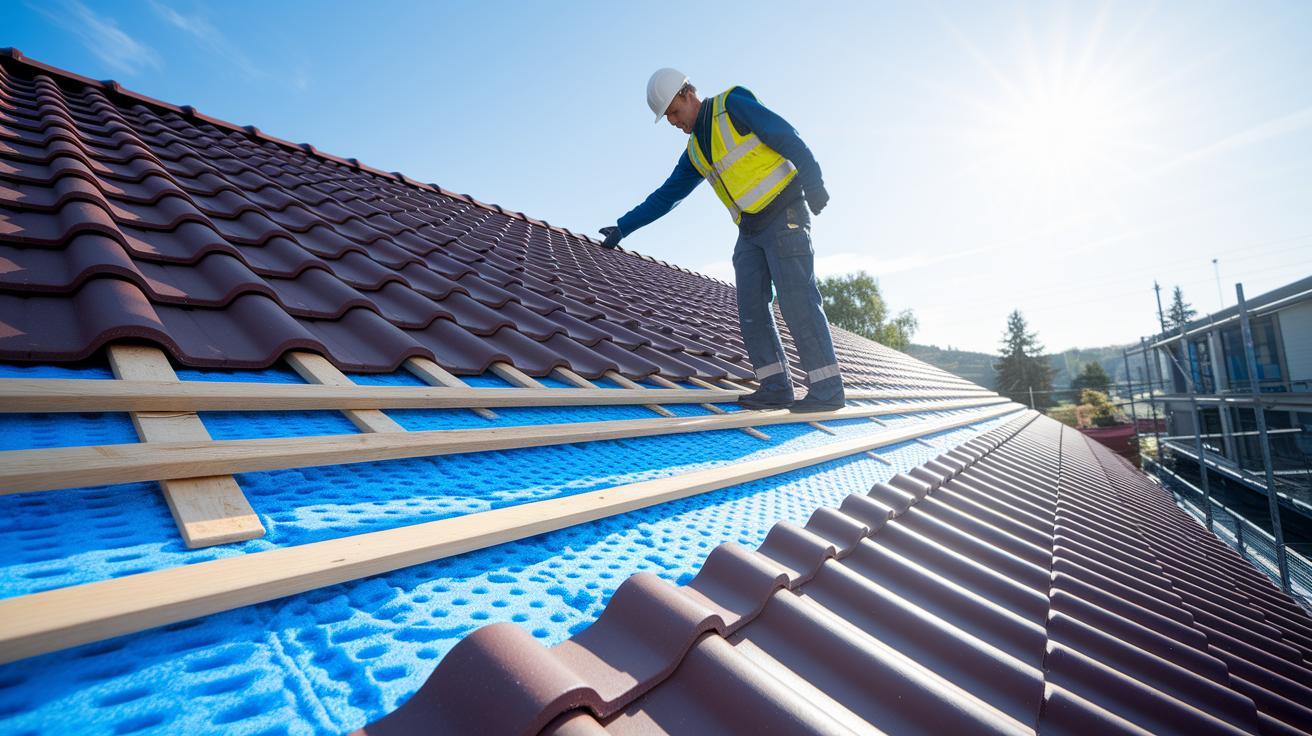
Begin by inspecting your roof deck closely. Check for rot, weak spots, or any damage to ensure the structure is sound. Make sure the deck can handle the extra weight of your new tile roof. For example, concrete tiles generally weigh 8–12 lbs/sq ft (3.6–5.4 kg/sq ft) and clay tiles 6–10 lbs/sq ft (2.7–4.5 kg/sq ft). Always wear fall protection and set up proper scaffolding.
Next, choose an underlayment that is approved by the tile maker and meets local building codes. Mark your starter course and alignment lines to keep the tiles straight. Follow a step-by-step tiling guide to overlap each tile correctly for optimal water runoff.
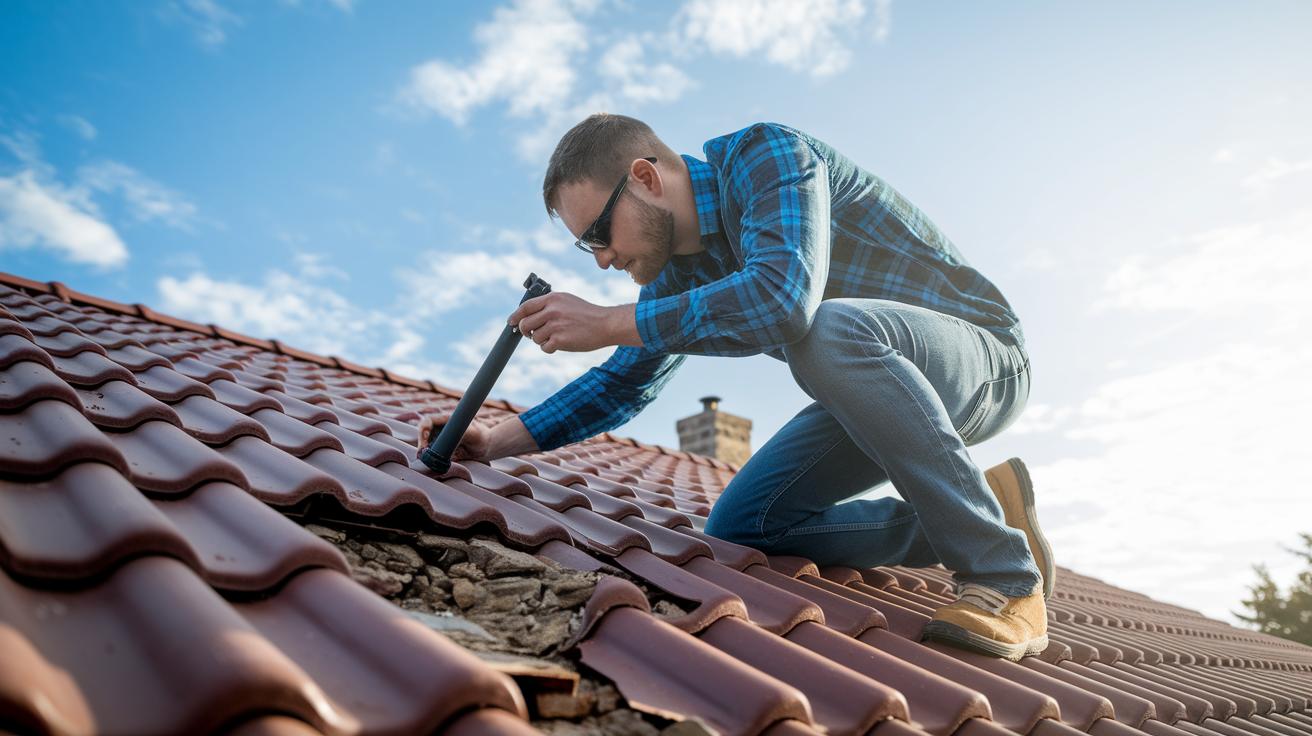
Lay the tiles one row at a time. Fit ridge and hip tiles using the recommended clips. When working around chimneys, vents, and skylights, install flashing carefully by following the manufacturer’s instructions to avoid leaks and improve durability.
Always prioritize safety. Check warranty details, comply with building codes, and use proper fall protection. Most installations take about 5 to 7 days for an average home, though complex roofs might take longer. Remember, labor and material costs can vary based on your region and design choices.
Comparing Tile Roof Installation Materials and Costs
When you plan your roof, you need materials that fit your budget, can hold up under weight, and last a long time. Clay tiles weigh about 6–10 lbs/sq ft (2.7–4.5 kg/sq ft) and cost roughly $7–$15 per square foot. They offer a classic look, energy savings, and a lifespan of 50+ years. Concrete tiles are a bit heavier at 8–12 lbs/sq ft (3.6–5.4 kg/sq ft) but come in at a lower price of about $5–$12 per square foot. They offer strong performance with lower expenses. Spanish barrel tiles give your roof a distinct style. They cost around $8–$16 per square foot and weigh similarly to clay tiles, providing both charm and solid durability.
For example, you might say, "Installing concrete tiles generally costs about $5–$12 per square foot, so it’s a cost-effective and sturdy option." In comparison, "Clay tiles add an upscale look with lasting value at $7–$15 per square foot." For more details, see the average cost for roof installation.
| Tile Type | Weight (lbs/sq ft) | Cost ($/sq ft) | Key Benefit |
|---|---|---|---|
| Clay | 6–10 | $7–$15 | Classic look and energy savings |
| Concrete | 8–12 | $5–$12 | Cost-effective and durable |
| Spanish barrel | 6–10 | $8–$16 | Distinctive style with solid durability |
Step-by-Step Tile Roof Installation Process
-
Start by checking the roof deck for any rot or damage. Walk along the roof with a flashlight to spot water stains, loose boards, or soft spots that could leak later. For example, shine your light along the deck edges to spot any dark or discolored areas.
-
Next, install the underlayment as the manufacturer directs. Lay it out carefully so each layer overlaps the next to form a solid barrier. Warning: If the layers don’t overlap correctly, water can seep through.
-
Plan your tile layout by marking a starter course. Use a chalk line to create a straight guide along the ridge. This helps keep your rows true and evenly spaced.
-
Lay the tiles one row at a time, making sure each tile overlaps the one before for proper weatherproofing. Check the alignment often. Tip: Compare each row to the one next to it to maintain even gaps.
-
Fit the ridge and hip tiles using specialized clips. These clips secure the tiles in place and improve wind resistance.
-
Install flashing around any roof openings such as chimneys, vents, or skylights. Follow your flashing guide closely to direct water away from these vulnerable spots. For detailed steps, see the roof flashing installation guide on neull.com.
-
Finally, do a full safety check and clean up your work area. Walk over the roof to ensure every tile is secure and all flashings are in place. Remove any debris and fix tiles that are not aligned. Safety check: Leave no loose materials that could create hazards or allow water in.
Advanced Fastening Methods for Tile Roof Installation
Foam Adhesive
Single-component polyurethane adhesive is a lightweight and flexible option for concrete tile roofs. It forms a soft cushioning layer that makes the roof easier to walk on and helps prevent tile breakage. Think of it like a padded underlay that cuts down on cracked tiles when stepped on. This workhorse works best in spots with moderate wind uplift since its strong grip keeps the tiles secure.
Mechanical Fasteners
Screws or nails are a cost-effective way to fasten tiles to the roof deck. However, how well they hold can change with local wind conditions. For example, if you live in a high-wind area, you might need extra fasteners or different spacing to keep the roof tough. Always follow the manufacturer’s instructions and check your local building codes for proper installation.
Hybrid System
A hybrid approach mixes adhesive with mechanical fasteners to boost performance. This method offers wind uplift resistance nearly as good as high-end foam systems while cutting down on installation time and cost. Tests show that this dual approach works almost as well as a full two-part foam system. Many contractors report great wind resistance with this method. Choose the method that best fits your local climate and budget for a safe, lasting tile roof installation.
Ensuring Compliance: Permits, Codes, and Safety in Tile Roof Installation
Start by checking that your project has the proper permits. Review your plans to ensure they match industry standards like the TRI Alliance Uniform ES-ER-2015 (March 2024), the Florida High-Wind Manual 7th Edition, and ASCE-7-16/7-22 for wind and seismic zones. These guidelines help you meet the load and pitch rules set out in the IRC, IBC, and CBC.
Next, inspect your roof deck. Look at the rafters and decking to be sure they are strong enough to hold the weight of the tiles. A weak roof can lead to serious problems later.
Make sure you follow the proper flashing steps to keep water out. Install flashing around every roof opening. This step keeps the water away and maintains good airflow. Always check each section against the manufacturer’s recommendations so you can catch any mistakes.
Ensure your contractor is certified and knows local codes. A certified contractor will follow the right safety and installation standards.
Set up proper fall protection and scaffolding. Use approved harness systems and wear eye protection to prevent falls and other injuries.
Always get the necessary permits from your local building department before you start. This keeps your project legal and safe from start to finish.
Maintenance Tips and Long-Term Care for Installed Tile Roofs
A well-kept tile roof can last for many years if you take the time to check it regularly. Once a year, walk along your roof to look for broken or cracked tiles, worn-out underlayment (the layer under the tiles), or loose flashings (the metal pieces that seal joints). Watch for missing pieces or dark spots that might mean a tile is chipped and needs replacing.
Clear off any debris like leaves or dirt that could trap water. A good tip is to gently sweep the roof with a soft broom so you don’t scratch the tile surface. Also, check the hip and ridge caps (the top pieces of the roof). Reseal them with manufacturer-approved sealant if you spot cracks, as this will keep leaks at bay and help the roof hold up against bad weather.
Fix broken tiles one at a time rather than replacing large sections. Here’s a quick checklist to follow each year:
- Inspect all tiles and flashings carefully.
- Remove debris to prevent water from pooling.
- Reseal hip and ridge caps if you see any cracking.
- Replace only the damaged tiles to save time and money.
Following these steps will help your roof last longer, keep repair costs low, and protect your home from the elements.
Final Words
In the action, the guide broke down every key step from choosing the right materials to the final inspection. We covered a complete overview of tile roof installation, detailed cost analyses, a step-by-step process with safety notes, advanced fastening methods, and vital permit tips. Small but solid steps help you tackle the project confidently while keeping costs in check. With careful planning and regular upkeep, a safe and lasting tile roof installation is well within reach. Enjoy your project and the enduring benefits of a well-installed tile roof.
FAQ
What does the tile roof installation guide PDF provide?
The tile roof installation guide PDF provides a step-by-step overview, including deck inspection, underlayment selection, tile layout, flashing details, and safety tips for a proper and secure installation.
What information does the tile roof installation video offer?
The tile roof installation video visually demonstrates key steps like proper underlayment, tile alignment, flashing installation, and cleanup, helping viewers grasp practical installation techniques.
How is Spanish tile roof installation different?
Spanish tile roof installation emphasizes unique curved layouts, proper underlayment, and specialized flashing to accommodate the distinct style and performance needs of Spanish roof tiles.
What does the Tile Roofing Institute Installation Manual cover?
The Tile Roofing Institute Installation Manual details industry-approved methods, critical safety precautions, and step-by-step procedures to ensure a durable and code-compliant tile roof installation.
What do clay roof tiles installation details include?
Clay roof tiles installation details include guidance on material weight, proper underlayment use, precise tile alignment, and flashing techniques to create a waterproof and long-lasting roof.
What are the key points in roof tiles types and prices?
Roof tiles types and prices compare clay, concrete, and barrel options by weight, durability, and cost per square foot, offering clear insights to help choose the right tile for your budget and climate.
What is unique about barrel tile roof installation?
Barrel tile roof installation involves careful planning of tile layout, using specialized clips for curved tiles, and ensuring accurate drainage and sealing to maintain roof integrity.
How are roofing tiles installed?
Roofing tiles are installed by inspecting the deck, laying down a manufacturer-approved underlayment, placing tiles row by row with proper overlap, installing flashing, and conducting a final inspection to ensure quality.
What do you put under tiles on a roof?
Under tiles, you install a manufacturer-approved underlayment that acts as a secondary water barrier, protecting the roof deck from moisture and ensuring proper tile adhesion.
What is the average cost of a new tile roof?
The average cost of a new tile roof depends on the tile type, weight, and installation labor, typically ranging between $7–$15 per square foot for clay and $5–$12 for concrete.
Do tile roofs require underlayment?
Tile roofs require an underlayment to serve as an extra water barrier, protect the roof deck from moisture, and help meet manufacturer warranty requirements.