

Ever wonder if your drywall project is set up to fail? The order you hang the ceiling and walls can change your finish and your budget. Many pros start with the ceiling because it creates a solid base, keeps the panels straight, and stops extra fixes later. In this guide, we show you how beginning at the top can mean fewer cracks and a cleaner look. Follow our simple steps to save time and money on your next drywall project.
Ceiling-First vs Wall-First Drywall Installation Workflow
Kick off your drywall project by hanging the ceiling panels. This step creates a solid base, helps line up the walls, and keeps everything in proper alignment. When the ceiling panels run perpendicular to the joists (the horizontal beams that support the ceiling), you lower the chance of sagging and big, hard-to-fix cracks.
For a room with 8 ft (2.4 m) ceilings, use screws every 16 in (40.6 cm) to spread out the support evenly. Position each ceiling panel with care, and work with a partner to line up the joints. That way, any mistakes can be caught early before they cost you extra time or money.
Key benefits of a ceiling-first approach:
- Better alignment between ceiling and walls for a neat finish.
- Reduced sagging because the panels are set correctly against the joists.
- Simpler joint finishing, as the ceiling panels give you a steady edge to work from.
Using this method keeps your drywall sheets measured and secured uniformly. This precision cuts down on the need for later adjustments during taping, mudding, and sanding.
In some tight spaces or areas with many ceiling fixtures, working on the walls first may work better. In these cases, you might have to start at the top of the wall and work downward. The best plan depends on your room layout and tools, but most projects see better stability and finish quality when the ceiling comes first.
Step-by-Step Ceiling Drywall Hanging Procedure
-
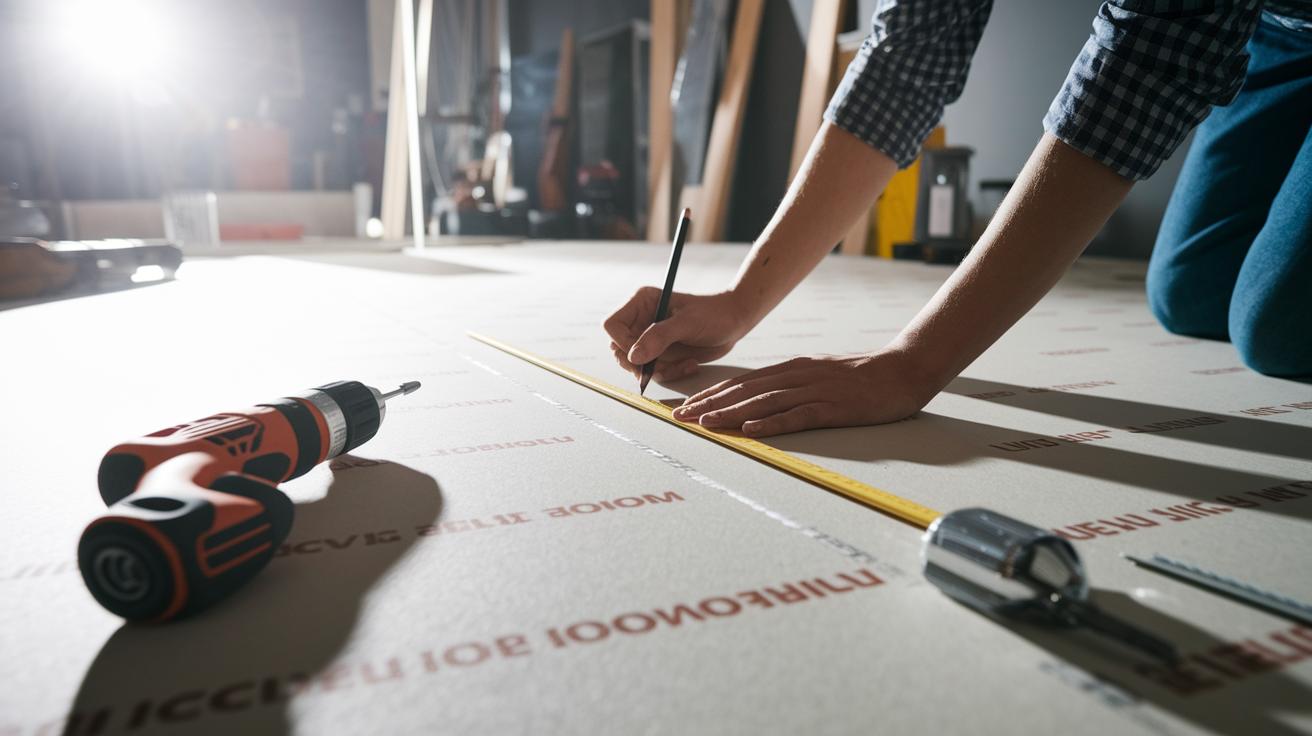
Measure each drywall panel using a 4 ft x 4 ft square (1.2 m x 1.2 m). Mark and cut the panel to fit your room precisely. Aim for accuracy to within 1/8 in (3 mm). Tip: double-check your marks to avoid alignment issues.
-
Label the face of each panel (for example, "living room side") before installation. Pre-drill the screw holes lightly so that later fastening is quicker and hassle-free.
-
Get help when positioning heavy panels. Use a drywall lift or a partner and start in a corner. Hold the panel steady as if you’re fitting puzzle pieces to achieve a smooth, even surface.
-
Secure the panel edges to the wall studs using screws placed every 16 in (40.6 cm). Ensure the sheet stays perpendicular to the joists (horizontal beams that support the ceiling) to prevent sagging.
-
Stagger the joints by offsetting the seams between adjacent panels. This reduces the risk of long cracks and gives your ceiling extra strength.
-
After fastening, check that the panel lies flat and is securely attached. Fix any misalignments right away so that the ceiling remains even throughout.
Post-Ceiling: Precise Wall Drywall Installation Steps
After you hang your ceiling panels, focus on lining up and securing the wall panels. Start by firmly pressing the first wall sheet against the ceiling. This gives you a solid start and a clean, continuous top row for the rest of your wall.
- Position the top sheet flush against the ceiling. Mark stud (vertical framing member) locations beforehand and fasten the panel with nails or screws along the top and bottom of each stud.
- Install the complete top row around the room before adding the lower panels. This locks the upper edge in place and keeps the line even.
- Measure cutouts carefully. Use your tape measure to the nearest 1/8 in (3 mm) around electrical boxes and plumbing rough-ins. For vertical cuts, measure down from the ceiling panel instead of up from the floor.
- Stagger seams between panels. This boosts strength and reduces the risk of visible cracks later.
- Leave a ½ in (1.3 cm) gap between the panel and the floor. This gap makes room for flooring and allows for flexibility.
- Check each panel with a level to ensure it is plumb (perfectly vertical). This step helps prevent misalignment and makes finishing easier.
Essential Tools and Equipment for Drywall Panel Installation
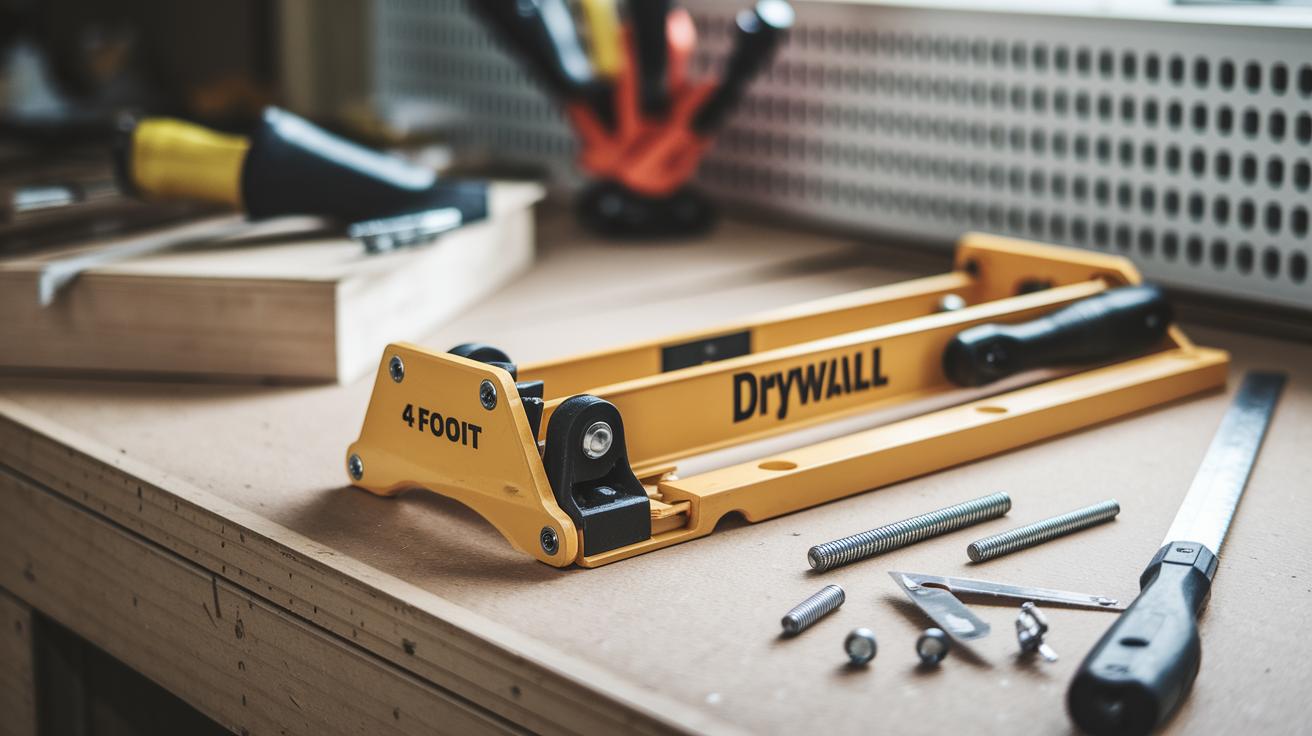
Your toolbox is key to a smooth drywall project. With the right tools, you work faster, safer, and more accurately. Whether you’re hanging walls or installing ceilings, these must-have tools will help you get the job done right.
• Drywall lifts – These lifts hold heavy drywall panels for ceiling work. They make it easier to position sheets accurately, especially when you’re working alone. You can even rent one if your project is short-term.
• 4-foot T-squares – Use a T-square (a long, straight tool) to mark and cut your drywall panels square. This tool keeps your cuts clean and accurate.
• Drywall keyhole saws – This small saw is perfect for cutting out openings for light fixtures or electrical boxes. It helps you make neat, precise cuts.
• Screw guns with depth-adjustable nosepieces – These tools drive screws at the right depth without damaging the drywall’s paper surface. Pre-drilling pilot holes and marking panel sides (like labeling the “living room side”) can speed up your work and prevent mistakes.
• Safety gear – Wear safety goggles and dust masks to protect your eyes and lungs, especially when sanding or cutting.
| Tool | Purpose |
|---|---|
| Drywall Lift | Holds heavy panels for ceiling work |
| 4 ft T-Square | Makes accurate, square cuts |
Finishing Sequence: Taping, Mudding, and Sanding After Ceiling and Wall Installation
Start by spreading joint compound along the ceiling seams. Work it in evenly and press drywall tape firmly into the compound so no air pockets form (air pockets can cause future cracks). Allow the compound to dry completely before you move on.
Next, focus on the walls. Apply a first coat of joint compound and embed the tape into the seams. Then add a second coat over the tape and let it cure fully. Following this order helps you get a long-lasting, smooth finish.
Before you sand the walls, first sand the ceiling joints. Sanding the overhead parts early lets any dust that falls on the walls be cleaned up later. This keeps the texture consistent across the room.
Finish by installing corner beads at all outside corners to reduce the chance of cracks. Use a drywall knife to check that the screw dimples sit just below the paper surface without tearing it. Keeping the screw dimples consistent is key to a neat overall finish.
drywall ceiling or walls first: Best Results

Sometimes it makes more sense to start with the walls. This works well in tight spaces, rooms where a lift isn’t available, or when the ceiling is busy with light fixtures and fans. Hanging drywall vertically is easier and lets you see progress without the strain of heavy overhead work.
This method is useful if the ceiling is high, the drywall panels are thick, or the ceiling is damaged. For example, if your ceiling has old finishes or broken spots that need repair, working on the walls first saves extra steps. When you're on a tight budget or have only a few helpers, starting with the walls can simplify the job and eliminate the need for extra tools like a drywall lift.
Here are a few points to consider for a walls-first approach:
- Room size and ceiling height that make overhead work tricky.
- A ceiling full of fixtures that limits clear access.
- Limited labor or few available tools to handle heavy panels.
- Existing ceiling damage that needs fixing before installation.
Using these tips can help you plan for a solid, clean drywall finish.
Troubleshooting Common Sequence Challenges in Drywall Installation
Drywall sheets that are not aligned correctly can cause cracks in your finish. Always install each panel at 90 degrees to the joists. Use a tape measure both horizontally and vertically to ensure tight joints.
- Check each row for proper alignment. If a panel is not flat, adjust it right away.
- To keep heavy sheets from sagging, use a drywall lift or ask a friend for help.
- Measure twice before cutting. Inaccurate cuts can lead to extra work and material waste.
- Set your screw depth correctly. If screws are too deep, the paper may tear; if too shallow, they will pop out. Use a screw gun with an adjustable depth guide for accuracy.
In tight spaces, add temporary blocking for extra support. A scrap 2×4 (actual 1.5 in x 3.5 in / 38 mm x 89 mm) taped in place can act as a stable base until you permanently fasten the panels.
Re-check your cutting lines around openings for electrical boxes and plumbing. Use a four-foot drywall square (48 in / 1.22 m) and a pencil to mark these lines. Taking the time with these small steps prevents bigger issues later and helps create a durable installation.
Final Words
Drywall ceiling or walls first sets the tone for accurate alignment and a solid finish. In the action, you learned the benefits of starting with the ceiling, detailed step-by-step installation tips, and finishing techniques that prevent issues like sagging and cracks. The guide breaks down tool choices, precise measurements, and troubleshooting tips to keep your project on track. Stay focused, measure twice, and work methodically. Enjoy the satisfaction of a neat, safe renovation and the pride that comes with a job well done.
FAQ
Q: Drywall ceiling or walls first reddit
A: The discussion on whether to drywall the ceiling or walls first centers on ceiling-first installation. This approach improves joint transitions and reduces sag, though some projects might use a walls-first method.
Q: Can you drywall ceiling after walls
A: Drywalling the ceiling after the walls is possible, but it can create alignment issues and visible gaps. Starting with the ceiling usually provides a smoother finish.
Q: Can you drywall walls before ceiling
A: Drywalling walls before the ceiling is feasible, yet it risks misaligned seams. Many professionals prefer installing the ceiling first to ensure better support for wall joints.
Q: Drywall lift
A: A drywall lift holds heavy ceiling panels during installation. It makes the process safer and more efficient by freeing up your hands and ensuring proper alignment.
Q: How to hang ceiling drywall with one person
A: Hanging ceiling drywall solo requires planning. Use a drywall lift or secure support, and work slowly with proper tools to keep panels level and safely in place.
Q: Do you mud walls or ceiling first
A: Mudding the ceiling seams before addressing the walls results in a cleaner finish. This order allows any dust or compound residue from the ceiling to be managed effectively when mudding the walls.
Q: How to hang drywall on ceiling without a lift
A: Hanging ceiling drywall without a lift is manageable with a partner or temporary supports. Carefully measure, secure the panel, and use proper tools to hold the sheet steady during installation.
Q: Ceiling drywall thickness
A: Ceiling drywall typically comes in 1/2 in (12.7 mm) or 5/8 in (15.9 mm) thickness. The thicker option helps reduce sag when installed perpendicular to the ceiling joists.
Q: What are two common mistakes made during drywalling?
A: Two frequent mistakes include misaligning panels relative to the framing and improper screw setting—either too deep, causing paper tears, or too shallow, leaving panels unsecured.
Q: What order to install drywall?
A: The optimal installation order is to start with the ceiling panels to support the walls. Following this sequence ensures better alignment and a uniform finish across all joints.
Q: Why not hang drywall vertically?
A: Hanging drywall vertically can lead to longer seams and weaker joints, making it challenging to maintain a consistent finish. Horizontal installation promotes better support and easier mudding.
Q: On what part of a room should the drywall be installed first?
A: Install drywall starting at the ceiling. This method provides a solid base for wall panels and ensures a cleaner, more aligned transition between the surfaces.