
Ever wonder why your walls just don't look right?
Drywall taping might be the solution you need. This method fixes nail pops (when nail heads break through the surface), cracks, and rough joints, all without the high cost of a contractor. In this guide, we'll show you a few simple tools and clear, step-by-step instructions to help you get smooth, professional results. With the right supplies and a little practice, you can transform your rough walls into a sleek, finished surface.
Comprehensive Drywall Taping Overview: Tools, Materials, and Setup
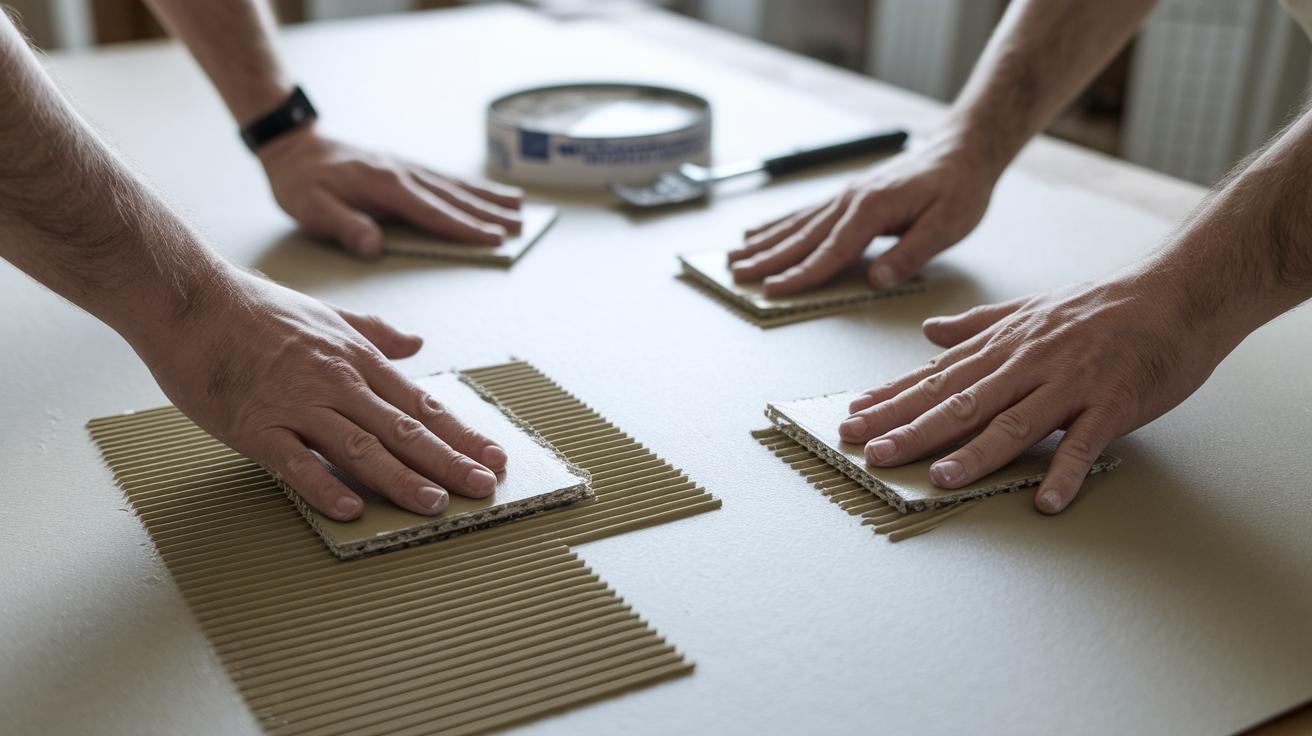
DIY drywall taping lets you save money and work on your schedule. When you use basic hand tools for small jobs or a complete kit with a banjo and clincher (a tool that helps apply joint compound evenly) for large rooms, you keep costs low and get smooth, professional results.
This method cuts out expensive contractor fees and reduces wasted materials. With a small but effective finishing kit, you can fix nail pops (small holes left by nails), cracks, and uneven joints quickly without extra trips or pricey gear.
- Corded drill
- 1-5/8 in (approximately 41 mm) drywall nails
- Mud pan
- 6 in (15 cm) knife
- 4 in (10 cm) knife
- Tin snips
- Clincher
- Roll of paper tape
Mixing the setting compound right is key to a lasting repair. For cracks wider than 3/8 in (roughly 9.5 mm), blend the compound until it has a peanut butter-like consistency. This helps it fill gaps and stick well. Choose a kit that fits the job: a full banjo and clincher set works best in big spaces, while a simple hand-applied method works great in small areas. Use quality materials and trusted techniques to create smooth, durable walls every time.
Detailed Drywall Taping Steps: From Prep to Final Sanding

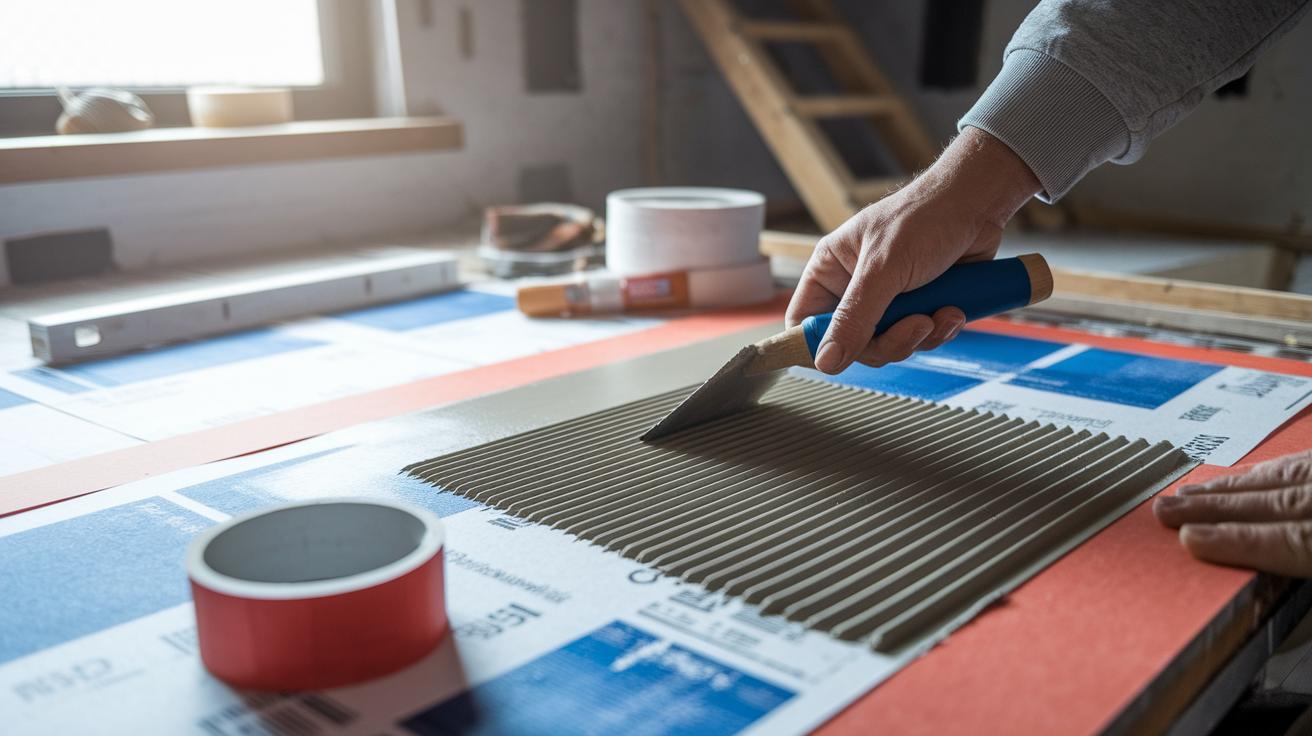
This guide shows you a simple way to go from rough walls to a smooth finish. Start by scoring damaged areas and sanding the edges. For any cracks wider than 3/8 in (9.5 mm), fill them with a 45-minute setting compound mixed until it looks like honey. Next, load your tape tool (banjo) with a roll of tape and compound, then press the tape into the wall using a 6 in (15 cm) knife. For the second coat, mix the compound to a creamy, mashed potatoes-like consistency and apply it in mounds about 1/8 in (3 mm) thick to help feather the edges. Let this coat dry for 24 hours until you see a uniform color. Finish by wet-sanding the surface with 100-grit paper. As you work, check fasteners by pressing with a knife until you hear a clear metallic click, and cover any exposed areas with a little more compound.
- Score and sand damaged surfaces.
- Fill cracks over 3/8 in (9.5 mm) wide with a honey-like 45-minute setting compound.
- Press the tape into the compound using your banjo and a 6 in (15 cm) knife.
- Apply a second coat in 1/8 in (3 mm) mounds with a creamy, mashed potatoes-like compound.
- Feather the compound edges to blend the seams.
- Allow 24 hours for the compound to dry evenly.
- Wet-sand the surface with 100-grit paper and check fasteners by pressing with a knife until you hear a metallic click.
| Step | Compound Consistency | Tool | Drying Time |
|---|---|---|---|
| Crack fill | Honey-like | Utility knife | 45-minute setting |
| Tape embed | Honey-like | Banjo and 6 in (15 cm) knife | Immediate press |
| Second coat | Creamy mashed potatoes-like | 6 in (15 cm) knife | 24 hours |
| Sanding | N/A | 100-grit sander | After 24 hours |
Drywall taping: Smooth, Simple Results
When you work on drywall, knowing your tape options makes a big difference. Paper tape, when set in a good layer of joint compound (mud), blends nicely with the wall and keeps unwanted texture from showing after sanding. Mesh tape has a self-adhesive edge that lets you work faster, but it can leave tiny marks if you don’t smooth out the compound completely. Pre-creased tape works well on flat seams and corners, so you can choose a classic method or a quicker modern approach.
• Paper tape gives you a smooth finish if you work it fully into compound.
• You need to apply paper tape carefully to avoid bubbles or uneven spots.
• Mesh tape saves time with its built-in sticky edge.
• Mesh tape might show slight textures if you don’t feather the compound well.
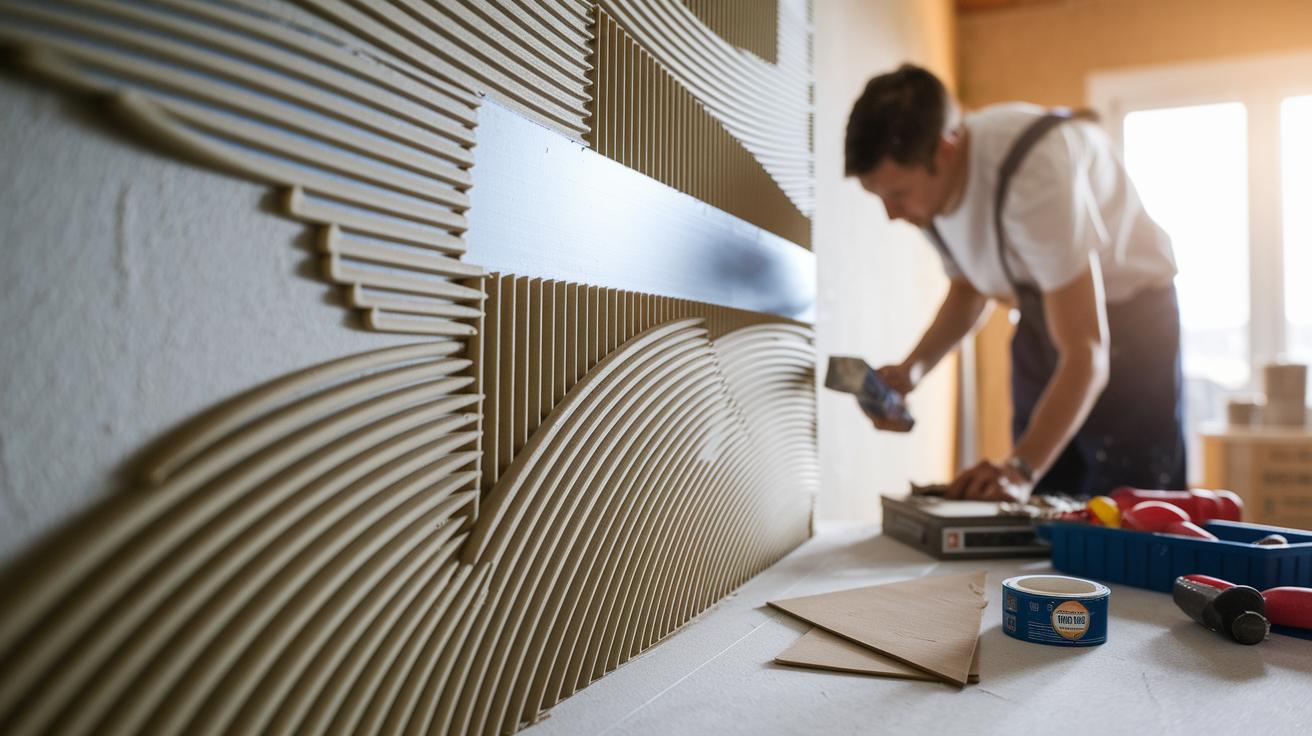
For corners that need a professional look, use a 1-1/4 in (31.8 mm) solid metal corner bead. Cut the bead to the needed length, nail it every 8 in (20.3 cm), and then cover it with compound. This way, even tricky angles have clean, straight edges without extra adhesive.
Advanced Drywall Taping Techniques: Joint Stabilization and Crack Prevention
Keeping your joints stable is key for drywall that lasts, especially where movement or stress is high. Extra reinforcement helps prevent cracks and keeps your walls smooth over time. Advanced techniques give you a professional finish, cut down on repairs, and boost the wall's strength.
- Cover spots that get a lot of stress with fiberglass mesh for extra strength.
- Spread each layer of compound at a 45° angle to avoid trapping air.
- Feather the compound at least 10 in (25.4 cm) beyond the seam to reduce shrinkage cracks.
- When taping overhead, apply thin coats of fast-setting compound to stop sagging.
- Use several light layers of quick-set mud to build a solid, stable surface.
For areas that move more, thin out your compound just a bit. This extra liquid mix helps the compound stick while still moving with the wall. Think of it like a fine mist that helps the compound blend smoothly into the joint. Test a small area first, like checking if your coffee is just right, so you know the mix works well for the whole project.
Troubleshooting Common Drywall Taping Pitfalls and Repairs
Mixing joint compound wrong is a common pitfall. Many times, the compound is too thick, too dry, or screws are left too high. This can cause cracks, weak adhesion, and bumps along the tape.
- If the mud is over-thick, it may shrink and crack. Thinning the mix slightly helps.
- If the compound is too dry, it won’t stick well. Add a little water until it feels like smooth peanut butter.
- For nail pops from screws that aren’t sunk enough, drive the screw deeper or replace it and cover with mud.
- If you see tape ridges from a thin mix, apply a third coat and feather the edges smoothly.
- When air bubbles appear under the tape, press them out with a clean knife and smooth the surface right away.
- To fix hairline cracks, use self-adhesive mesh tape with rapid-set compound.
For small repairs, use a fine putty knife to spread a bit more compound. Once it starts to set, smooth it gently with a damp sponge. This DIY trick can fix local spots without redoing the entire area.
drywall taping: Smooth, Simple Results
Choosing the right joint compound and tape makes all the difference when finishing drywall. You have options like 20-minute compounds for fast fixes or 45-minute versions when you need a comfortable work pace. For everyday jobs, premixed all-purpose mud is a solid pick. Paper tape, which costs about $0.15 per foot, blends smoothly with the compound, while self-adhesive mesh tape may cost more but helps you work faster. Accessory kits can include a banjo tool for quick compound application or hand tools for more detailed work. Beginners often start with paper tape because it’s both simple and budget-friendly.
| Setting Time | Use | Approx. Cost |
|---|---|---|
| 20-minute compound | Quick repairs and small projects | $10/gal |
| 45-minute compound | Regular projects with balanced work time | $12/gal |
| All-purpose premixed mud | Flexible use for most jobs | $8/gal |
For those looking to go green, new eco-friendly compounds and adhesives use advanced polymers to cut shrinkage and resist mold while lowering VOCs (volatile organic compounds). These choices offer a strong, lasting bond with fewer chemicals, making them perfect when clean indoor air and sustainability are top priorities.
Efficient Drywall Taping Workflow: Sequencing, Equipment, and Scheduling
Follow these steps to speed up your drywall taping process while staying on schedule and using the proper tools.
- Hang the drywall panels and fasten them with screws or nails. No waiting is needed once they're in place.
- Spread the first coat of joint compound over the seams and let it dry for 24 hours.
- While the compound is still soft, use an auto-feed banjo (a tool that automatically applies paper tape) to embed the tape along the seams. This method saves you a lot of time.
- Apply a second coat of joint compound over the taped seams. Let it dry for 24 hours, or add an extra 12 hours if the air is very humid.
- Smooth out the edges of the compound for a seamless finish, and wait another 24 hours for it to dry completely.
- Fill in any fastener holes or uneven spots with a light layer of compound, and allow it to dry for 24 hours.
- Sand the entire surface to create a fine, even finish once all layers have cured.
Remember to keep your auto-feed tools in good shape by cleaning the nozzles after each use and checking the seals every week.
DIY Drywall Taping Tips for Beginners: Tutorials and Checklists
Don't let simple mistakes ruin your work. Check your mix, watch for tape bubbles, and keep your knife pressure even. Here's a quick checklist to help you stay on track:
- Confirm you have all tools and materials.
- Test your compound on a scrap piece. It should feel like smooth peanut butter. Adjust if it's too thick or thin.
- Check your knife angle on a small area to avoid scratches.
- Start on a short seam to build your confidence.
- Look for bubbles in the tape and press it firmly to embed.
- Clean your knife immediately after each cut.
- Gradually feather the compound to create a smooth join.
- Inspect the seam for evenness and fix any rough patches.
Online video guides and local workshops offer real-world advice. For instance, one video tip suggests easing up on your pressure if you see bubbles, then reapplying gently. Workshops may also show simple fixes for uneven taping.
Budget and Sourcing for Drywall Taping Projects
Drywall taping supplies cost about $0.15 per square foot for tape and compounds. A rental banjo tool runs around $30 per day, and a mud pan kit is typically about $20. Doing the finish work yourself instead of hiring a pro can save you roughly $1.50 per square foot. You can find these supplies at local home centers, and many online shops offer free shipping on orders over $50.
- Visit local hardware stores to pick up bulk discounts on materials.
- Watch for seasonal sales on finishing kits.
- Look into renting top-notch tools from community tool libraries.
- Snag online deals and free shipping offers.
- Compare rental options and prices at your nearby home centers.
Buying in bulk not only lowers the price per unit but also cuts down on extra trips to the store. Plus, handling the job yourself saves on labor costs, making it a smart choice for even the modest drywall taping project.
Final Words
In the action, you saw how to set up your project with a complete drywall taping guide. We broke down each step, from gathering the right tools to mixing compound and smoothing seams, to keep things simple and cost-effective. Short, clear instructions will help you practice smart techniques and avoid common errors. This guide builds confidence and solid skills one step at a time. Embrace these methods, and watch your work transform into a reliable finish with drywall taping.