
Ever think home updates have to break the bank? DIY laminate flooring can boost your space without a big spending spree. This project guide shows you exactly what to do, from measuring your room and picking a style to gathering the right tools, so you can lay your new floor safely and efficiently. Ready to get started and see how simple it is?
DIY Laminate Flooring Installation: A Step-by-Step Practical Guide

Start by measuring your room carefully. Use a tape measure to check the length and width, and add a bit extra for waste. Remove any old carpet to reveal the subfloor. This fresh start sets the stage for a neat, updated space.
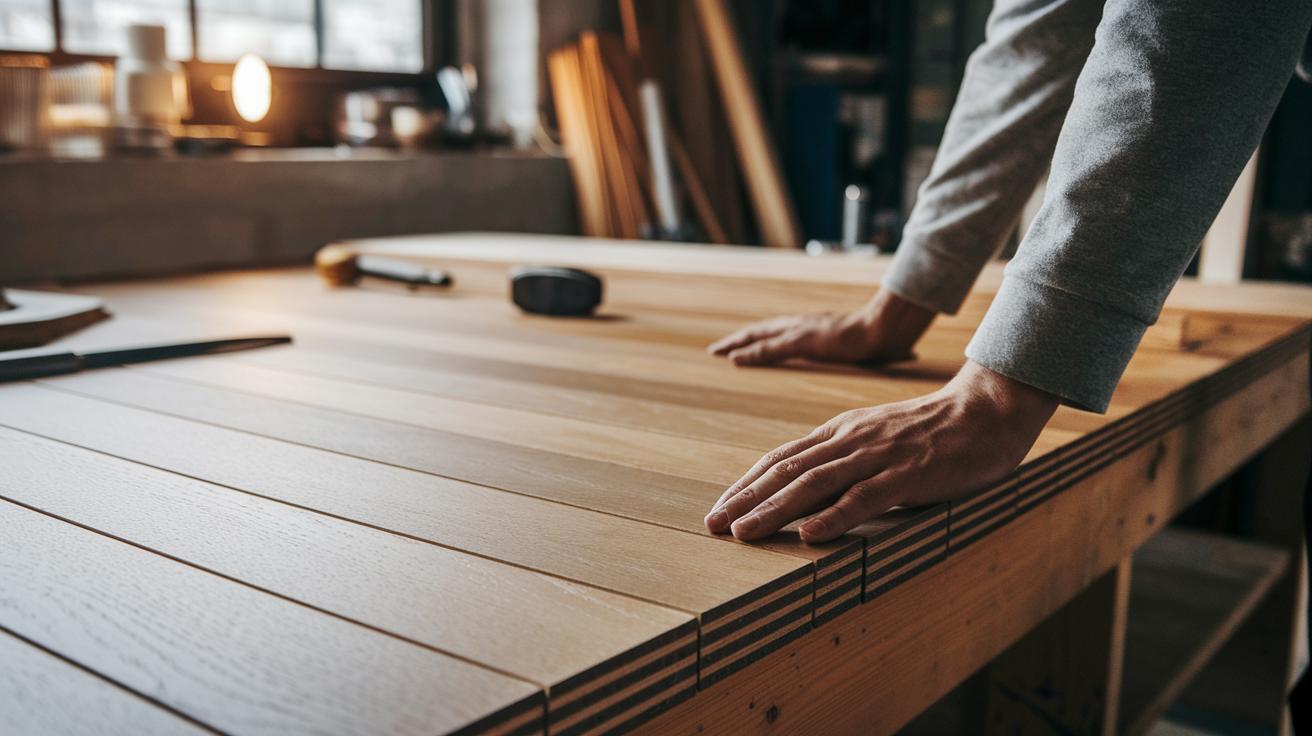
Next, choose the laminate style. Laminate flooring is made by compressing wood fiber or plastic into planks. You can pick Engineered Wood (a wood composite) or Plastic Laminate (a durable, moisture-resistant option). Think of it like choosing between a classic or modern look. Each style offers its own strength and appearance.
Before you begin, gather all your tools. You will need a tape measure, a chalk line (a tool for marking straight lines), spacers, and safety gear such as knee pads and gloves. A great tool to have is the Dremel Saw-Max, which makes fast, clean cuts in laminate and even tile. Picture it like trimming fabric to fit perfectly.
Finally, set out your materials so everything is ready to go. With a clear plan, the right tools, and step-by-step instructions, you can achieve a professional-quality floor on a budget. Enjoy a new, great-looking room while building your confidence in home improvement.
Planning Your DIY Laminate Flooring Installation Project

Start by measuring your floor carefully, and add a bit extra for waste. This simple step stops you from running short on materials. Next, choose between Engineered Wood (a layered wood product) or Plastic Laminate. Pick the type that fits your style and stands up to wear. Then, decide on a layout, straight, diagonal, or staggered, to boost the room’s look. For more ideas on plank designs, check out wood flooring installation patterns online.
Plan the direction of your planks by sketching the room layout. Mark where doorways, cabinets, and other obstacles sit since these spots might need special cuts. Also, set out the manufacturer’s recommended expansion gaps. These gaps give the floor room to expand or contract with temperature changes.
Before you begin, grab a checklist to organize your project. Your checklist should include:
- Exact room measurements
- Your selected laminate type and layout
- The right underlayment for your subfloor
- All necessary tools ready at hand
- Clear work area with needed safety space
Double-check the delivery schedule for your materials. When you plan every detail, from measuring to picking your materials, you set yourself up for a smooth install. This extra preparation cuts down on surprises and lays a strong foundation for a floor that looks great and lasts long. A well-planned project is budget-smart, boosts your DIY confidence, and saves you time on rework.
Essential Tools and Materials for DIY Laminate Flooring Installation

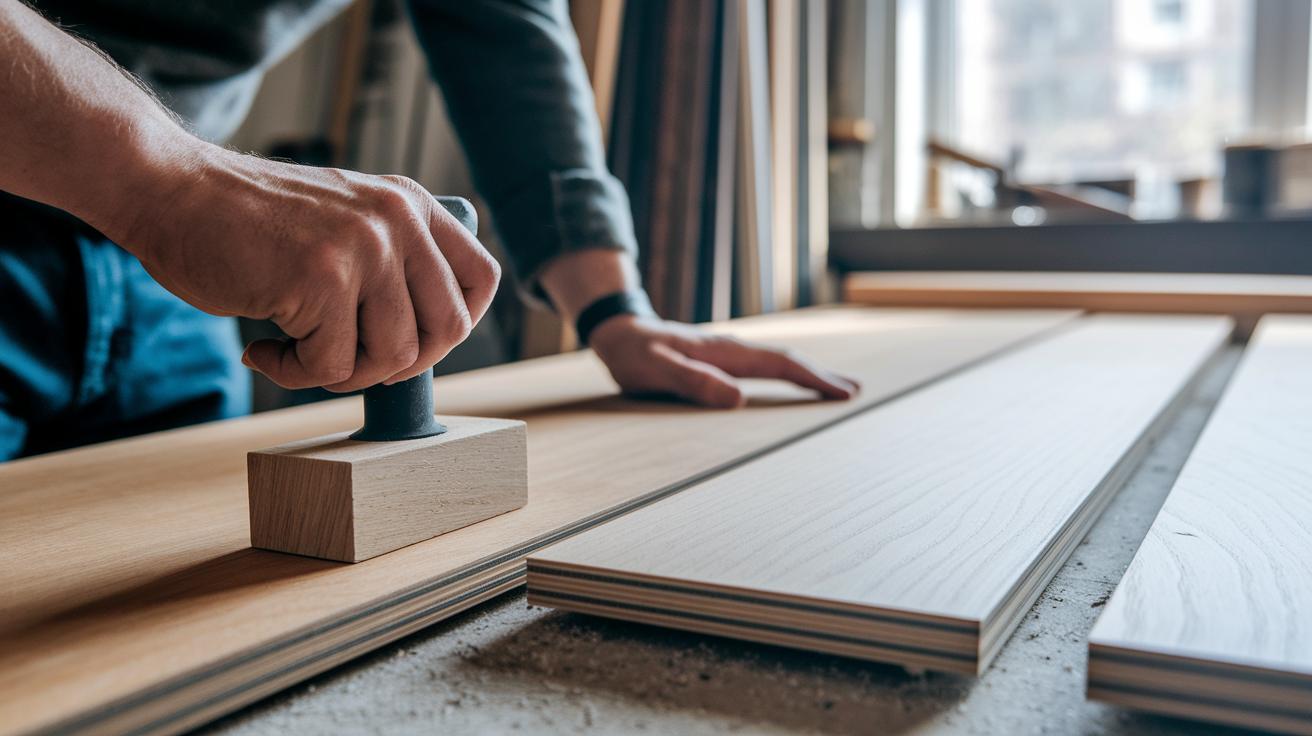
Start by gathering your basic supplies and extra tools. Grab a tape measure to check your room’s size and a chalk line to mark a straight, level guide. Tools like a pull bar (to press boards together), a tapping block (to keep edges from getting damaged), and locking pliers (to hold boards firmly) help you get a tight, clean fit.
For quick, clean cuts, the Dremel Saw-Max is handy. If you need more detailed or custom cuts, a jigsaw or table saw will help you shape each board just right.
Underlayment options such as foam, cork, or rubber not only cushion your floor but also add moisture protection and reduce noise. Foam is light, cork gives natural insulation, and rubber stands up well over time. Choose the one that suits your project.
Always wear your safety gear. Keep knee pads, eye protection, and gloves within reach at every step.
- Tape measure and chalk line for a precise layout
- Pull bar, tapping block, and locking pliers for a snug fit
- Dremel Saw-Max for fast, accurate cuts
- Jigsaw or table saw for detailed trimming
- Underlayment options (foam, cork, rubber) for cushioning and moisture protection
- Safety gear: knee pads, eye protection, and gloves
Preparing the Subfloor for DIY Laminate Flooring Installation
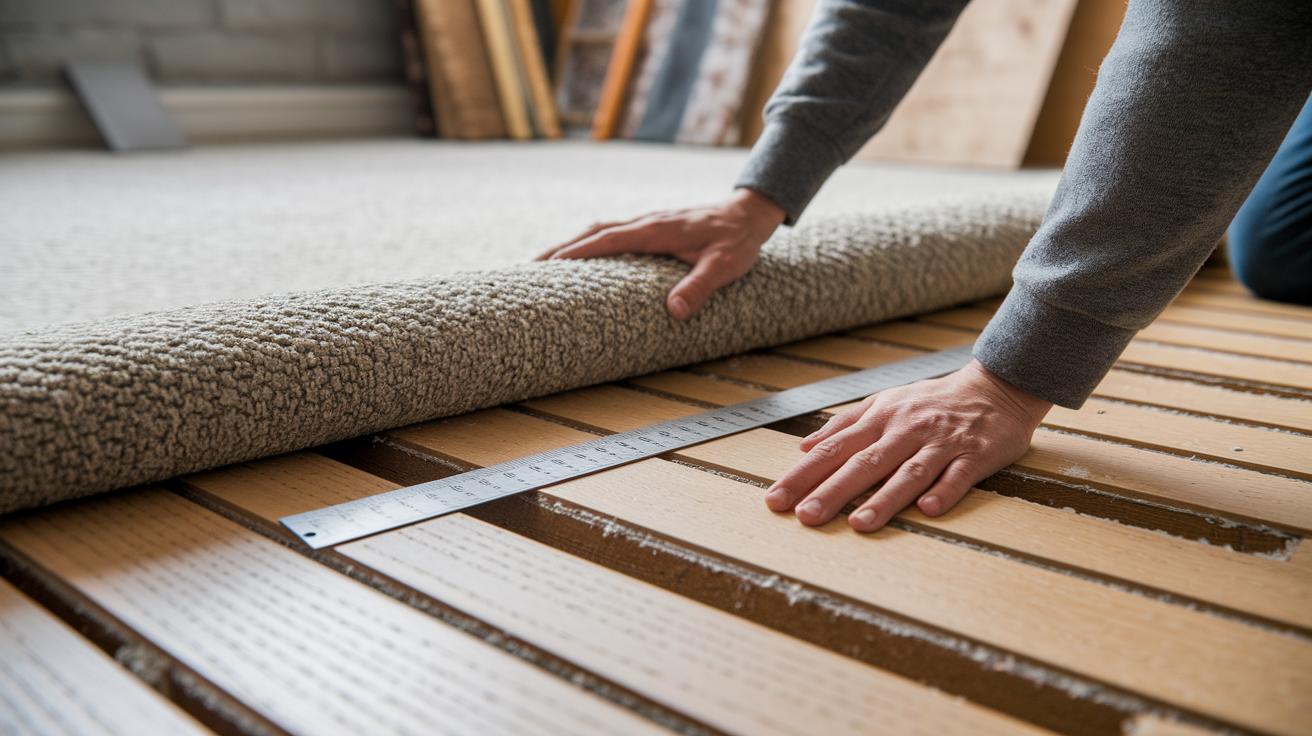
Clear the floor first by pulling up the carpet, taking out the tack strips, and scraping off any old adhesive. This gives you full access to the subfloor so you can inspect it well. Use a 6 ft (1.8 m) straightedge in several areas. Lay it on the floor and look for gaps between the board and the edge. These gaps show low spots you need to fix.
Sand or shave off raised spots. Then fill any dips with a self-leveling compound. A level subfloor helps keep your laminate planks from warping or making clicking sounds later. When you work on a concrete subfloor, check it with a moisture meter. If the meter shows high moisture, add a vapor barrier to protect your new floor.
For plywood subfloors, secure any loose panels with screws and replace any that are damaged. Make sure every panel is tight. This careful prep makes a strong, even base, so you can lay your laminate planks smoothly and avoid common mistakes.
Installing Underlayment and First-Row Placement Strategies for DIY Laminate Flooring Installation

Roll out the underlayment at a right angle to your laminate planks. Tape every seam firmly. If your subfloor is concrete, lay a moisture barrier (a protective layer to stop dampness) under the underlayment. Tape the seams neatly so they work like a quilt protecting your floor.
Plan your first row along the longest, straightest wall. This gives you a clear line to follow as you work. Use spacers to keep a consistent 1/4 in (6.35 mm) gap between the boards and the wall. This gap lets the floor expand or contract with changes in temperature and humidity. Snap a chalk line along your starting row, much like drawing a guideline on your workbench before cutting.
Trim the last plank of the first row with a jigsaw (a power saw that cuts curves) or a Dremel Saw-Max. Make sure it fits perfectly and still leaves the needed gap. Follow these steps to set a strong, even foundation for a durable, budget-friendly laminate floor.
Staggering Planks and Laying the Remaining Laminate Flooring
Start by placing your new planks so that each row’s end joints are offset by at least 12 in (30 cm). This stagger mimics natural wood and helps the floor hold up better. Lay each row carefully, making sure the seams do not line up with the row before.
After each row, check that every plank locks securely. Misaligned boards can leave gaps that not only look off but also weaken the floor. When you cut boards, try to keep any leftover pieces at least 12 in long. This helps reduce waste and lets you use off-cuts in later rows, keeping the pattern steady.
Here are some common planking mistakes to avoid:
| Mistake | Issue |
|---|---|
| Overlapping joints | Not reaching a 12 in offset |
| Aligned seams | Seams lining up from one row to the next |
| Short cut pieces | Pieces smaller than 12 in, wasting material |
| Insecure locking | Not checking that each board locks properly |
| Poor transition planning | Causing sudden changes in the pattern |
Following these guidelines will give you a tight, even floor and help you avoid common errors in your laminate flooring installation.
Handling Corners, Transitions, and Trim Finishing Techniques in DIY Laminate Flooring Installation

When working around door frames, vents, or tight angles, mark your cuts clearly. Use a Dremel Saw-Max or jigsaw to create flush cuts that let each plank fit smoothly. For example, when trimming a board to fit around a door jamb, measure carefully and cut slowly, remember, "measure twice, cut once" to avoid mistakes.
Click-lock flooring is easy when done right. Fit the tongue of one board into the groove of the next without forcing it. Test a sample piece first to ensure the boards lock correctly.
For areas where rooms meet or near doorways, use transition strips. At room connections, T-molding provides a neat change between different flooring types. In small spaces, cover any expansion gaps with baseboard or quarter-round trim for a tidy finish.
Key do’s and don’ts include:
- Do measure twice and keep gaps consistent.
- Don’t over-tighten boards or skip using spacers.
Follow these tips for a clean, professional-looking finish that makes your laminate floor installed right.
Troubleshooting Common Challenges in DIY Laminate Flooring Installation
If your laminate planks aren't lining up, tap the off-set pieces gently with a tapping block and try rearranging the rows. This quick fix can reset the locking system so each board fits firmly. For example, if one board won’t lock, remove it and reinsert it correctly.
When you see gaps forming between planks, double-check that you're keeping the proper gap (usually 1/8 in to 1/4 in or about 3–6 mm) and that the trimmed pieces are long enough. Use a pull bar with a spare plank to neatly finish the last row without leaving any unsightly gaps.
Squeaky spots can be fixed by placing a shim (a thin wedge used to level surfaces) under the board or by adjusting the underlayment. Think of it like tightening a loose screw in a piece of furniture, it restores stability and quiet.
For small scratches or dents, a filler kit can repair the damage quickly without having to replace entire planks. Taking care of these issues right away helps keep your floor looking even and lasting longer.
- Check for loose locking mechanisms.
- Re-seat misaligned boards.
- Use shims to quiet squeaks.
- Repair small surface damage with a filler kit.
Budgeting and Time Management Strategies for DIY Laminate Flooring Installation Projects

We’ve added budgeting and timeline tips into each step of planning, choosing tools, and installing your laminate flooring. This way, you won’t see the same advice repeated all over.
One extra tip: Write down your costs as you finish each phase. For example, after picking up a moisture barrier (a sheet that stops water from seeping through), grab your notebook and jot down its price right away so you can keep your spending in check.
Post-Installation Care and Maintenance for DIY Laminate Flooring Installation

Keep your laminate floor looking great with minimal effort. Most laminate panels do not need extra sealing. Simply clean the floor with a damp mop and a cleaner approved by the manufacturer. Do not let water sit on the surface because standing water can harm the floor over time.
Place mats in busy spots to catch dirt and reduce wear. Use felt pads (soft pads to prevent scratches) under furniture when moving it. Also, try to keep indoor humidity between 30% and 50% (30%-50%) to prevent the planks from expanding or contracting too quickly.
For small scratches or dents, you don’t need to replace the entire floor. Instead, swap out the damaged plank or use a filler kit to fix the problem.
Quick maintenance tips:
- Clean the floor regularly with a damp mop.
- Protect high-traffic areas with mats and use felt pads under furniture.
- Keep humidity levels between 30% and 50% for long-lasting durability.
Final Words
In the action, you’ve learned to plan, prep, and lay your laminate boards with precision. You tackled measuring, subfloor care, and proper underlayment placement. You also mastered staggering planks, finishing corners neatly, and troubleshooting common missteps. Budgeting tips and maintenance advice round out the process. By following these steps for a diy laminate flooring installation, you’re well-equipped to transform your space safely and on schedule. Enjoy the rewarding process and the new, updated look of your room.