
Epoxy flooring is quickly becoming a favorite in modern homes and offices. It brightens a room while forming a tough surface that stands up to chemicals and everyday wear. By mixing resin (the sticky liquid binder) with a hardener (the chemical that sets the resin), you can turn a worn, cracked floor into a sleek, durable work of art. Follow each step carefully to gain a contemporary upgrade that is low on maintenance but high on durability. Next, we explore the process, benefits, and real costs to help you decide if this finish is the right fit for your space.
Epoxy Flooring Installation Explained: Process, Benefits, and Costs

Epoxy flooring creates a tough, chemical-resistant surface by mixing a two-part system: resin and hardener. Start by cleaning your floor and repairing any cracks. Then apply an epoxy primer to help the mixture stick better. Follow the directions exactly when mixing the resin and hardener, a small error can weaken the bond.
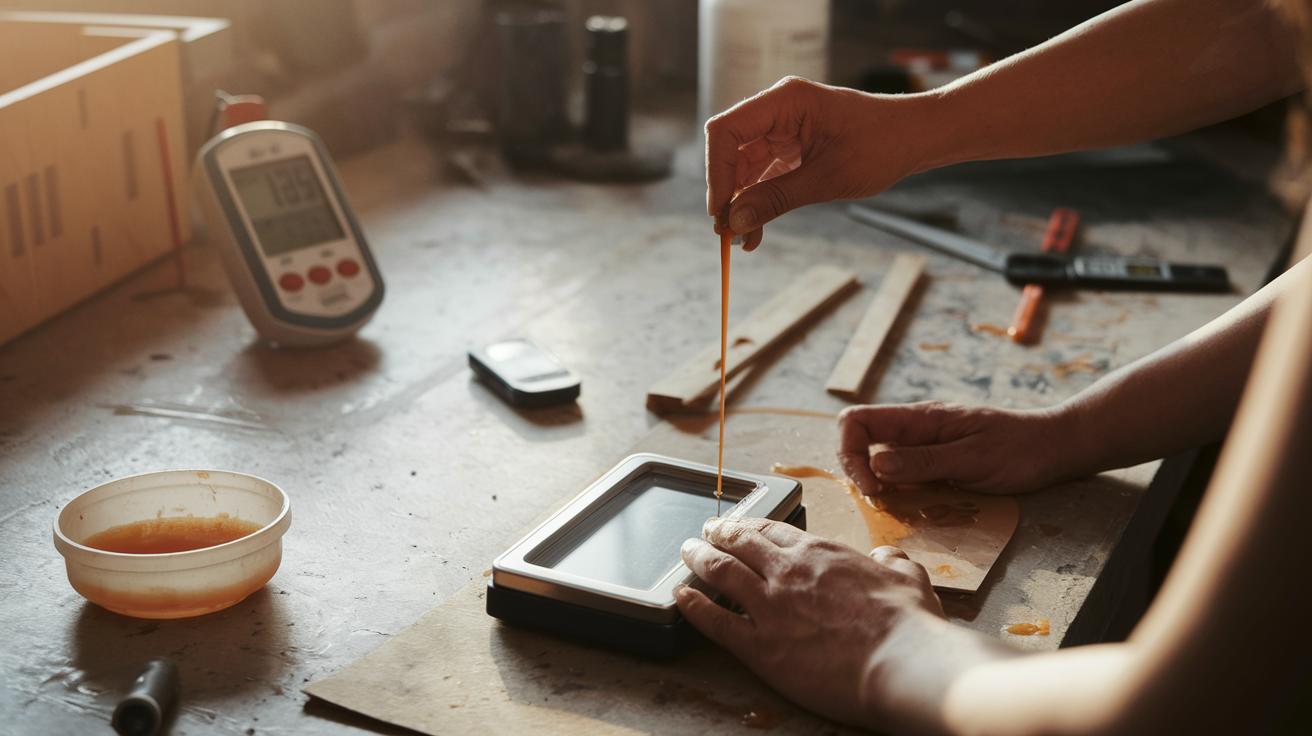
Next, measure and blend the components using a paddle mixer for 2–3 minutes (about 120–180 seconds) to cut down on streaks and bubbles. You can choose from several types, such as metallic epoxy, decorative flake, solid-color, water-based, or 100% solids. Roll or squeegee on the base coat, then add broadcast flakes if you want extra texture. When the base layer is set, carefully apply a clear topcoat to improve UV and scratch resistance. Work in ideal conditions: temperatures from 60°F (15.6°C) to 85°F (29.4°C) with low humidity to ensure the epoxy cures properly.
The complete installation usually takes 1–3 days. DIY kits start at about $500, but the cost for professional installation ranges from $3 to $12 per square foot. The final price depends on the floor’s condition, design details, and how much labor is needed. For example, a simple garage floor typically costs less, whereas a decorative finish can push the cost higher. These prices also account for differences in warranties and service terms.
Epoxy flooring offers a modern look, outstanding durability, and excellent chemical resistance, making it a solid choice for both home and business projects.
Preparing Your Surface for Epoxy Flooring Installation

Start by cleaning the concrete to remove oil, dirt, and debris. Pressure wash the surface to blast away built-up grime, picture using a high-powered hose to clear yesterday’s spills. Repair any cracks with epoxy filler or a patch compound so the coating stays intact.
Next, use an acid etching solution such as muriatic acid or phosphoric acid. This process opens the concrete’s pores, helping the epoxy stick better. Think of it like roughing up the surface for a solid grip, similar to a textured handle on a tool.
Then, check for moisture. Use a calcium chloride test or measure the relative humidity to be sure the subfloor is dry. Any moisture left behind can cause the epoxy to bubble or peel later. Once dry, level and grind any uneven spots until the surface is smooth. Finally, vacuum away all the dust. Taking your time on these steps makes a smooth, durable epoxy floor that lasts.
Epoxy Application Process: Advanced Tips and Troubleshooting
Make sure you review the earlier sections on the primer, resin mix, base coat, and topcoat before you begin. Here are some hands-on tips to boost your epoxy installation.
When using the epoxy primer, check that the surface moisture is below 12% (vol/c). Use a moisture meter for an accurate reading. Grab a small-tip brush to get into tight corners. This helps you avoid dry spots and ensures the primer bonds well.
Mix the resin and hardener with care, measure the ratios exactly. In high humidity, warm the resin by 5°F (3°C) to lower its thickness. This step helps to reduce air bubbles during blending, giving you a smoother mix.
For the base coat, try layering a mix of decorative flakes to create depth. Once the base coat is tacky, lightly broadcast a thin layer of flakes. This adds a textured finish much like scattering a few colorful pebbles on smooth sand.
If you find scratches after the topcoat, wait until the layer is fully cured. Then, gently sand the affected area with 220-grit sandpaper (120 microns) and reapply the topcoat. This keeps your finish smooth and shiny.
| Common Issue | Advanced Tip |
|---|---|
| Bubbles in the mix | Warm up the resin slightly and stir slowly to reduce air bubbles |
| Uneven primer coverage | Test the substrate with a moisture meter and use a small-tip brush for corners |
| Inconsistent decorative flake distribution | Apply flakes when the base coat is tacky and lightly roll them in |
| Surface scratches after topcoat | Sand with 220-grit sandpaper (120 microns) and reapply after full curing |
For clear, step-by-step instructions, refer to the comprehensive guide in the earlier section.
Cost of Epoxy Flooring Installation: Budget Breakdown per Square Foot

If you're planning to lay epoxy yourself, expect to pay about $2.50–$4 per square foot. For a small job, like a 150 sq ft (13.9 m²) area, fixed costs might push the price to roughly $4–$5 per square foot.
When you hire a pro, prices usually range between $3–$12 per square foot. In areas where labor costs are higher or when extra floor repairs are needed, costs can easily hit the top end of this range.
For a premium look with systems like polyaspartic or quartz, add another $2–$5 per square foot. These types of systems often require special skills and may include warranties that last from 5 to 15 years. In some regions with strict quality standards, you could be looking at an overall cost of roughly $10–$12 per square foot.
| Service Type | Cost Range (per sq ft) | Additional Considerations |
|---|---|---|
| DIY Kits | $2.50–$4 | Smaller projects may reach $4–$5 |
| Professional Installation | $3–$12 | Higher labor costs in some regions |
| Premium Systems Extra | $2–$5 | Specialized installation and extended warranties |
Commercial vs Residential Epoxy Flooring Installation
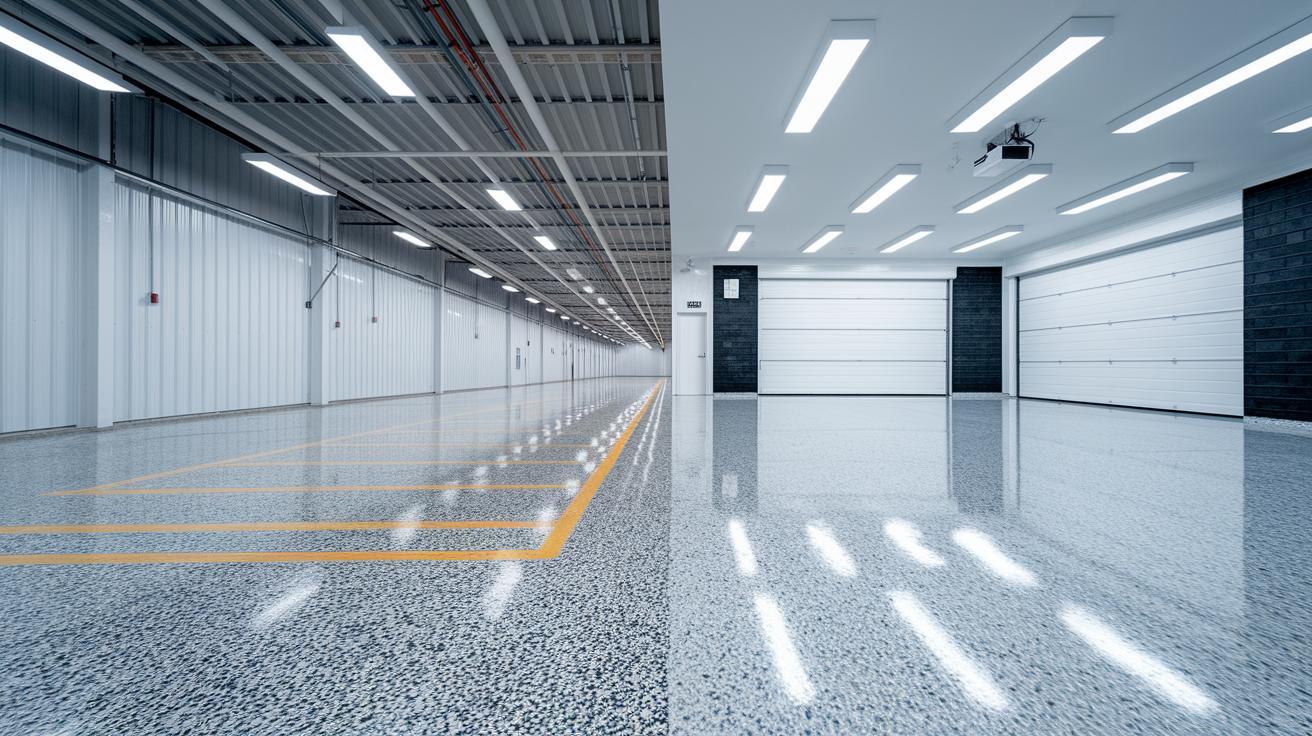
Commercial projects usually call for coatings like 100% solids or polyaspartic systems. These coatings cure quickly and hold up well under heavy traffic, forklift loads, and exposure to harsh chemicals. In busy industrial sites or commercial kitchens, non-slip floors are key. Adding abrasive materials can help make walkways safer, especially in food-processing areas and public restrooms.
Residential epoxy flooring is all about style and solid performance. Homeowners use water-based or 70–100% solids kits in places like garages, basements, or outdoor patios to get a durable surface that also looks great. For example, epoxy garage floors offer a sleek finish that cuts down on maintenance while upgrading the appearance of your space.
When you pick an epoxy system, start by evaluating your job’s needs. Both commercial and home installations work best when you prepare the surface well and allow proper curing time to create a floor that lasts.
Finding Certified Epoxy Contractors and DIY Epoxy Application Tips
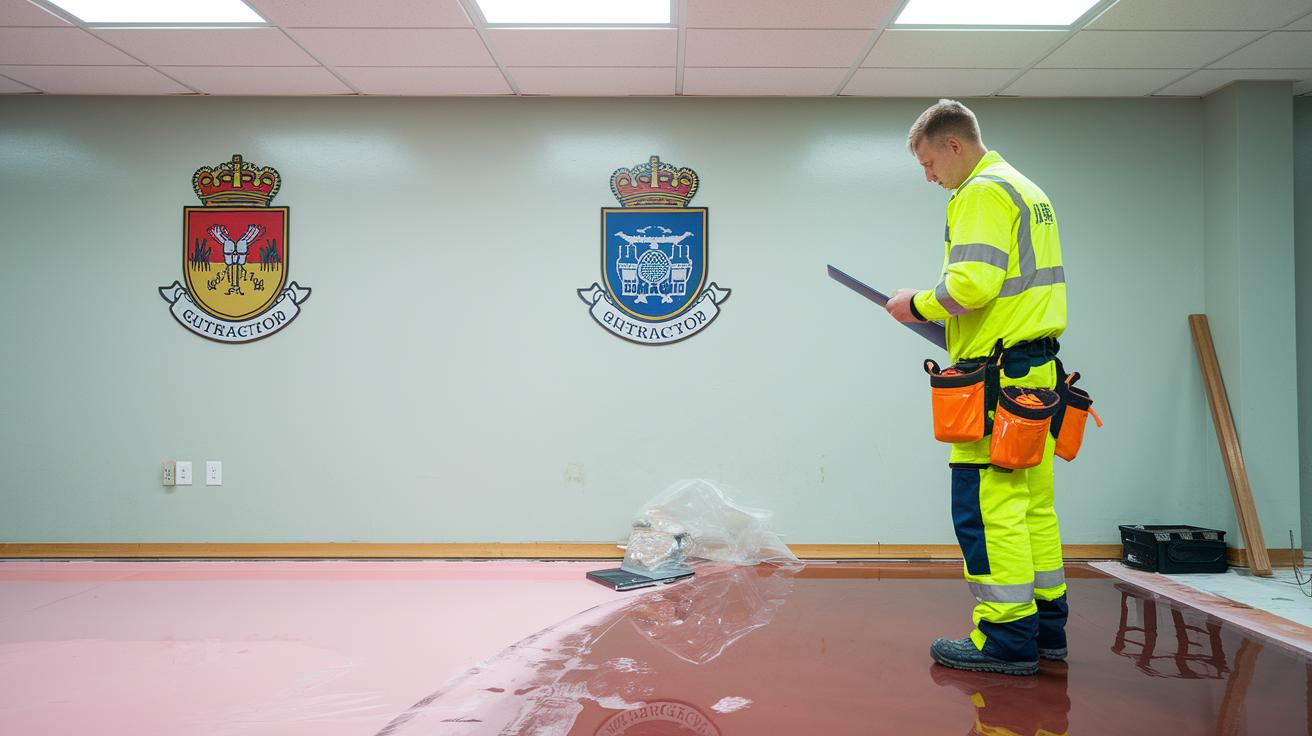
When choosing an installer, start by checking manufacturer directories and the Better Business Bureau. Confirm the contractor meets training requirements, holds the needed certifications, and has proper insurance. This ensures that a qualified professional handles your epoxy flooring project safely.
DIY epoxy works well for simple garage floors. But if you plan to add complex metallic designs or intricate 3D patterns, hiring a professional might be best. One homeowner noted that while they attempted a DIY project, a pro finished the job faster and with a flawless result.
To sharpen your DIY skills, watch beginner-friendly installation videos and tutorials from the manufacturers. These guides break the process into clear, manageable steps.
- Check certification records
- Compare reviews of installers
- Follow video guides for best practices
Using these tips helps you avoid common pitfalls and achieve a modern, durable finish that enhances your floor’s appeal.
Post-Installation Maintenance and Troubleshooting for Epoxy Flooring

Sweep and mop your epoxy floor every week to keep dust and debris from scratching the surface. Wipe up spills right away with a damp cloth to maintain the floor’s chemical resistance. Always use pH-neutral soap, harsh cleaners can harm the finish.
Check your floor regularly for any chips or scratches. If you spot small damage, repair it using a touch-up kit while following the manufacturer’s instructions. For areas where you need extra grip, lightly sprinkle a non-slip additive while the topcoat is still tacky.
Here’s a simple maintenance schedule:
| Step | Action |
|---|---|
| 1 | Sweep and damp mop every week |
| 2 | Clean spills as soon as they happen |
| 3 | Inspect for chips and fix minor damage promptly |
| 4 | Refresh non-slip coatings if needed |
| 5 | Reapply a protective topcoat every 3–5 years |
Following this routine will help your floor stay strong and attractive, while reducing the need for costly repairs later.
Final Words
In the action, you now have a clear map from surface prep to applying that lasting topcoat. You learned key steps like mixing resin and hardener properly and setting up decorative options.
Budget tips, contractor guidance, and maintenance advice ensure you’re ready to tackle any project step by step. With these practical methods and clear cost breakdowns, epoxy flooring installation becomes a manageable and long-lasting upgrade for your space. Enjoy the process and your transformed floor!
FAQ
Q: What is the cost of epoxy flooring installation and how much does it cost to epoxy 1000 sq ft?
A: The cost of epoxy flooring installation, including a 1000 sq ft project, depends on material, floor prep, and labor. Typically, professional rates run $3–$12 per sq ft with additional factors like decorative treatments.
Q: What do pictures of epoxy floors in homes show?
A: Pictures of epoxy floors in homes display a range of designs from solid-color to decorative flake finishes, highlighting the durability and sleek look ideal for garages, basements, and commercial spaces.
Q: How can epoxy flooring installation videos, demos, and guides help me learn the process?
A: Epoxy flooring installation videos and demos break down each step—from surface prep to topcoat application—offering clear visuals and practical tips that make learning the process easier for DIYers and pros alike.
Q: How do you apply epoxy flooring over tiles or on wood?
A: To apply epoxy flooring over tiles or on wood, begin by cleaning and lightly sanding the surface, then apply a suitable primer to ensure proper adhesion before the epoxy is mixed and spread evenly.
Q: What steps are involved in epoxy floor preparation?
A: Epoxy floor preparation involves thorough cleaning, repairing cracks with epoxy filler, acid etching concrete to open surface pores, performing moisture tests, and leveling the substrate for optimal adhesion.
Q: Are epoxy floors hard to install?
A: Epoxy floors are relatively challenging due to the need for precise mixing, careful surface preparation, and strict temperature and humidity controls, but following clear, step-by-step instructions can simplify the process.
Q: What is the downside of epoxy flooring?
A: The downside of epoxy flooring includes potential UV sensitivity, the risk of cracking if improperly installed, and limited repair options once the coating is applied, making proper preparation essential.
Q: How long should you wait between layers of deep pour epoxy resin?
A: It is best to wait until the previous layer is tack-free, typically 12–24 hours, depending on temperature and humidity. Following the manufacturer’s instructions ensures each layer cures properly.