
Ever worried your wood floor project might flop without the right tools? With the proper kit, you’re set for success. Start with a complete tool set that includes safety gear, cutting tools, and layout tools (for marking out precise lines). Each tool acts like a guide that helps you uncover a smooth, professional finish on your subfloor.
Get ready to dive in. Follow the essentials step by step and boost your confidence as you tackle your hardwood project, safely, efficiently, and on budget.
Must-Have Wood Flooring Installation Tool Essentials
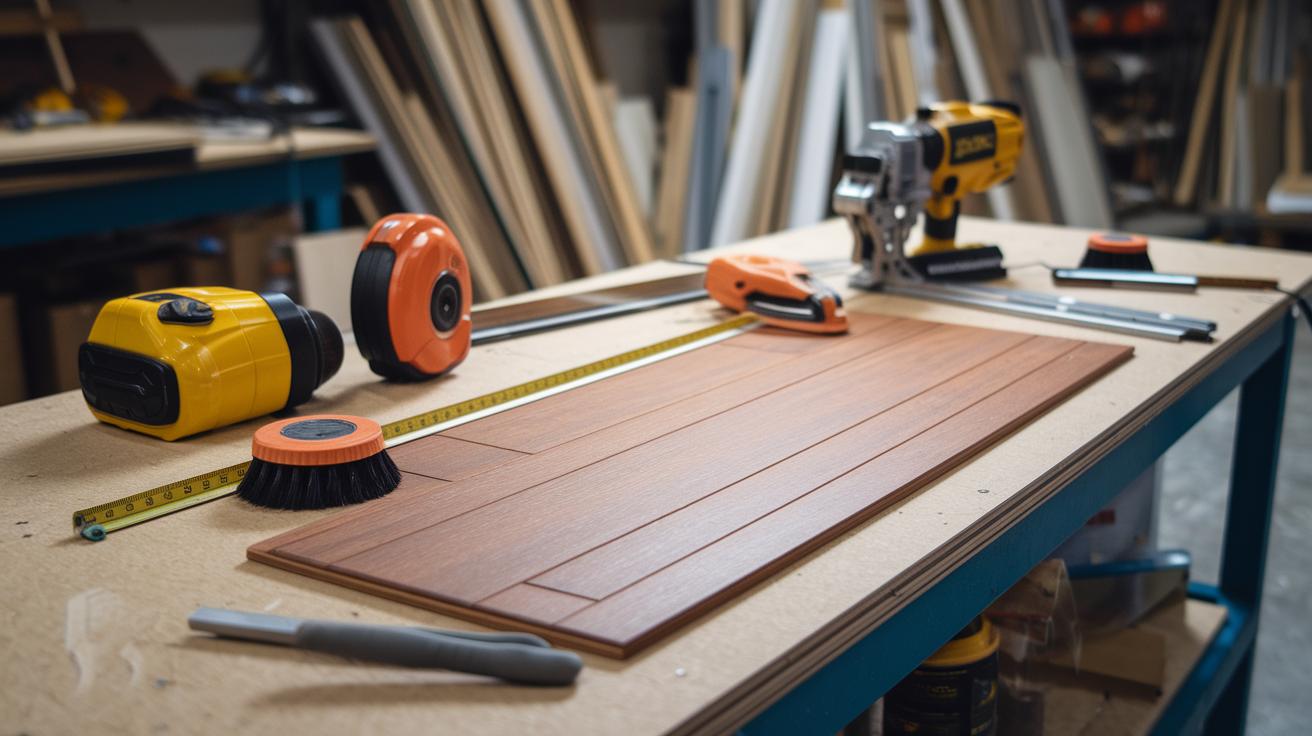
Start your wood floor project right by using the proper tools. Whether you're a DIY fan or a professional contractor, a reliable hardwood floor installation kit gets you ready for every challenge. Your kit should cover six key areas: safety gear (gloves, eye protection), subfloor preparation tools (for a flat, clean base), layout and measuring devices (for accurate board placement), cutting and fitting tools (to make clean, precise cuts), fastening tools (for nailing, stapling, or gluing each board securely), and finishing tools to give your floor a professional look. Think of layout tools like drawing a treasure map, snap a chalk line across your subfloor to mark where each board should go.
Each group of tools plays an important role. Safety gear keeps you protected while you work with sharp and heavy equipment. Subfloor tools ensure every board lies flat. Tape measures, straightedges, and digital levels help you get the measurements right. Fastening tools secure each board firmly. Finally, finishing tools deliver that smooth, polished surface. Remember, a precise cut with a miter saw can make all the difference, much like a chef slicing through a thick roast with care.
Precision Measurement & Layout Tools for Wood Flooring
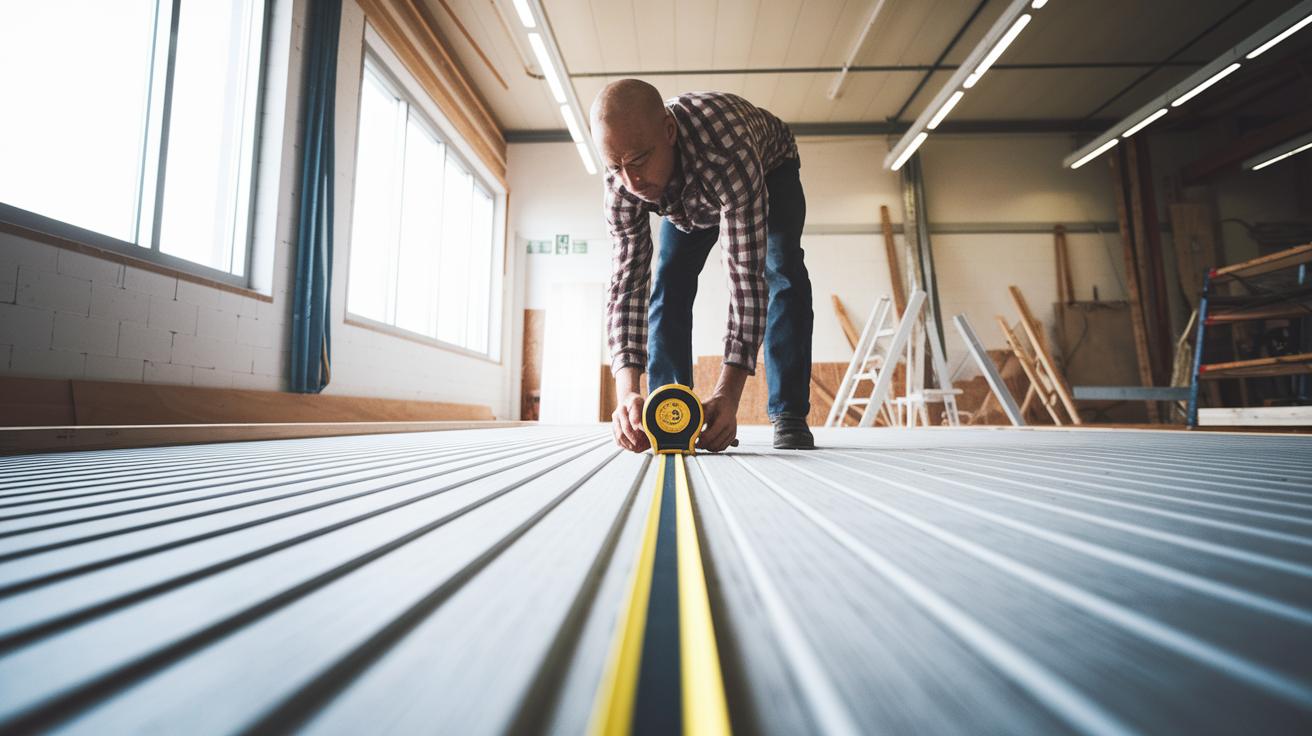
A solid wood floor starts with accurate layout. When boards line up well, you waste less material and keep gaps at bay. Good planning saves time and money by cutting down mistakes right from the start.
To get it right, use tools like tape measures, chalk lines, laser measurers, and layout gauges (devices that help you mark perfect lines). They create straight, level guides and clear cutting marks, turning a messy subfloor into a clear plan for your work.
Here are some must-have tools:
- 25 ft (7.6 m) Tape Measure – for quick and accurate measurements.
- 100 ft (30.5 m) Chalk Line – to snap straight lines.
- Laser Distance Measurer – for long spans with precise results.
- 4 ft (1.2 m) Aluminum Straightedge – to easily align boards.
- Digital Level – to keep surfaces flat and even.
Always check your measurements one more time before cutting. Keep your tools well-calibrated and your lines tight to ensure smooth board placement and less waste. Careful measuring today means your floors will look great and last long.
wood flooring installation tools empower DIY triumph

Cutting and fitting boards is a key part of any wood flooring project. Every row needs exact cuts to ensure boards are the right length, joints are staggered, and there’s safe clearance around obstacles. A miter saw makes clean crosscuts, while a table saw excels at rip cuts (cutting along the grain) for long boards. Jigsaws work well for odd shapes, especially around curves and tight corners. When you’re planning special designs like herringbone, parquet, or HexParket, accuracy is crucial for smooth transitions between boards.
An oscillating multi-tool is your go-to for hard-to-reach spots such as doorjamb undercuts. It lets you follow your layout precisely so each board fits correctly. This approach cuts down on waste and speeds up your work by reducing adjustments. With tools like a precise miter saw and proper flooring board cutters, DIYers can confidently handle even the trickiest cuts.
Remember, a beautiful, lasting floor starts with accurate, consistent cuts. Always calibrate your equipment before you begin and double-check every measurement. If you’re tackling intricate patterns, consider checking out resources like neull.com’s wood flooring installation patterns to guide your cuts. With careful planning and the right tools, even challenging cuts can turn into a DIY triumph.
Fastening & Joining Tools: Nailing, Stapling & Gluing Wood Floors

Pneumatic nailers and staplers are key to a solid wood floor. With a floor fastening nailer, you can drive 18 gauge cleat nails or 16 gauge staples into boards quickly and evenly. These electric tools need a compressor with at least 2 hp (1.5 kW) to work well. Picking the right nail or staple is crucial for the type of floor and the condition of the subfloor. Your choice between nailing or stapling affects how tight the joints are and the floor’s overall strength.
For many projects, gluing the floor is a smart choice. Using glue-down adhesive with tools like rollers or trowels spreads the glue evenly over the subfloor or boards. This method is a lifesaver if the subfloor is uneven or if you need extra sound insulation. Gluing helps create a smooth bond that reduces squeaks and shifts over time. Picking between a nail or glue approach depends on the wood type, design details, and how you plan to use the space.
Accessory tools such as manual tapping blocks and pull bars are also important. They let you adjust each board carefully without damage when boards are too tight for pneumatic tools. By using these tools right, you achieve tight joints and a long-lasting, professional result.
Finishing & Cleanup Tools for a Professional Wood Floor
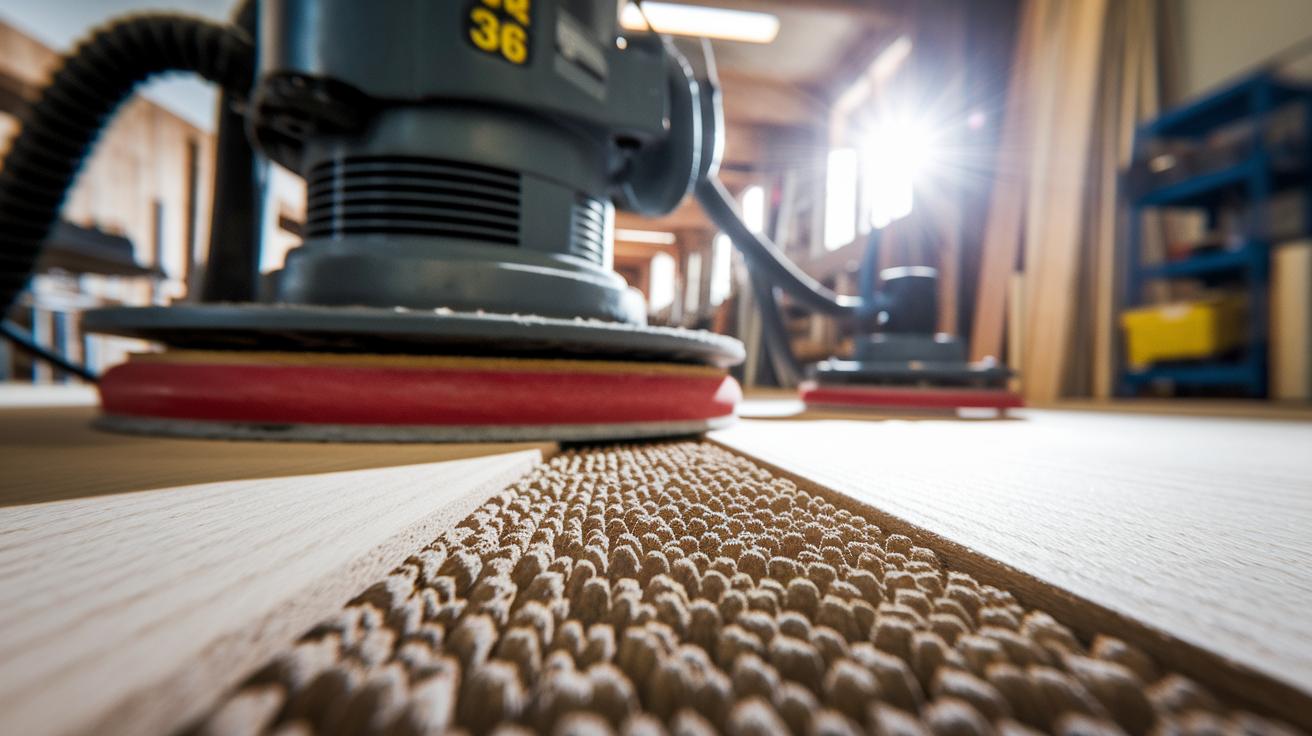
Drum and edge sanders are essential for preparing your wood floor. Start with a coarse grit (such as 36 grit) to remove the old finish and even out low spots. Work your way up through 60 grit and then 100 grit to smooth the floor and avoid swirl marks or scratches. Following the right grit sequence gives the floor a steady, even texture that leads to a high-quality finish.
Next, use a buffer with a polishing pad and a HEPA-rated dust extraction attachment. This tool cuts down on airborne dust, which can spoil your finish. With less dust around, the finish sticks evenly, giving your floor a sleek, professional look. Make sure you calibrate your tools correctly and use the proper technique during buffing and cleanup. This attention to detail can help you achieve results that rival a professional job.
Renting vs. Buying Heavy-Duty Wood Flooring Equipment
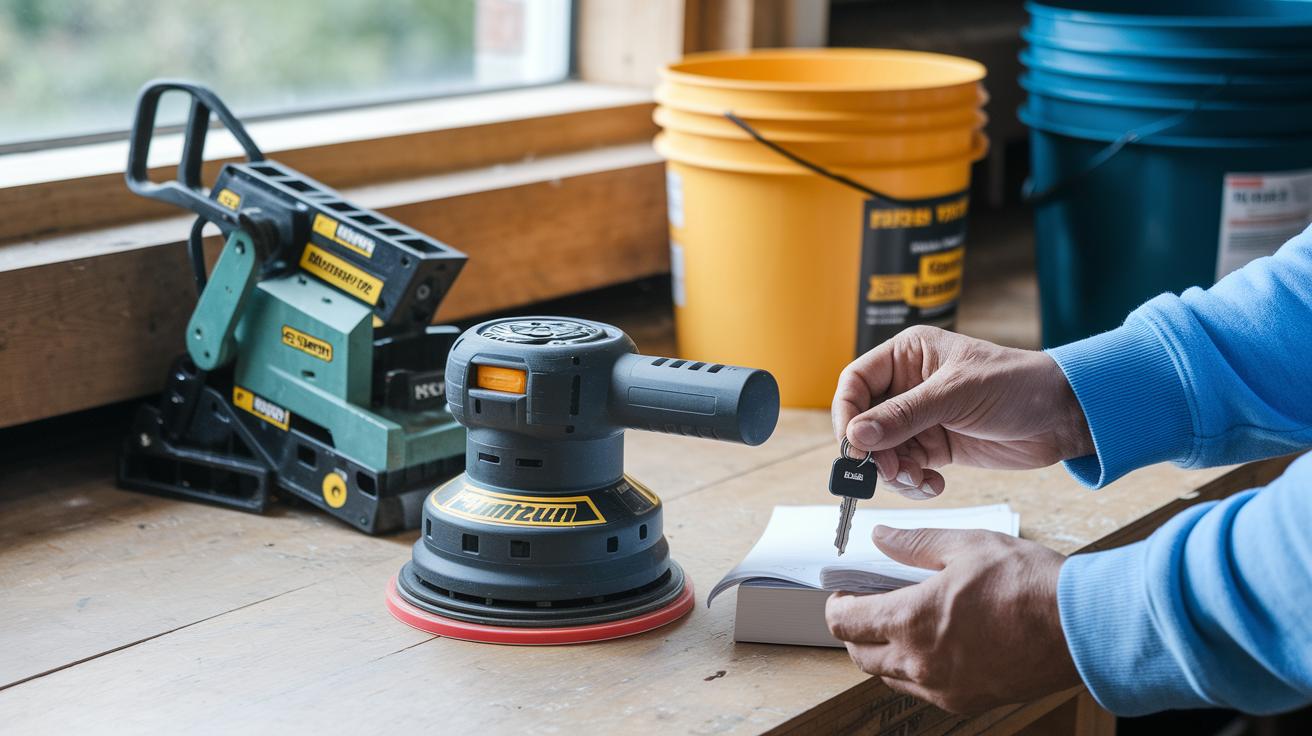
If you’ve got a one-time wood flooring project or not much room to store tools, renting heavy-duty equipment can be a smart choice. Renting gives you access to the right tools, like drum sanders (machines that smooth wood floors) and floor nailers (tools that drive nails quickly), for a fraction of the cost. For example, a drum sander might run about $75 per day (approximately £58 per day), making it a cost-effective option if you only need it for a few days. Plus, renting means you avoid the hassle of maintaining and storing bulky machines. But keep in mind that if your project takes longer than expected or you have several jobs planned back-to-back, rental fees can quickly add up.
On the other hand, buying equipment can save you money in the long run if you plan to use these tools often. Although the up-front cost is higher, drum sanders can run over $500 (around £390/€500) and floor nailers over $300 (around £235/€300), owning your tools means you can start a new project anytime without worrying about scheduling rentals. Some big tool outlets even offer pre-owned equipment at 20–40% off new prices, which can balance quality with cost-efficiency. Before you decide, work out how many projects you’ll tackle and compare if regular rental fees might end up costing more than buying.
For many DIYers, the choice depends on how often you plan to use the tools and your budget. Take a close look at your upcoming projects. If rental costs over time seem steep, buying might be the better option. Alternatively, consider pre-owned tools as a cost-saving measure, and always calculate your break-even point before making a decision.
| Tool | Rental Cost/Day | Purchase Price | Best Use |
|---|---|---|---|
| Drum Sander | $75 | $500+ | Smoothing large floor areas |
| Floor Nailer | $50 | $300+ | Efficient board fastening |
| Table Saw | $40 | $250+ | Rip cuts for long boards |
| Edge Sander | $45 | $200+ | Refining floor edges and corners |
Always weigh your project needs against your budget. By calculating the likely costs and frequency of use, you can decide if renting or buying is the best way to keep your project on track and within budget.
Essential Safety & Setup Equipment for Wood Flooring Installers
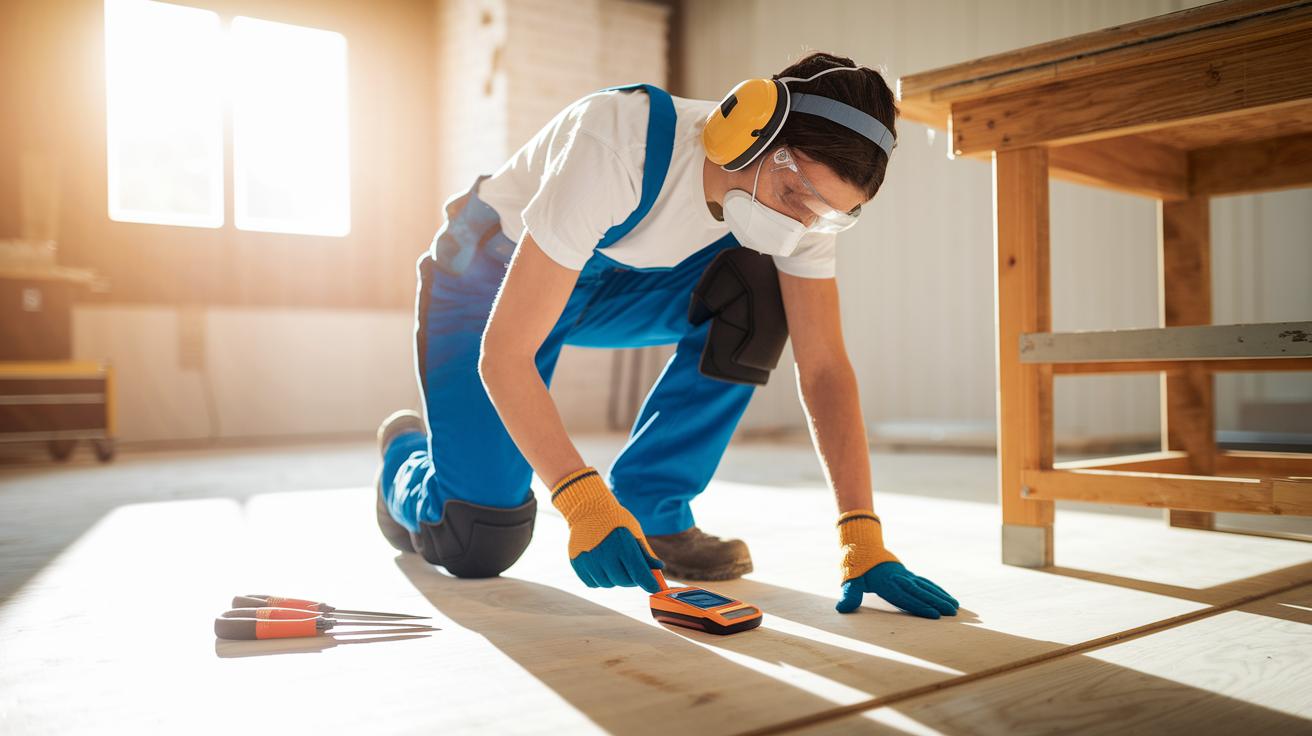
Always start your wood floor project by putting on the proper protective gear. Wear knee pads to cushion your joints when you work on the floor, safety glasses to shield your eyes from flying debris, ear protection to lower the noise from tools, and a dust respirator to block out harmful particles. This gear keeps you safe when handling heavy materials or sharp tools. Keep your work area secure as the first step toward a job well done.
Next, focus on preparing your subfloor for a smooth, safe base. Check the moisture with a meter (make sure the reading is 4% or less) to prevent the wood from warping over time. Use a leveling tool that measures within ±1/8 in (±3 mm) over a 10 ft (3 m) span to ensure the surface is even. A strong pry bar helps remove tack strips carefully. Taking these steps not only protects you but also sets the stage for a precise and efficient install.
Final Words
In the action, we covered all the tool essentials needed for a smooth wood floor project. We ran through safety gear, precise layout tools, cutting and fitting options, fastening methods, finishing steps, and even explored renting versus buying heavy equipment.
Using the right wood flooring installation tools will help you work more confidently, stay on budget, and finish safely. Keep these tips in mind as you plan your project, and enjoy the rewarding experience of a successful installation.
FAQ
What types of wood flooring installation tools are available?
The wood flooring installation tools cover safety gear, subfloor prep, layout, cutting, fastening, finishing, and cleanup. They include options for hardwood, laminate, and more, available at major retailers like Home Depot and Lowe’s.
What tools do I need for hardwood flooring installation?
The hardwood flooring installation requires measuring and layout tools, cutting and fitting tools, fastening or gluing tools, and finishing gear that work together to create a smooth, level, and durable floor.
Is a plank grabber worth buying?
The plank grabber is worth buying when it eases the removal and placement of heavy flooring pieces. It can save time and reduce strain, making the installation process smoother.
What are common flooring installation mistakes?
Common flooring mistakes include poor subfloor preparation, inaccurate measurements, improper adhesive use, and uneven spacing. These errors can result in gaps and an unstable, uneven floor.
Is it better to glue or float an engineered wood floor?
The method for engineered wood flooring depends on the subfloor type and manufacturer guidelines. Gluing often offers greater stability, while floating can simplify installation and minimize cleanup.
Which retailers offer wood flooring installation tools?
Wood flooring installation tools are available at retailers like Home Depot, Lowe’s, Menards, Walmart, Target, and Harbor Freight Tools, offering options suitable for both DIYers and professionals.