

Ever wondered if updating your drywall can be simpler than you think? Installing a drywall access panel cleans up your wall and gives quick entry to hidden wiring and plumbing. It turns a common hassle into a smart fix that saves you time and money on repairs later.
In this guide we walk you through every step. First, mark the area where you want the panel. Next, cut out the opening carefully. Finally, secure the panel for a neat, professional finish.
A few measured moves make all the difference in refreshing your space.
Quick Overview of Drywall Access Panel Installation
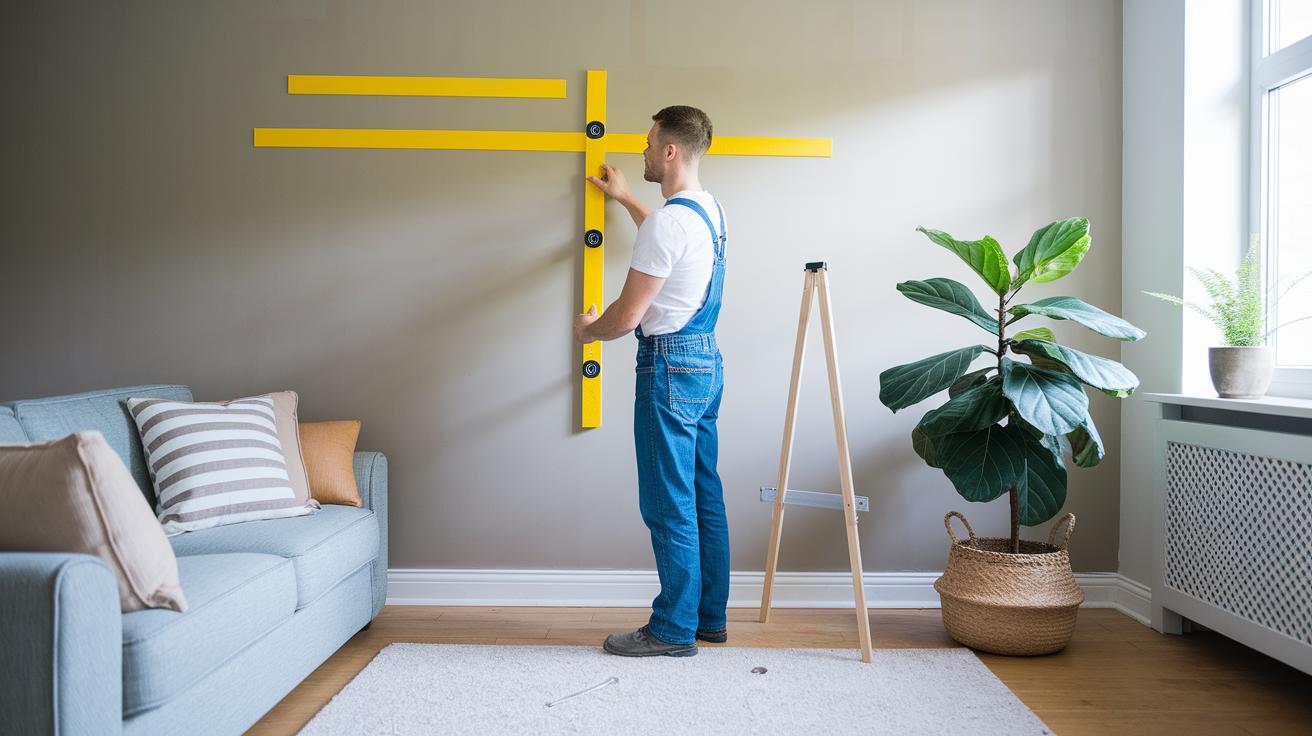
Start by marking where your access panel will go on the wall. Use a tape measure and level so your outline is straight and clear. Watch out for obstacles like wires, pipes, or studs.
Next, cut out the marked area. For extra help on cutting, refer to the detailed drywall installation steps. Cut slowly and steadily to keep the edges neat.
After the opening is ready, secure the panel using hardware like screw-mount frames or hidden mounting clips such as Fastmount systems. Make sure the panel sits flush with the wall and is firmly in place.
Finally, smooth joint compound around the edges, then sand and paint to blend the panel into your wall. Follow these steps and you'll achieve a solid, professional finish.
Essential Tools and Materials for Drywall Access Panel Installation
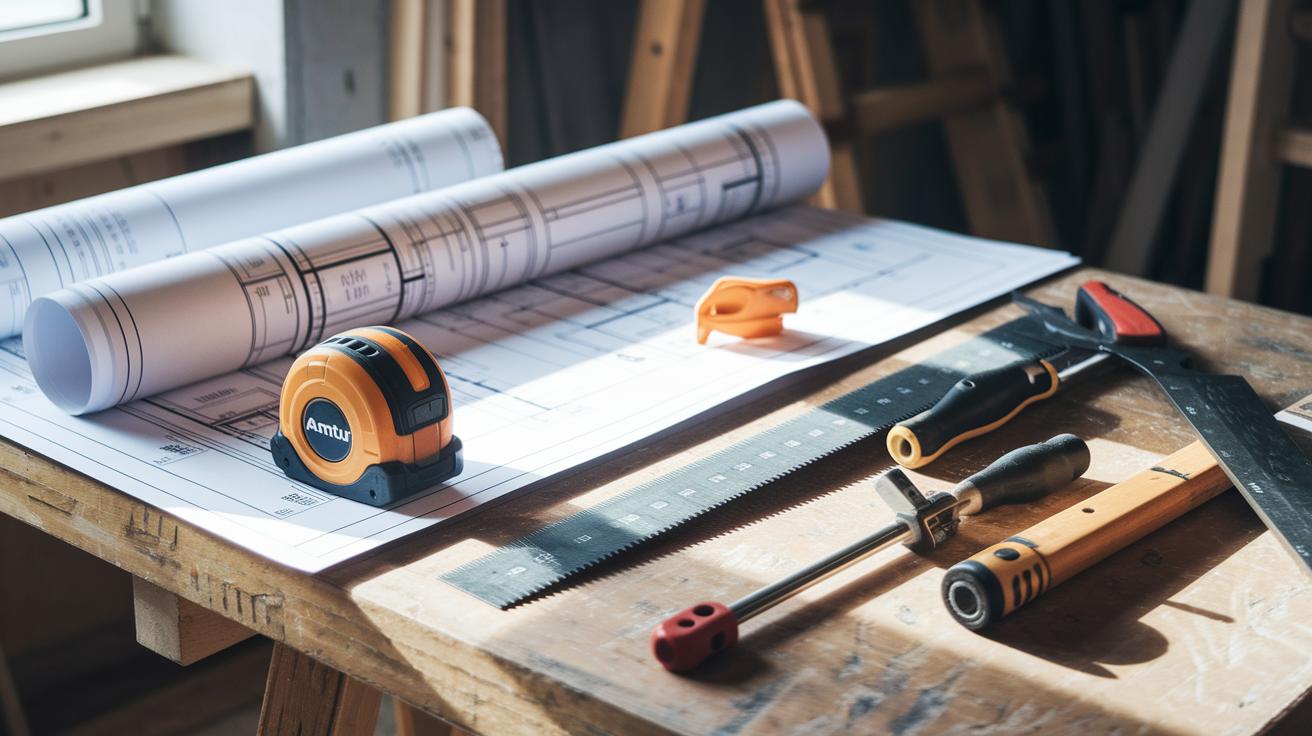
Before you begin, gather all the supplies you'll need. For drywall jobs, basic tools like saws, levels, and tapes are essential. Check the list on the tools for drywall installation page to ensure you have a good tape measure and a sturdy saw.
Use the right hardware for a secure fit. Fastmount LP-DF8 low-profile clips work well for a clean look, while keeping PC-M1B and PC-F1A brackets ready offers extra support. For custom setups, French cleats and Z-clips are great alternatives. Standard screw-mount frames, spring-loaded closures, or magnetic closures are also effective if you need frequent access.
Don't skip alignment tools. The CT-03 tool helps you make precise cuts, and the center point tool CP-01ST ensures your panel is placed just right. For example, when you use a level, set it along your line and adjust until the bubble centers to get a straight finish.
With these tools and materials, your drywall access panel will be both sturdy and neatly integrated.
Planning, Measuring, and Cutout Preparation for Drywall Access Panel Installation
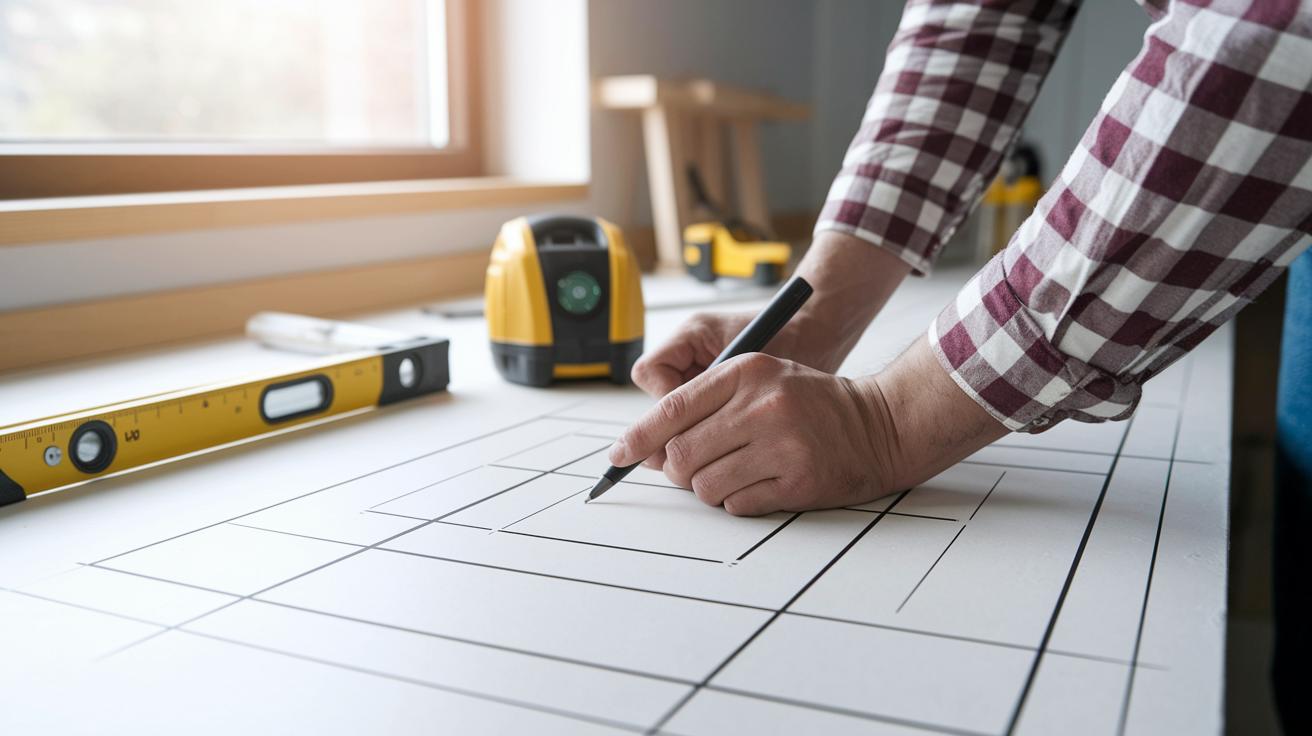
Start by marking the spot where your access panel will be. Use a good tape measure and a level to make sure your lines are straight. For example, work with 4"×6" (10 cm×15 cm) or 120"×120" (305 cm×305 cm) so the measurements suit your project.
Pick a location that is free from joists, studs, and any hidden wiring or plumbing. Double-check before you mark to avoid any mistakes.
Follow these steps to prepare your cutout:
- Use a pencil to mark the border of the panel. Ensure the four sides are equal and straight.
- Check each corner with a square tool to confirm you have right angles.
- Measure the distances twice, first for your layout and again before you cut, to catch any errors.
Remember, drywall is delicate. Cut slowly along your marked lines with a drywall saw. This careful planning and measuring sets the stage for a safe and secure installation.
Mounting Techniques for Drywall Access Panel Installation
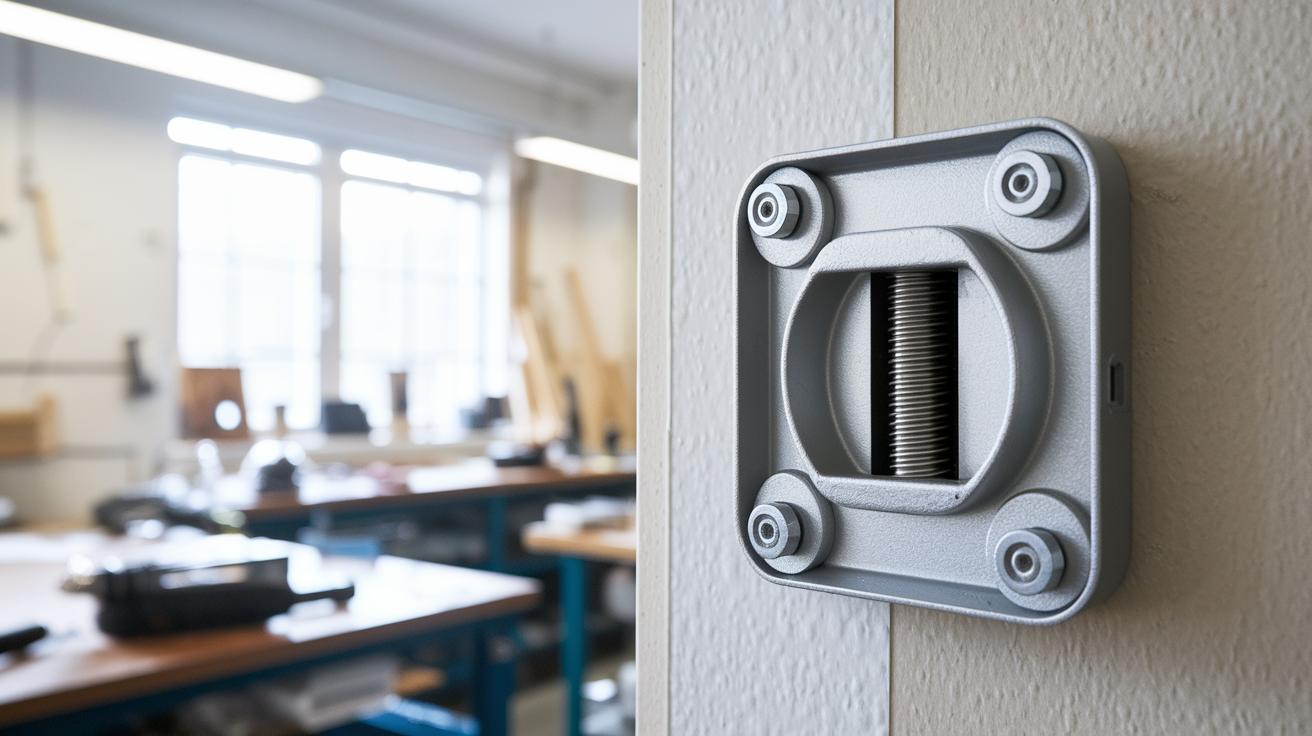
When you install a drywall access panel, pick the right way to mount it. You can use visible options like screw-mount frames, spring-loaded closures (which let you remove the panel quickly), or magnetic closures. These methods are great if you need frequent access and like the panel to match your room’s style. For example, a spring-loaded closure works like a hinge, so you can open it smoothly.
Hidden mounting methods give a clean, almost invisible finish. You can use Fastmount clips, French cleats (angled wood pieces that lock together), or Z-clips to keep the panel flush with the wall. This is ideal for hidden ceiling doors and other areas where you want a seamless look. The Fastmount LP-DF8 clip is a top choice if you need a low-profile solution. It holds the panel tightly while keeping the installation discreet.
For extra support, many pros attach the male clips at the end. This simple step lowers the risk of damaging the panel or misaligning the hardware during setup.
These mounting methods let you choose the best fit for your project. Whether you go with visible or hidden options, careful hardware selection and proper installation will give you a secure and attractive result.
Finishing and Seamless Concealment in Drywall Access Panel Installation
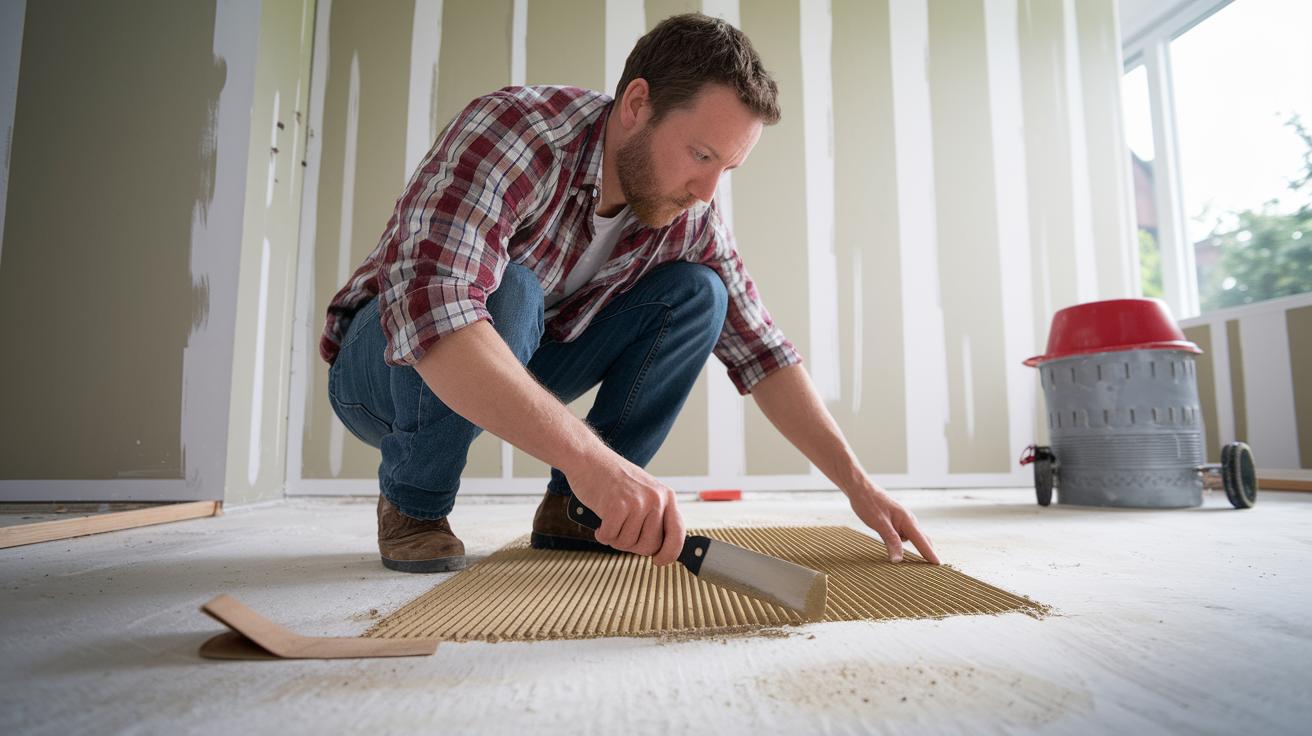
To hide your drywall access panel so it blends into the wall, follow these clear steps. Begin by taping around the panel’s edge and applying a thin layer of joint compound (a filler that seals gaps). This sets up a smooth blend with your wall.
- Measure the gap between the panel and the wall and fill it with joint compound. Make sure you remove any voids.
- Use a taping knife to spread the compound outward. Work slowly to feather the edges and create a smooth transition.
- Let the compound fully dry. Then, lightly sand it with fine-grit sandpaper (about 120-220 grit) until it is flush with the wall surface.
Next, match the wall’s texture and color. Use the same drywall material and paint. A small, hidden test patch can help you check the color match and make adjustments if needed. If the area still needs blending, reapply the compound and smooth it out.
Finally, run your hand over the area to inspect the finish. Look for any bumps or rough patches and smooth them out. The goal is to leave no sign of the panel installation, making it as seamless as possible.
Cost Estimation and Time-Saving Hacks for Drywall Access Panel Installation
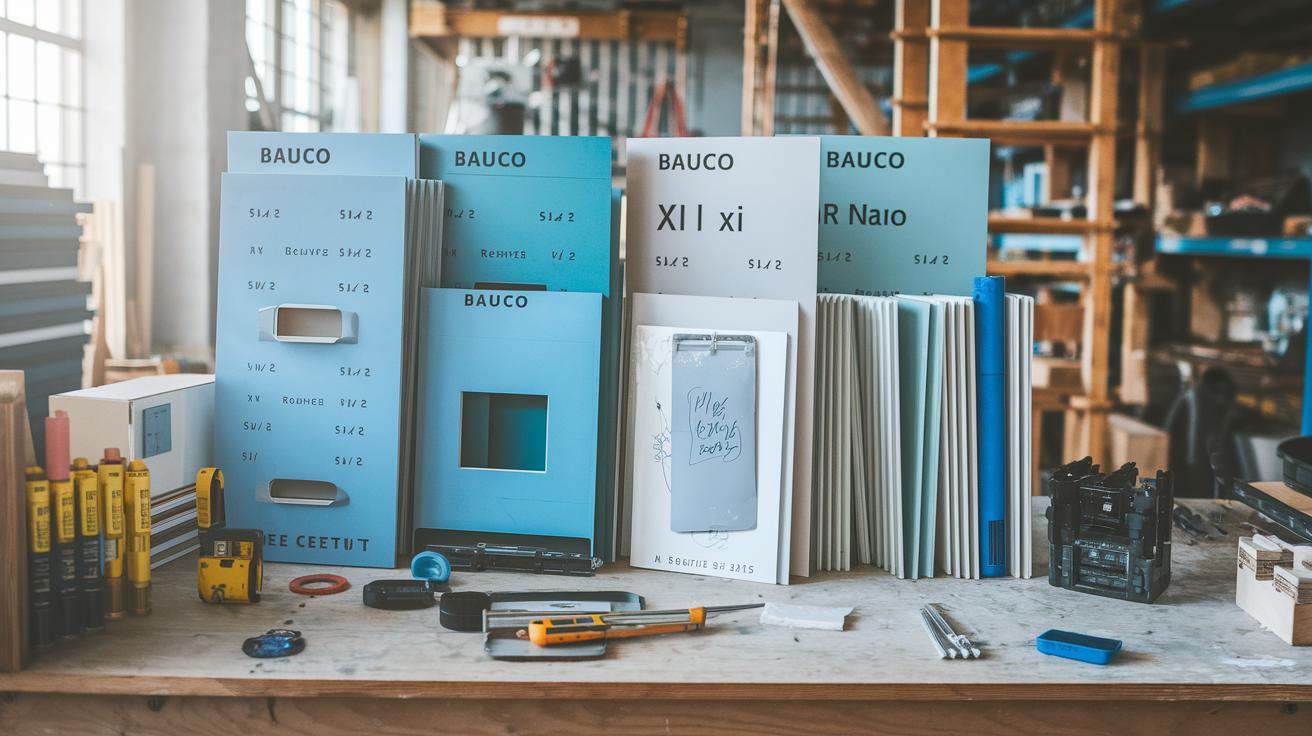
When planning your drywall access panel project, start by figuring out your cost drivers. Drywall panels come in sizes from 4 in x 6 in (10 cm x 15 cm) up to 120 in x 120 in (305 cm x 305 cm) and are available in series like BAUCO Plus II, XL, Air, Rondo, and Softline. Pick a series that fits your needs. For high-traffic areas, BAUCO Softline works well, while BAUCO Air is perfect when you need something lightweight.
Follow these simple steps to save both time and money:
- Measure your area and check the pricing for each series.
- Choose pre-cut kits or multi-panel layouts to reduce cutting time.
- Buy kits that include accessories such as Fastmount clips and mounting brackets so you avoid extra trips to the store.
- Compare different closure types and pick one that will lower future maintenance.
On average, installing and finishing a panel takes about 1–2 hours (1–2 hours) per panel. Careful planning and using budget-friendly, all-in-one kits can make your upgrade fast and efficient.
Troubleshooting and Safety Tips for Drywall Access Panel Installation
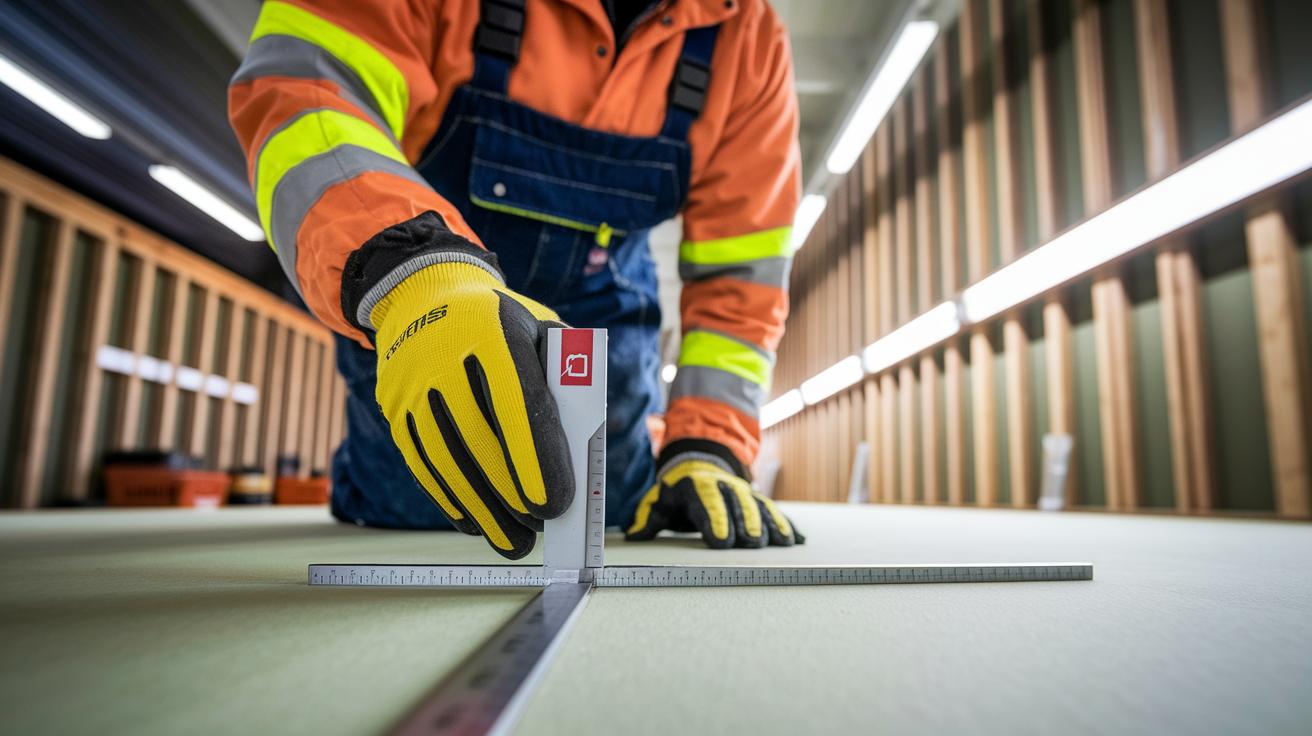
When you work on drywall access panels, safety always comes first. Before you start, turn off the power and water if you’re near electrical or plumbing lines. Use a voltage tester to check for live wires and close the water valve to avoid leaks.
Keep local building codes in mind for proper clearance and fire safety. Make sure that no flammable materials are nearby during installation. Use strong, durable hardware made for frequent removal. For example, opt for clips and fasteners strong enough to handle repeated opening.
Measure and mark your work area carefully. If your panel isn’t sitting flush, use a carpenter’s square (a tool for checking right angles) to verify your layout and adjust your markings. Loose clips or brackets might cause the panel to rattle or sit unevenly. If you notice this, re-tighten the fittings or switch to more secure options, and double-check all mounting points.
A handy tip is to step away for a few minutes and then review your work. This break can help you spot any missed adjustments. Planned steps and regular hardware checks can stop problems before they turn into costly repairs.
Always follow these safety steps to protect yourself and achieve a neat, professional finish.
Maintenance and Long-Term Performance of Drywall Access Panel Installation
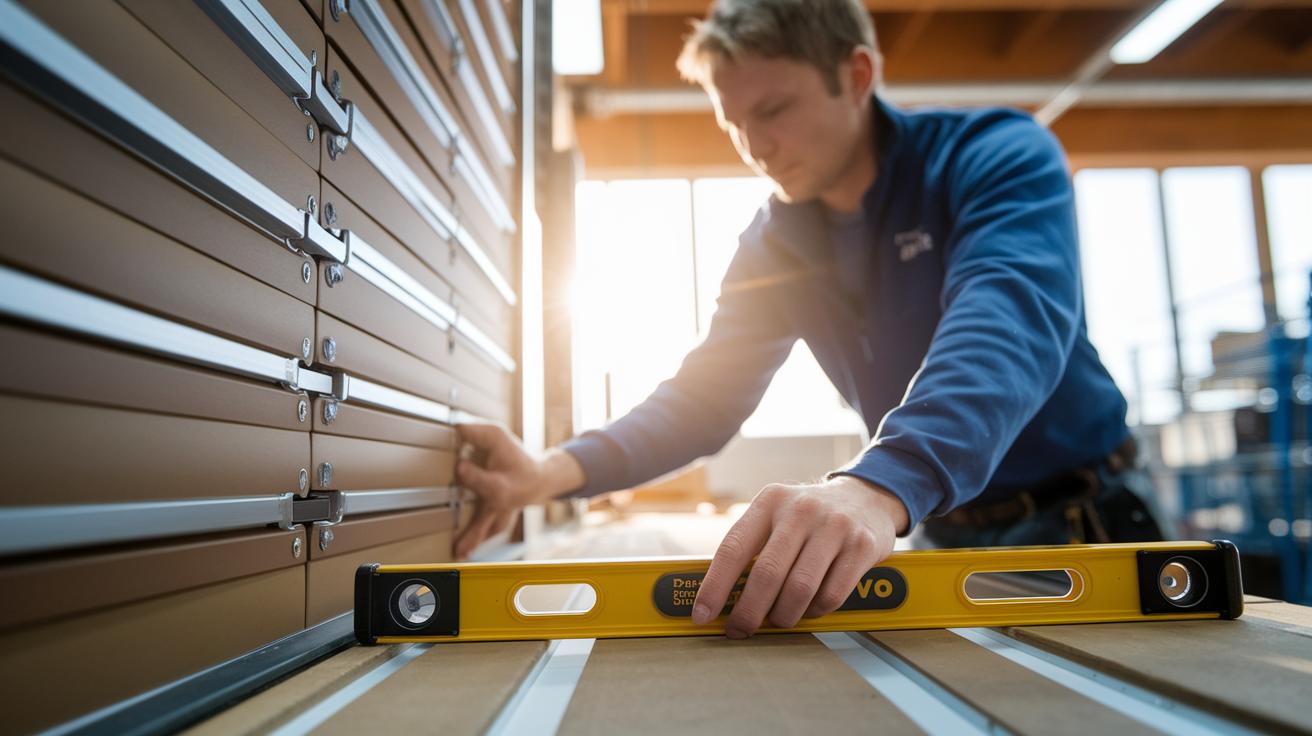
Keep your access panel tight by setting up a regular maintenance schedule. Check the durable clips, especially if you use the panel often. Make sure all fasteners are secure and inspect any magnetic parts or springs for wear. For example, if you use Fastmount systems, re-tighten any loose screws.
Every few months, do a quick quality check. Look for small shifts in the panel or any hardware that sticks out, which can ruin its flush look. Use a level along the panel edges to check for even alignment. Replace any worn clips or fasteners right away to avoid damage.
For spaces with high traffic or commercial use, consider heavy-duty options like BAUCO Softline. These products are built to last and help keep your installation looking neat and working well over time.
Regular checks can keep your panel as good as new and help you avoid costly repairs in the future.
Final Words
In the action, you’ve explored every step, from marking and cutting the drywall to securing and finishing your installation. Each phase of drywall access panel installation builds a solid foundation for a cost-effective, long-lasting project.
You reviewed the essential tools and safety tips, learned time-saving hacks, and discovered how to troubleshoot common issues. With these clear, step-by-step instructions, you can confidently transform your space while keeping the work practical and efficient. Enjoy the satisfaction of a job well done.
FAQ
What does a drywall access panel installation video show?
A drywall access panel installation video shows a step-by-step guide covering layout, cutting, mounting, and finishing the panel so you can see the entire process in action.
What is a drywall hidden access panel and drywall access door?
A drywall hidden access panel or door is designed to blend with your wall for discreet access to utilities, ensuring a seamless look without drawing attention.
How do you cut drywall for an access panel?
Cutting drywall for an access panel involves marking the precise opening while avoiding studs, then using a drywall saw to create a neat, controlled cut for proper panel fit.
How do you install a metal or spring loaded drywall access panel?
Installing a metal or spring loaded drywall access panel entails marking and cutting the opening, securing it with specialized clips or brackets, and then fitting and adjusting the panel for smooth operation.
How do you open a drywall access panel?
Opening a drywall access panel typically involves unlatching a magnetic closure or latch system, allowing you to quickly access the area behind the drywall without disassembling the panel.
Are access panels required by plumbing code?
Many plumbing codes require access panels near plumbing fixtures for maintenance and safety; however, always confirm with your local building authority to ensure compliance.
What adhesive should you use for an access panel?
Using a construction adhesive recommended for drywall ensures a secure bond when installing an access panel; it’s best to follow the panel manufacturer’s guidelines for the proper adhesive type.
Do you have to remove drywall to install a pocket door?
Installing a pocket door usually involves cutting an opening in the drywall for the door pocket framing rather than completely removing large sections of drywall, preserving surrounding structure.
Where are drywall access panels typically needed?
Drywall access panels are typically needed in ceilings, walls, or floors to provide safe and convenient access to plumbing, electrical, or HVAC systems, making maintenance easier.