
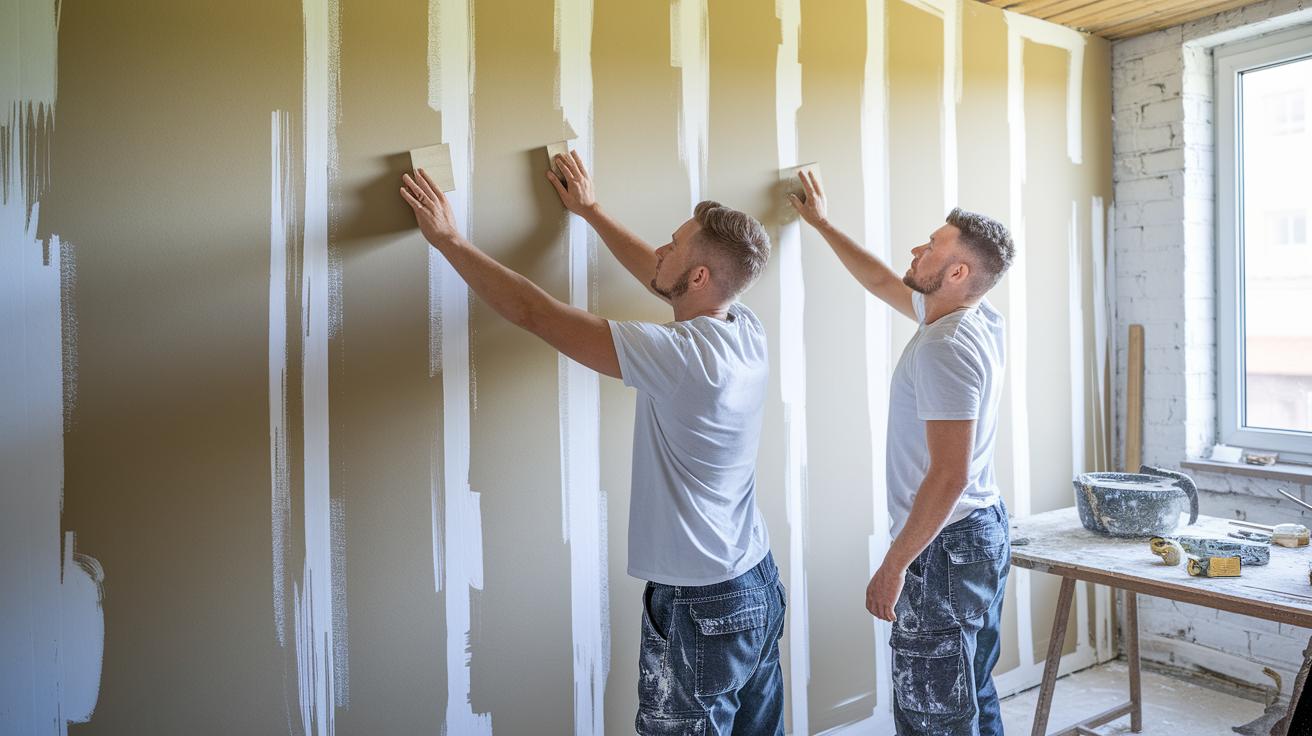
Ever thought about turning a bumpy wall into a smooth, magazine-worthy surface right in your own home? Drywall taping and mudding takes plain panels and transforms them into a stronger, clean finish that hides marks and cracks. In this guide, we walk you through each step, from getting the wall ready to applying several thin layers of joint compound (a type of plaster used to seal seams). Each step not only improves the look of your wall but also makes it sturdier. With a little time and effort, any DIYer can tackle this project and enjoy a professional-looking finish.
drywall taping and mudding: Solid DIY Success
Drywall taping and mudding ties separate drywall sheets into one sturdy wall. This process hides fasteners, stops nail pops and cracks, and creates a smooth, even surface for painting.
Both DIYers and pros use this method to cover nail or screw marks and make joints look seamless with no unsightly gaps or bubbles.
- Clean and prep the surface.
- Mix the compound to a smooth, peanut-butter-like consistency.
- Embed paper tape (a thin strip used to cover joints) along all seams.
- Apply the first coat of joint compound (mud).
- Smooth on second and third coats using wider knives.
- Sand the surface with 100- to 120-grit paper (about 100- to 120-grit abrasive) or use wet sanding for a flawless finish.
For example, if filling gaps wider than 3/8 in (10 mm), opt for a 45-minute setting compound. A 6 in (15 cm) knife works well to press out air bubbles in butt joints before shifting to tapered joints. Each coat should be applied a bit thicker and feathered out with a broader knife. This step-by-step method hides imperfections and provides a durable finish. You’ll need basic tools like utility knives and sanding sponges, along with materials such as paper tape and metal corner beads, to achieve a professional result.
Essential Tools and Materials for Drywall Taping and Mudding

Start your drywall project on the right foot by gathering only the essential tools and materials. Skip the flashy items you find at big box stores and focus on what really works. Here’s what you need:
- Mud pan
- Taping banjo (a tool for holding joint compound while you work)
- Clincher (a device for securing tape in place)
- Mixing drill attachment
- A set of taping knives (6 in [15 cm], 10 in [25 cm] and 12 in [30 cm])
- Mud mixing paddle
- Paper tape and corner tape
- Both setting-type mud (a fast-hardening joint compound) and all-purpose mud
When you pick your tape, remember that quality is key. Paper tape is a popular choice because it won’t show a mesh pattern after sanding, even though it requires an extra layer of mud. Choose a setting-type compound for large areas or major repairs because it dries faster. For small fixes or touch-ups, stick with an all-purpose compound. Using these basic, reliable tools together will help you achieve a smooth, professional finish without any extra fuss.
Step-by-Step Drywall Joint Taping Process
This guide walks you through cleaning seam edges, mixing compound, applying tape, and feathering for a flawless finish.
Surface Preparation
Start by scoring and sanding the drywall seams to remove any loose material. Next, remove protruding fasteners so they lie flush with the surface. For cracks wider than 3/8 in (10 mm), fill them with a 45-minute setting compound mixed with water until it reaches a smooth, peanut butter-like consistency.
Mixing and Applying Joint Compound
Stir your joint compound in a mud pan using a mixing paddle (similar to a potato masher) until the mix is smooth and free of lumps. Scoop a small amount into your work area and spread an even layer across the seams, leaving a clear groove for the tape.
Embedding Paper Tape
Feed the paper tape directly from the taping banjo and place it along the seam. With a 6 in (15 cm) knife, press the tape firmly into the compound. Think of it like sliding a credit card over a sticker, steady pressure helps push out air bubbles and any extra compound.
Scraping Excess and Initial Feathering
Right after setting the tape, use the same 6 in knife to scrape off any excess compound. Smooth the edges by feathering the compound outward to create a gentle taper. This step reduces ridges and sets up a clean surface for the next coat.
Advanced Mudding Techniques for Smooth Finishes
This guide is for seasoned DIYers ready to step up their drywall work. Dive into these refined steps to smooth out uneven surfaces and fix common issues.
Applying the first coat
Mix setting-type or all-purpose mud until it has a honey-like consistency. Spread a 1/8 in (3 mm) layer evenly over both butt and tapered joints. Make sure your mix is smooth and free of lumps so that it doesn't sink in spots later. Think of it like mixing a pancake batter, lumps ruin the base.
Second and third coat layering
When the first coat dries evenly, mix a fresh batch of compound until it is like creamy mashed potatoes. Use a 10 in (25 cm) or 12 in (30 cm) knife to spread the compound. Feather the edges with a few smooth passes and check for any low or high spots. If you see bubbles or uneven drying, lightly sand the spot and add a thin layer. It’s like softly brushing icing over a cupcake to even out the surface.
Corner and edge detailing
For corners and edges, embed pre-creased corner bead tape using a banjo tool or your hand. Then, run a 4 in (10 cm) knife along the tape, pressing square at the center. For tricky corners or uneven surfaces, try a corner smoothing tool and lightly wet the area with a sponge to blend the compound. Keep your tool steady to clear off any marks.
Common Pitfalls and Troubleshooting in Drywall Taping and Mudding
Mix your drywall compound well to avoid bumps later. Stir it until the mixture is smooth, much like stirring pancake batter until there are no clumps.
Press the tape firmly using a 6-inch taping knife (a long, flat tool) to push out any trapped air. This step helps the compound bond properly and stops joints from becoming weak.
Apply thin layers of compound, letting each coat dry completely to prevent cracks. Follow the recommended drying times and sand lightly so the tape remains covered.
For best results, use simple tools instead of fancy gadgets. Check the table below for quick troubleshooting tips:
| Issue | Troubleshooting Tip |
|---|---|
| Lump formation | Mix the compound until it is completely smooth and free of clumps. |
| Inadequate tape embedding | Press the tape firmly with a 6-inch knife to remove air pockets. |
| Oversanding | Sand lightly and stop once the surface is even. |
Material and Cost Considerations for Drywall Taping and Mudding

Pre-mixed compounds come in 5-gal buckets (about 18.9 L) for drying-type mud and in 50-lb bags (around 22.7 kg) for setting-type mud. They offer a handy solution, but note that their costs differ. Setting compounds usually cost more because they let you continue work sooner, while pre-mixed versions need extra drying time. Tape typically sells for about $0.10 to $0.20 per foot (roughly 0.3 m), so your choice between paper tape and other options can impact your budget. It pays to compare prices for joint compounds and tapes before you begin.
Here are a few DIY tips to keep your costs down. Buying compound in bulk can lower your cost per unit, and reusing mix pans helps cut down on waste. For small repairs, consider skipping the rental or purchase of a banjo (a tool used for embedding tape). Mixing your compound well and cleaning your tools regularly not only creates a smoother finish but also minimizes material waste, saving you money on your drywall project.
Final Words
In the action steps outlined in this post, we reviewed everything from surface prep and mixing compound to embedding tape and layering mud for a smooth finish. Detailed guidance on selecting tools and addressing common pitfalls helps you work safely and efficiently.
By following the process and troubleshooting tips, you can save time and money on projects. With the right techniques and confidence in drywall taping and mudding, your next project will come together faster and more cost-effectively.
FAQ
What does drywall taping and mudding involve?
The drywall taping and mudding process involves applying joint compound over seams and fasteners to bond drywall sheets into one smooth surface and prevent nail pops and cracks.
How is drywall taping and mudding done for ceilings and corners?
The process for ceilings and corners requires extra care. For ceilings, use a well-mixed compound and apply tape evenly; for corners, use pre-creased or metal corner bead tape to create sharp, durable joints.
What are common mistakes when taping and mudding drywall?
Common mistakes include leaving lumps from uneven compound, not embedding tape properly which leads to bubbles, applying coats that are too thick, and over-sanding that exposes the tape.
What should beginners focus on when taping drywall early on?
Beginners should focus on preparing the surface well, mixing compound to the right consistency, and embedding tape smoothly. Early practice days emphasize perfecting these basics and learning to feather edges.
Do you put mud or tape on drywall first?
The process starts with a thin layer of joint compound on the drywall seam before embedding the tape, which helps the tape adhere properly and minimizes air bubbles.
How much should mudding and taping cost?
The cost varies with project size and materials used. Joint compounds may come in 5-gal buckets or 50-lb bags, and tape averages about $0.10 to $0.20 per foot, with tool rentals and labor adding to the expense.
Is mudding and taping drywall a difficult task?
Mudding and taping can be challenging, especially for first-timers, due to the precision required in mixing, application, and sanding. However, with practice, the process becomes manageable by following proper techniques and using correct tools.