

Ever worry about spending too much on your drywall job? Taking time to measure your wall area, count the panels you need, and add a few extras for errors can save you money. It’s like putting together a puzzle, each piece must fit just right to avoid waste. This guide gives you clear steps and smart planning tips to help you stick to your budget and finish the project correctly.
Estimating Drywall Installation: Step-by-Step Cost & Material Overview
Start by measuring your work area in square feet. Use a tape measure or a laser device to record the dimensions of your walls and ceilings accurately. For example, if you find that a room covers 200 sq ft (18.6 m²), use that as your base for calculating materials.
Next, figure out how many drywall panels you need. Drywall usually comes in sizes like 4×8 ft, 4×10 ft, or 4×12 ft. To estimate, first calculate the square footage of one panel. For instance, a 4×8 ft panel covers 32 sq ft (about 3 m²). Divide your total area by the panel size – 200 sq ft divided by 32 equals roughly 6.25 panels, so round up to 7 panels. Always add an extra 5–10% to cover cutting losses or any damaged pieces.
When setting your budget, include costs for drywall panels, mud (joint compound), screws, and tape. A simple cost breakdown might look like this:
| Item | Calculation |
|---|---|
| Drywall panels | Number of panels × cost per sheet |
| Joint compound & tape | Estimate based on the length of seams and corners |
| Screws | Based on the number of panels and fastening method |
Labor costs depend on local rates and the specifics of your project. Contractors may charge per square foot, usually around $1.50 to $3 per sq ft, or an hourly rate that covers both installation and finishing work. Adjust these numbers based on your area and the type or thickness of drywall you choose.
Finally, add up your material and labor estimates to get a complete picture of your budget. This clear, step-by-step process helps ensure your drywall project stays on track in both time and cost. For additional details, check out the Drywall Installation Steps at Drywall Installation Steps.
Measuring & Calculating Material Requirements for Drywall Installation
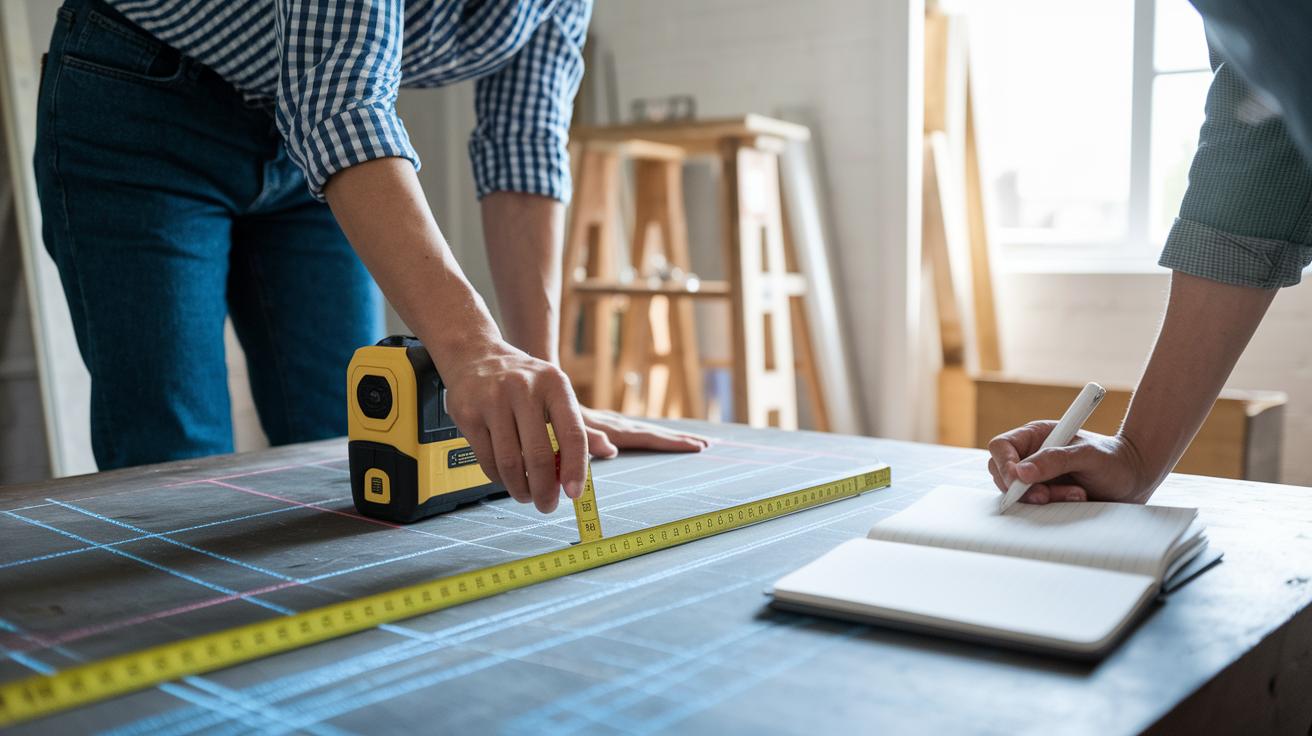
Start by measuring every wall and ceiling using a tape measure or laser device. Note the dimensions in feet (and the equivalent in meters), and mark key points with a chalk line for accuracy. For example, draw a line along the top edge and check it again to be sure. Write down your measurements by hand and also record them digitally, making sure to include tricky spots like corners and doorways.
Next, add up the areas of all walls and ceilings to get the total square footage. Pick a common drywall panel size, like 4×8 ft (covers 32 sq ft, about 2.97 m²), and divide your total area by the area of one panel. Always round up to make sure you have enough panels.
Finally, include an extra 5–10% for waste. If you need 20 panels by your calculation, ordering around 22 panels helps cover cutting mistakes and damaged boards.
Keep a calculator nearby to ensure your numbers are spot on and your project runs smoothly.
Drywall Material Cost Breakdown & Supply Estimates
Start by listing all the costs for your drywall project. Begin with the main materials. Drywall panels usually run about $8 to $12 per 4 ft x 8 ft (1.2 m x 2.4 m) sheet. For a 10 ft x 12 ft (3 m x 3.7 m) room that uses 17 sheets, using an average price of $10 per sheet puts the panel cost around $170.
Next, include your finishing materials. Joint compound, which seals seams, costs about $15 to $20 per bucket. Tape (used to reinforce joints) runs between $5 and $8 per roll, and screws cost roughly $6 to $10 per pound. Estimating these accurately helps keep your budget in line.
Also, remember the small extras. You might need corner bead to protect edges, metal studs for extra support, and sandpaper for a smooth finish. If you’re working on a larger job, factor in potential delivery fees or even the cost to rent a panel lift.
| Item | Estimated Cost |
|---|---|
| Drywall panels | $8–$12 per 4×8 sheet |
| Joint compound | $15–$20 per bucket |
| Tape | $5–$8 per roll |
| Screws | $6–$10 per pound |
Review each item carefully to build a complete bill of materials and ensure your supply costs are spot on.
Estimating Drywall Labor Costs & Rate Structures
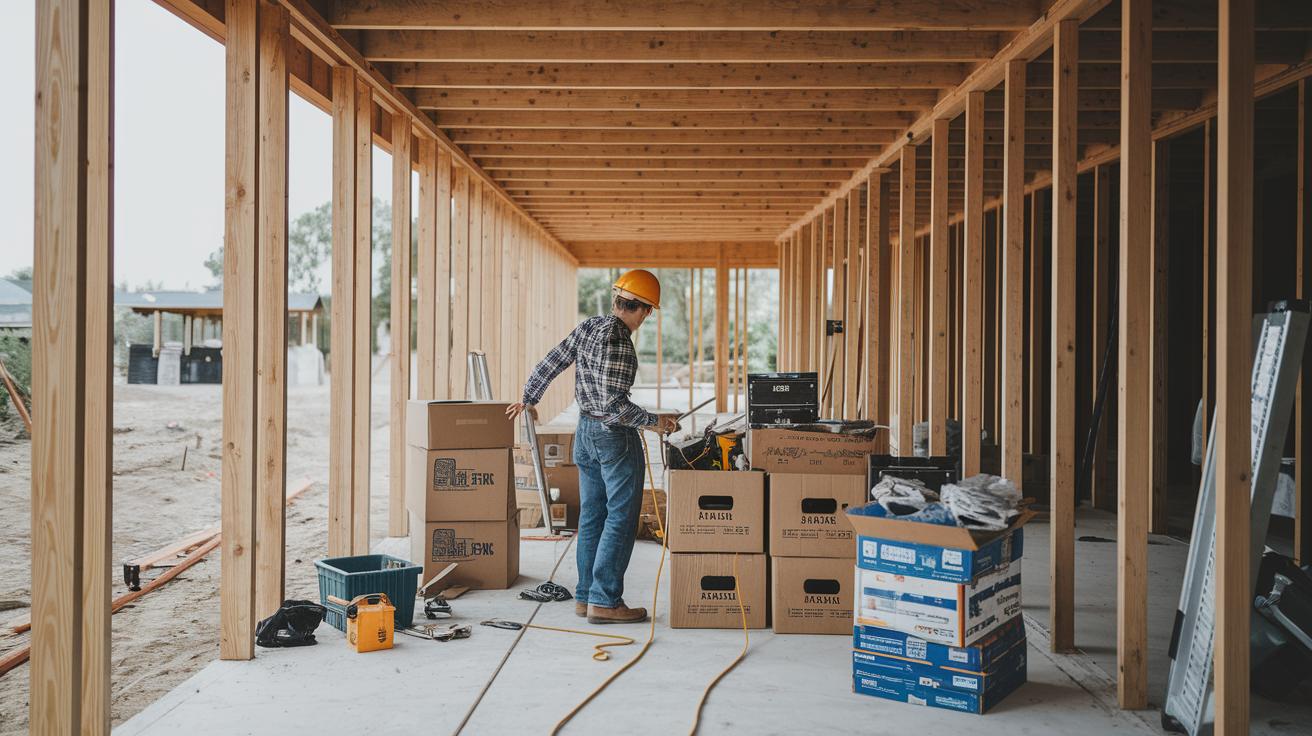
Begin by noting each stage of the work: unloading, cutting, hanging, taping, applying joint compound (mud), sanding, and finishing. Contractors usually charge by the square foot, with rates from about $1.50 to $3.00 per square foot. So if you’re working on 200 sq ft (18.6 m²), you might set aside between $300 and $600 for these tasks.
Next, work out the hourly pay for labor. Most crews charge between $40 and $60 per hour. Estimate the time needed for each step. For example, unloading can take about 0.5 hr (30 minutes), while taping and mudding might take several hours per room. One contractor put it this way: "Every minute counts on a job site. Accurate time estimates help keep your budget on track." Use a checklist like this:
- Delivery and unloading (approx. 0.5 hr)
- Cutting and hanging drywall (time depends on project size)
- Taping and applying joint compound (several hours per room)
- Sanding and finishing (ensuring a smooth surface)
Finally, decide if a flat rate or hourly billing fits your project best. A flat rate bundles all tasks for simplicity. Hourly billing breaks down each part of the job for clear detail. Be sure to include overhead, profit, and other business expenses when setting your rates. With careful time estimates and the right billing method, you can nail down a labor cost estimate that avoids surprises later on.
Accounting for Waste, Extras & Hidden Drywall Installation Costs
When you plan your drywall project, expect about 5-10% waste. This extra helps cover tape, joint compound, and scrap from cuts. For example, if you need 100 panels, buy 5-10 more to cover potential losses.
Finishing touches can also add to your budget. Preparing surfaces for texture or paint might cost around $0.50–$1.00 per square foot. So, for a 200 sq ft (18.6 m²) room, you could see an extra $100 to $200 in finishing expenses.
There are hidden costs, too. Permit fees, cleanup, disposal, and even scaffolding rental can push your costs higher. Experts suggest setting aside an additional 5-10% of your overall estimate. This extra fund helps cover surprises and keeps your project running smoothly.
Using Digital Calculators & Templates for Drywall Estimating
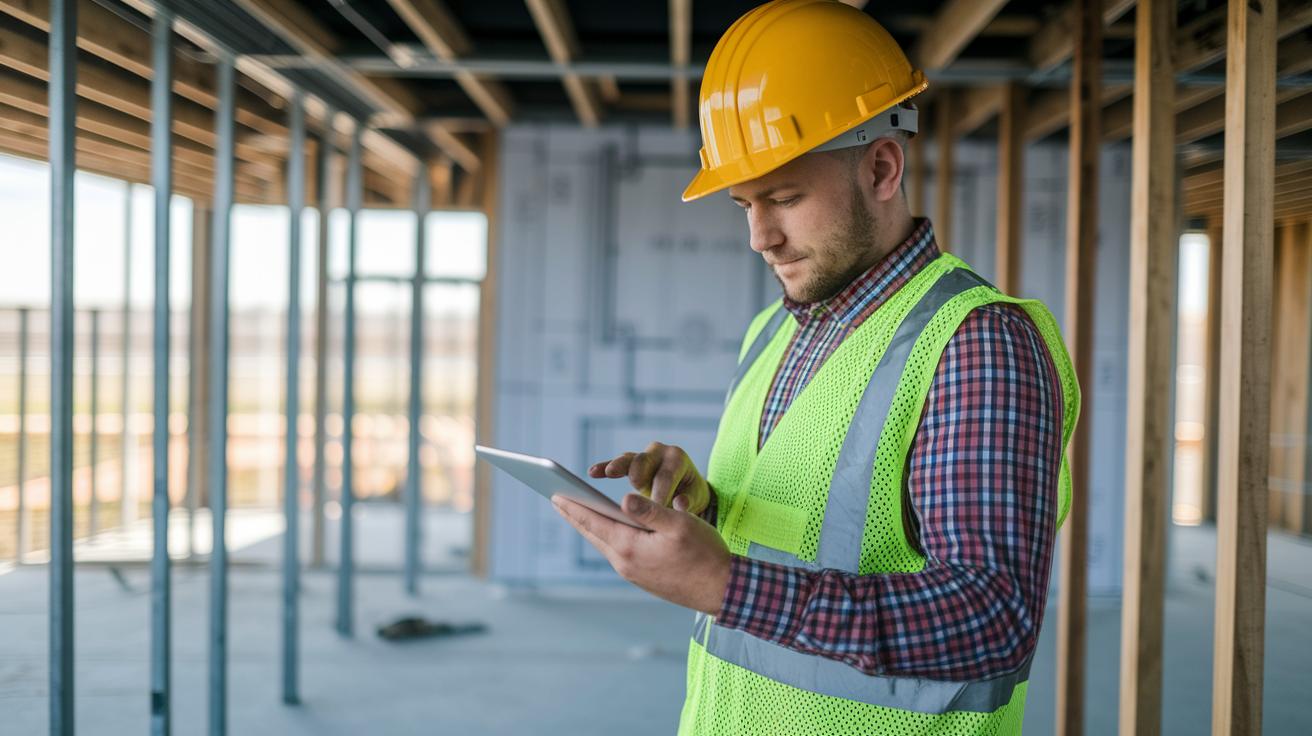
Digital tools make it easier to figure out your drywall costs. They let you enter your room size, panel details, local labor rate, material price, and even the waste percentage to quickly work out the area, materials needed, and overall cost. For example, if you have a room that is 10 ft (3.05 m) by 12 ft (3.66 m) and you use a 4 ft x 8 ft panel (1.22 m x 2.44 m), set a labor rate of $50 per hour, a material cost of $10 per sheet, and a 5% waste factor, the calculator gives you a clear quote on the spot, reducing manual errors.
These tools also save your project details so you can compare past estimates and fine-tune your future calculations. Templates help you list each cost item, from drywall panels to joint compound, so your bid stays competitive and detailed.
Using a cost calculator lets you adjust figures in real time. One user said it was like having a precise blueprint in your hand, making budgeting simple and direct.
For a quick start, try the Drywall Installation Cost Calculator (https://neull.com?p=214) to save time and improve accuracy on each project.
Common Estimating Mistakes & Best Practices in Drywall Installation
Getting your drywall estimate right can save you time and money. This article walks you through measuring correctly, calculating material costs, including waste, and setting a realistic labor budget. In the measuring section, we show how to use both a tape measure (a tool for measuring length) and a laser tool (a digital device for measuring distances) to ensure you don’t order too few or too many panels. In the cost sections, we stress rounding up your panel count to cover cutting mistakes and adding the price of extras like joint compound (used to seal joints), tape, and screws.
A contractor’s case study revealed that ignoring waste and local labor rate differences can drive your budget far above the estimate. One key piece of advice was: “Double-check every measurement with a laser, you'll catch errors that might slip by with just a tape measure.”
- Use both a tape measure and a laser tool for tricky spots.
- Round up your panel count to cover cutting errors.
- Include extra costs for waste and all accessories.
- Check local labor rates and material prices regularly.
Advanced cost optimization & project budgeting for drywall installation
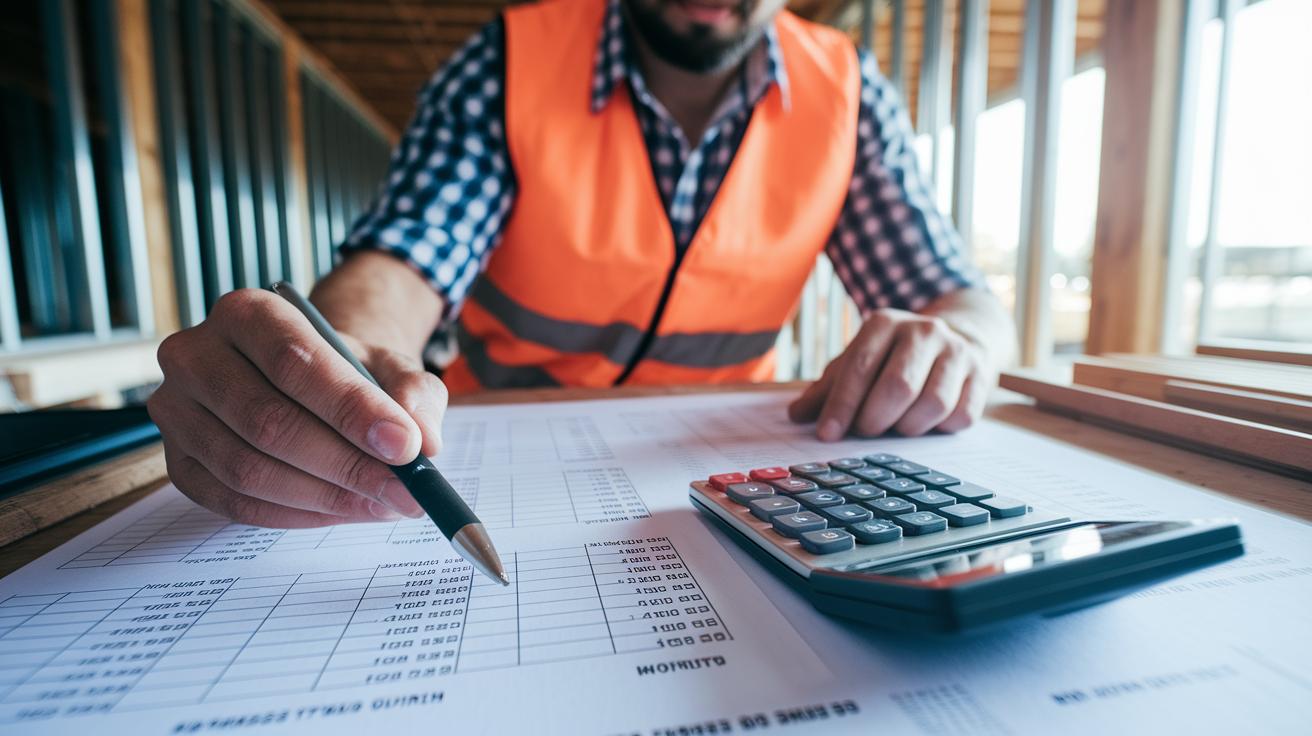
When planning a drywall project, start by comparing labor costs and material prices. Look at the labor-to-material ratio to spot quick fixes and discounts, like bulk sheet deals that can lower your overall costs.
Review past project records to improve your unit cost estimates and adjust for waste. Try comparing different materials or installation methods to save money. For example, switching from a premium drywall to a more affordable option can cut costs without hurting quality.
Track your expenses in real time. This lets you make quick changes during the project to prevent overspending. Using these budget checks and cost metrics, you can keep the project on track while working efficiently. Contractors who use these smart strategies can achieve solid results and save money at the same time.
Final Words
In the action, this guide covered measuring dimensions, calculating panels with waste, breaking down material and labor costs, and including hidden expenses. It explained how to use digital tools and avoid common mistakes during estimating drywall installation. Each section gave practical tips and precise calculations to keep your project on budget and schedule.
These clear steps empower you to plan well and manage costs effectively. Stay proactive and confident as you move forward with your home renovation work.
FAQ
What does an estimating drywall installation PDF provide?
The estimating drywall installation PDF provides a step-by-step guide on measuring, calculating, and budgeting for material and labor costs, making it easy to plan your project and avoid unexpected expenses.
How does estimating drywall installation cost work?
The estimating drywall installation cost method involves adding up material costs, labor charges, and extra fees (like waste and permits) based on accurate measurements and current local pricing to create a reliable budget.
How can a drywall calculator help with walls, ceilings, and square footage?
The drywall calculator streamlines your project by allowing you to input room dimensions, calculate square footage, and account for waste, whether you’re working on walls or ceilings, using a mobile app or online tool for instant estimates.
What does a drywall estimate example illustrate?
A drywall estimate example shows how to multiply the number of panels by unit costs, include waste and accessory expenses, and add labor fees, giving you a clear blueprint to build an accurate project budget.
How does the USG drywall mud calculator work?
The USG drywall mud calculator helps you determine the required amount of joint compound based on your project’s area, ensuring you mix enough mud for proper taping, mudding, and finishing without over-ordering.
What is the rule of thumb for drywall estimating?
The rule of thumb for drywall estimating is to measure total square footage, add a 5–10% waste factor, and include all material and labor costs to create a comprehensive budget that minimizes surprises.
How much would it generally cost to drywall a 20×20 room?
Drywalling a 20×20 room involves calculating material, labor, and finishing expenses, with costs influenced by factors like panel type and local rates; a rough estimate should cover panels, compound, and installation work.
How should you bid drywall installation?
Bidding drywall installation requires accurate measurements, a detailed list of material and labor costs, and a contingency for extras, ensuring your quote is competitive while covering regional price variations and job-specific details.
How is the cost to drywall a 1200 square foot house estimated?
Estimating the cost for a 1200 square foot house involves calculating the total material needed, labor hours, and finishing expenses, with overall pricing varying by regional rates and bulk discounts on panel pricing.