
Ever look at your hardwood floors and wish they could shine again? Over time, an oil-based finish often leaves a tired, amber tint that hides the wood’s true color. In this guide, you’ll learn how to remove that old coat and add a new water-based polyurethane finish for a clear, bright look. Follow these steps like a simple map that leads you to refreshed and vibrant floors. Let's roll up our sleeves and get started.
Complete Step-by-Step Guide to Refinish Hardwood Flooring
A good plan keeps you organized and helps you avoid expensive mistakes. When you know each step, you’ll always be sure what to do next. Think of it like a map where every landmark guides you along the way to a beautiful, finished floor.
The floors might have been covered in oil-based polyurethane, which slowly turned them amber and hid the natural look of red and white oak. Over time, this finish gives a warm but dull appearance. For clear and vibrant wood tones, use water-based polyurethane. It protects the wood without yellowing, keeping the natural colors alive and helping the floor last longer.
Here’s your nine-step guide for a successful refinish:
- Remove the shoe molding using a pry bar, gloves, and knee pads.
- Fix any squeaks by applying wood putty and securing with 8d finishing nails (nails used for trim) using a sliding blade.
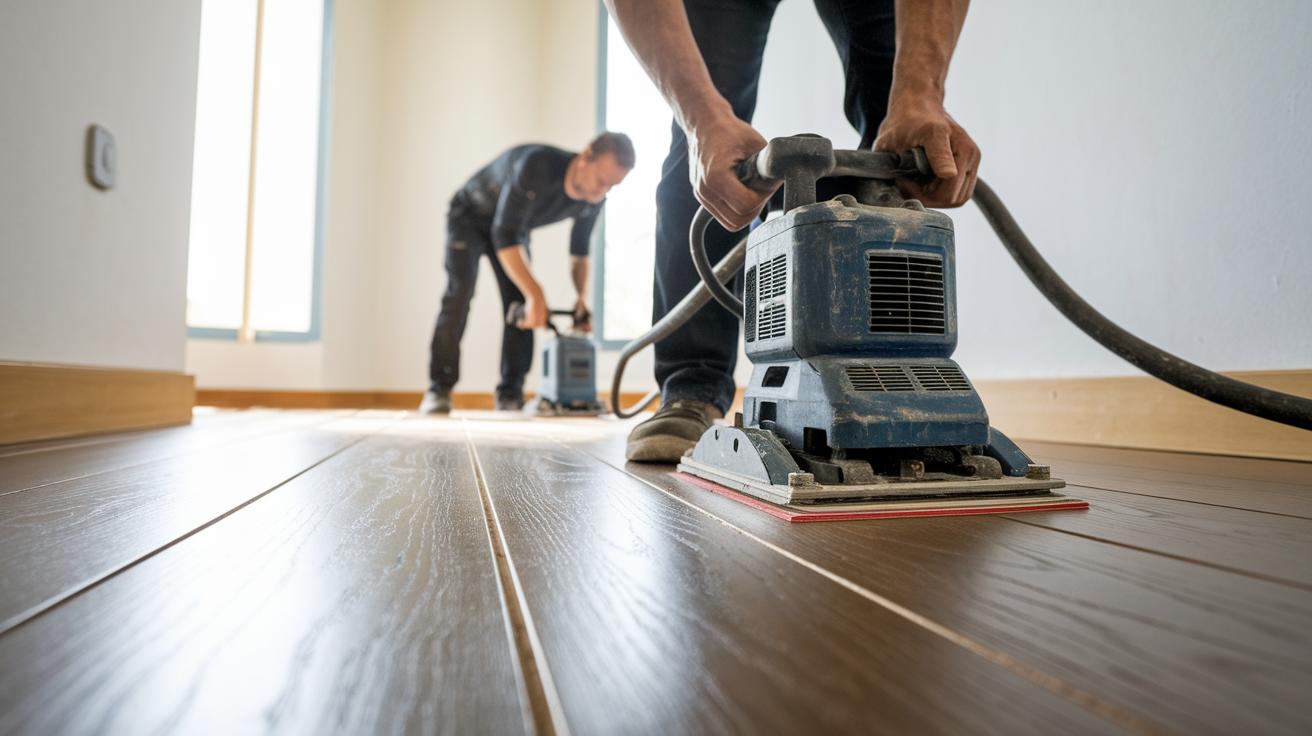
- Start rough sanding with a drum sander fitted with 36-grit paper to strip off the old finish.
- Sweep and vacuum between grit changes to clear sanding dust.
- Edge-sand corners with a sanding edger to smooth out transitions.
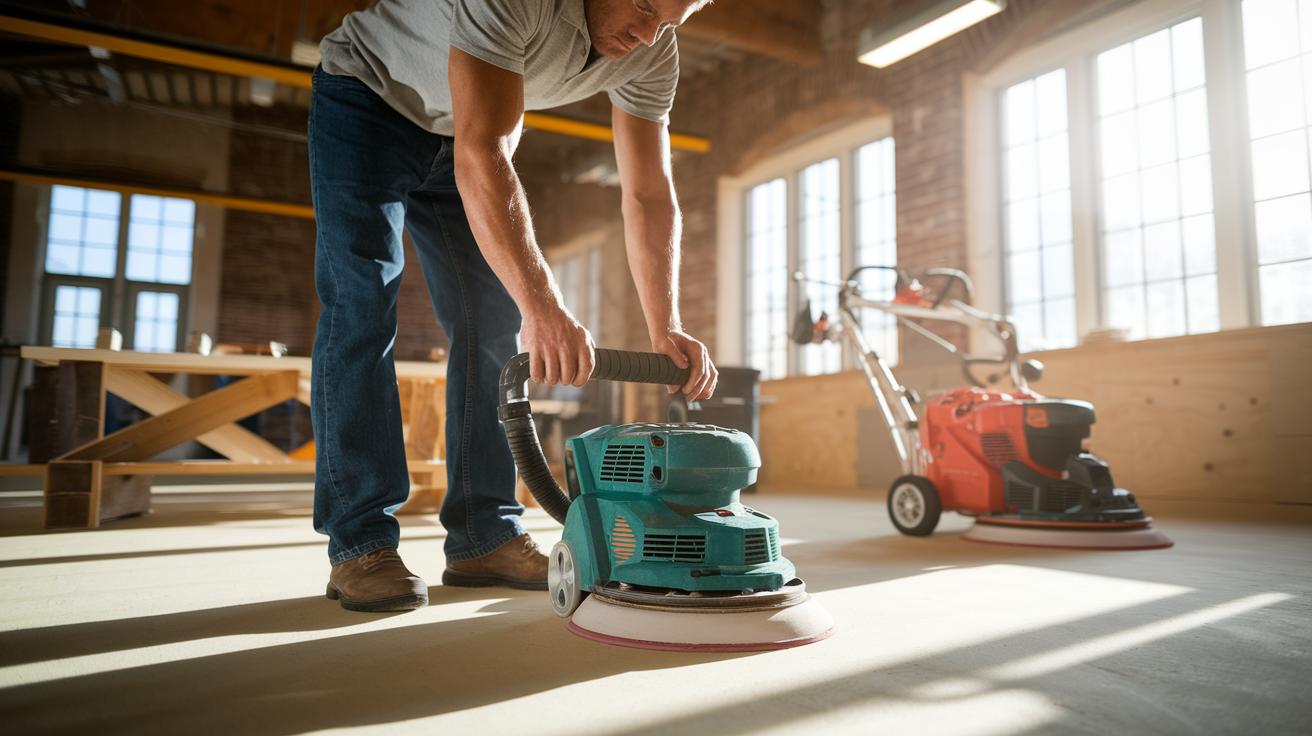
- Screen sand the floor using a buffer with a fine-grit screen pad for an even surface.
- Eliminate any remaining dust by wiping with a tack cloth and running the vacuum over the floor.
- Test and then apply your chosen stain using a foam applicator pad and a rag, following the wood grain.
- Apply the finish with a lambswool applicator, making sure each coat dries completely before adding the next.
Take a moment to inspect your work once you’re finished. Check that the stain is even and the finish feels smooth throughout. Remember, sanding larger areas can take more than two days, and it’s important to let each coat dry fully. With a bit of patience and attention to each step, your hardwood floors will look refreshed, bright, and ready to handle everyday use.
Essential Tools and Equipment for Hardwood Floor Refinishing
When you plan to refinish your hardwood floor, think about how many projects you'll tackle. If you only work on a floor every now and then, renting the equipment can save you money on pricey tools. But if you plan on frequent refinishing jobs, buying your own gear may be the better choice. Using the right tools makes the job go faster and gives you a better finish.
| Tool | Purpose | Estimated Rental Cost |
|---|---|---|
| Drum Sander | Removes the old finish with rough sanding | $50/day |
| Edger | Sands corners and edges for an even surface | $20/day |
| Buffer | Uses fine-grit pads to smooth the floor | $15/day |
| Vacuum | Keeps dust and debris away | N/A |
| Applicator Kit | Includes foam pads and lambswool tools for finish application | N/A |
| Hand Tools | Pry bar, gloves, knee pads, hammer, wood putty, and finishing nails | N/A |
Before you start, check with local hardware stores and rental centers for tool availability and rental terms. Always inspect your rented gear for wear or damage to avoid delays. Follow the manufacturer’s care instructions so your tools work reliably on the job. This careful planning keeps your project on track and helps you achieve a smooth, efficient refinish.
Preparing and Protecting the Workspace Before Refinishing
Before you begin refinishing, take a moment to protect nearby rooms and furniture. Cover walls, vents, and any items with plastic sheeting to keep dust and debris where they belong. Remove the shoe molding carefully, allowing 30–60 minutes (about half an hour to one hour) per room so each piece can be taken off without damage. Keeping your work area secure stops dust from spreading and saves you time on cleanup later on. Make sure vents and doorways are well protected to keep the dust confined to the project area.
Test your floor by dropping a small amount of water on random boards. If the water soaks in quickly or the board turns gray or black, the protective finish has likely worn off. Open windows and set up cross-ventilation to keep fresh air flowing during sanding and applying the finish. Wear a NIOSH-approved respirator at all times to block dust and harmful particles. This careful approach not only protects your health but also helps you achieve a smooth and even finish. A clean, well-ventilated workspace is the foundation of a successful floor refinishing project.
Sanding Techniques and Grit Progression for Hardwood Floors
Sanding does more than take off the old finish. It gets the wood ready for a new coat and a smooth look. You will work through several grit levels with the right tools. Doing this right leaves you with a floor free of scratches or gouges.
Using the Drum Sander
Set the drum sander at a moderate speed and work steadily along the grain. Hold the sander parallel to the wood grain to stop streaks. Overlap each pass to cover all areas. This rough step uses 36-grit paper to remove the old finish fast.
Detailing with an Edger
Use the sanding edger on corners and near walls. Work with a steady hand and even pressure for a neat finish. Test the edger on a scrap piece first. This helps you get your technique down before working on the main floor.
Screen Sanding with a Buffer
Finish by using a floor buffer with a fine-grit screen pad. Move in circular motions to smooth the wood without gouging it. Use a 120- to 150-grit screen pad to create a refined surface ready for staining or finishing.
| Grit Level | Purpose | Equipment |
|---|---|---|
| 36 | Rough sanding to remove old finish | Drum Sander |
| 60 | Intermediate smoothing of the surface | Drum Sander or manual sanding |
| 100+ | Final sanding for a fine, even finish | Screen sanding with a buffer |
Always vacuum and use a tack cloth between each sanding stage to keep dust from causing problems in later finish coats.
Selecting and Applying Stain and Finish to Hardwood Floors
Start by testing the stain on a hidden area of your floor. Use a foam applicator pad to put a little stain on a secret spot. Wait five minutes (5 min / 5 min) and then wipe off the extra. This gives you a true idea of the final color in your room’s light so you can be sure it matches your vision.
Water-based polyurethane is a popular pick for hardwood floors. It stops yellowing over time and keeps the natural look of red and white oak. Oil-based finishes give a rich, warm tone but can amber and take longer to dry. Water-based finishes dry faster, making them a smart choice for busy households and high-traffic spots. Compare these qualities to see which one fits your style and needs.
For best results, use a lambswool applicator to apply thin, even layers of finish. After staining, smooth the wood grain with a clean rag and let it dry for 2 to 4 hours (2–4 hr / 2–4 hr). When adding finish coats, allow 2 to 3 hours (2–3 hr / 2–3 hr) between water-based layers and 8 to 12 hours (8–12 hr / 8–12 hr) for oil-based layers. A total of 2 to 3 finish coats will offer good durability. If the finish does not stick, lightly sand the area with fine sandpaper, clean away the dust with a tack cloth, then reapply. This extra step ensures a long-lasting shine and protects your refinished hardwood floor.
Repairing Surface Imperfections Before Refinishing Hardwood Floors
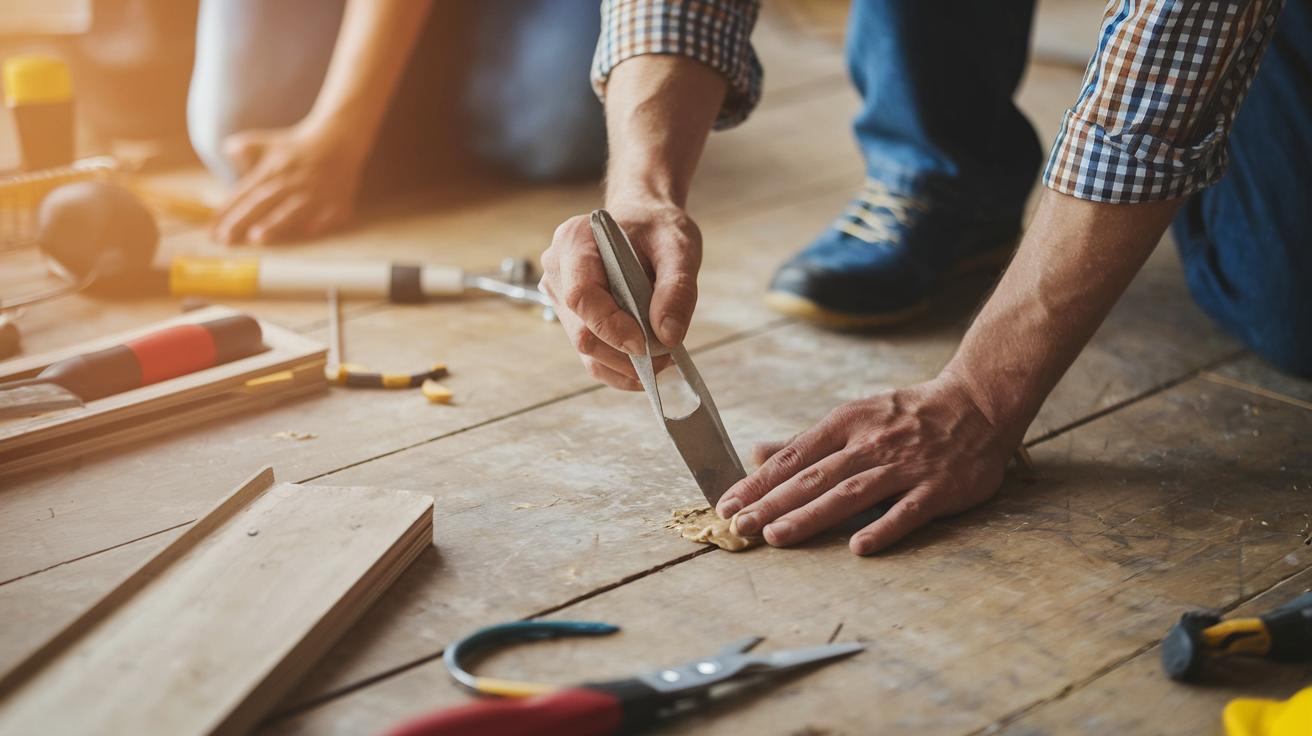
Start by fixing any low spots or dents in your hardwood floor. Fill in small dents and gouges with wood putty, much like you would patch a cracked sidewalk. Wait 1–2 hours for the putty to dry completely. Then, sand it smooth so it blends with the surrounding wood. A smooth surface stops unsightly marks or shadows when you apply the finish. Test your technique on a scrap piece of wood first to ensure that the repair fades into the floor.
Once the dents are filled, check for loose boards or persistent squeaks. Drive 8d finishing nails at an angle or apply construction adhesive (a glue designed for building) under the board to secure it. Remove any old staples, debris, or leftover putty from previous repairs. A clean, stable surface is crucial because even a bit of debris or board movement can cause shadows under your final finish. Taking a little extra time now means your refinished floor will look tighter and more professional.
Budgeting and Cost Breakdown for a DIY Hardwood Floor Refinish
In Wilmington, NC (2021), you can expect to spend roughly $3–$6 per square foot (about $32–$64 per m²) for a DIY hardwood floor refinish. This price covers materials such as stain, finish, and sandpaper, along with the work you put in. Plus, you’ll need to rent some equipment. For example, a drum sander costs around $50 per day, an edger about $20 per day, and a buffer roughly $15 per day. These tool rental fees give you a good idea of how much your overall budget should be.
For a 500 sq ft (about 46.5 m²) room, the numbers add up as follows. Three days of sand rental may cost around $270. Materials like sandpaper, stain, and finish could run between $200 and $300. Extra pieces like wood putty and masking tape might add about $50. This brings you back to the approximately $3–$6 per square foot estimate.
Typically, you’ll spend 2–3 days sanding and another 1–2 days applying stain and finish, not including the drying time needed between coats. Reviewing these overall costs can help you compare the DIY approach to professional flooring installation rates so you can decide if the DIY route fits your budget and schedule.
Routine Maintenance Tips for Newly Refinished Hardwood Flooring
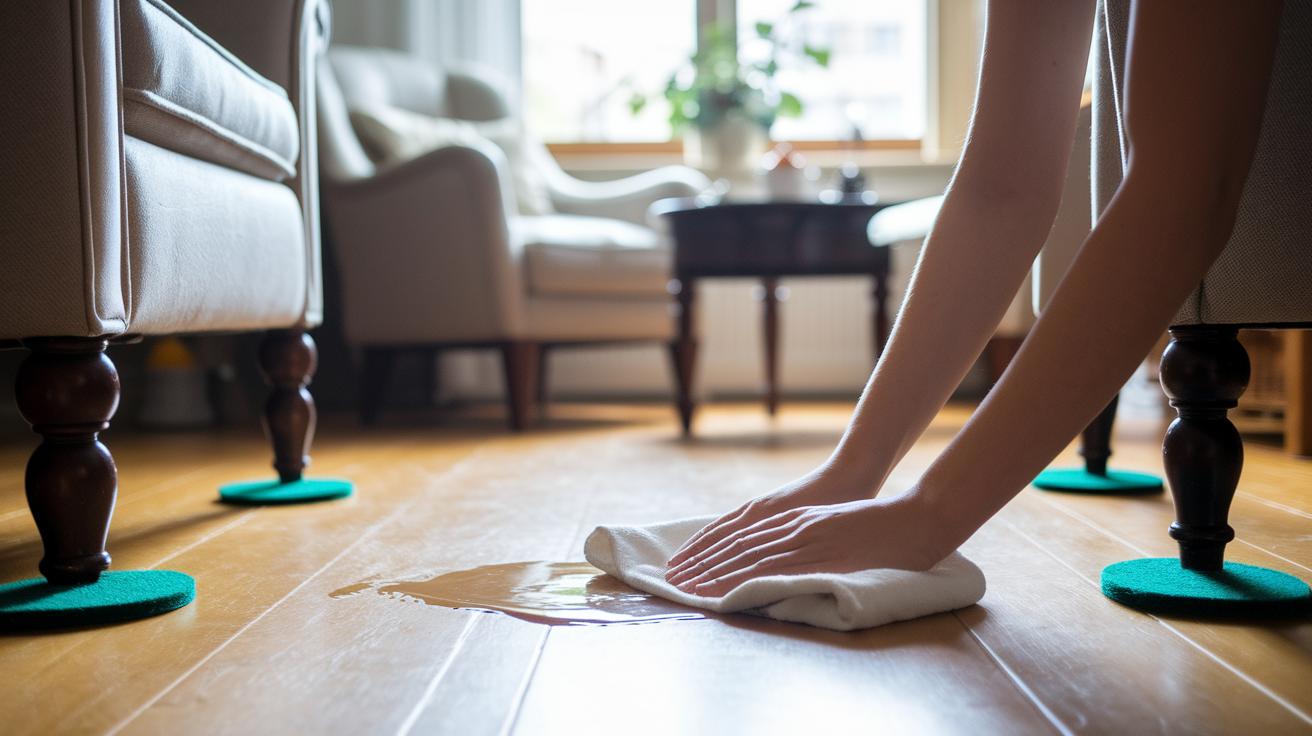
Keep your floors looking fresh by following simple daily and weekly cleaning steps. Wipe up spills right away to stop water damage and use a mild, pH-neutral wood-floor cleaner every time you clean. Put felt pads under the legs of chairs and sofas so they won’t scratch your floor.
Avoid heavy scrubbing or shifting large items for at least one month (about 30 days) after your refinish so the finish can fully harden. This approach helps prevent dirt and grime from building up and wearing down your new floor too soon.
For long-term care, plan to apply a light recoating every 5–7 years (about 60–84 months) depending on how much foot traffic your floor gets. Give your floor a good cleaning every three months and keep an eye out for any spots that might need extra care. Check regularly for scratches or dull areas to protect your investment.
For more detailed instructions, see the home maintenance checklist at https://neull.com?p=186.
Troubleshooting Common Issues When Refinishing Hardwood Floors
Hardwood floor refinishing can bring up a few common problems. You might see uneven sanding marks, dust in the finish, blotchy stains, bubbles in the polyurethane (a type of clear floor finish), or small circular fish-eye defects. Uneven sanding leaves streaks that break the smooth look of your floor. Dust settling in the finish can cause marks, and blotchy stains may show on soft woods if you skip pre-conditioning. Stirring the finish too hard can create bubbles, while fish-eye defects appear as little round spots.
For quick fixes, start by spot-sanding uneven areas with fine-grit paper to smooth out the streaks. If you spot dust in the finish, stop, let the layer cure, then lightly sand and recoat for a cleaner look. For blotchy stains on soft wood, apply a pre-conditioner before staining. When bubbles appear in the polyurethane, stir slowly and apply thin coats. For fish-eye defects, wipe the area with mineral spirits and reapply the finish carefully.
Plan your project in sections to keep dust down. Use a vacuum and tack cloth between coats, and test any new technique on a small, hidden spot first. Always allow plenty of drying time for each coat, and stir finishes gently instead of shaking. These steps help ensure your floors end up with a smooth, long-lasting shine.
Eco-Friendly and Low-VOC Finishes for Hardwood Floor Renewal
Green finish options give you a safe and practical way to refresh your hardwood floors while protecting indoor air quality. Water-based polyurethane is popular because it has the lowest VOC levels among floor finishes. It cures clear and lasts long without yellowing. Hardwax oils made from tung (a natural drying oil) and linseed (oil from flax seeds) are another solid choice. They are bio-based and can be refreshed with spot applications, so minor touch-ups are quick and easy. There are also specialty bio-resins and plant-based shellac alternatives to help you create smooth and durable finishes without harming the environment.
When you work with any low-VOC or eco-friendly finish, always put safety first. Use a well-ventilated space and wear a NIOSH-approved respirator to avoid inhaling fumes and fine particles. Cover off nearby areas and use proper ventilation to keep dust and contaminants contained. Following these safety steps while using sustainable finishing products will protect both your health and the planet, leaving your hardwood floors with an effortless shine.
Final Words
In the action, you learned a detailed nine-step plan that covers every task from initial prep to final inspection. The guide broke down why a clear plan matters and compared oil- versus water-based finishes. It also reviewed essential tools, safety tips, and realistic budget estimates.
Each section prepared you to handle common issues and maintain your floor well after the project. With practical advice and clear steps on how to refinish hardwood flooring, you’re set to tackle your project confidently and cost-effectively.