

Have you ever looked at your hardwood floor and wondered if the scratches can be fixed? Most marks are problems you can repair. A scratch might be just a surface finish issue or a deeper gouge in the wood. With clear steps and smart methods, you can give your floor a fresh look without spending a lot. This guide provides easy DIY techniques to fix scratches and restore your floor's natural charm.
DIY Steps to Repair Scratches in Hardwood Flooring
When you see scratches on your hardwood floor, follow these clear steps to fix them. First, decide if the marks are only on the finish, are small stains, deep gouges (scratches that go into the wood), or white finish scratches. This helps you pick the right repair method, whether that means using a wood marker or blending pencil, a natural oil solution, wood filler, or a wax stick.
-
Inspect the damage closely.
Look to see if the scratch only affects the finish or if it digs into the wood. A white scratch may mean the top coat is the only issue. -
Clean the area thoroughly.
Sweep up loose debris and wipe the spot with a pH-neutral hardwood cleaner. A clean surface helps the repair material stick properly. -
Choose your repair method.
Pick a wood marker or blending pencil for surface marks, a natural oil or filler crayon for minor scratches, or wood filler compounds or wax repair sticks for deeper gouges. -
Apply the repair product carefully.
Follow the instructions on the product. Fill a gouge with wax or trace a scratch with a marker, making sure you cover the damage completely. -
Buff the area gently.
Use a soft cloth to wipe off any extra product. This helps blend the repair with the surrounding finish. -
Seal the repaired spot.
Add a matching topcoat to protect your fix and even out the gloss. -
Maintain your floor.
Keep your floor clean and use felt pads under furniture to prevent new scratches.
Each step above ties into detailed methods you can refer to later. Follow these tips to handle every type of scratch repair safely and effectively.
Assessing Scratch Severity on Hardwood Flooring
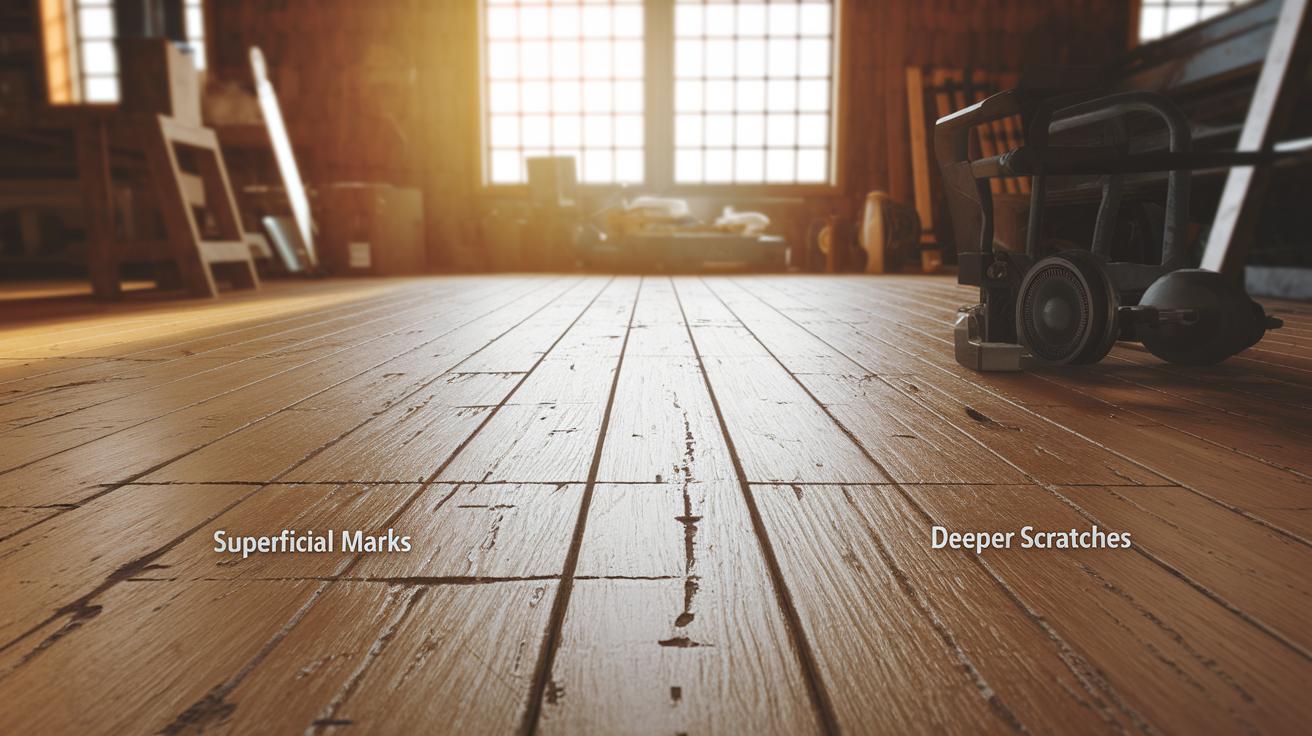
Before you start fixing your hardwood, check what type of scratch you’re dealing with. Is it just a worn finish or a deeper gouge into the wood? Taking a moment to sort this out helps you pick the right repair method and saves you time.
| Category | Visual cues | Repair Complexity |
|---|---|---|
| Superficial marks | Only the finish is worn, common in busy areas | Easy fix, like a touch-up marker |
| Minor scratches with stain damage | The coating is cracked, but the wood stays intact | Use a filler crayon or paste to match the color |
| Deep scratches and gouges | Raw wood shows; sometimes spans several boards | Requires wood filler or wax repair for a solid fix |
| White finish scratches | Bleached look or faded topcoat color | Simple repair with a blending pencil |
For light scratches, DIY methods work well. But if you see deep gouges or damage over several boards, it’s best to call a professional to keep your floor safe and looking great.
Tools and Materials Needed for Hardwood Scratch Repair
When fixing scratches on your hardwood floor, start with color-matched fillers and touch-up markers. Wood markers and blending pencils come in many stain-matched shades to cover up surface marks easily. Filler crayons and paste wood fillers work well for deeper scratches that go past the finish. Always test a small, hidden area first to be sure the color matches.
For a quick blend with your floor’s finish, try wax repair sticks and natural oil solutions. Multi-color wax repair kits let you fill in deeper marks, and natural oils like linseed (oil pressed from flaxseed) or tung oil can soften the look of blemishes. Once you’re done, stick polishes add a final shine, making the repair nearly invisible.
Finish your repair kit with a few key items: fine-grit abrasives (220–320 grit, which means paper that’s very smooth), a pH-neutral hardwood cleaner, and soft finishing cloths. Use the abrasives to gently smooth out filled areas. The cleaner lifts away dust and debris without harming the wood. Microfiber cloths and felt sanding pads help blend repairs and polish the finish. Always wear gloves and protective eyewear to keep dust and product splashes away from your skin and eyes.
Methods to Repair Surface, Minor, and Deep Scratches in Hardwood Flooring
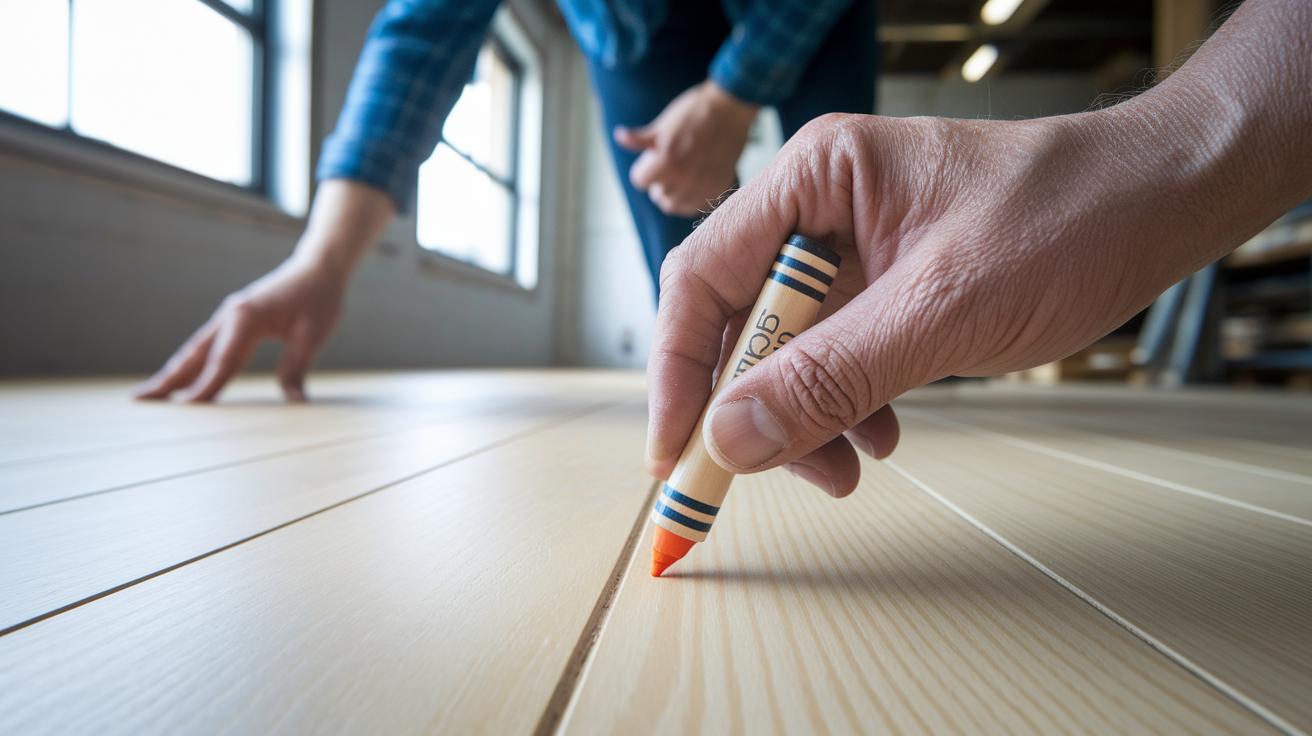
Different scratches need different fixes. Always test your chosen product in a hidden spot to make sure the color and texture match your floor before you work on a visible area.
Surface Scratches
For very light scratches, grab a wood marker or blending pencil in the same color as your floor. Carefully run the marker along the scratch so the color seeps into the finish. Then, use a soft cloth to wipe away any extra marker and gently buff the area. Let it set for 10 minutes before you walk on it.
Minor Scratches
For small scratches that are a bit deeper, start with a filler crayon or paste that matches your floor color. Use a putty knife to fill in the scratch smoothly. Next, lightly sand the edges with a fine-grit sanding pad so the repair blends into the surrounding wood. Leave the filler to harden for about 15 minutes, then buff the area with a soft cloth to finish the look.
Deep Gouges
For deeper gouges, use a wax stick or two-part wood filler. Press the filler firmly into the gouge, making sure not to overfill. Allow the filler to set between 15 and 30 minutes, following the product instructions. Then, smooth the area with a sanding block until it lines up with the rest of the floor. Wipe away any dust and, if needed, apply a marker touch-up before finishing the repair.
Finishing and Aftercare for Repaired Hardwood Flooring
After you finish repairing your hardwood floor, protect your work by applying a matching stain or clear coat over the fixed spot. You can choose a water-based topcoat, which dries quickly and cleans up easily, or an oil-based finish, which gives a richer look but needs extra drying time. Let the sealant dry undisturbed for at least 24 hours (1 day) so it cures fully. Then, gently buff the area with a soft cloth to bring out its natural shine and blend the repair with the rest of the floor.
To keep your floor in top shape, do a few simple maintenance steps. Each month, use a stick polish for surface touch-ups to cover tiny scratches and keep the appearance even. If you notice any surface damage, mix a natural oil solution that matches your floor’s color to mask it effectively. Every six months, lightly buff the floor to remove dust buildup and preserve the finish. These easy steps help extend the life of your repair and keep your hardwood flooring durable and beautiful.
Preventative Measures to Minimize Future Scratches on Hardwood Flooring
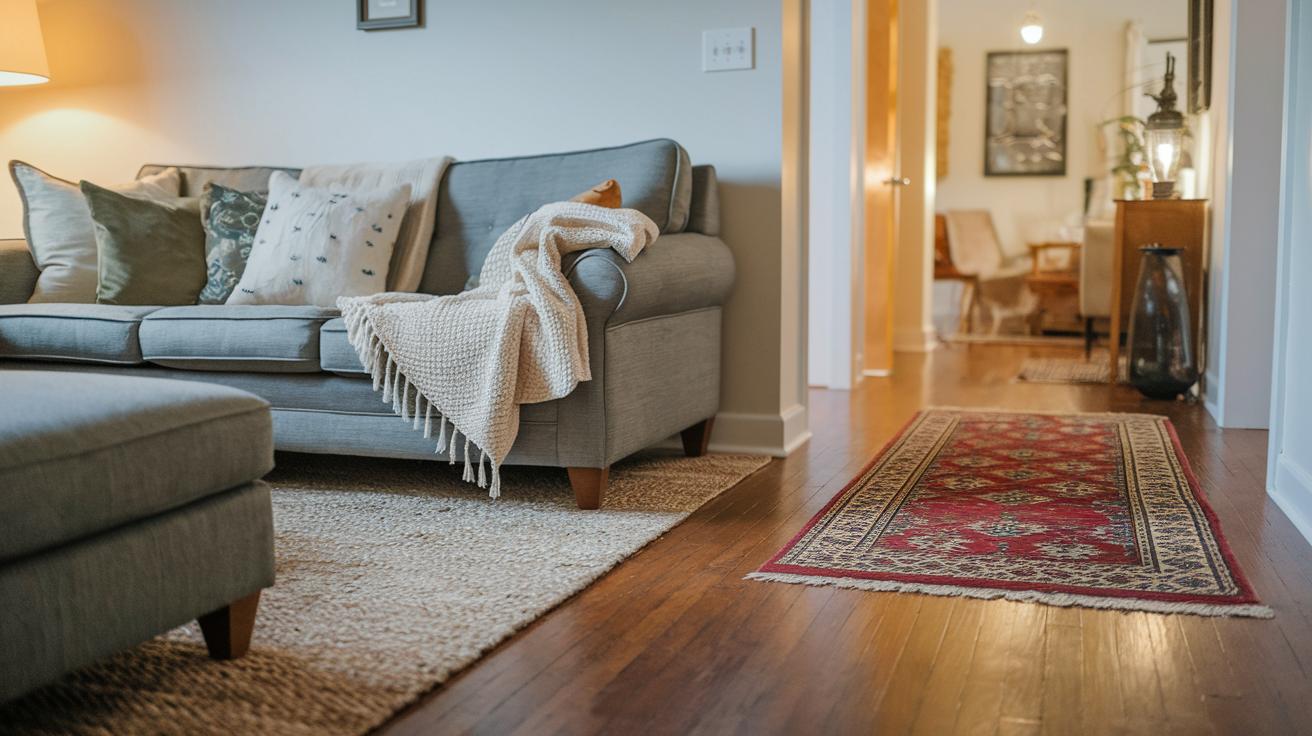
Keep your hardwood looking its best by starting with felt pads under furniture legs. These pads work like tiny shock absorbers, reducing rubbing and dents. Place area rugs in busy hallways and try a no-shoes rule indoors to cut down on dirt and grit that can scratch the finish.
Trim your pet’s nails every month to prevent accidental scratches during play. Clean your floor once a week with a dry mop or pH-neutral cleaner to remove particles that might cause abrasion. A little consistent upkeep goes a long way, think of it as a simple daily spa treatment that keeps your floor smooth and bright.
Final Words
In the action, this post walked through practical steps from inspecting scratch severity to selecting the right repair method, from gathering proper tools to finishing and maintaining your hardwood floors. We broke down various DIY repair techniques, from surface touch-ups to deep gouge fixes, all geared toward restoring your floor's beauty. Remember, applying these step-by-step guides on how to repair scratches in hardwood flooring can save time and money while keeping your project safe and efficient.
Keep the momentum and enjoy your refreshed space.
FAQ
How to fix deep scratches on wood floor without sanding
Fixing deep scratches without sanding involves using a wax repair stick or two-part wood filler. Apply the filler to the gouge, let it set, then buff with a soft cloth to blend the repair into your floor.
How to repair scratches in hardwood flooring (as seen on Reddit and elsewhere)
Repairing hardwood scratches usually starts with a careful assessment. Clean the area and use color-matched markers or filler crayons to blend and conceal scratches without heavy sanding.
How do vinegar and magic eraser affect hardwood floor scratches
Vinegar can damage your floor’s finish and a magic eraser may strip protective coatings. Instead, use products specifically designed for hardwood repair to safely touch up scratches and maintain the finish.
What does a hardwood floor scratch repair kit include
A typical repair kit includes color-matched markers, filler crayons, and wax repair sticks along with blending tools. These items help conceal scratches and restore the look of your hardwood floors.
What is the best wood floor scratch remover and repair wax
The best removers often feature quality dyes that match your floor tone. Repair wax fills in scratches and, when buffed in carefully, minimizes the marks, leaving a more uniform appearance on your floor.
How can white scratches on wood floors be fixed
White scratches usually indicate finish damage. Using a color-matched filler or repair marker can restore the tone and reduce the contrast, making the scratches less visible.
Can scratches on hardwood floors be fixed and made less noticeable
Scratches can be fixed by identifying their depth and applying the right product—marker, filler, or wax repair. Concentrate on cleaning the area, filling in the marks, and buffing gradually to blend them with the floor.
How do you get scuff marks off hardwood floors without sanding
Removing scuff marks without sanding is achievable by gently cleaning the area with a pH-neutral cleaner and buffing with a microfiber cloth. This removes marks while preserving your floor’s protective finish.