
Have you ever noticed how the right drywall tools can change your project? A well-stocked toolbox means every tool, from a sharp utility knife to a precise T-square (a tool that helps you mark and measure straight lines), becomes a trusty partner on your job site. Imagine slicing through tough drywall with ease, making neat cuts every time. In this guide, we list the essential drywall tools that help you complete your installation faster and with less hassle.
Essential Drywall Installation Tools Overview
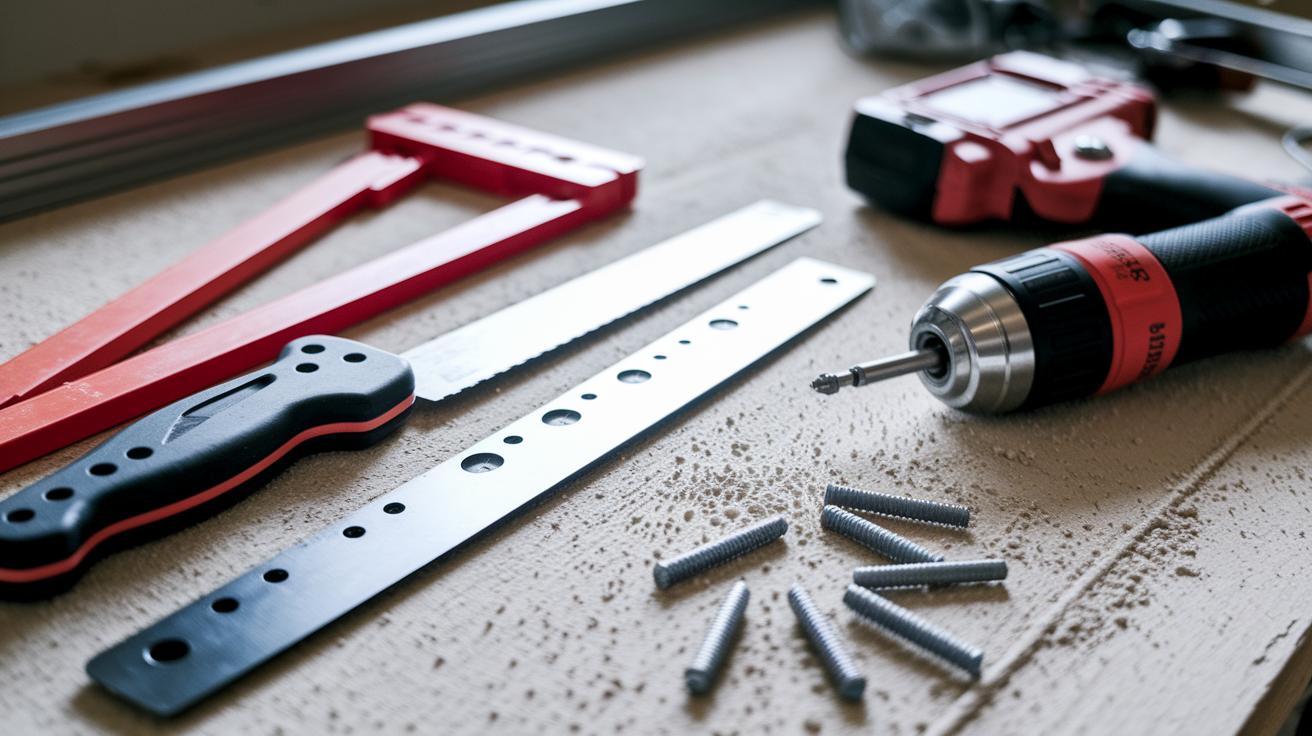
Keep your toolbox stocked with these must-have tools to keep your drywall project on track. First, grab a sharp utility knife with extra blades for scoring and cutting drywall sheets. Think of it like a chef’s knife for slicing vegetables – a dull blade can really spoil your work.
Next, you'll need a straight-cutting T-square that measures up to 4 ft (1.2 m). It acts like a guide rail, keeping your cuts straight and the panels aligned. Also important is the drywall saw for pipe outlets; it makes clean openings for electrical boxes or pipes.
An electric power drill makes quick work of driving drywall screws into wood studs. For secure attachment, drive screws at regular 12-inch intervals. Pair your drill with a range of drywall screws that bite firmly into the wood.
Drywall knives in sizes like 4, 6, and 12 inches are essential for applying and smoothing joint compound over seams. They spread the compound evenly, much like a painter’s brush evens out a stroke.
For smoothing the surface, use abrasive sandpaper sponges. These give you more control than power sanders, reducing the risk of over-sanding and damage. And always wear your safety gear, gloves, eye protection, and a respirator, to protect against dust.
Each of these tools plays a clear role in the drywall process, making it easier for both DIYers and professionals to get the job done right.
Cutting and Measuring Tools for Precise Drywall Installation
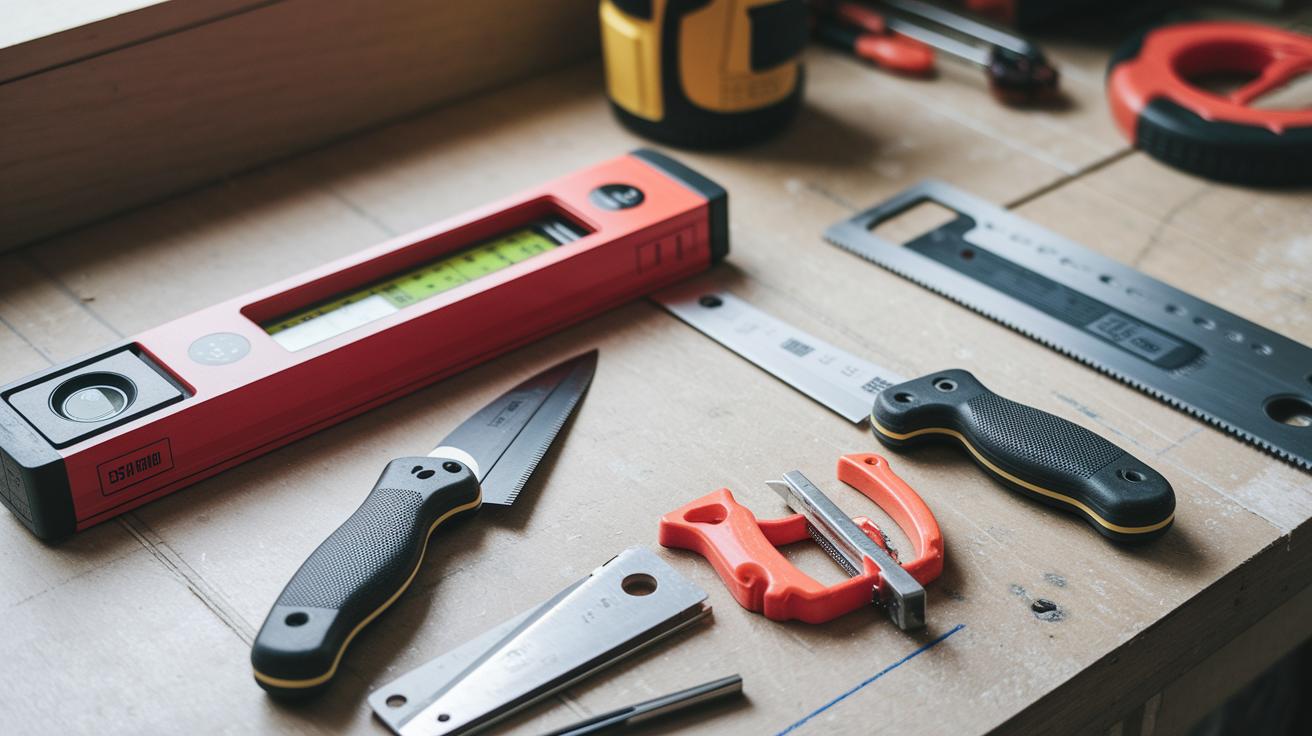
Using the right tools can make your drywall job smoother. Start with a sharp utility knife with extra blades for quick, clean cuts. Use a T-square (up to 4 ft / 1.2 m) to line up your cuts and a drywall saw for openings around fixtures.
Quality measuring tools boost accuracy further. A laser level projects a bright straight line across your work, acting like a built-in ruler to mark where every cut goes. A sturdy tape measure checks that each panel fits perfectly.
Keep your tools in good working order. Regular maintenance cuts down on mistakes and saves you from wasting materials.
Fastening and Hanging Devices for Efficient Drywall Mounting

Electric power drills are your go-to tool for securely installing drywall. Use your drill to drive drywall screws every 12 in (30.5 cm). These screws embed neatly into wood studs (vertical framing members) to keep panels firmly in place and prevent them from coming loose later.
When you're working alone or with large sheets, panel lifters or T-bar supports make the job easier. They act like an extra pair of strong arms, holding heavy panels steady and reducing back strain.
Consider these drywall mounting accessories:
- Electric power drill for steady screw driving
- Drywall screws designed for clean embedment into studs
- Panel lifters or T-bar supports to handle large panels
You can also rent professional-grade panel hoisting systems in many major cities. With the right tools, you boost your efficiency and help avoid costly mistakes. Use these tools to secure and mount drywall safely for a job well done.
Finishing and Sanding Implements for Smooth Drywall Surfaces

For bigger patch repairs, use setting-type joint compound. It dries hard and helps stop shrinkage and cracks. For example, if you're fixing a large hole, this compound works like concrete that needs time to harden before it can support weight. Stick with your regular finishing tools for seams and thin coats, and save the setting-type compound for repairs where you need extra strength.
Innovative Gadgets and Specialized Tools for Drywall Projects

Embrace modern drywall tools that help you work faster and achieve smoother results. Automatic taping tools apply a layer of compound (the smooth material used to fill gaps) in one swift pass so joints are even every time. Try this: watch the tool glide along the seam, leaving a level coat in seconds. A lightweight panel lifter jack holds heavy drywall sheets (typical sheet sizes weigh around 1/2 in or 12.7 mm thick) at ceiling height, saving you from awkward lifts and extra help.
Handheld taping devices lay down compound in a steady, consistent bead, cutting mistakes and reducing the need to rework areas. Edge finishing kits let you create clean, sharp corners that lift the overall look of your walls. These tools cut down on the manual labor of old methods and make large jobs more uniform. They work great for DIYers and pros alike, helping you complete projects faster with a professional appearance.
Test these innovative taping solutions, panel lifters, and finishing aids on your next drywall project. You’ll notice faster work and a smoother finish every time you use them.
Safety Gear and Mudding Kits for Professional-Grade Drywall Installation

Always protect yourself when working with drywall. Wear a KN95 dust mask (a high-quality face covering that filters dust), safety goggles, and sturdy gloves to keep harmful dust away from your eyes and lungs. Check out construction safety equipment guidelines for extra details.
You also need a good mudding kit to get smooth, professional joints. Use a mud mixing kit with paddle attachments to blend joint compounds evenly. This tool saves time by reducing waste. A set of mudding knives in different sizes helps you spread the compound exactly where it’s needed, filling gaps cleanly without extra touch-ups later.
When working in damp areas, choose moisture-resistant drywall panels and use the right mudding tools to lock in a lasting finish. Using proper safety gear and mudding kits not only keeps you safe, but also makes your drywall joints look professional and durable.
Final Words
In the action, we broke down every step, from measuring and cutting to fasteners and finishing techniques. The guide covered all the essential tools for drywall installation you need to handle your project safely and efficiently. Each section offered clear steps and practical advice to help you avoid common mistakes and keep costs in check. With reliable equipment and safety gear, you can confidently take on your next home project. Enjoy the process and watch your skills and home transform for the better.
FAQ
What are the essential tools needed for drywall installation?
The essential tools for drywall installation include a sharp utility knife, T-square, drywall saw, power drill, drywall screws, assorted drywall knives, sandpaper sponges, and safety gear such as goggles and dust masks to ensure safe and precise work.
What is a common mistake people make when applying mud to drywall?
A common mistake when applying drywall mud is using too much or too little compound, which can lead to uneven joints and extra sanding. Practitioners often overwork the mud, causing shrinkage and visible seams.
Is it better to nail or screw drywall?
Using screws for drywall installation is generally better than nails because screws secure the panels firmly, reduce the risk of future pops, and provide a cleaner finish that minimizes adjustments during finishing.
How many screws should you use on a 4×8 sheet of drywall?
For a 4×8 drywall sheet, it is recommended to place screws every 12 inches along the studs, ensuring even spacing along the edges and field for secure installation and minimal movement.
Which tools are most helpful for hanging drywall ceilings?
When hanging drywall ceilings, many benefit from using panel lifters or T-bar supports combined with a power drill and drywall screws, offering better control and safety while handling large panels overhead.