
Ever think a room makeover might be as simple as fitting down some planks? Installing vinyl plank flooring gives your room a fresh look without all the fuss. Its click-lock system (planks that easily lock together) and simple steps make it a great project even for beginners. Allow the planks to adjust to room temperature and check that your subfloor is flat to ensure a smooth finish. This guide explains each step clearly. Follow these practical tips to save time and money while making your home look great. Let’s get started on your fresh, modern update.
vinyl plank flooring installation Sparks Stylish Transformation

Vinyl plank flooring is a DIY project that can refresh any room with a modern look. Most forum users say this project is simple enough to tackle in one room at a time. It usually uses click-lock planks and mounted resilient boards. These methods are clear and easy, even for beginner home improvers.
Watch a few how-to videos first. They guide you step by step, starting with letting the planks adjust to room temperature and then laying the first row. A pro might share, "I learned early on that even a 6 ft (1.8 m) room needs proper acclimation to prevent expansion issues." Taking your time over several days helps keep your work precise.
Make sure your subfloor is flat within 1/8 in (3 mm) over 5 ft (1.5 m). This check guarantees that each plank locks securely, preventing gaps and future problems.
Many homeowners save money by buying materials on sale from big warehouse stores. In the sections that follow, you will find easy steps for preparing the subfloor, a list of essential tools and materials, and clear installation tips that make your project simple and cost-effective.
Preparing Your Subfloor for Vinyl Plank Flooring Installation

Start by checking your subfloor carefully. Use a long level or straightedge to see if your floor is flat within 1/8 in (3 mm) over 5 ft (1.5 m). Small dips might seem harmless but can later cause your planks to pop apart or create hollow spots. A homeowner once said, "Test the floor; even a small gap can mess up the locking mechanism."
Before you begin, look at your basement concrete for any bumps or dips. Uneven areas can trap moisture and make the vinyl stick poorly. Test for moisture with an affordable kit from most hardware stores. If the test shows moisture, add a moisture barrier or use an underlayment made for damp conditions.
Next, fix any high or low spots. Spread a self-leveling compound on low areas or sand down any high spots. Here’s a quick checklist:
| Step | Action |
|---|---|
| 1 | Check flatness with a level |
| 2 | Test for moisture using a kit |
| 3 | Apply a moisture barrier if needed |
| 4 | Level uneven spots with self-leveling compound or sanding |
Following these steps gives you a strong base for your vinyl planks. A flat and dry subfloor not only makes your floor look better but also helps avoid problems down the road.
Tools and Materials for Vinyl Plank Flooring Installation
Before you start, gather every tool and material you’ll need. This helps you work safely and efficiently without digging for items mid-project.
You’ll need both power and manual tools for clean, precise cuts and a neat installation.
Key tools:
- A manual cutter for crosscutting planks. This tool lets you score and snap planks cleanly. For example, mark your plank before cutting to ensure precision.
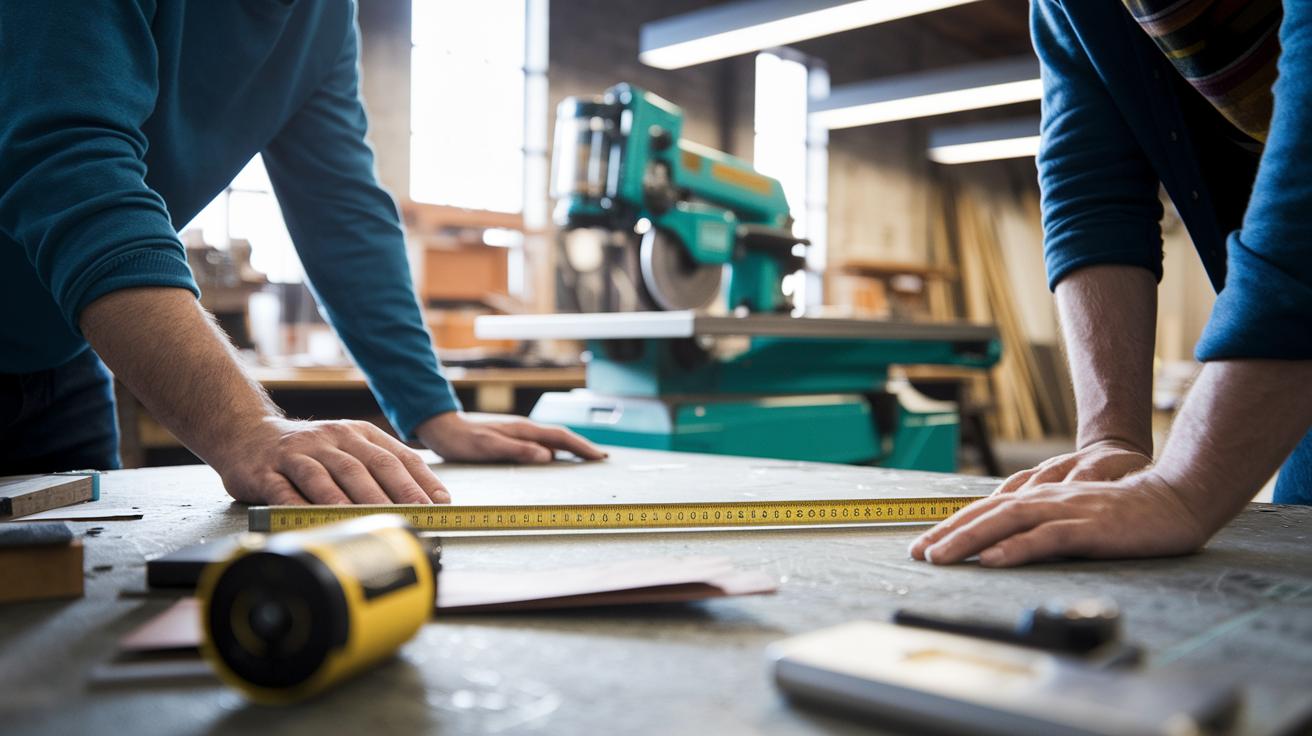
- A 10-inch bandsaw for ripping long pieces to size. Place the bandsaw close to your work area or outside if space is tight. Make sure you have clear sight lines and enough room for safe movement.
- Measuring tools like a tape measure and a chalk line. Use these for accurate layout and spacing. The rule of thumb is to measure twice and cut once.
Materials you should have:
- Underlayment to smooth surface bumps and reduce noise.
- Spacers to keep the right expansion gaps between planks.
- Adhesive for glue-down flooring types or click-lock systems that snap tightly.
- A moisture barrier and moisture test kit to check your subfloor’s health before you lay the vinyl.
| Tool/Material | Purpose |
|---|---|
| Manual cutter | For making precise crosscuts |
| 10-inch bandsaw | For ripping long pieces to the right size |
| Underlayment & spacers | To support and allow for proper expansion |
Set up your work area near where you plan to install the flooring. This helps you keep everything organized and makes the job faster and safer.
Step-by-Step Vinyl Plank Flooring Installation Techniques

-
Let the vinyl planks sit in the room for 48 hours so they warm up and adjust to the ambient temperature. This step helps avoid future expansion issues.
-
Start by marking a straight line along the longest wall to serve as your anchor row. Use a chalk line or laser level to ensure the line is true.
-
Lay the first row along your marked line. Secure the planks using your click-lock system (the interlocking method) or adhesive. Use a tapping block to gently press the planks together without causing damage.
-
Stagger the seams by at least 6 in (15 cm) from row to row. This not only gives the floor a natural look but also makes it stronger.
-
Place spacers between the planks and the wall to keep an expansion gap. This gap lets the floor move naturally and prevents buckling.
-
As you add rows, use a manual cutter for accurate crosscuts on shorter pieces. If you need to cut longer pieces, set up your 10-in (25 cm) bandsaw near the area. Always double-check your measurements before cutting.
-
Frequently tap the joints with your tapping block to ensure the planks lock together securely. Work steadily across the room until you finish all but the final row.
-
Cut the end pieces last to get the best possible fit. Review all alignments and joint connections to ensure a safe and neat finish.
Budget and timeline for vinyl plank flooring installation
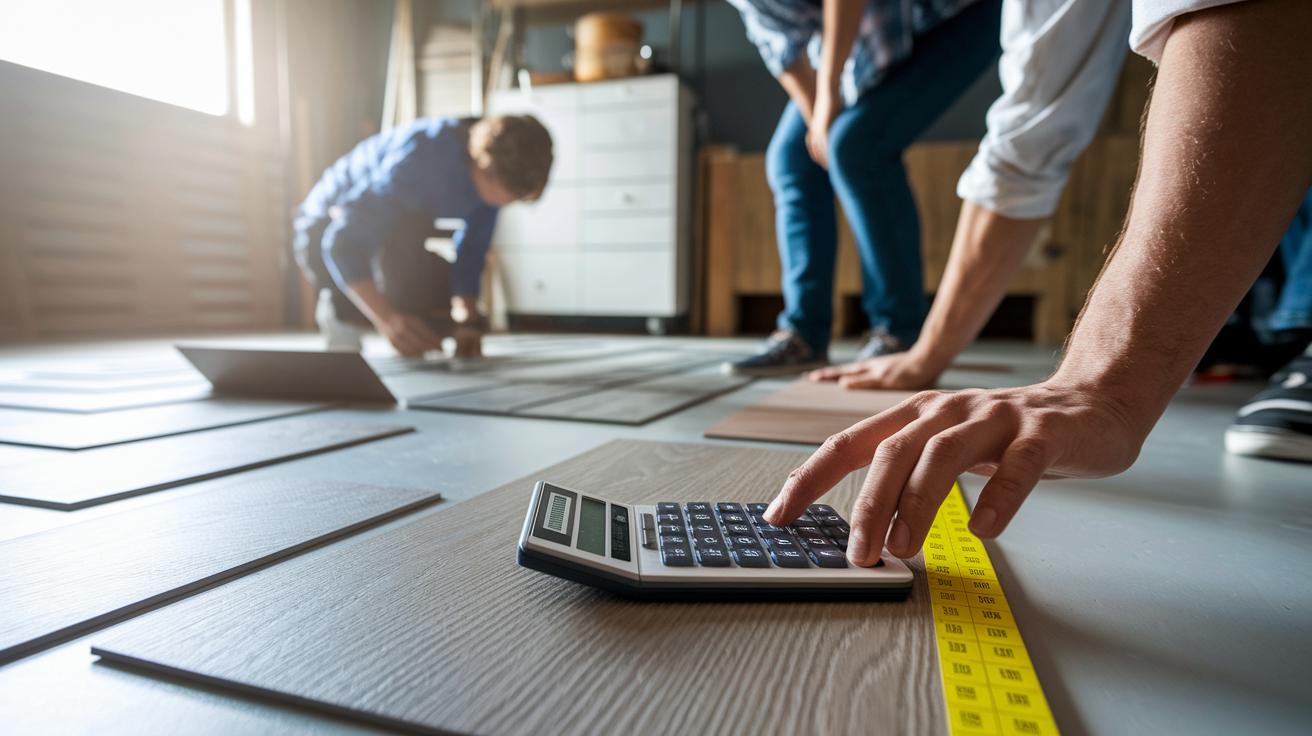
Budget planning is key for any vinyl plank flooring job. Homeowners often save 20-30% by buying materials on sale at big warehouse stores. For a 200 sq ft (18.6 m²) room, many DIYers finish the job in 2-3 days. One installer even said, "Taking your time over a weekend lets you work carefully while keeping costs low."
When deciding between DIY and hiring a pro, keep in mind that professional installers charge about $2-$5 per sq ft for labor. They usually offer a one-year labor warranty and bring over 25 years of expertise, which can speed up the project and reduce mistakes. However, this extra know-how comes with a higher price tag compared to doing it yourself.
Key points for budgeting and scheduling:
- DIY projects help you save on labor but need careful planning and patience.
- A typical 200 sq ft (18.6 m²) room takes 2-3 days if worked on methodically.
- Professional installation might add around $400-$1,000, depending on local prices.
- Remember to include extra costs for tools, underlayment, and other supplies.
For a detailed cost assessment, check the reference on cost of flooring installation. This breakdown will help you decide which method best fits your budget and schedule.
Finishing and Maintenance After Vinyl Plank Flooring Installation

Once your vinyl plank floor is installed, take time to add finishing touches and perform regular maintenance to keep it looking great. Start by checking your floor for any gaps between planks or along the walls. Fill small gaps as the manufacturer suggests. Next, attach trim and transition strips at doorways and room edges. This not only gives your floor a neat appearance but also protects it from damage. One DIYer mentioned that adding transition strips made the floor look complete and helped cushion doorways.
Keep your floor in top shape with a simple cleaning routine. Mop it gently with a damp mop and a manufacturer-approved cleaner at least once a week. Avoid soaking the floor, as too much water can cause the planks to warp or develop hollow spots. This careful cleaning method leaves the vinyl smooth and maintains its protective layer.
- Fill gaps using the recommended sealants.
- Attach trim and transition strips to secure the edges.
- Mop weekly with a damp cloth and approved cleaner.
- Place furniture pads under heavy items to prevent scratching.
Following these steps helps extend your floor’s warranty and keeps its fresh, stylish look over time.
Troubleshooting Common Vinyl Plank Flooring Installation Mistakes

Plank separation, uneven seams, gaps from off cuts, and loose planks from glue issues are common problems. First, check your subfloor. It should be level within 1/8 in (3 mm) over 5 ft (1.5 m). An uneven surface can cause gaps that affect the locking system.
Next, look at your layout. Make sure you use spacers to keep proper gaps for expansion. Without them, your seams might not line up and your floor can become unstable.
If you see gaps because of cutting mistakes, measure twice before you cut. Use a manual cutter or a 10 in (25.4 cm) bandsaw to make clean, precise cuts. For areas where the adhesive failed, spot apply extra glue and hold with clamps until the adhesive sets properly.
Review this checklist to help you get things right:
| Issue | Fix |
|---|---|
| Uneven subfloor | Level with a self-leveling compound or sand down high spots |
| Missing spacers | Install spacers to keep proper expansion gaps |
| Inaccurate cuts | Re-measure and cut carefully |
| Adhesive failure | Repair spots or reapply glue and clamp until set |
Following these steps will help you install a sturdy and long-lasting vinyl plank floor.
DIY vs Professional Vinyl Plank Flooring Installation: Pros and Cons

When planning your vinyl plank flooring project, think about your budget and schedule. If you do it yourself, you can save on labor costs and set your own pace. This means you work around your other commitments, but the process might take longer if you're still learning.
Hiring professionals, on the other hand, speeds things up. A skilled team can cover around 200 sq ft (18.6 m²) in just 1–2 days. They also offer a one-year labor warranty to cover issues like misaligned seams or faulty adhesive. This can give you extra peace of mind if you're short on time.
Key points to consider:
-
DIY advantages:
- Saves on labor costs.
- Allows you to control the schedule.
- Provides a chance to learn new skills.
-
Professional advantages:
- Faster installation for busy schedules.
- Comes with a one-year labor warranty.
- Benefits from expert troubleshooting to prevent future problems.
Your choice should depend on how much time you can invest, your budget, and how comfortable you feel handling hands-on work.
Advanced Tips and Resources for Vinyl Plank Flooring Installation

Explore step-by-step tutorials that unlock the secrets of custom layouts. Watch clear videos from trusted channels that show you how to line up interlocking planks (planks that click together for a secure fit) and arrange them in creative ways. One DIY enthusiast said, "I rearranged my living room with different angles and colors. It completely changed the space."
Visit community forums where homeowners and contractors post plenty of layout patterns. Users share photos and simple guides that break down unique configurations step by step. Check these discussions to find patterns that work best in various room shapes. For even more ideas, search for wood flooring installation patterns.
Decorators recommend picking a plank color that fits your room’s color scheme to bring the design together. They also suggest adding underfloor heating (a system that warms the floor from below) to boost comfort and protect your floor. One decorator explained, "Matching the plank color with your walls creates a unified look and underfloor heating keeps your feet warm on chilly mornings."
Mix these technical tips with creative ideas, and soon your vinyl plank floor will be both durable and a true reflection of your personal style.
Final Words
In the action of vinyl plank flooring installation, you’ve seen how proper subfloor preparation, tool selection, and step-by-step techniques come together to create a solid DIY project.
The guide showed practical budgeting, timeline management, and troubleshooting tips to keep your project on track.
With clear instructions and hands-on tips, you now have the know-how to tackle your project confidently and enjoy the results.
FAQ
Vinyl plank flooring installation cost
The vinyl plank flooring installation cost varies by product type, labor, and room size. DIY may save money, while professional installation typically runs around $2–$5 per sq ft, including materials and warranties.
Tricks to installing vinyl plank flooring
The vinyl plank flooring installation tricks include acclimating planks, checking that the subfloor is flat within 1/8 in over 5 ft, using spacers for expansion gaps, and offsetting seams for a natural look.
Sheet vinyl plank flooring installation
The sheet vinyl plank flooring installation involves laying large, continuous pieces that require precise cutting, a smooth underlayment, and thorough alignment to achieve a seamless, water-resistant surface.
Vinyl plank flooring installation video
The vinyl plank flooring installation video demonstrates step-by-step methods, covering subfloor prep, layout planning, and proper use of click-lock or glue-down techniques to guide your DIY project.
Common mistakes when installing vinyl plank flooring
The common vinyl plank flooring mistakes include uneven subfloors causing gaps, skipping spacers leading to misaligned seams, and poor adhesive use resulting in lifting. Proper prep and measurements help avoid these errors.
Installing vinyl plank flooring in a bathroom
Installing vinyl plank flooring in a bathroom requires a water-resistant product, a solid moisture barrier, and sealed edges to prevent leaks, ensuring a durable, low-maintenance surface in wet areas.
Vinyl plank flooring installation patterns
The vinyl plank flooring installation patterns refer to designing layouts like staggered seams or random placements that enhance visual interest while maintaining proper expansion gaps and a balanced look.
How to install vinyl plank flooring for beginners
The vinyl plank flooring installation for beginners starts with preparing the subfloor, accurately measuring, acclimating the planks, and following clear, step-by-step instructions backed by instructional videos.
What do you put down before vinyl plank flooring?
The vinyl plank flooring installation requires an underlayment and moisture barrier before laying the planks. These layers ensure stability and protect against moisture, promoting a long-lasting floor.
How much does it cost to install 1000 sq ft vinyl plank flooring?
The cost to install 1000 sq ft of vinyl plank flooring varies but generally falls within a range that includes about $2–$5 per sq ft for professional labor, with DIY options offering further savings.
Is it better to glue or float vinyl plank flooring?
The decision to glue or float vinyl plank flooring depends on the area. A glue-down method provides a firm bond for wet spaces, while a floating click-lock system offers easier installation and maintenance.