
Ever notice your energy bills climbing? It might be because your crawl space isn’t properly insulated. Insulation works like a warm blanket for your home, keeping the heat in and moisture away. This simple upgrade not only makes your home more comfortable but also trims wasted energy and saves you money. It also helps prevent dampness and mold, which keeps your home healthy and safe. Here, we explain how a basic crawl space upgrade can boost your home's efficiency and protect its value.
Key Advantages of Insulation Installation in Crawl Space
Insulating your crawl space stops heat from escaping through the floor and helps keep indoor temperatures steady. Think of it like wrapping your home’s undercarriage with a cozy thermal blanket that keeps you warm on a chilly day. This simple step not only makes your home more comfortable but can also lower your heating and cooling bills by up to 20%.
Insulation also acts as a barrier against ground moisture. It helps prevent mold, wood rot, and that musty smell many of us dread. Imagine it as giving your floors a raincoat that stops water damage. By controlling moisture, you protect your subfloor and improve your indoor air quality.
Plus, energy upgrades through insulation add to a more comfortable living space. Both homeowners and contractors see the benefits: lower energy use, extra safety, and a boost in overall comfort. With proper crawl space insulation, you’ll enjoy a greener home that also holds its value over time.
- Reduces heat loss
- Guards against moisture damage
- Lowers energy bills
- Enhances indoor comfort
- Extends home longevity
Selecting the Best Insulation Materials for Crawl Space Installation
Insulating your crawl space is key to lowering energy bills and keeping moisture in check. You have three main choices:
-
Fiberglass batts – These are a budget-friendly option. They are easy to trim and fit, but they can soak up water if not used with a proper ground vapor barrier. Think of it like a sponge near a puddle; cover it properly to avoid moisture issues.
-
Rigid foam boards – Materials like EPS or XPS give you about R-5 per inch and resist water well. They work great in tight spaces, fitting together like puzzle pieces, so they’re ideal when moisture is a concern.
-
Closed-cell spray foam – This option offers a high R-value of R-6 to R-7 per inch and seals gaps to block air and moisture. It does cost 30–50% more than other choices, but it acts like sealing an envelope where no air or water can slip through.
| Material | R-Value per Inch | Moisture Resistance | Estimated Cost per Sq Ft |
|---|---|---|---|
| Fiberglass Batts | ~R-3.5 to R-4 | Low unless paired with vapor barrier | $0.50 – $1.00 |
| Rigid Foam Boards (EPS/XPS) | ~R-5 | Good resistance | $1.25 – $2.00 |
| Closed-Cell Spray Foam | R-6 to R-7 | Excellent | $2.00 – $3.00 |
Choose the insulation that fits your crawl space’s needs, local climate, and budget.
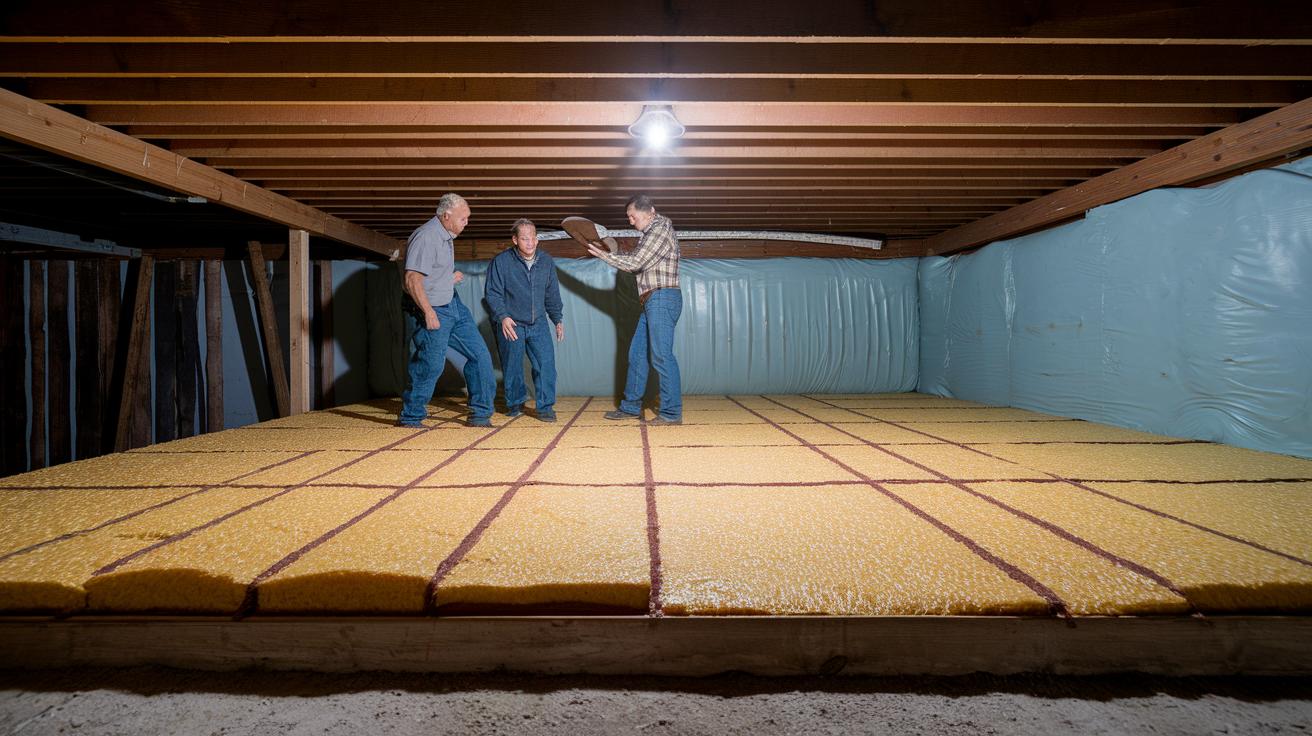
Step-by-Step Insulation Installation in Crawl Space
Preparing the Crawl Space
Start by removing old insulation, debris, and damaged materials. Check for any wood rot or pest damage and repair as needed. Clear out all remnants, sweep away loose particles, and let the area dry completely. A clean, dry surface is the best start for a successful insulation job.
Installing Subfloor Insulation
Measure the spaces between the joists or where the floor boards meet. Cut insulation batts or rigid boards to the exact size so they fit tightly against the subfloor or between the joists. Think of it like putting together a puzzle; every piece needs to lock in place to keep out drafts and moisture.
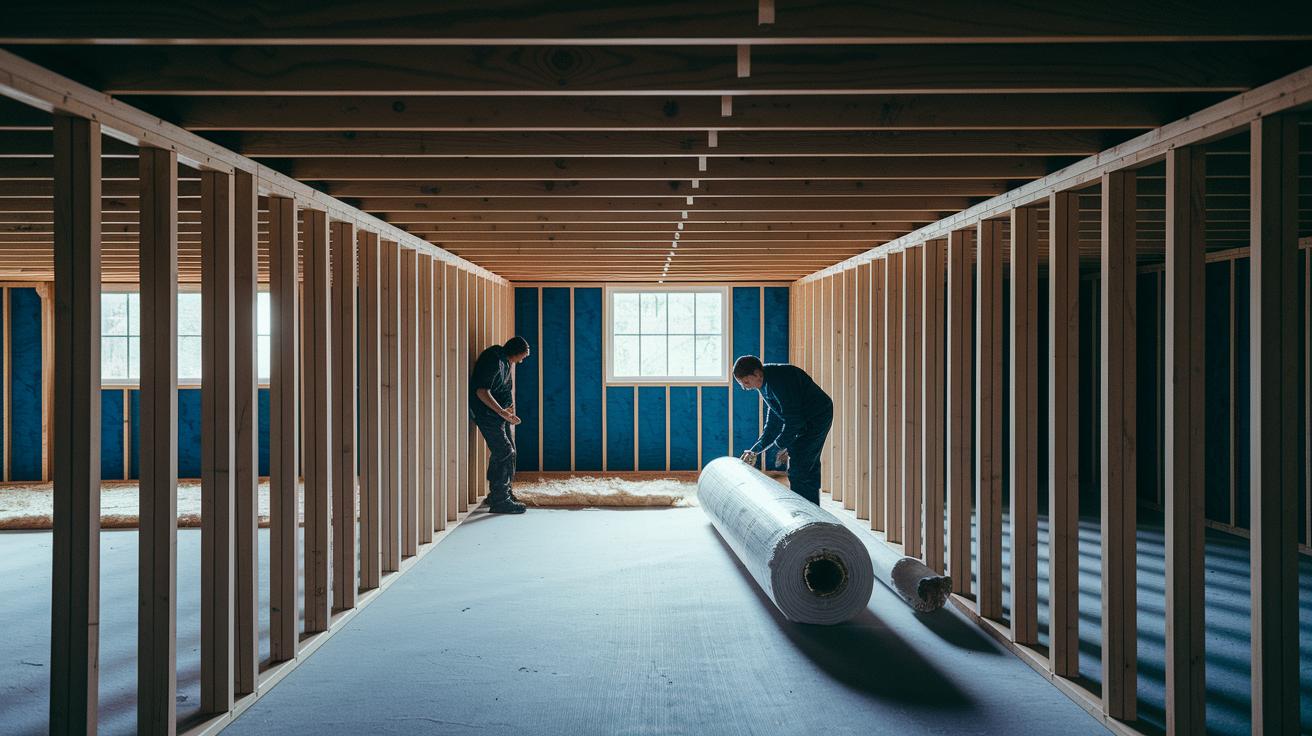
Laying the Vapor Barrier
Lay a heavy-duty 6-mil polyethylene sheet (a thick plastic sheeting) over the ground. Cut the sheet to cover the whole area and leave extra length to wrap around any pier walls or footings. Overlap each seam by at least 6 inches (15 cm) and secure the edges with tape or a sealant. It’s like wrapping a gift, every edge must be smooth and secured for full protection.
Sealing and Final Checks
Fill in all gaps around rim joists, vents, and other openings with caulk or spray foam (a foam that hardens to seal gaps). This ensures a tight, continuous barrier against air and moisture, much like locking a door to keep everything inside safe.
- Remove and dispose of old insulation and debris.
- Inspect for damage or moisture and complete necessary repairs.
- Measure, cut, and firmly install insulation between joists.
- Lay the vapor barrier ensuring a 6-inch overlap at each seam.
- Seal all gaps to create an even air and moisture barrier.
Cost Estimation for Crawl Space Insulation Installation
When you plan to insulate your crawl space, budget by the square foot. Insulation-only work usually costs from $1.00 to $3.00 per square foot. This price covers basic materials and installation. However, if your crawl space isn’t in great shape, the cost might be a bit higher. A clean, dry space with little moisture and debris generally meets the lower end of the range.
If you decide to add services like vapor barrier installation (a plastic sheet that blocks moisture), mold cleanup, or radon control, expect to pay an extra $0.50 to $1.00 per square foot. These extras help control moisture and improve air quality. They are key in wet climates or areas where moisture is a common problem.
Labor costs also matter. In busy urban areas, labor rates can be up to 25% higher compared to rural areas. Contractors in cities often charge more due to higher local costs and overhead.
When planning your budget, include the base insulation cost, any extra moisture-control services, and local labor differences. A careful look at your crawl space will help you get the final cost right and ensure you invest smartly in your home’s long-term efficiency.
DIY vs Professional Crawl Space Insulation Installation
When you decide between doing the insulation work yourself and hiring a licensed contractor, you balance saving money with avoiding mistakes that could cost more later. Many homeowners can cut labor costs by up to 40% when they install fiberglass batts and lay down polyethylene by hand. This method works best for small jobs where you are comfortable measuring, cutting, and fitting materials into tight spaces.
Going the DIY route can save you money, but it takes care and precision. If you miss sealing a gap or don’t keep the insulation even, moisture might sneak in and cause mold. For example, if you skip an overlap on your moisture barrier, damp air could get in, reducing energy savings and leading to costly repairs.
On the other hand, professional contractors bring expert know-how. They often use spray foam (a liquid insulation that expands to fill gaps) for an airtight seal, check for moisture with proper testing tools, and make sure everything meets building codes. They also usually offer warranty coverage, giving you peace of mind and long-term energy efficiency. This expertise might be worth the extra cost, especially on a large project or if your crawl space already has moisture issues.
- Check your skill level and how big the job is.
- Think about the risks of doing it wrong.
- Consider the long-term upkeep and efficiency.
Insulation installation in crawl space: Elevate Efficiency
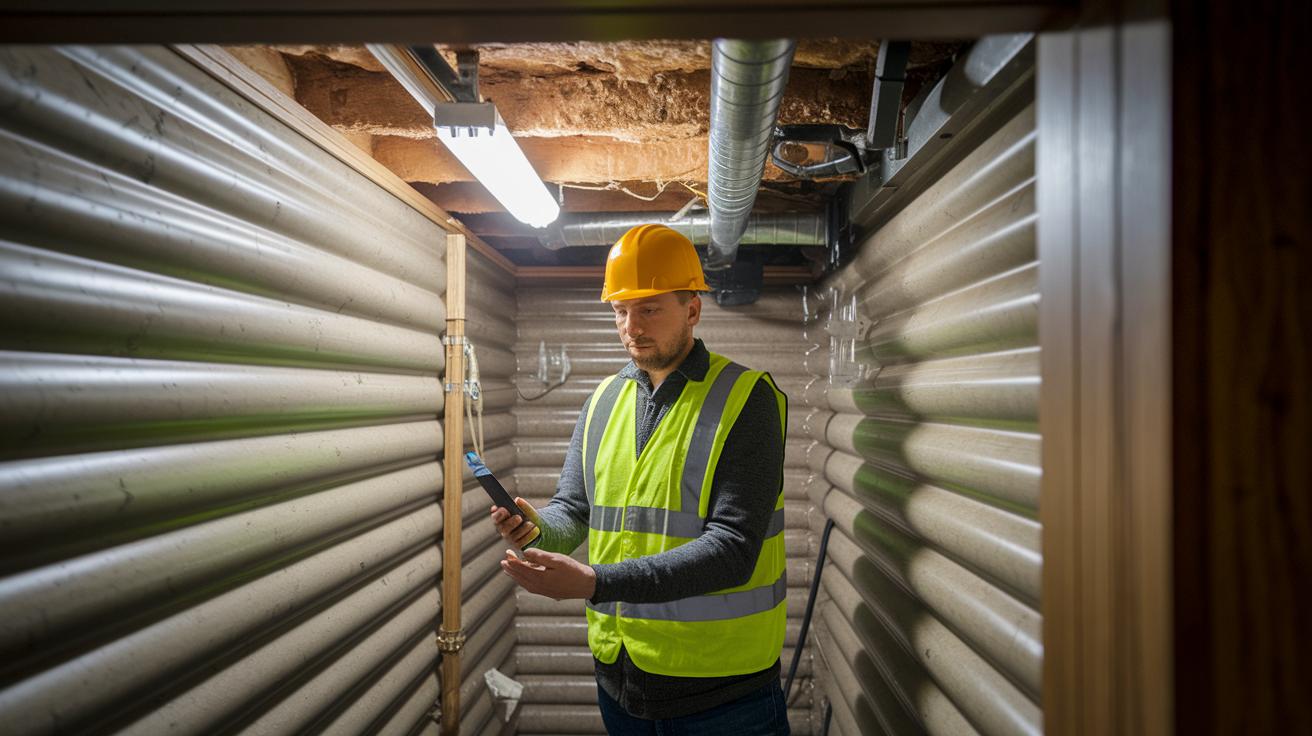
Regular moisture checks protect your insulation and prevent mold. Once a year, walk through your crawl space and inspect the vapor barrier for any tears, holes, or damp spots that may lead to mold growth. Use a humidity monitor to keep an eye on the air; if you see levels over 60% (about 60% relative humidity), run a crawl space-rated dehumidifier. Watch for water stains, plumbing leaks, or pest damage, as these issues can weaken your insulation over time.
Ensuring proper air sealing is key to a dry crawl space. Check that all seams, vents, and rim joists are tightly sealed. Over time, the caulk on your rim joists can crack or peel, allowing air and moisture to seep in. Re-tape any loose seams and review vent closures regularly. Think of it like tightening the screws on your toolbox – every bit of extra care makes your insulation more effective.
Always use safety gear when inspecting or repairing your crawl space insulation. Wear gloves to protect your hands from sharp edges and insulation fibers, an N95 respirator to avoid inhaling dust, and safety glasses to shield your eyes. Make sure you have good lighting and proper ventilation in tight spaces. These steps help keep you safe and ensure your work lasts.
Final Words
in the action, we outlined the importance of proper insulation installation in crawl space to boost energy savings and reduce moisture risks.
We broke down material options, step-by-step installation, cost considerations, and DIY versus professional choices.
Each section gave clear tips for safe, efficient work that helps maintain a comfortable home environment.
The guide wraps up with easy maintenance advice and emphasizes careful planning to avoid future headaches.
Step forward with confidence, knowing you have the practical tips to complete your project safely and cost-effectively.
FAQ
How much does it cost to install insulation in a crawl space?
Insulation installation typically costs between $1.00 and $3.00 per sq ft, with extras such as vapor barriers or mold remediation adding around $0.50–$1.00 more per sq ft, depending on local labor rates.
How should insulation be installed in a crawlspace?
Insulation is installed by cleaning the area, removing old insulation, drying the subfloor, fitting batts or boards between joists, and sealing gaps with caulk or spray foam to form a continuous barrier.
Is it code to have insulation in a crawl space?
Insulation in crawl spaces is often required by building codes for energy efficiency, but specific requirements vary by locality, so you should check with your local building department.
Why is it hard to sell a house with spray foam insulation?
Spray foam insulation can be challenging to sell because buyers might worry about improper installation, potential off-gassing issues, and difficulties in making future repairs or renovations.
What is the best insulation for a crawl space with a dirt floor?
The best option often combines rigid foam boards with an overlaid vapor barrier, which effectively blocks moisture and provides steady energy efficiency on a dirt floor.
How can I insulate a crawl space for free or using DIY methods?
DIY insulation can save money by using affordable materials like fiberglass batts and polyethylene vapor barriers; thorough research and proper safety gear are key to a successful installation.
Where can I find online resources about insulation installation in crawl spaces?
Community forums like Reddit and free PDF guides offer detailed, step-by-step instructions, user experiences, and practical tips for efficiently installing crawl space insulation.
How does an insulation installation calculator help with crawl space projects?
An insulation calculator estimates material quantities and costs by using your crawl space dimensions, helping you budget accurately and plan the project without overspending.