
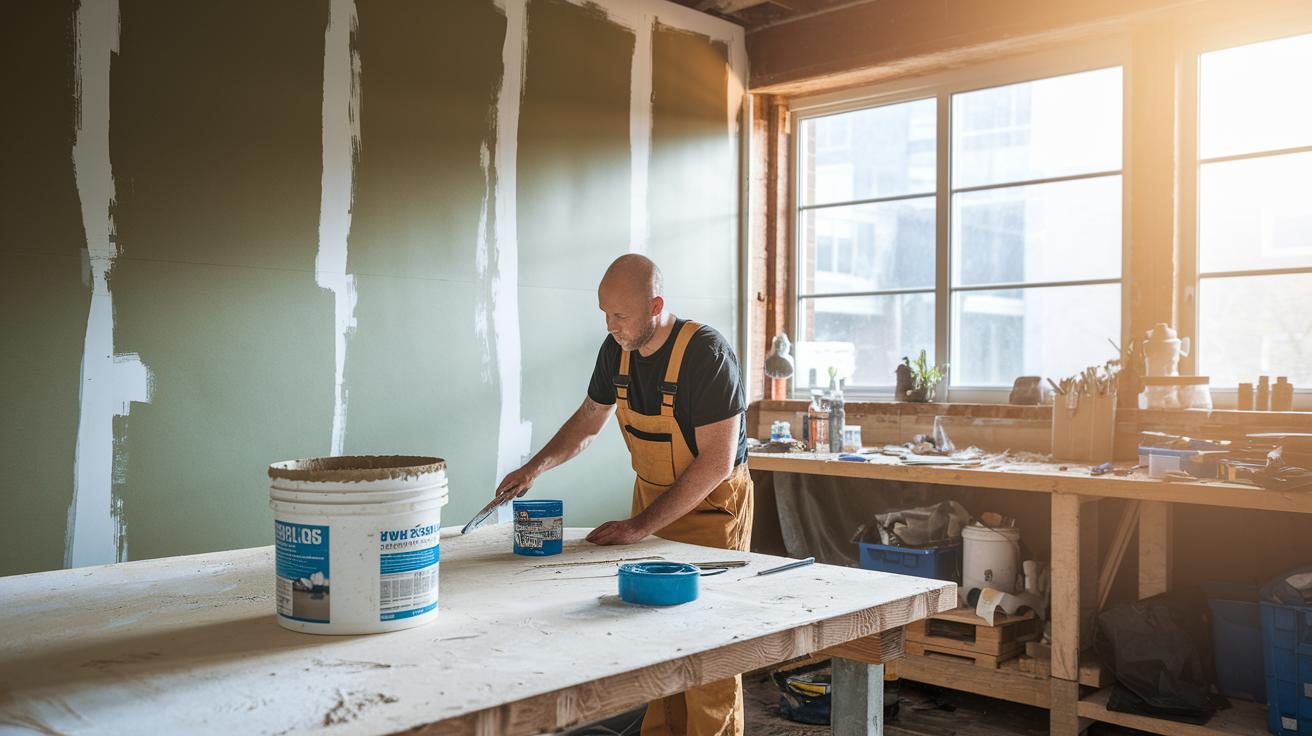
Ever notice a small tear that you wish would simply disappear? With the right tools and clear, step-by-step guidance, you can repair drywall tears quickly and effectively. This guide covers everything from minor nicks to larger damage, showing you proven methods that keep your wall smooth and strong. Follow these simple steps to firmly press the tape into place and smooth out the compound until your repair blends right in with the rest of the wall.
Proven Drywall Taping Repair Methods for Seam Restoration
For small tears under 1 ft (30 cm), start by wiping the area with a dry cloth to clear away dust and loose bits. Mix a fast-setting or pre-mixed joint compound until it is smooth and workable. Then, using a 6 in (15 cm) taping knife, spread the compound over a 4–5 in (10–13 cm) area around the tear. Press the drywall tape firmly into the compound, making sure no air bubbles remain. Allow it to dry completely, sometimes up to 72 hrs. Once dry, use 120–150 grit sandpaper to smooth the repair flush with the wall surface. Finally, paint the patched area with a matching color.
For larger damaged sections over 1 ft (30 cm), begin by scraping off any loose paint and debris with a putty knife to expose clean drywall. Remove the old tape and sand the area with 150 grit sandpaper to create a smooth base. Measure and cut new tape so it overlaps the damaged area by 1–2 in (2.5–5 cm) on each side. Next, apply joint compound at a 45° angle using a 10 in (25 cm) knife. The compound should be thick enough to cover the tape but will level out with the wall after being smoothed. Press the tape firmly into the compound, let it dry fully, and then sand the area with 100–150 grit sandpaper until it looks seamless. Finally, repaint with a matching shade for a uniform finish. For further details, follow the drywall installation steps provided at https://neull.com?p=139.
Drywall taping repair made easy
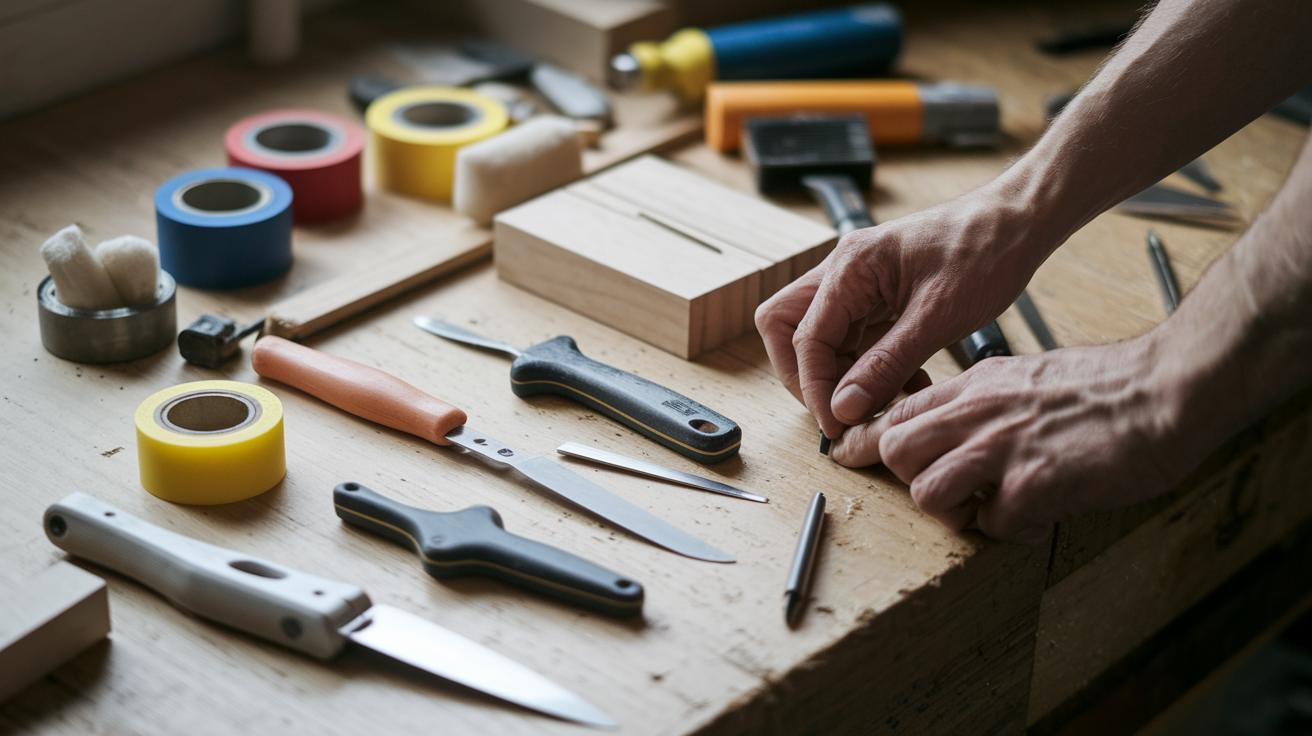
Before you start your repair, make sure you have all the right tools close at hand. Using proper materials keeps your work smooth and durable.
Here’s what you'll need:
- 6 in (15 cm) joint knife to press and embed the tape securely.
- 10 in (25 cm) knife to apply feather coats smoothly over larger areas.
- 120–150 grit sanding block or pole sander to prepare and finish surfaces.
- Putty knife to scrape away old compound, paint, or dirt.
- Fast-setting or all-purpose joint compound that mixes to a workable consistency.
- Paper tape, self-adhesive mesh tape, or fiberglass tape for reinforcing seams.
- Sanding sponge to smooth the compound gently without harming the wall.
- Bright work light to spot any bubbles or dips.
- Protective goggles and mask to keep your eyes and lungs safe during sanding.
You might also consider these specialty items to boost your repair:
| Item | Purpose |
|---|---|
| Columbia Corner Mud Roller cover | Helps apply compound evenly in tricky spots. |
| Metacaulk MC 150+ sealant | Provides extra moisture protection. |
| Akfix 812P PU cleaner | Preps the surface efficiently. |
| Akfix 960P PU adhesive | Keeps materials securely in place when extra hold is needed. |
For more details on the full tool selection, check out tools for drywall installation: https://neull.com?p=278
Step-by-Step DIY Drywall Taping Repair for Minor Tape Tears
-
Clean the area with a dry cloth to remove dust and debris. Minor tape tears are less than 1 ft (30 cm). This step helps the joint compound stick properly.
-
Stir your fast-setting or pre-mixed joint compound until it’s smooth and free of lumps. The mixture should look like a thick paste, much like icing that spreads easily over a cake.
-
Use a 6 in (15 cm) taping knife to spread the compound over an area about 4–5 in (10–13 cm) wide around the tear. Then, press the drywall tape firmly into the compound, working out any air bubbles by pressing like you would smooth a sticker onto a clean surface.
-
Let the compound dry completely according to the product instructions (up to 72 hrs). Waiting for it to dry fully ensures a smooth, bump-free repair.
-
Once dry, sand the area using 120–150 grit sandpaper or a sanding sponge until the surface is flush with the wall. Work with a bright light to check that any ridges are evened out.
-
Finally, paint over the repaired section with wall paint that matches your existing color. Use a brush or roller, and feather the edges to blend the patch seamlessly into the wall.
Complete Guide to Replacing Strips in Drywall Taping Repair

Step 1: Scrape off Paint and Debris
Use a putty knife to remove loose paint, dried joint compound, and debris until the wall is clean. This creates a smooth surface for repair. If you run into stubborn compound, lightly wet the area with water and wait about 5 minutes before scraping.
Step 2: Remove Old Tape and Sand
Peel off any old tape from the damaged section. Once it's removed, use 150 grit sandpaper to rough up the surface. If the tape crumbles or sticks, warm it gently with a hair dryer to help it come off more easily.
Step 3: Cut New Tape with Overlap
Measure the damaged area and cut a new piece of drywall tape so it extends 1–2 in (2.5–5 cm) past the damaged zone. Overlap the ends slightly to cover the entire area. For uneven spots, consider adding a bit more tape along the edges.
Step 4: Apply Compound at 45°
Take a 10 in (25 cm) joint knife and spread a generous layer of joint compound at a 45° angle over the prepared surface. The layer should be thick enough to support the new tape, yet smooth enough for finishing. Keep an eye on corners for any uneven spots.
Step 5: Embed Tape and Smooth
Press the new tape firmly into the compound using the joint knife to remove any air pockets. If you spot any bubbles, apply a small amount more compound and press it in again until the tape sits flush with the wall.
Step 6: Let Compound Cure
Allow the compound to dry completely according to the manufacturer's instructions, usually between 24 and 72 hours. In damp conditions, work in a warm, dry space or use a dehumidifier to help the compound set faster.
Step 7: Final Sanding
After the compound has fully cured, sand the area with 100–150 grit sandpaper until the surface is even and smooth. If you notice scratches along the edges, finish the sanding with a finer grit such as 220 to blend them in.
Step 8: Repaint to Match
Repaint the repaired area using a brush or roller with a matching color. Feather the edges gently into the surrounding wall to create a seamless look. If you see texture remaining after sanding, mix a bit of paint conditioner with your paint to achieve a smoother finish.
Troubleshooting Common Drywall Taping and Mudding Issues
Drywall repairs can hit a snag when common mistakes slow you down. Here’s how to fix them:
-
Bubbles under tape: Air pockets can cause bubbles. Press the tape firmly into a setting compound, much like you’d smooth a sticker onto a window. Make sure no small bubbles remain.
-
Ridges from improper feathering: Ridges can form when the compound isn’t spread thinly. Use a wider taping knife to apply a thinner second coat. Think of it like smoothing icing on a cake until it blends seamlessly.
-
Mud applied to damp drywall: Working on damp surfaces weakens the bond. Always let the drywall cure completely. Check that it’s dry before applying any joint compound.
-
Peeling tape from moisture: Moisture can cause the tape to peel. Allow the compound to dry fully. If needed, seal behind the tape with a firestop or sealant to block moisture, just like putting up a barrier.
-
Uneven surface dips: Low spots may appear after sanding. Apply a skim coat over these areas to fill in dips and restore a uniform look.
Following these simple steps helps you achieve a smooth, professional finish on your drywall repair project.
Estimating Repair Costs for Drywall Taping Repair
Before you start a drywall taping repair, it helps to know what your budget should cover, both materials and labor. The table below lists common repairs with cost estimates based on average market rates. Use these numbers as a guide and adjust them based on your local prices or any changes in material costs.
| Repair Type | Material Cost | Labor Cost |
|---|---|---|
| Minor Tear (≤1 ft / ≤0.3 m) | $10–$20 joint compound + $5 tape | 1–2 hrs @ $40–$60/hr |
| Strip Replacement | $20–$30 compound + $10 tape | 3–4 hrs @ $40–$60/hr |
| Corner Bead Repair | $15 bead + $15 compound | 2–3 hrs @ $40–$60/hr |
These figures can help you decide whether a small repair or a full strip replacement fits your budget. Think about the area that needs repair and any extra work, like sanding or adding a primer coat. Compare the cost of materials with the hourly labor charges to get a clear picture of your total expense. Use this info to decide if you can tackle the repair yourself or if it’s better to call a professional for larger or more complicated jobs.
DIY vs Professional Drywall Taping Repair: Making the Right Choice
Homeowners can fix small tape tears on their own with a few basic tools and some patience. If you have a short tear (less than 1 ft (30 cm)), start by cleaning the area. Mix the joint compound and use a 6 in (15 cm) knife to apply it evenly. Once it dries, lightly sand and paint the spot. This DIY method keeps costs down and lets you manage the repair much like using a touch-up kit on a small chip in your car.
For longer seams, spots damaged by moisture, or textured ceiling areas, it may be best to hire a professional. Pros typically charge about $1.50 to $3.00 per linear foot. They have the specialized tools and techniques to get a smooth, paint-ready finish while reducing mold risks. More complex fixes take extra time and skill that most DIYers might not have.
- DIY tip: Handle minor repairs yourself to save money.
- Pro tip: For large or damp repairs, call in a specialist.
Think about the size of the repair, how much it will cost, and the time you have available before you decide which approach works best for you.
Advanced Drywall Taping Repair: Seam Reinforcement and Corner Beads
Tough repairs need more than basic taping. Start by setting a metal or vinyl corner bead in place with a setting compound. This edge is like a firm window frame that sharpens and secures your corner.
Next, put fiberglass mesh tape in high-stress spots. This tape acts like extra support beams along joints that see lots of impacts, helping prevent future splits.
For curved transitions, use a PU-based adhesive. This glue works well on rounded surfaces when regular compounds might not stick properly. It holds curves securely, much like a custom-fit seal.
Before you spread joint compound over butt joints, lay down a seam reinforcement mesh. This hidden layer ties the repair together and boosts overall strength, giving you a finish that’s both neat and durable.
Aftercare and Inspection in Drywall Taping Repair
Once you finish taping and mudding, shine a bright work light on the repair. This helps you spot any small dips or ridges you might have missed. If you see any flaws, apply a thin skim coat. Spread it lightly, almost like you’re smoothing frosting on a cake.
Next, blend the joints with a coat of PVA primer. Feather the primer into the surrounding wall to soften the transition and hide the repair line. This gives your wall a consistent look.
Finally, clean your tools right away. Rinse off any compound or residue so your blades stay sharp and your equipment is ready for the next job.
Final Words
In the action, we covered clear methods for fixing wall seams, from quick fixes for small tears to full strip replacements. We broke down each step, listed essential tools, and offered troubleshooting tips to tackle common issues. The guide also weighed cost factors and eventually discussed when calling in a pro might make sense.
By following these steps and safety checks, mastering drywall taping repair will boost your skills and build your confidence for future projects.
FAQ
Best drywall taping repair
The best drywall taping repair uses a clear, step-by-step method. It starts with cleaning the area, applying joint compound over embedded tape, allowing full drying, sanding smooth, and then repainting for a seamless finish.
Drywall Repair Kit
A drywall repair kit gives you essential items like joint compound, tape, patch materials, and mesh. This kit simplifies the process by bundling supplies for quick, effective repairs.
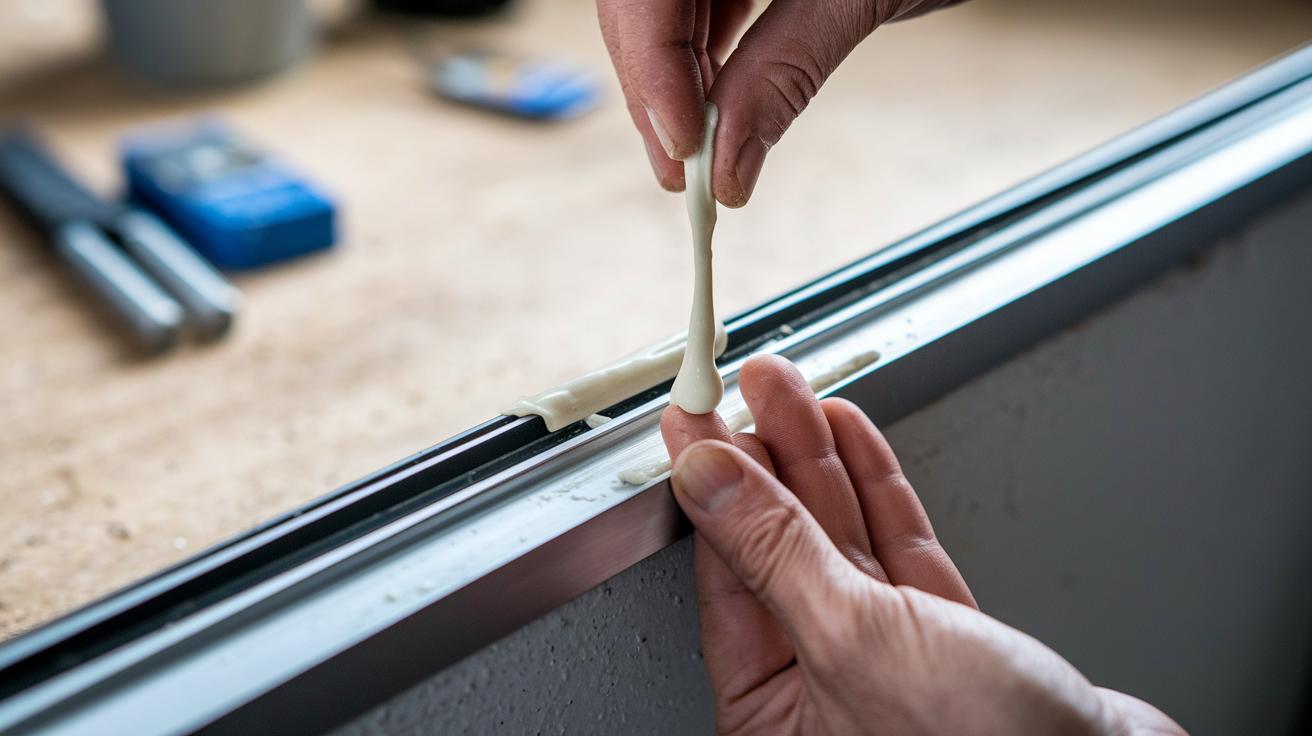
Quick fix for loose drywall tape
A quick fix for loose drywall tape means re-securing the tape with fresh joint compound. Press the tape firmly, smooth it out, let it dry properly, and then sand lightly to blend with the wall.
Drywall repair steps
Drywall repair steps include cleaning the damaged area, mixing and applying joint compound with embedded tape, letting it dry completely, sanding for a flush finish, and finally painting to match the wall.
Drywall repair tips
Drywall repair tips suggest working on a dry surface, using the correct sanding grit, following compound drying times strictly, and feathering paint edges so repairs blend seamlessly with surrounding areas.
How to fix a hole in drywall bigger than 6 inches
Fixing a hole bigger than 6 inches usually requires cutting a patch, inserting mesh or backing support, applying joint compound over the patch with tape, and sanding after full drying for a neat finish.
How to patch a large hole in drywall with mesh
To patch a large hole with mesh, clean the damaged area and apply a layer of joint compound, then secure the mesh over the hole, embed it well with compound, let it dry, and finally sand smooth.
Drywall repair video
A drywall repair video shows each step from cleaning to painting. It visually explains methods for small tears and large patches, providing a handy guide for both beginners and experienced DIYers.
Should you tape drywall repair?
Taping drywall repair adds strength by bridging gaps and stabilizing the joint compound. It helps prevent cracks and ensures a flush, durable finish when applied correctly.
How to repair ripped drywall tape?
Repairing ripped drywall tape means removing the damaged pieces, reapplying a fresh strip of tape, and smoothing it with joint compound. This method restores the wall’s integrity without extra complications.
Do you mud before or after tape?
Mudding comes after applying tape, as it involves embedding the tape in a layer of joint compound. A second, thinner coat follows to even out and blend the repair into the wall.
What are common drywall taping mistakes?
Common drywall taping mistakes include leaving air pockets, applying compound too thickly or unevenly, and insufficient sanding. These issues can lead to visible ridges or cracks that require extra fixes.