

Have you ever wished finishing drywall was as easy as playing your favorite tune? Using a banjo taping tool turns a long, tedious task into a quick, steady process. This tool lets you apply tape and joint compound at the same time, saving you both time and material. Whether you are a beginner or a seasoned pro, this method helps you work faster and keep costs down. Keep reading to see how this simple setup makes smooth, even joints easy and removes all the guesswork from your project.
How Taping Drywall with a Banjo Works: Quick Setup and Key Benefits
The drywall banjo is a semi-automatic tool that makes taping drywall joints easier. It has a spinning wheel with three prongs that grip the tape roll securely. You simply slide the prongs into a pre-made hole in the tape for a quick and steady setup. This tool cuts down on repetitive manual work by holding your tape in place perfectly.
Compared to traditional hand-taping, the banjo speeds up your work and shortens the learning curve. Manual taping often requires several passes and a steady hand, but the banjo lays down both tape and joint compound in one smooth motion. It works well for everyone, whether you’re just learning or are a seasoned pro. Other tools like the drywall bazooka may offer more automation, but they come with higher costs and are bulkier. The banjo gives you fast, consistent results with a simple setup while keeping your tape placement even on both corners and flat surfaces.
Using the banjo means real time and cost savings on the job site. Its user-friendly design reduces mistakes and cuts down on wasted materials and rework time. This makes the banjo a smart choice for large drywall projects, helping you get the job done faster and more affordably.
Best Tape and Compound Choices for Banjo Drywall Taping
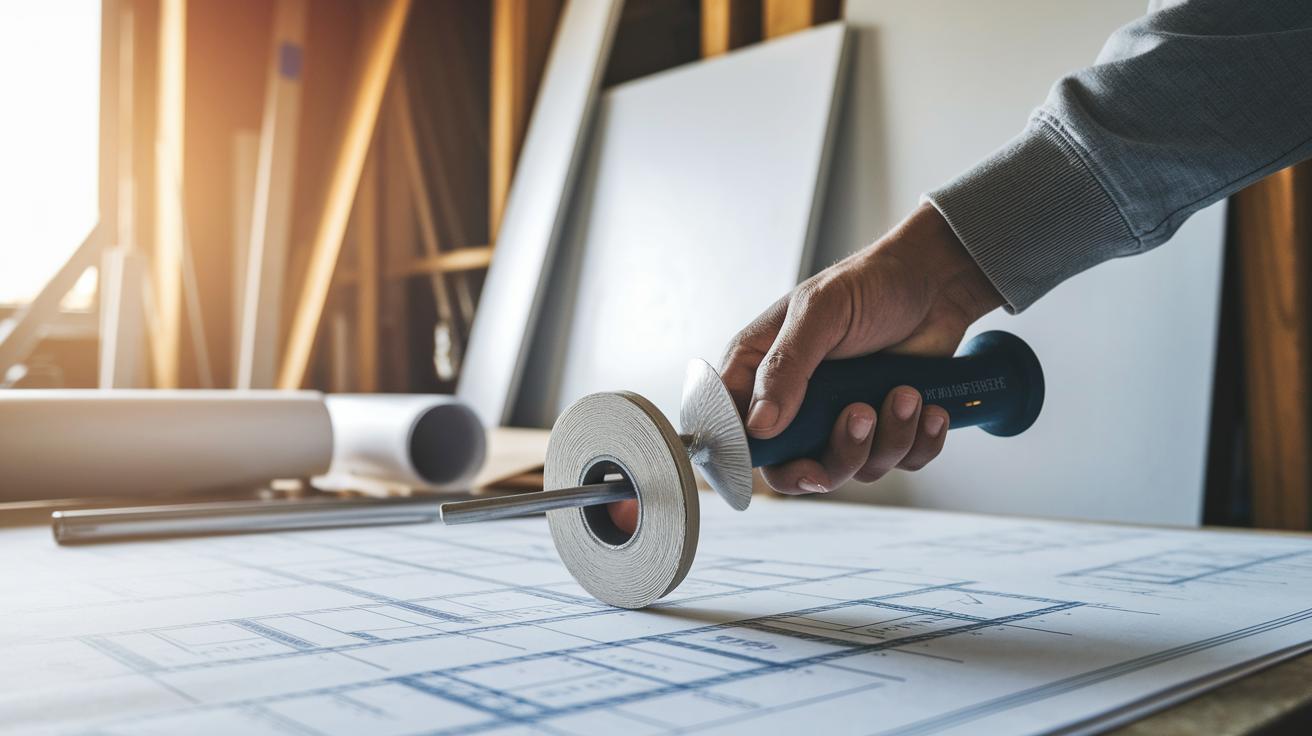
When you pick your tape for banjo drywall taping, you can choose between standard paper tape and fiberglass mesh tape. Fiberglass mesh tape comes with a sticky side that makes it easier for beginners to work with the banjo tool, and it helps cut down on extra layers of joint compound. The banjo tool works well with all kinds of drywall, whether it’s white board, green board, blue board, paperless, purple, Type X (fire-rated), or soundproof. Keeping your tape options simple leads to a neat and even finish.
For joint compounds, you can choose an all-purpose lightweight mix, a topping compound, quick-setting options like hot mud or Durabond, or even pre-mixed types. Using one type of compound throughout the project gives the banjo a smooth flow and a uniform finish. Stick with a single formula when mixing so you don’t have to adjust mid-project, which helps prevent the tool from clogging and makes sure you apply a smooth layer of 1/8 in (3 mm) every time. For a list of essential tools and materials for banjo taping, check out the "tools for drywall installation" resource.
Preparing Drywall Joints before Banjo Taping
Getting your drywall joints ready is a must when using the banjo tool. Fill each joint with a fast-setting (quick-drying) compound that packs the area tight. This gives you a level base and cuts down on bumps and uneven mud when you tape.
- Fill the gaps: Pack a setting-type joint compound completely into all joints.
- Clean up: Once the compound hardens, remove any extra material so the surface is even.
- Smooth out lumps: Run a taping knife over the area to scrape away dried clumps, ensuring a smooth finish.
Following these steps creates a clean seam and lets the banjo tool apply a consistent 1/8 in (3 mm) mud layer. With well-prepped joints, the tool lays the mud evenly and reduces extra passes later on. For more detailed tips on joint preparation, check out the drywall installation steps at https://neull.com?p=139.
Step-by-Step Taping Drywall with a Banjo
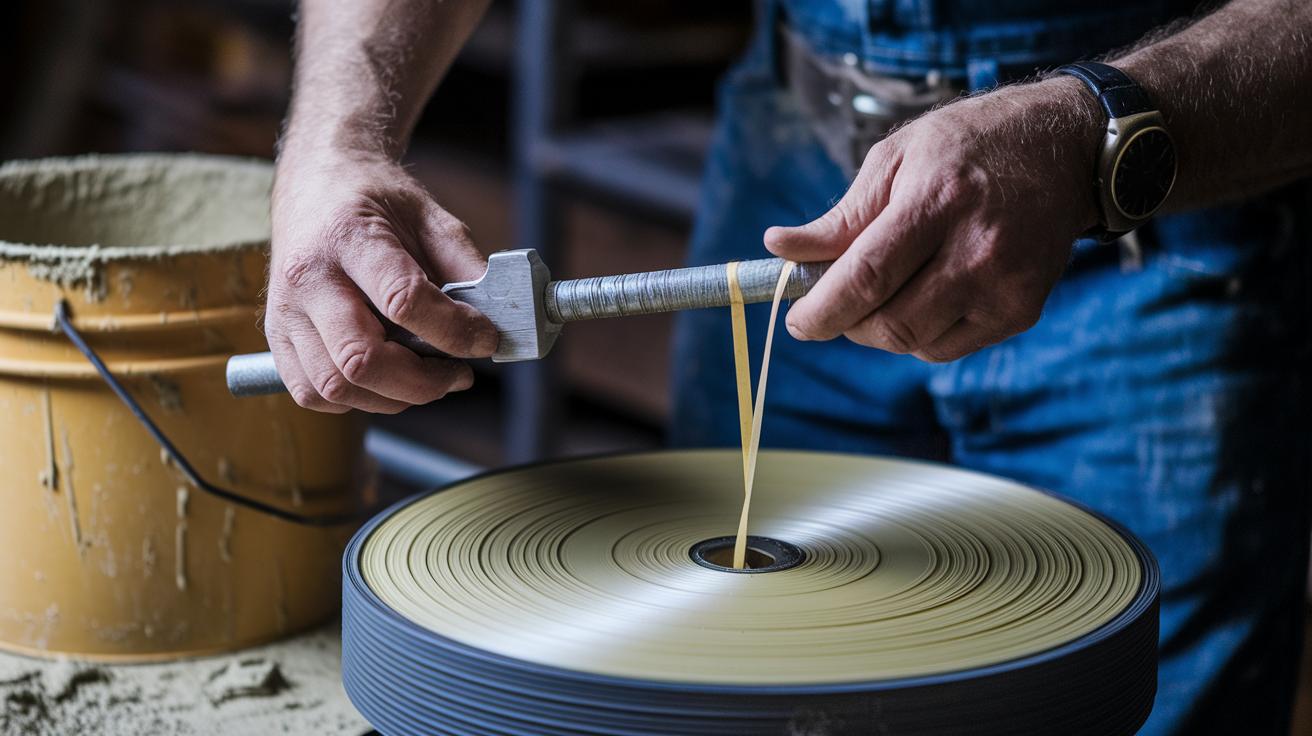
Step 1: Thin the joint compound
- Mix four cups of water with each pail of lightweight all-purpose mud (joint compound) until it flows like a light batter.
- Use a sponge if the mud feels too thick.
- Make sure the mud runs easily through a small opening before you move on.
Step 2: Install and thread the tape
- Place the tape roll on the banjo’s spinning wheel (this wheel has three prongs).
- Insert each prong into the pre-cut hole on the tape roll to secure it.
- Thread the tape through the chamber so that the mud will coat it evenly when applied.
Step 3: Load the banjo and adjust flow
- Pour the thinned mud carefully into the banjo’s chamber.
- Turn the flow knob until you see a consistent 1/8 in (3 mm) layer of mud ready for use.
- Check that the mud flows smoothly with no air pockets or clogs.
Step 4: Apply tape and mud
- Slip your hand through the built-in strap to steady the tool.
- Align the tape with the drywall joint and pull the banjo steadily along the seam.
- Use your free hand to smooth the tape and spread the mud evenly.
Step 5: Cut and inspect the tape
- When you reach the end of a seam, press the built-in cutter to trim the tape cleanly.
- Check that the mud is spread uniformly along the tape.
- Smooth or reapply mud as needed to get a perfect finish.
Common Banjo Taping Mistakes and Prevention
A good technique is vital when using a banjo tool. Small mistakes can waste materials and force extra work. Keep your steps simple and check each one to avoid common errors.
-
Mud that's too thick won’t flow well and gives an uneven finish.
Tip: Thin your lightweight all-purpose mix by adding about 4 cups (0.95 L) of water per pail until it’s a bit thinner than a typical hand-taping mix. -
Skipping the thinning step can clog the tool.
Tip: Test a small batch first to be sure it flows smoothly before you fill the tool. -
Dried lumps in the mix cause bumps along the tape.
Tip: Run a taping knife over the joints after filling gaps to remove any hardened material. -
Not adjusting the flow knob may put down too much mud.
Tip: Check the knob often to maintain a steady layer of about 1/8 in (3 mm) on the tape. -
Tape that isn’t lined up correctly results in wrinkles and gaps.
Tip: Secure the tool with its built-in strap and line up the tape carefully along the joint. -
Beginners sometimes apply too much mud in corners.
Tip: Use fiberglass mesh tape, which has a self-adhesive side to help keep the tape in place, especially in tight corners.
Troubleshooting Banjo Taping: Flow, Viscosity, and Handling
This section shares extra tips for banjo taping issues that you might not see in the common mistakes list. Use these steps to fix less frequent problems when applying the mud.
-
Check the nozzle for blockages. If the mud flow comes out in fits, look for dried material and remove it. For example, if you see a rough spot on the nozzle, wipe it with a damp cloth to bring back a smooth flow.
-
Clean the tape guide inside the tool. If you see air bubbles or an uneven mud layer even when everything is lined up right, debris in the guide could be the culprit. Try running a small brush through the channel to clear out any buildup.
-
Test the release mechanism. If switching tape rolls makes the tool feel slow, make sure the release lever moves freely. A quick, smooth snap of the lever should let the tape roll switch like turning a garden hose nozzle.
-
Adjust your pressure as you apply the mud. Even if the mud is mixed correctly and the tool is set up right, too much pressure can cause binding. Use a light, steady touch to lay down a smooth, even layer, similar to easing a paint roller over a surface.
Comparing the Banjo to Other Drywall Taping Tools
When you compare the banjo tool with other taping options for drywall, each one has its own benefits and challenges. The banjo applies tape and joint compound at once in one smooth move. This cuts down on extra passes and does not need advanced skills. Bazooka tools automate much of the work, but they cost more and are bulkier. They may not work well in every space. Hand-taping means you apply tape and mud in several steps by hand. It takes more time, care, and skill to get a smooth finish. Overall, the banjo tool offers a good mix of low cost, ease of use, and steady results in one pass.
| Method | Setup Time | Cost | Learning Curve | Speed |
|---|---|---|---|---|
| Banjo | Quick | Moderate | Low | Fast |
| Bazooka | Moderate | High | Medium | Fast |
| Hand-Taping | Slow | Low | High | Slow |
Pick the tool that fits your job and budget to get a smooth and dependable finish.
Final Words
In the action, this post shows how the banjo tool speeds up drywall work. We walked you through the setup, highlighted design features, and broke down step-by-step techniques to mix compounds and apply tape smoothly.
Each part of the guide builds practical skills while saving time and money. Mastering tip applications prevents errors and boosts confidence on site. With these insights, taping drywall with a banjo becomes a smart, efficient choice for your home projects.
FAQ
What does taping drywall with a banjo tool for corners involve?
Taping drywall corners with a banjo means using a tool that holds tape with a spinning three-pronged wheel. This approach speeds up corner finishing and minimizes uneven taping, making your job quicker and cleaner.
How do you use a banjo tool for taping drywall?
Using a banjo for drywall taping involves preparing your joints, installing the tape roll on the prongs, loading thinned compound, and steadily pulling the tool along the joint for smooth, even application.
What is a drywall banjo and how does it work?
A drywall banjo is a semi-automatic taping tool that combines tape and mud application in one pass. It uses a spinning wheel to hold tape, providing faster, consistent joint coverage compared to manual taping.
How does a drywall banjo compare to a drywall bazooka?
The drywall banjo balances affordability, ease of use, and performance. Unlike the bulkier, costlier bazooka, the banjo is easier for beginners while delivering quicker, consistent results for various drywall projects.
What can you expect from Harbor Freight’s drywall banjo models?
Drywall banjos from Harbor Freight offer budget-friendly options that deliver solid performance. They are designed to provide consistent tape and mud application for efficient drywall taping on job sites.
Which drywall banjo is considered the best?
The best drywall banjo combines reliable mud flow control, a stable spinning wheel, and ease of use for both beginners and pros. It minimizes setup time and offers an efficient approach for large-scale drywall projects.
What are the options for drywall banjos at Home Depot?
Home Depot carries several drywall banjo models known for consistent performance and user-friendly design. These tools are an accessible choice for both DIYers and professionals looking for dependable taping equipment.
Do drywall banjos work effectively?
Drywall banjos work effectively by auto-applying both tape and mud in one smooth pass, reducing the effort compared to manual methods, and providing even, consistent joint coverage every time.
Is a drywall banjo a good tool for beginners?
A drywall banjo is great for beginners since it simplifies the taping process. Its design minimizes mistakes by combining steps, which reduces the learning curve and improves project outcomes quickly.
What are common drywall taping mistakes and how can they be prevented?
Common mistakes include using mud that is too thick, misaligned tape, and skipping proper joint prep. Prevent these errors by thinning the mud correctly, aligning the tape carefully, and cleaning joints before application.