
Even a small error in stud spacing can cause big problems. A solid stud layout is key to a strong remodel. It keeps shelves steady and walls intact. This guide offers clear, simple tips so you can hang heavy items and attach fixtures safely. Accurate measurements save you time and avoid costly fixes later. Every stud matters when you build a beautiful, durable space.
Key Stud Layout Principles for Remodeling Interior Walls
A good stud layout is the backbone of safe, sturdy remodels. Standard stud spacing is 16 in (40.6 cm) on center. This means the middle of one stud is 16 inches away from the next. It helps drywall and panel systems fit well and keeps the wall strong. Think of it like setting the stage for a flawless finish. If you try to hang a heavy shelf on a wall that wasn't framed correctly, it can wobble and eventually fail.
Using a 16 in (40.6 cm) spacing meets most building codes. In some areas like basements, garages, or energy-efficient projects, you might see 24 in (61 cm) spacing. In those cases, check the load paths and adjust your anchors as needed. Planning your stud placement early saves time and avoids the need for expensive rework. A precise layout lets insulation, fixtures, and finishes fit nicely without throwing off the wall’s alignment.
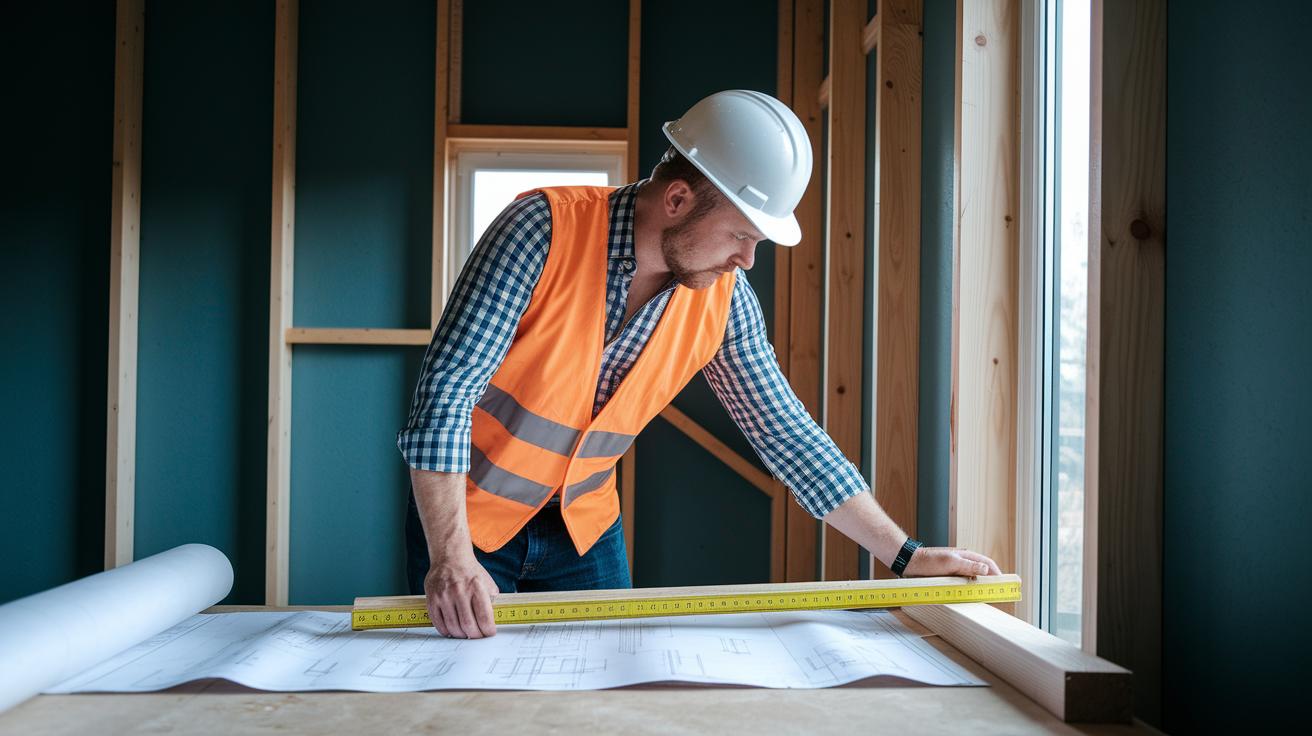
For more details about core framing and wall layout, see the wall framing basics guide at https://neull.com?p=130. Before you nail anything, mark your measurements exactly on the floor and ceiling plates. This way you can add electrical boxes or adjust plumbing later without any surprises.
Remember, even a small shift in stud spacing can change the whole structure. Always double-check each measurement and make sure your stud layout will support every element of the finished wall before you start installing.
Mastering Stud Spacing Techniques in Wall Remodels
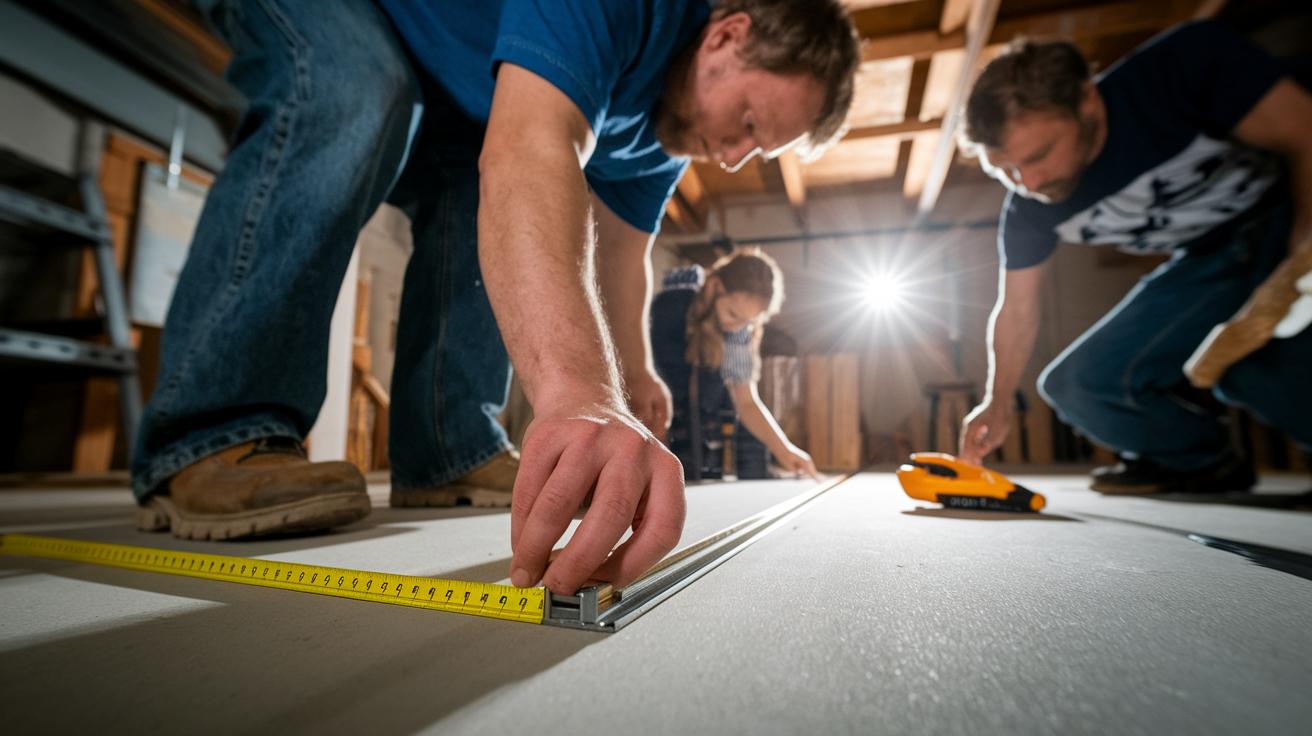
When remodeling a wall in a garage or older home with either 16 in (40.6 cm) or 24 in (61 cm) stud spacing, follow these clear steps to check your stud placement and keep your project safe.
-
Measure and mark your reference lines on the floor and ceiling plates.
- For example, set your tape measure to 16 in (40.6 cm) and mark that spot on both the bottom and top plates to outline your stud line.
-
Use a magnetic stud finder to locate existing studs and verify your layout.
- Run the stud finder along the plate, mark the clear spots where studs are found, and use these marks to guide your work.
-
Check for even spacing by running a level along your chalk line.
- Place the level on your marked line; if the bubble is off-center, remeasure and mark again until the line is true.
Following these steps will help ensure your wall frame securely supports doors, windows, and electrical boxes while maintaining proper structural integrity.
Step-by-Step Stud Placement Workflow for Interior Walls
-
Remove or reposition any existing studs. If you need to move a stud, carefully cut the nails and add temporary braces to the nearby studs. This keeps the frame secure while you work. For example, after loosening a stud, brace the adjacent ones with a temporary cleat until you finish repositioning.
-
Mark your layout on the sole (bottom) and top plates. Snap chalk lines at 16 in (40.6 cm) intervals and check each line with a level to ensure it’s straight. For example, mark a chalk line on the top plate with a 16 in (40.6 cm) gap and verify with a level.
-
Start by placing the end and corner studs first. Measure accurately from the plate edges, then add jack studs (support members next to openings) and king studs (full-length studs bordering openings) around doors or windows.
-
Adjust the stud placement with a few tips. Reposition studs if necessary, use temporary bracing when making changes, and install blocking between studs every 48 in (122 cm) or as required by your local code for extra lateral support.
-
Check that each stud is plumb and level. Use a level to confirm the stud is straight and that all placements are square.
-
Secure the studs using the proper nail pattern. For load-bearing walls, drive two 3 in (76 mm) nails at both the sole and top plates. Stagger the nails on each side for a stronger hold. For example, nail one close to the edge and another about 2 in (5.1 cm) in from it to create a staggered pattern.
Ensuring Code Compliance and Structural Integrity in Stud Layout
Local building codes call for using the right stud size and nail length to build safe interior walls. For non-load-bearing walls, you might use a 2×4 (actual 1.5 in x 3.5 in / 38 mm x 89 mm) while load-bearing walls often require a 2×6 (actual 1.5 in x 5.5 in / 38 mm x 140 mm). Make sure the stud spacing stays within ±1/8 in (±0.32 cm) to meet code.
For load-bearing walls, double or triple the studs at key support points. This extra support helps carry heavy loads from door headers or fixtures when you use manufacturer-rated fasteners. Install horizontal blocking at mid-height in hidden spaces to slow any fire spread and cut drafts. Before you wrap up the frame, check every stud for the right species, grade marks, and properly secured hardware.
A quick checklist helps verify compliance:
| Inspection Item | Requirement |
|---|---|
| Stud Size | Use 2×4 or 2×6 as per local codes |
| Spacing Tolerance | Maintain within ±1/8 in (±0.32 cm) |
| Hardware | Use manufacturer-rated fasteners |
Review these points carefully to follow local framing codes and ensure a safe, solid remodel.
Integrating Electrical and Plumbing in Your Stud Layout Plan
Plan your stud layout with your electrical boxes and plumbing lines in mind from the very start. Begin by marking where your 2×4 (actual 1.5 in x 3.5 in / 38 mm x 89 mm) or 2×6 boxes will be placed. For example, choose a spot for an electrical box so it fits neatly within the stud bay. This avoids cutting into the middle of the stud, which could weaken your wall.
Reserve some stud bays specifically for plumbing chases and duct runs. When preparing for pipes or wiring, consider installing engineered metal stud headers (metal supports added for extra strength) if you plan to create hollows. Make sure to mark every mechanical, electrical, and plumbing (MEP) detail on your framing plan before cutting or drilling.
When you bore holes in a stud, keep the hole size under 40% of the stud’s width. For a stud that is 3.5 in (89 mm) wide, drill a small, centered hole and add a steel plate for extra protection around any hidden wiring. This helps preserve the stud’s structural strength.
Always cross-check your measurements with your overall design plan. This careful coordination keeps your interior framing clear, safe, and ready for the final installation.
Advanced Framing Strategies for Complex Interior Wall Configurations
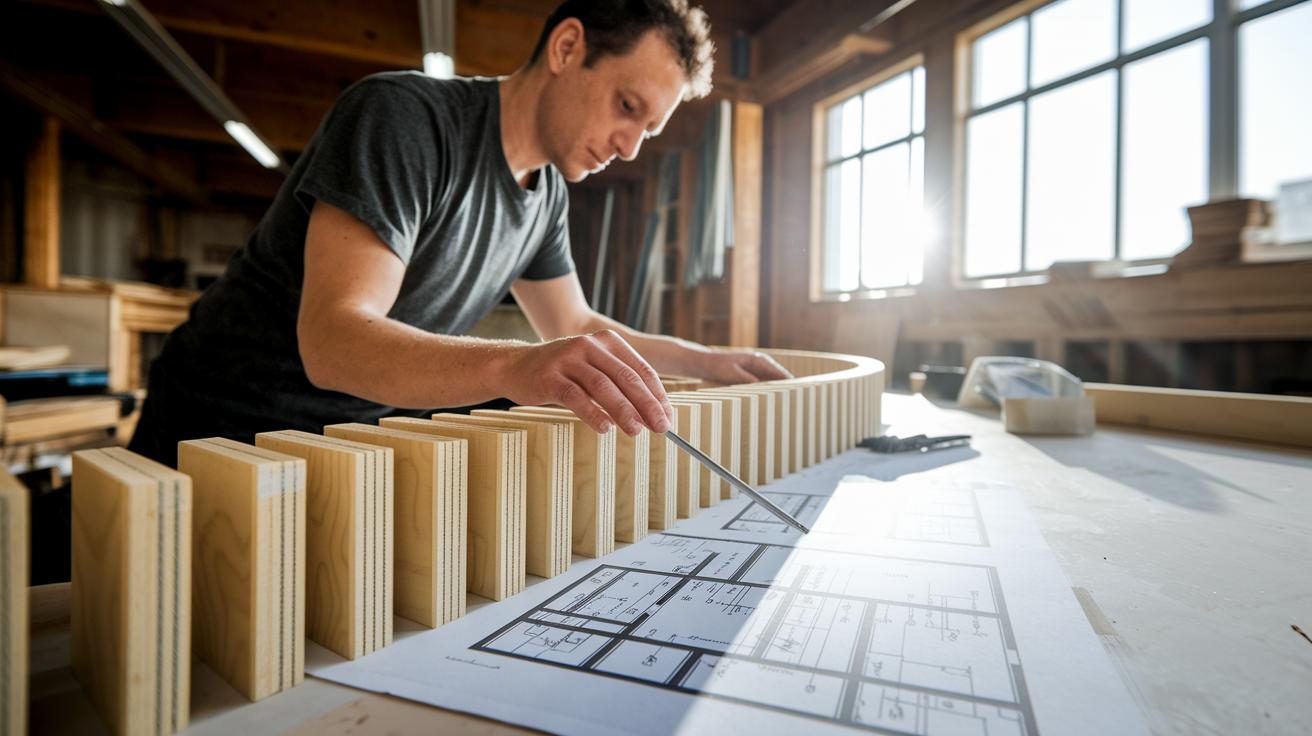
When you have unusual wall shapes, try special framing methods to improve your remodel. For curved walls, use laminated studs or make kerf cuts (small slices removed from wood) in regular studs spaced 8 in (20.3 cm) apart. This lets you form smooth arcs that match the curve naturally. Draw the curved stud pattern on paper first to see how each cut changes the curve.
For framing around doors and windows, pick headers made with LVL (laminated veneer lumber, a strong engineered wood) or built-up headers sized to fit the span and load. Correctly measured headers support the weight above and keep the look neat. Check your header dimensions against your plan before you install them.
When building partial walls or pony walls, make sure they connect well with the main structure. Top plate beams or ribbon boards can tie these parts in securely. Draw a simple diagram to show how the top plate links the main wall to the partial wall.
Choosing the right materials makes a big difference. In damp areas, use steel studs (metal framing pieces) to prevent issues. For longer spans, engineered wood studs work better. A grid diagram can help you see how intersecting walls and offset framing line up, guiding you step by step through the process.
Final Words
In the action, this article walked you through proper framing methods for interior wall projects. You learned key principles such as standard stud spacing, load distribution, and the adjustments needed for different wall types. The guide broke down step-by-step workflows covering stud placement, code checks, and safe integration of electrical and plumbing systems.
Keep these stud layout tips for remodeling interior walls handy as you plan your next project. Your hard work and careful planning will pay off in a safe, efficient transformation.
FAQ
Wall framing layout step by step
The process of wall framing layout step by step involves marking the sole and top plates, snapping chalk lines at 16 in (40.6 cm) on center, positioning studs evenly, and checking for level and plumb at every stage.
How to frame a wall from start to finish PDF
The term refers to a detailed, printable guide covering the complete process—from planning stud placement, marking plates, and installing framing components to finishing steps, all presented in an easy-to-follow PDF format.
How to build an interior wall in existing room with drywall
Building an interior wall in an existing room with drywall starts with erecting a new stud frame, fastening sole and top plates, inserting studs at proper spacing, and then attaching drywall panels for a finished look.
How to frame a wall corner
Framing a wall corner means carefully aligning intersecting stud layouts with doubled up corner studs, ensuring both walls lock together at a perfect right angle for enhanced stability and support.
Wall framing layout tool
A wall framing layout tool refers to software or printed resources that help measure, plan stud spacing, and produce diagrams, making it easier to design an accurate and code-compliant framing layout.
How to frame a wall with studs
To frame a wall with studs, start by marking the layout on the plates, then position end studs followed by intermediate studs at 16 in (40.6 cm) on center, ensuring each stud is level and plumb throughout installation.
Interior wall framing diagram
An interior wall framing diagram visually outlines stud placements, plate dimensions, and header arrangements. It serves as a reference to ensure accurate assembly according to building guidelines and design needs.
Interior wall framing detail
An interior wall framing detail shows specific elements like stud spacing, nail patterns, and blocking techniques. This clear illustration informs proper integration of wiring, insulation, and other finishes while meeting code.
How to layout a stud wall?
Laying out a stud wall involves marking the sole, top, and sometimes intermediate plates, then placing studs at standard 16 in (40.6 cm) on center, while also planning for openings, blocking, and service access points.
What are the common stud wall mistakes?
Common stud wall mistakes include uneven stud spacing, misaligned headers, and inadequate blocking, all of which can compromise structural integrity. Proper measurement, alignment, and adherence to guidelines help prevent these errors.
What is the code for stud spacing in interior walls?
The code for stud spacing in interior walls typically requires a standard 16 in (40.6 cm) on center. However, some scenarios may allow 24 in (61 cm) spacing; always verify with your local building code for precise requirements.
What is the rule of thumb for wall studs?
The rule of thumb for wall studs is to place them 16 in (40.6 cm) on center while ensuring that corner and opening supports are reinforced properly to maintain optimum structural performance and alignment.