
Ever wonder if a bit of fiberglass insulation could improve your home's energy efficiency? When installed right, fiberglass batts fit snugly into wall cavities, attics, and ceilings. They help stop drafts and reduce your energy bills. DIYers like this affordable option, but even a small gap can cut its insulation value by about 25%. In this guide, you'll find easy steps and safety tips to boost your home's comfort and your DIY skills.
Complete Fiberglass Insulation Installation Overview

Fiberglass batt insulation uses tiny glass fibers to form panels that fit snugly into wall cavities, attics, and ceilings. This option is popular with DIYers because it is the most budget-friendly way to insulate new walls. Updated on September 26, 2023, the guide shows that when installed properly, these batts work at full strength. Even a small gap can drop the insulation’s R-value (a measure of its resistance to heat flow) by up to 25%. Think of it like fitting the perfect puzzle piece, you need to push the batts all the way to the back of the cavity.
When batts are trimmed, positioned, and sealed correctly, you notice benefits well beyond just saving money at the start. Proper installation helps lower your energy bills and creates a more comfortable space by reducing drafts and heat loss. It sets up a strong barrier against chilly winter air and keeps the heat out during the summer. If measurements are off or the fit is loose, you risk wasted energy, so taking your time to install them carefully is a smart move.
Here are the key steps:
- Measure the wall cavity. Include any obstacles like pipes.
- Cut the batts. You can use the cut-in-place method, folding the batt and cutting along the stud face, or the measure-and-cut method. Make the batt about ½ in (1.3 cm) longer than the cavity for a tight fit.
- Install the batts. Push them fully to the back and pull the front edges flush with the studs to leave no gaps.
Later, we’ll cover how to work around obstacles and seal edges to ensure your insulation meets both your energy and comfort goals.
Essential Tools & Safety Protocols for Fiberglass Insulation Installation

Good safety gear and the proper tools are a must when installing fiberglass insulation. Glass fibers are tiny and can poke your skin or irritate your lungs if inhaled. By using personal protective equipment (PPE), you reduce fiber spread and keep your work area clean.
Essential gear includes a dust mask to stop tiny particles from reaching your lungs, safety glasses to protect your eyes, gloves to avoid skin contact, and long-sleeved clothing to cover exposed areas. Follow the manufacturer's guidelines, like those from Owens Corning, to use the products correctly. For more details on recommended gear, check out this link: construction safety equipment.
Stick to safety rules to avoid irritation and other health risks. Handle fiberglass gently, work in a well-ventilated space, and keep your PPE clean or replace it when needed. If you start to feel any irritation, stop immediately and review your protective measures. Follow these steps throughout your project to work safely and reduce needless exposure.
Accurate Measurement & Cutting Techniques for Fiberglass Insulation Batts

Measure each wall cavity with care. Record its length, width, and height, and mark any items like pipes or conduits that might get in the way. Adjust your measurements around these obstacles to save material. For example, if a pipe crosses the cavity, mark its spot so you can trim the insulation to fit exactly.
Decide whether to use the cut-in-place method or the measure-and-cut method. With the cut-in-place approach, fold the batt and cut along the face of the stud (vertical framing member). With the measure-and-cut method, use a straightedge to mark the batt and then trim along the line. Always cut the insulation pieces a bit longer by an extra ½ in (1.3 cm) so you can fine-tune the fit when installing.
Place the insulation loosely into the cavity until it fits snugly without being forced. Make sure all edges touch the stud and that there are no gaps or overly compressed areas that might hurt its thermal performance. A gentle tap with a mallet helps settle the batt while keeping its shape around any obstacles.
Step-by-Step Fiberglass Insulation Installation in Walls, Attics & Ceilings
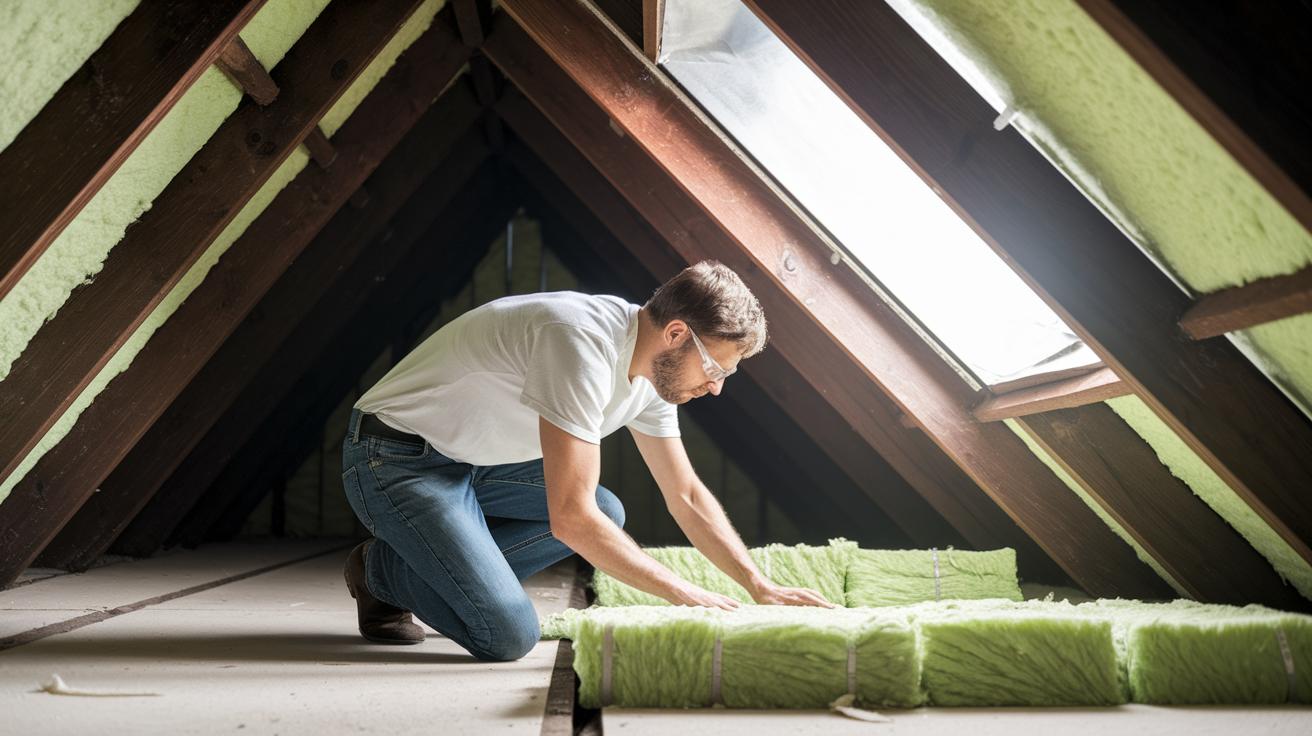
Take on your insulation project step-by-step for a safe, energy-efficient home. This guide shows you how to fit insulation in walls, attics, and ceilings so that every space is snug and performs well. Push batts completely to the back and keep their edges flush with the studs for a tight fit. This method boosts thermal efficiency and lets you work safely around electrical cables, boxes, windows, and doors.
- Prepare the space. Clear out any dust, old materials, or debris to give your insulation a clean place to work.
- Trim the batt. Use a utility knife and straightedge to cut the insulation so it’s about ½ in (1.3 cm) larger than the cavity. This extra bit helps it fit perfectly.
- Insert the batt. Push the batt fully to the back of the cavity. This avoids empty spaces that lower performance.
- Adjust the edges. Make sure the front of the batt lines up evenly with the studs. This keeps the insulation in place.
- Work around obstacles. If you come across cables, tear the batt in half and slide one piece behind the cables while keeping the other piece in front. For boxes, run your knife along the edges to trim neatly.
- Seal gaps at windows and doors. Apply a bead of expanding foam insulation in any shim space to block drafts and keep warmth inside.
- Add blockers in attic rafters. Install attic blockers to stop air from moving between the attic and living areas (see the attic insulation installation guide for more details).
After you finish, check each bay to ensure the insulation fits evenly with no gaps or compression. Make any needed adjustments, especially if you skipped cables or boxes. Each well-installed batt helps create a more comfortable home and cuts energy costs while giving you a proud DIY moment.
Integrating Vapor Barriers in Fiberglass Insulation Installation
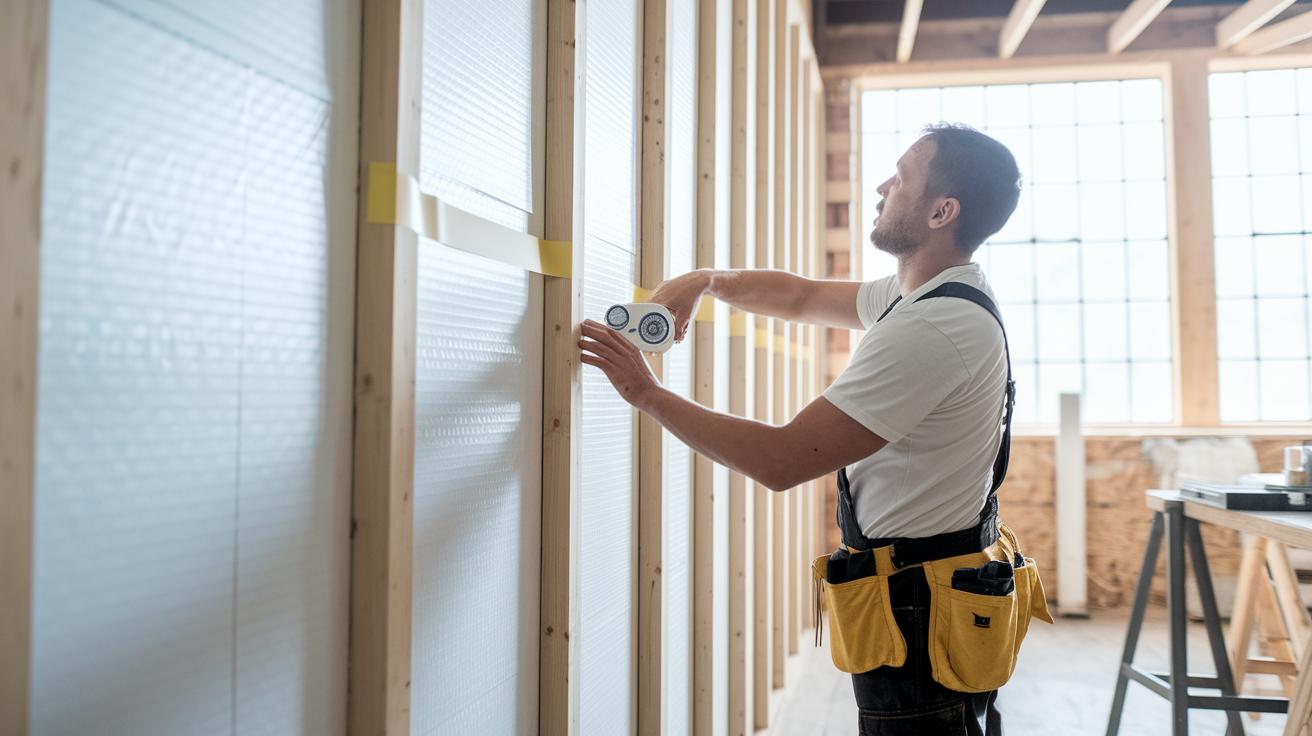
A vapor barrier blocks moisture from entering wall cavities and helps prevent mold while keeping the insulation’s R-value intact. In colder areas, many building codes require a vapor barrier to control condensation and avoid damp materials. Think of it as a tight seal around a container that stops moisture from getting in. This simple step plays a big part in maintaining energy efficiency.
The recommended method is to staple the barrier to the studs either before or after placing the insulation batts. Then, seal every seam with approved foil or acrylic tape. Overlap the barrier edges by at least 2 in (5 cm) and run the material into the sill plate. Doing this creates a continuous shield that limits air movement and protects your insulation. Seal each joint as you go, just like wrapping a package neatly to avoid gaps.
Make sure there are no wrinkles or loose areas where moisture can build up or cold air can sneak in. Press every edge firmly and tape them down to keep condensation away and ensure the insulation works well during cold weather.
Avoiding Common Mistakes in Fiberglass Insulation Installation

After finishing your insulation work, take a moment to check for common issues that can reduce its performance. Watch out for these problems:
- Gaps along the stud edges.
- Batts squashed under plates.
- Batts cut too long or too short.
- Batts not split around cables or electrical boxes.
- Missing vapor barriers or seams that aren’t sealed well.
- Overlooked attic blockers and poor seals around doors and windows.
If the batts aren’t fully pushed back against the studs, simply reseat them firmly. When a batt comes out too long or too short, measure again and trim it with a straightedge guide so it fits tightly. And if the seals around windows or doors are weak, replace the weather stripping and seal the seams properly.
Evaluating Energy Savings & Maintenance After Fiberglass Insulation Installation
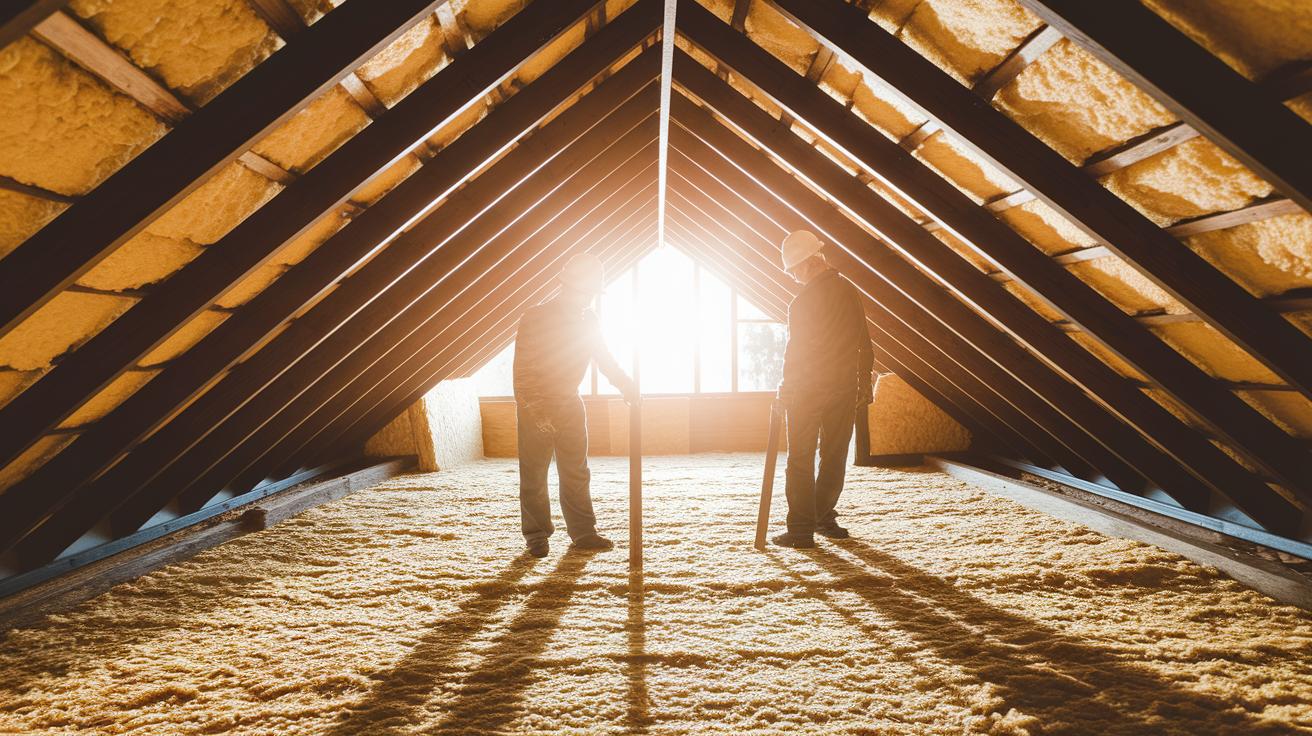
Fiberglass insulation, when installed correctly, can lower your heating and cooling bills by 10–20%. Many homeowners notice that the reduced energy costs quickly make up for the initial spending. For example, one DIY project showed that proper insulation not only cut monthly bills by a significant margin but also improved home comfort without a hefty price tag.
Fiberglass remains a smart, budget-friendly choice compared to options like spray foam or cellulose. It is affordable and delivers steady thermal performance, which means lower upfront costs and long-term energy savings. This makes it a practical option for those aiming to boost home efficiency without complicated installation.
After setting up your insulation, regular maintenance is essential. Check each area once a year for gaps, moisture, or batts that have settled, and repair by resealing or replacing any damaged parts. Clean up extra fibers to reduce fire risks and keep indoor air quality healthy. Consistent maintenance ensures that your insulation works effectively and continues to save energy over time.
Final Words
In the action, this guide covered everything from choosing fiberglass batts to understanding how proper placement boosts energy savings. We broke down essential tools and safety steps. Clear instructions on measuring, cutting, and fitting each piece help prevent gaps that reduce efficiency. Practical advice on integrating vapor barriers and troubleshooting common mistakes ensures a secure fit. Follow these steps to perfect your fiberglass insulation installation and enjoy cost-effective improvements in comfort and energy savings.
FAQ
What does a fiberglass insulation installation video show?
A fiberglass insulation installation video demonstrates step-by-step procedures for measuring, cutting, and fitting batts while emphasizing safety precautions and best practices for improved energy efficiency.
How do you install fiberglass insulation in a ceiling?
The guide on installing fiberglass insulation in a ceiling explains how to accurately measure cavity dimensions, cut batts to size, and position them correctly while following proper safety procedures.
How is fiberglass insulation installed with a vapor barrier?
The process for installing fiberglass insulation with a vapor barrier involves attaching the barrier to studs, overlapping seams, and ensuring the rated side is oriented properly to control moisture buildup.
What is the purpose of a fiberglass insulation installation calculator?
A fiberglass insulation installation calculator estimates the amount of insulation and cost required based on room dimensions and insulation thickness, helping you plan materials and budget accurately.
What dangers are associated with fiberglass insulation?
The risks of fiberglass insulation include skin irritation and respiratory issues from airborne fibers; using PPE like gloves, safety glasses, and dust masks helps minimize these hazards.
How do you install insulation on exterior walls?
The method for installing insulation in exterior walls involves accurately measuring wall cavities, cutting fiberglass batts for a snug fit, and ensuring all gaps are sealed to maximize thermal performance.
What constitutes proper installation of fiberglass insulation?
Proper fiberglass insulation installation means cutting batts to fit cavities precisely, pushing them fully in without gaps, and using correct safety gear to ensure maximum energy efficiency and comfort.
How much does fiberglass insulation installation cost?
The cost to have fiberglass insulation installed varies by project size and labor rates; typically, it ranges between $1,000 and $3,000, though DIY projects often lower expenses.
Which side of fiberglass insulation should face outward?
Fiberglass insulation should be installed with the vapor retarder side—usually a kraft paper or foil—facing the living space to help control moisture according to building codes.
What are the downsides of fiberglass insulation?
The downsides of fiberglass insulation include potential skin irritation, air quality concerns from loose fibers, and reduced performance if batts are compressed or installed with gaps.