
Ever wonder if your old insulation is letting heat escape? Upgrading to blown in insulation can make your home warmer and lower your energy bills. In this guide, you’ll learn how to measure your attic, seal any drafts, set the right insulation depth, and safely operate the blowing machine. Each step helps cut energy costs and adds comfort to your space. Get ready to boost your home’s performance with a simple, hands-on method.
Blown In Insulation Installation: Cozy, Efficient Upgrade
-
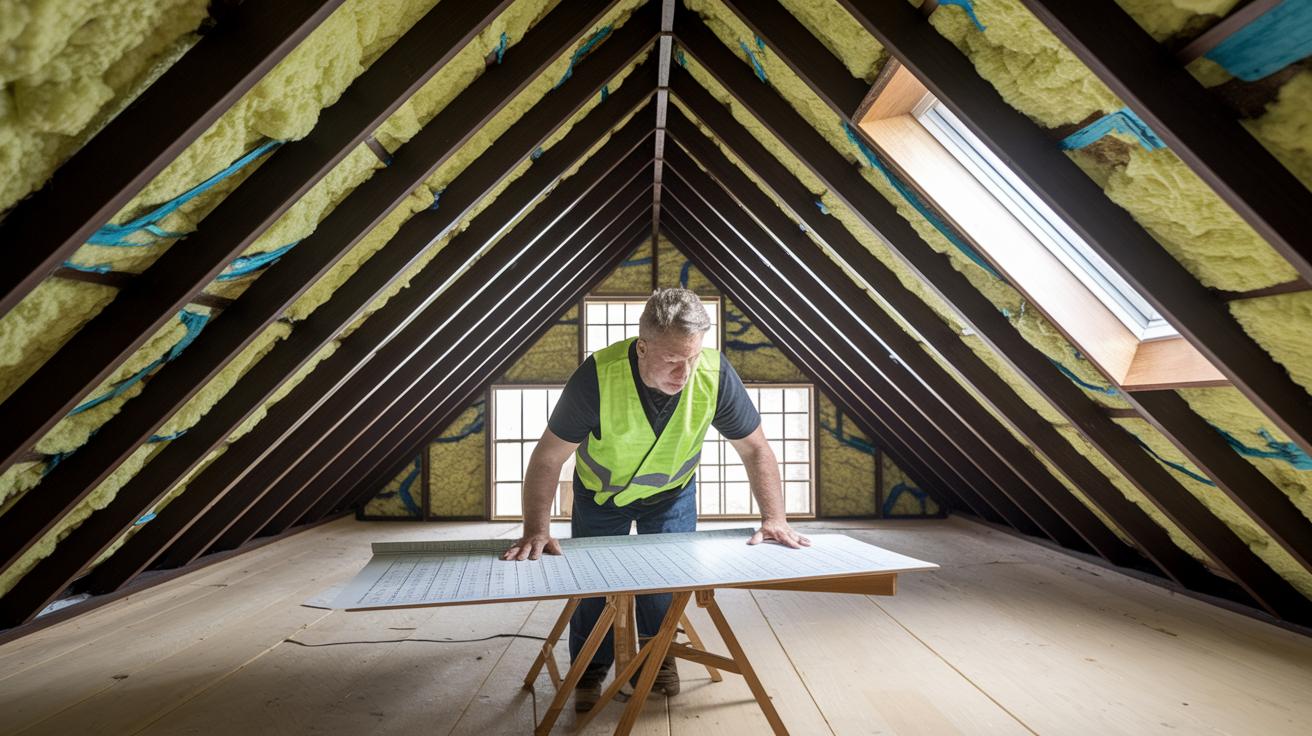
Start with a careful pre-check. Measure the attic or wall cavity to find its total square footage and decide on your target R-value (a measure of insulation performance). For example, plan for 12 in (30.5 cm) of insulation in areas with cold winters. Look for any old or damaged insulation that needs to be removed.
-
Seal off any drafts before you begin. Use airtight, fire-resistant covers to close gaps around recessed lights and fix leaks along the attic floor and wall cavities. Loose-fill insulation like cellulose or fiberglass won’t stop air flow. Think of it like patching a leaky roof before installing new shingles – every gap must be sealed.
-
Set your depth and coverage targets. Calculate the total area to be insulated and decide on the desired density by checking the target R-values. This way, you invest in energy-saving performance and avoid under-insulating your space.
-
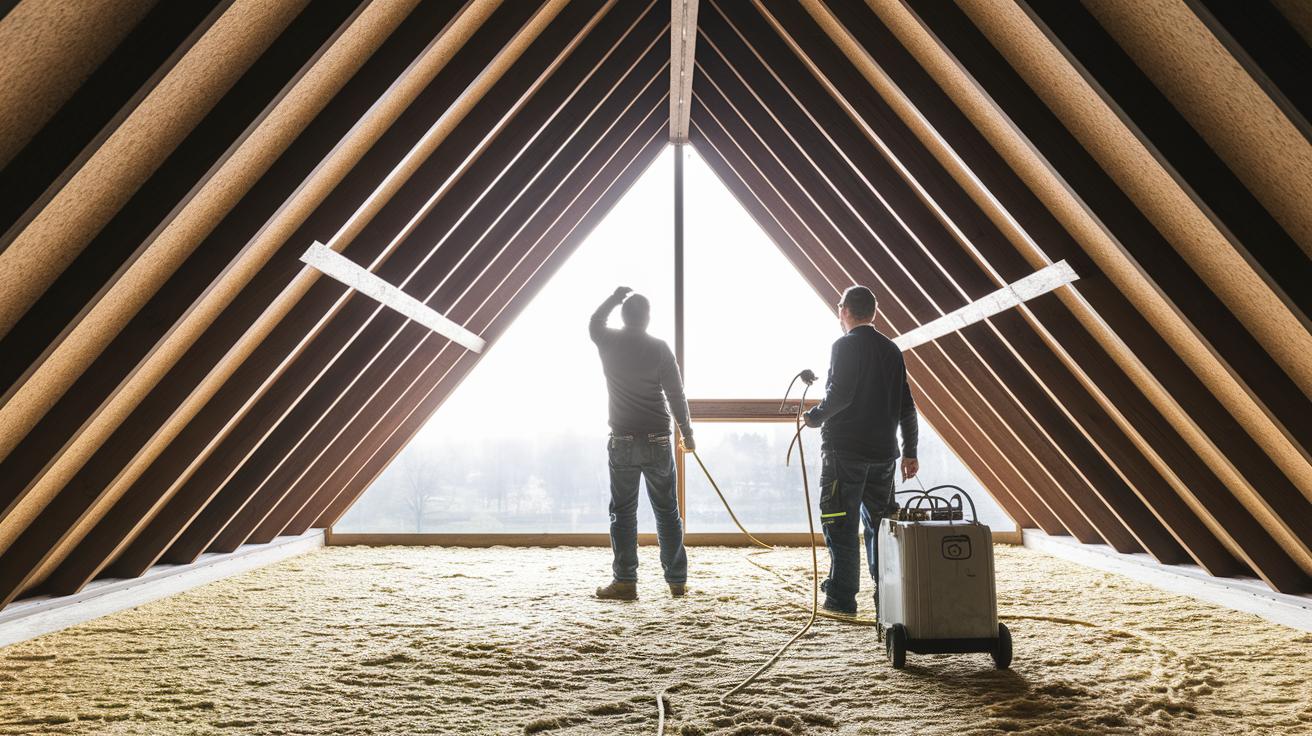
Rent a proper blowing machine from your local home improvement store. Make sure you have your safety gear ready: an N95 mask, gloves, and eye protection. Attach the hose securely to the machine and direct it toward the area you plan to insulate.
-
Run the blowing machine at a steady pace. Begin applying the insulation evenly, similar to the smooth strokes of painting a wall. Pause to check for thin spots and fill them as needed.
-
Finish with a final check and cleanup. Verify that the insulation meets your coverage and depth goals. Turn off the machine, clean up any spilled material, and ensure the work area is safe and tidy.
By following these steps, you build a smart, safe process that makes your blown in insulation installation efficient and energy saving.
Preparing and Air Sealing Before Blown-In Insulation Installation
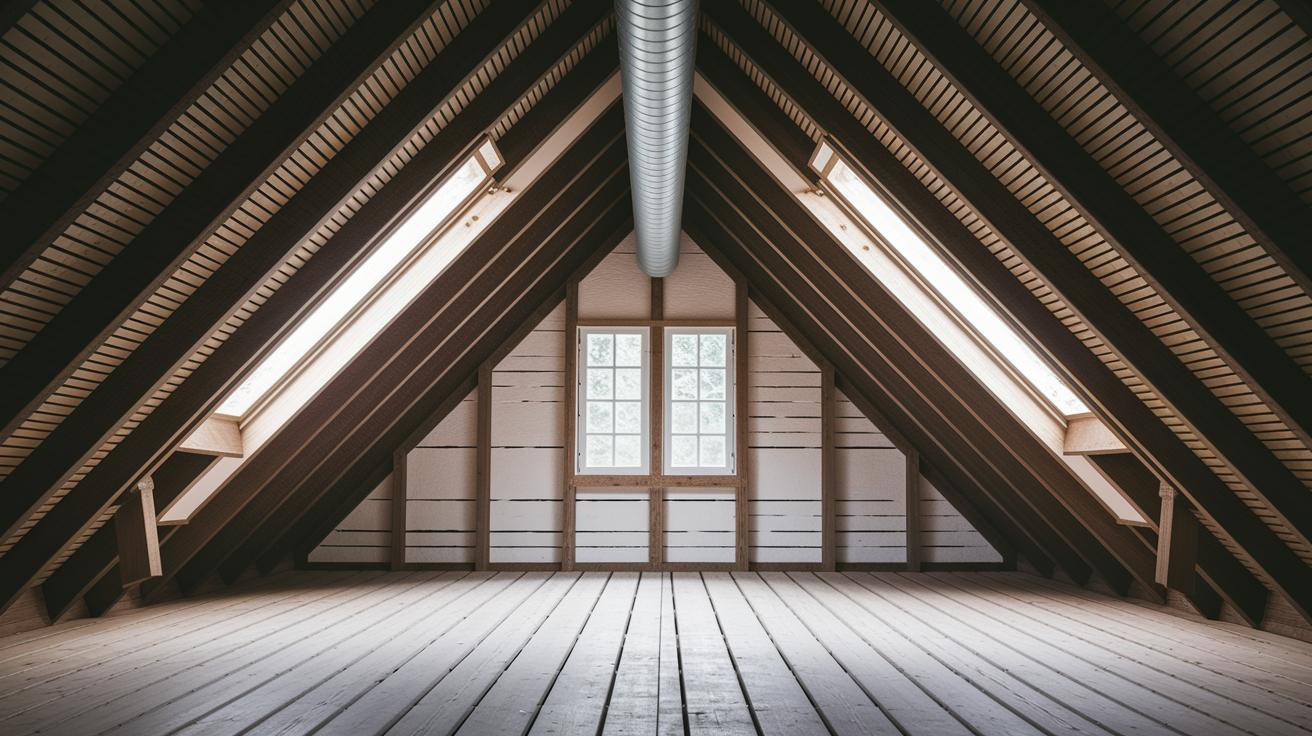
Air sealing is a must before putting in blown-in insulation like cellulose or fiberglass because they don’t block air on their own. Start by closing off common draft spots. For example, cover recessed lights with fire-resistant, airtight caps, just like putting a lid on a boiling pot.
Next, check attic and wall openings. Seal gaps where pipes, wires, or ductwork (air-carrying tubes) pass through using caulk or expanding foam. This minimizes unwanted airflow which can hurt insulation performance.
Then, add baffles (airflow guides) behind soffit vents. Baffles keep the air moving properly and help stop moist air from turning into water on cold surfaces. Also, extend any B-vents by about 2 ft (0.6 m) to keep them safely away from combustible materials. Adding heat shields around flue pipes also cuts down on moisture problems and heat transfer.
Remember, these steps not only boost your insulation’s efficiency but also help control moisture. Before you install blown-in insulation, verify all seals and check that there is enough space around HVAC components to keep air flowing correctly.
Tools, Equipment, and Material Options for Blown-In Insulation Installation
For a smooth insulation project, gather the proper tools and supplies. First, secure a blowing machine from your local home improvement store or rent one from a professional provider. This machine spreads the insulation evenly, much like a paint sprayer but built for this job.
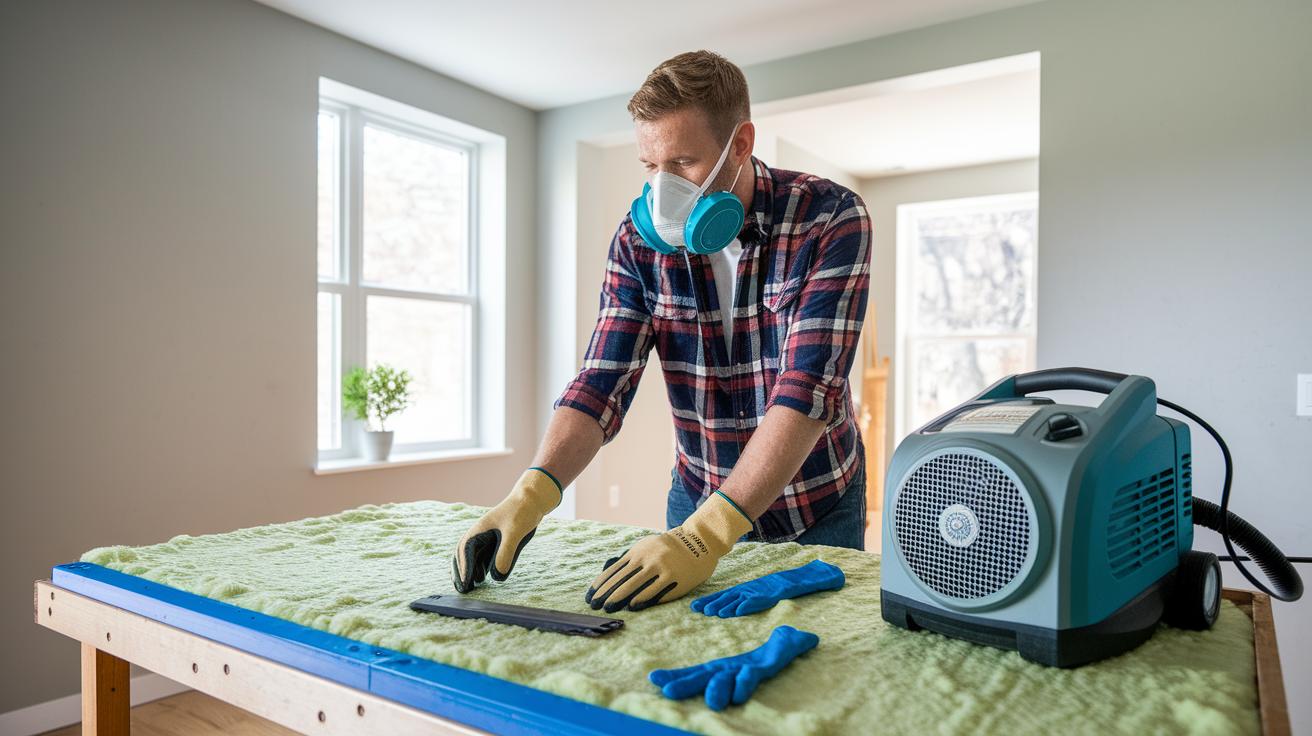
Safety comes first. Always wear an N95 mask, gloves, and eye protection when handling loose-fill insulation. These items protect you from inhaling tiny particles and keep your skin and eyes safe.
You have a few material options. Cellulose, made from recycled paper, is eco-friendly and traps air well. Fiberglass resists moisture and is a popular choice. Blown-in spray foam offers a higher R-value but usually costs more. Quick tip: think about your local climate and budget when picking your insulation.
If you plan to assemble a DIY blower kit, double-check that all parts are compatible. Alternatively, renting professional equipment can make covering large areas easier. Here's a checklist for this stage:
| Item | Description |
|---|---|
| Blowing machine | Distributes insulation evenly |
| Insulation material | Choose between cellulose, fiberglass, or spray foam |
| PPE | N95 mask, gloves, and eye protection |
Each tool and material is key to getting a solid, safe, and efficient insulation installation.
Cost Analysis and Budget-Friendly Practices for Blown-In Insulation Installation
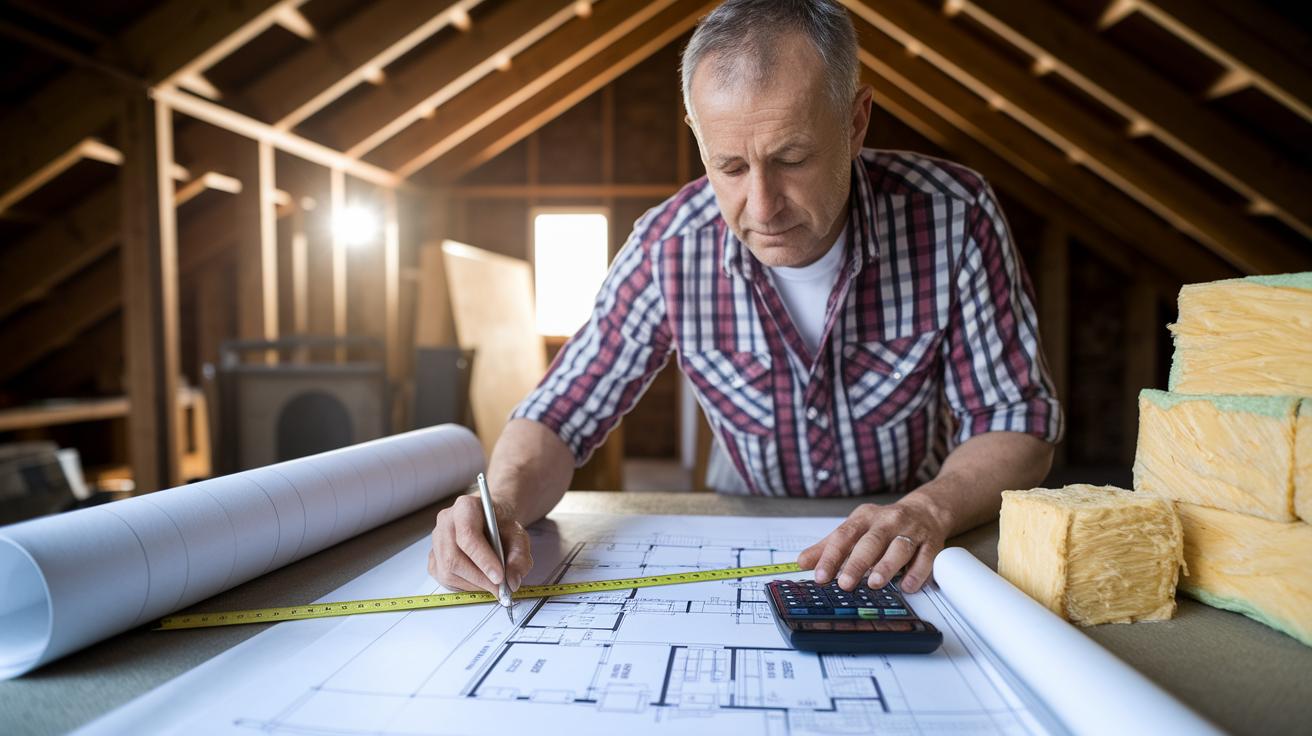
Estimating costs is a key step when you upgrade your insulation. Professionals break down expenses by the area size, target R-value (insulation effectiveness), type and thickness of insulation, extra air sealing, prep, and cleanup. Rates often fall between $1.00 and $2.50 per square foot (about $10.76 to $26.91 per m²). Use these numbers as a baseline to compare a pro job to a DIY project.
Start by measuring the total square footage of the area you want to insulate. For example, an attic of 500 sq ft (about 46.5 m²) might cost between $500 and $1,250, not including labor or extra fees. DIY projects save on labor, but you must add the cost of equipment rental (like a blowing machine), materials, and your own time. Renting the machine can be a significant expense, so be ready for any surprises along the way.
It helps to write down all expected costs. Here’s a simple table to organize your budget:
| Item | Estimated Cost |
|---|---|
| Machine Rental | $X |
| Insulation Material | $Y |
| Safety Gear | $Z |
Always keep a backup fund for small changes or unexpected tasks. Track your spending as you go to make sure the upgrade stays both cozy and cost-effective.
Comparing DIY vs. Professional Blown-In Insulation Installation
If you rent a blowing machine and do the work yourself, you can save on labor costs. But this DIY route can take a lot of time, and you might skip small spots. For example, a friend might hurry through the attic and leave thin areas that reduce energy efficiency.
Professional installers take a careful approach. They seal off air leaks before they start, use clear depth markers to hit your target R-value (a measure of how well insulation works), and record every detail from material amounts to final coverage. This method helps avoid moisture issues and gaps that hurt performance.
Here's a quick look at the differences:
| Method | Pros | Cons |
|---|---|---|
| DIY |
|
|
| Professional |
|
|
Choose the method that fits your budget, schedule, and performance needs. Quick tip: if you're new to insulation work, consider a professional approach to avoid common mistakes.
Specialty Applications: Attics, Walls, and Hard-to-Reach Areas in Blown-In Insulation Installation
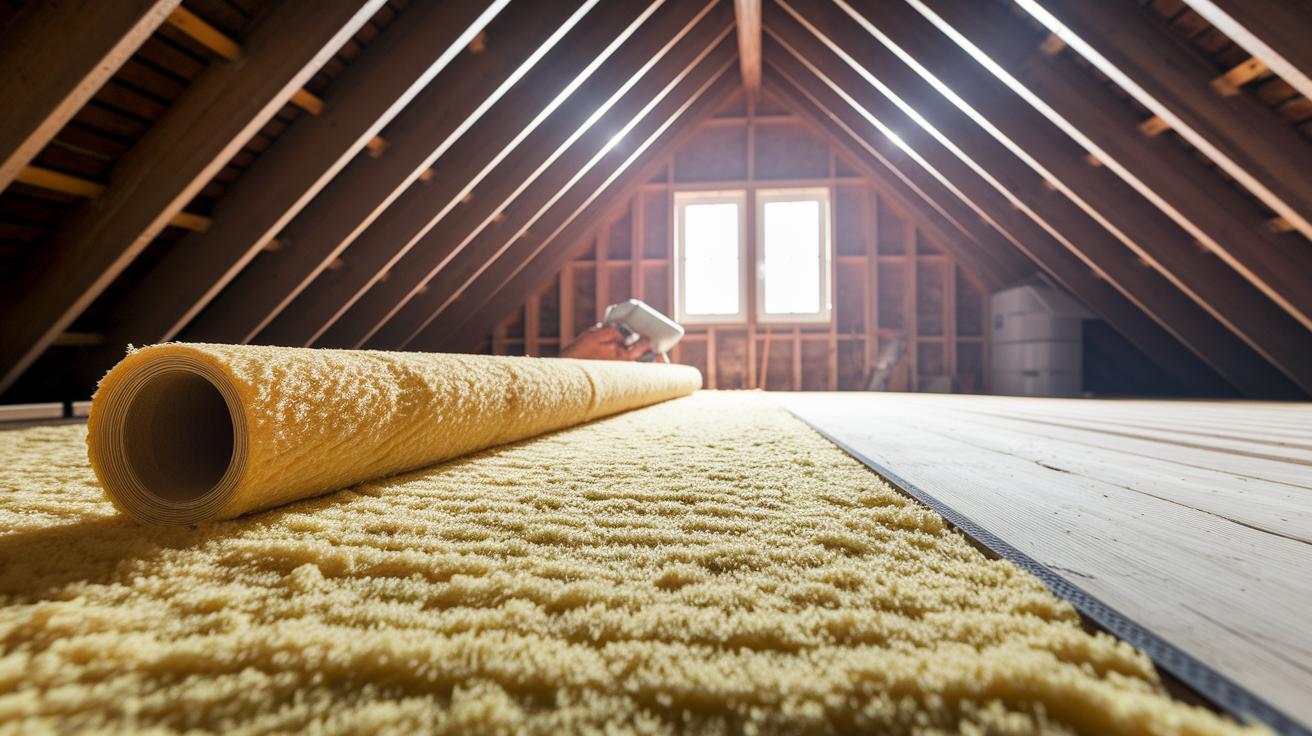
When insulating attics, spread loose-fill insulation evenly over the entire floor. Make sure the insulation reaches the proper depth all across the space. In attic retrofit projects, careful measurement and thorough distribution are key for optimum performance. This step is crucial in older homes where previous insulation might be patchy or missing.
For wall cavities, the method changes a bit. First, drill small access holes in the wall to insert the insulation. Once the insulation is in place, patch the holes neatly. This method ensures that even tight spaces behind irregular framing get filled completely. For example, you might drill a small pilot hole near the top of a wall, blow in the insulation, and then cover the hole with a wall patch that matches.
Loose-fill insulation also works well in hard-to-reach spots like nooks, corners, and irregular spaces. Keep in mind that cellulose insulation (a common loose-fill type) tends to settle over time. To make up for settling, install a little extra material at the start. Quick tip: Use a depth gauge in several spots to ensure the insulation is applied uniformly and plan for an extra layer to maintain long-term R-value (insulation effectiveness).
Energy Efficiency Benefits and Long-Term Performance of Blown-In Insulation Installation
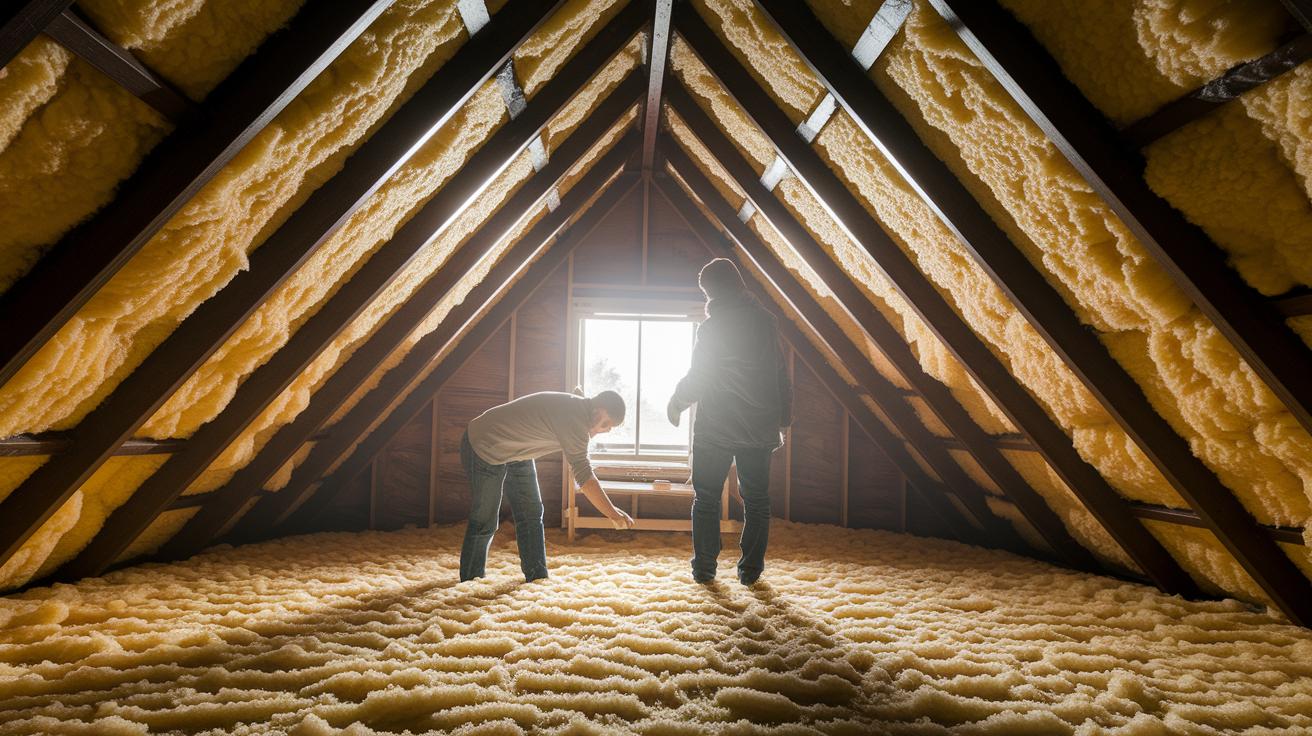
Blown-in insulation fits snugly into odd corners where batt insulation may leave gaps. It molds to your attic or wall surfaces, cutting drafts and tightening your home's seal. This full coverage quickly evens out indoor temperatures, so you notice fewer cold spots and a steady, cozy feel.
Energy savings usually show up in one to three billing cycles, making blown-in insulation a smart long-term choice. Although spray foam insulation gives better performance per inch, blown-in insulation covers large areas at a lower cost. It strikes a good balance between performance and budget.
A proper installation can pay for itself in one to two years by reducing heating and cooling bills. As the insulation settles, depth markers confirm you've reached the right density for lasting performance. Quick tip: Spread it evenly, like peanut butter on bread, for full coverage. Choosing blown-in insulation means improved comfort and energy savings that stick around for the long haul.
Common Challenges, Troubleshooting, and Safety Precautions in Blown-In Insulation Installation
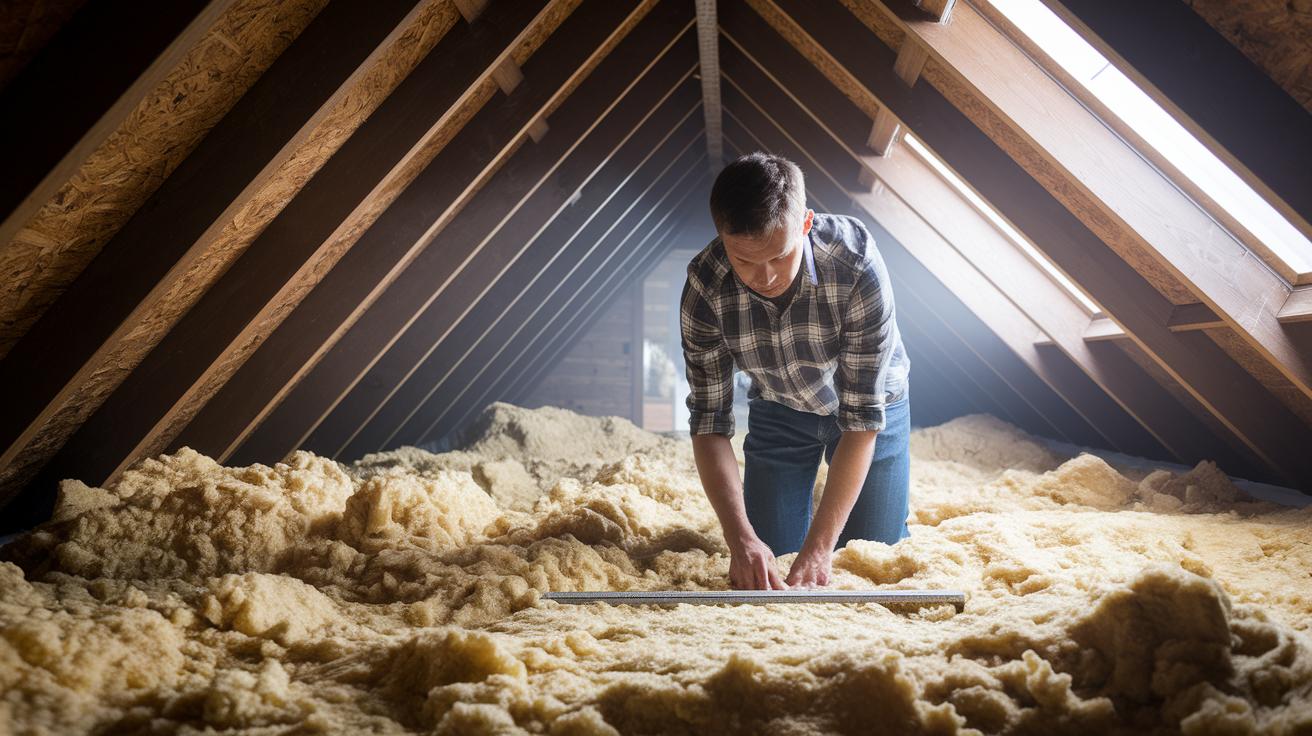
Blown-in insulation can have a few hiccups. You might see uneven spreading, moisture issues, or the fill settling over time. For example, the insulation might pile up in one spot and be thin in another. Check the depth markers at several points. If you spot thin layers, add more insulation to hit your target R-value.
Keep an eye out for moisture. Even a small leak can cause condensation and lead to mold. Inspect the area often. If you find air leaks, seal them right away with caulk or expanding foam. This quality control step helps ensure each section has the proper density and keeps energy bills in check.
Always protect yourself when handling materials like cellulose. Wear an N95 mask, gloves, and goggles to avoid dust and fibers that can irritate your eyes and lungs. Quick tip: Treat every small gap like it could let in moisture to prevent condensation and rot.
- Check depth markers thoroughly
- Inspect regularly for moisture
- Re-seal air leaks immediately
Final Words
In the action, you learned the key steps of blown in insulation installation. We broke down pre-inspection, air sealing, equipment setup, and final checks. The guide also compared DIY versus professional methods and detailed cost-saving tips, ensuring clear terms and safety measures. Each section provided a practical workflow to help you achieve energy efficiency without surprises. Follow the steps with care, and trust that proper preparation leads to a successful project. Enjoy improved comfort and savings as your home gets the treatment it deserves.
FAQ
How much does blown-in insulation installation cost, including for a 2000 sq ft house?
The cost of blown-in insulation installation generally ranges from $1.00 to $2.50 per sq ft. For a 2000 sq ft house, expect roughly $2,000–$5,000 depending on materials, labor, and local pricing.
What does a blown-in insulation installation video cover?
A blown-in insulation installation video walks you through each step—from air sealing and pre-inspection to machine operation and cleanup—while highlighting essential safety tips and techniques for consistent coverage and optimal R-values.
How do blown-in insulation machine rental and Lowe’s insulation blower rental work?
Blown-in insulation machine rentals, available at stores like Lowe’s, offer daily or hourly rates. These rentals provide the proper equipment to efficiently blow cellulose or fiberglass insulation while ensuring you use the correct safety gear.
How can you install blown-in insulation without a blower?
Installing blown-in insulation without a blower means manually placing insulation in small areas. This method is more time-consuming and may lead to uneven coverage, making it impractical for large-scale home applications.
What should be considered for blown-in insulation installation in California?
Blown-in insulation installation in California follows standard procedures, but local building codes and climate conditions may require extra air sealing and moisture controls to meet state standards and achieve optimal performance.
How do you install cellulose insulation in walls?
Installing cellulose insulation in walls involves drilling access holes in the cavity, using a blowing machine to fill the space, and then patching the holes. Proper air sealing around openings is crucial for effective moisture control.
What is the purpose of Lowe’s blown-in insulation Calculator?
The Lowe’s blown-in insulation Calculator helps estimate material quantities and costs by using your room dimensions and target R-values, enabling you to plan accurately for either DIY or professional installation.
What are the downsides of blown-in insulation?
Blown-in insulation can settle over time, potentially leading to uneven coverage, and is sensitive to moisture if not properly sealed. These issues may require periodic inspections and maintenance to preserve its performance.
How does blown-in insulation get installed?
Blown-in insulation is installed by pre-inspecting the area, air sealing gaps, calculating the needed depth, and then using a machine to blow the loose-fill material into cavities, followed by a final inspection and cleanup.