
Ever notice how your home feels like a freezer in winter? Adding floor insulation is like putting a warm, snug blanket under your feet. It traps heat where you need it and saves energy. In this guide, we break down each step so you can safely update your floors. You’ll not only keep warmth inside, but also guard against moisture, pests, and unwanted noise, all while cutting your bills.
Essential Steps for Floor Insulation Installation
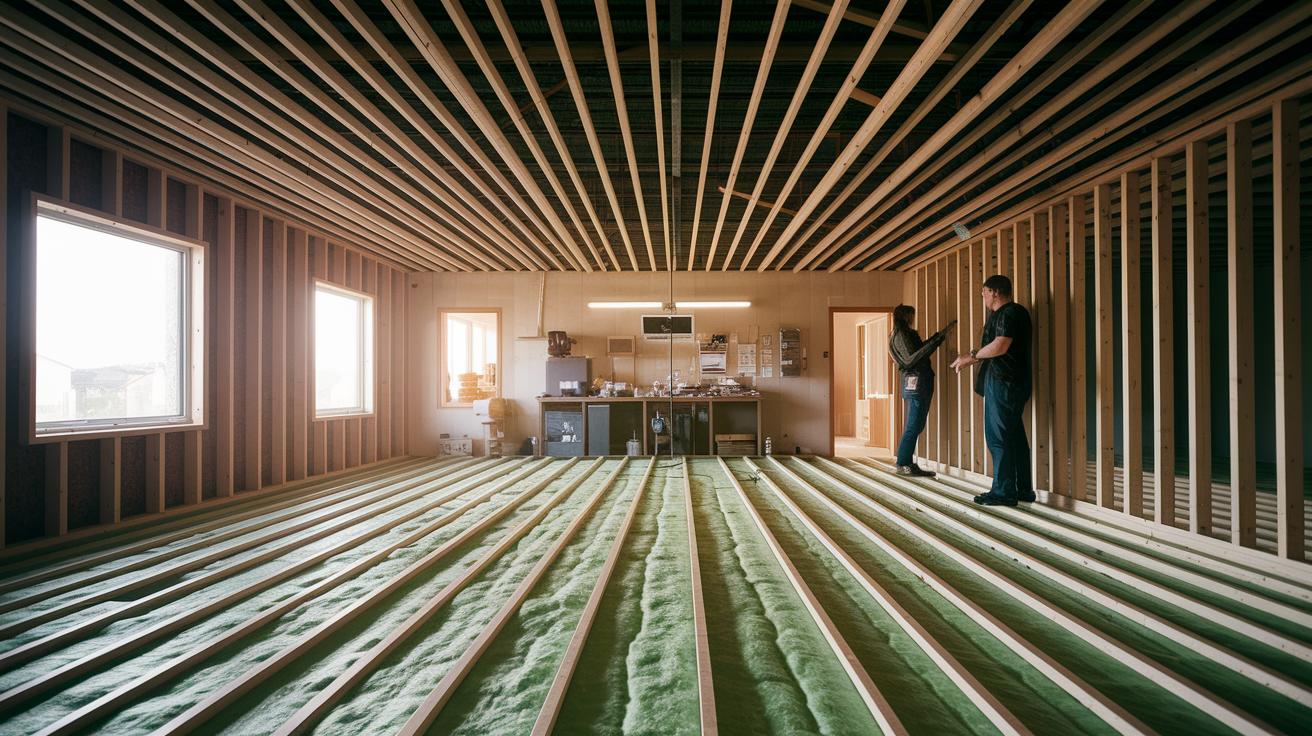
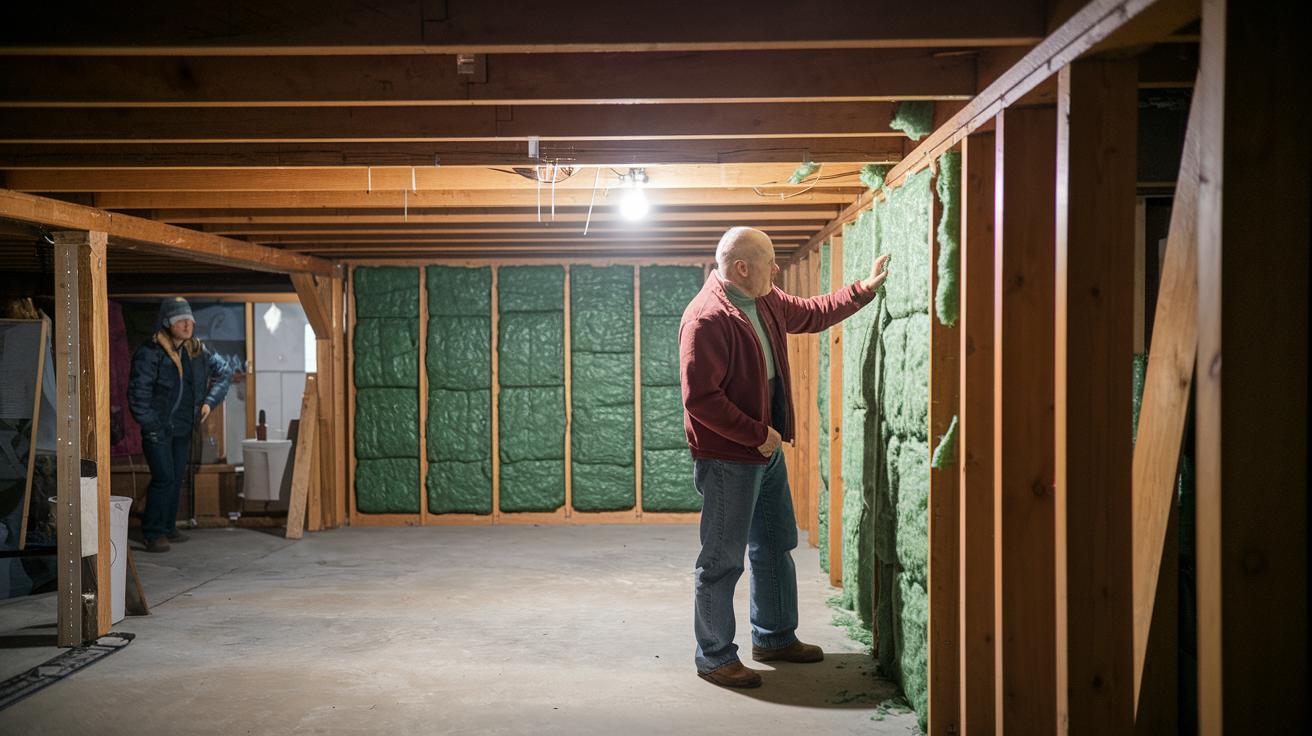
Underfloor insulation under wood floors keeps your home warm and safe. It helps guard against moisture, pests, and noise while cutting heat loss and lowering your bills. Think of it as giving your home a snug jacket that works hard in winter.
Following this step-by-step guide not only protects your floor but also makes sure warmth rises where you need it. Each step counts, just like a carefully measured cut ensures a perfect fit.
- Check the area for moisture issues and inspect the subfloor conditions.
- Remove any old flooring and debris to reveal a clean work surface.
- Measure your space and plan your insulation materials.
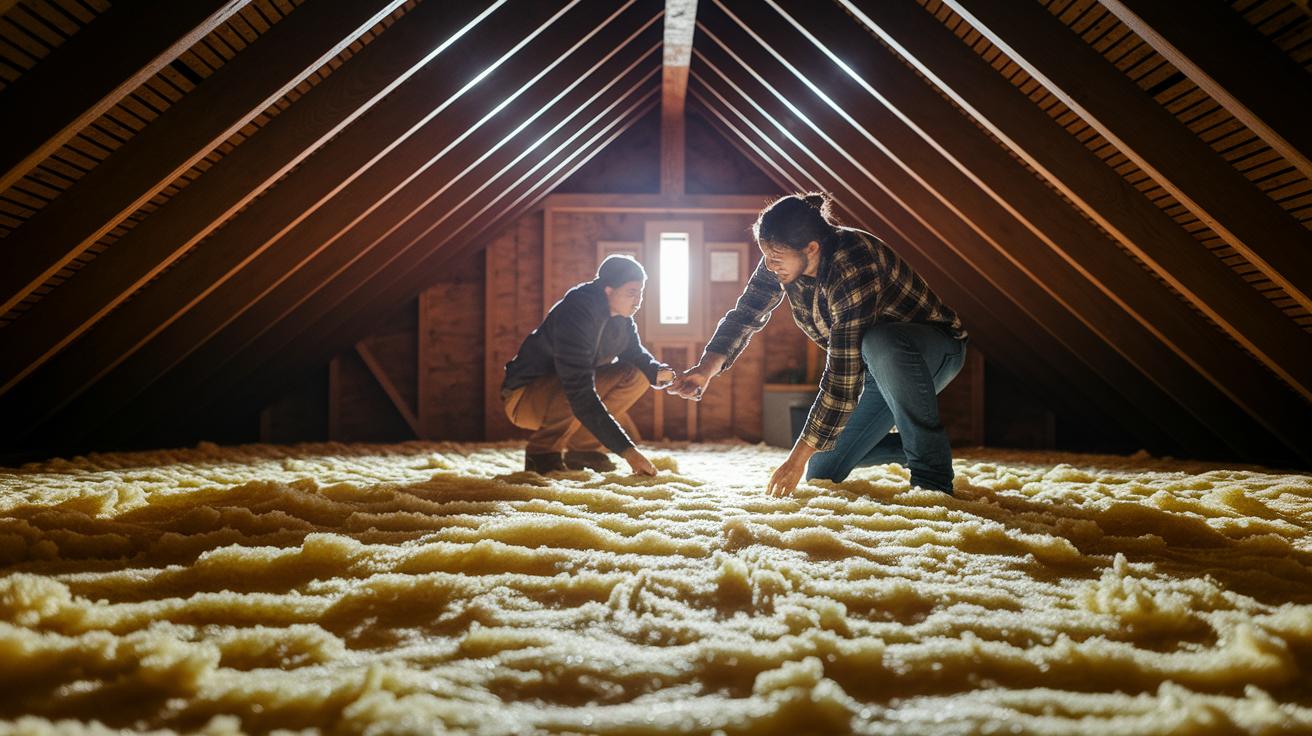
- Cut insulation panels or batts to snugly fit between joists (horizontal floor beams that support the floor) or across the subfloor.
- Secure the insulation with construction adhesive or temporary supports.
- Lay down a vapor barrier, such as 6-mil (0.15 mm) polyethylene, over the insulation.
- Look for any gaps and fill them in with foam sealant.
- Seal all edges and transitions to create one continuous layer of insulation.
Safety is key: Wear eye protection, gloves, and a dust mask. Always check that your insulation works with radiant heat systems to avoid any issues.
By taking these steps, you'll enjoy a warm, energy-efficient floor that stands up to moisture and pests while channeling heat upward for lasting comfort.
Comparing Floor Insulation Materials: Fiberglass, Foam Board, and Reflective Foil
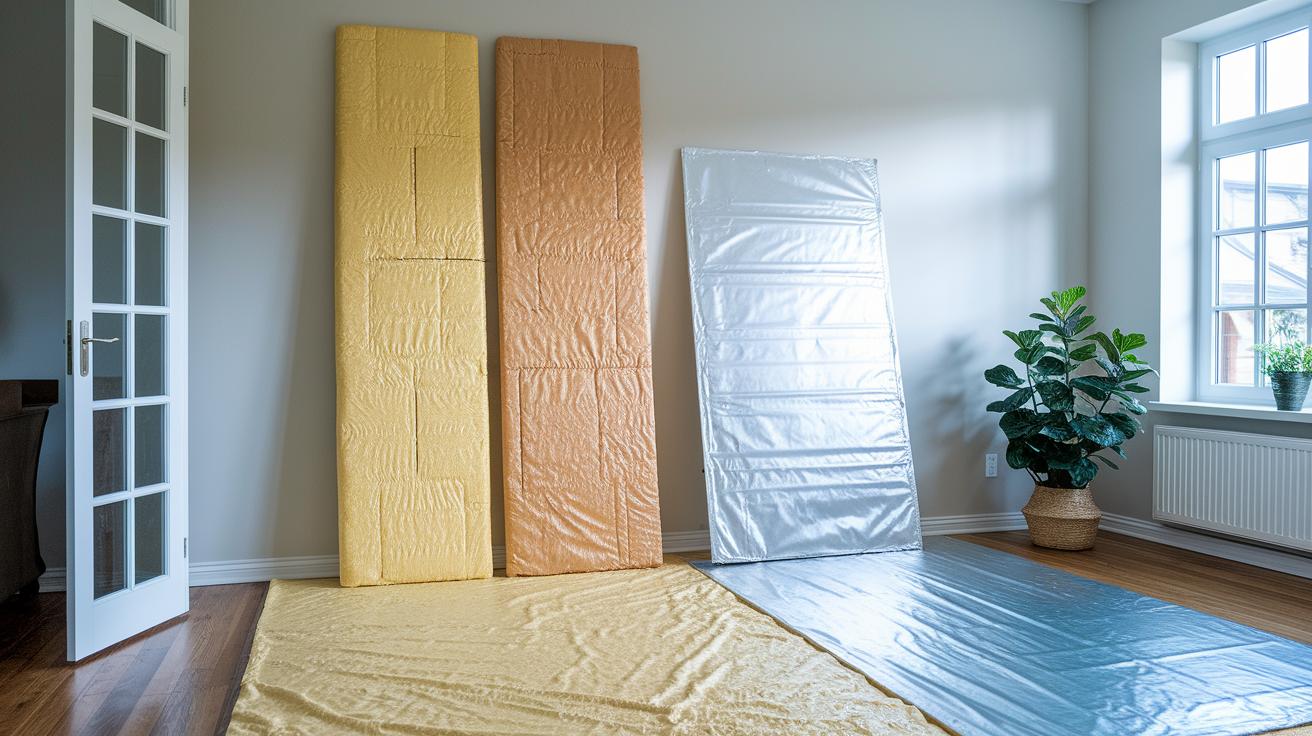
Choosing the right insulation for your floor starts with knowing what each material offers. Fiberglass batts, foam board, and reflective foil all bring different strengths to the table. Fiberglass batts are low-cost and simple to install, but their thickness and low reflectivity can reduce the efficiency of radiant heating systems. Foam board, made from polystyrene, polyiso, or polyurethane, packs high thermal resistance into a thin layer, though it does not reflect heat. Reflective foil, on the other hand, bounces heat back into the room, making it a smart choice for underfloor electric heating.
| Material | R-Value per Inch | Pros | Cons |
|---|---|---|---|
| Fiberglass Batts | 2.2-2.9 | Budget-friendly and easy to install | Can block radiant heat due to thickness and low reflectivity |
| Foam Board | 5-7 | High thermal resistance in a slim profile | No heat reflective quality and needs precise sealing |
| Reflective Foil | N/A | Bounces heat back into the room | Lower overall R-value; best used with additional insulation |
New composite boards are emerging as an advanced option. They combine thermal insulation, moisture resistance, sound reduction, and underlayment support in one continuous layer. A well-fitted composite board can avoid gaps and uneven coverage that sometimes happen with traditional batts.
If maximizing radiant heat is your goal, reflective foil is a stand-out choice. It works especially well in systems where directing more heat upward is key to energy efficiency and comfort. Consider your heating setup, floor type, and long-term energy goals to pick the insulation that best suits your needs.
Adapting Floor Insulation Installation for Different Subfloor Types
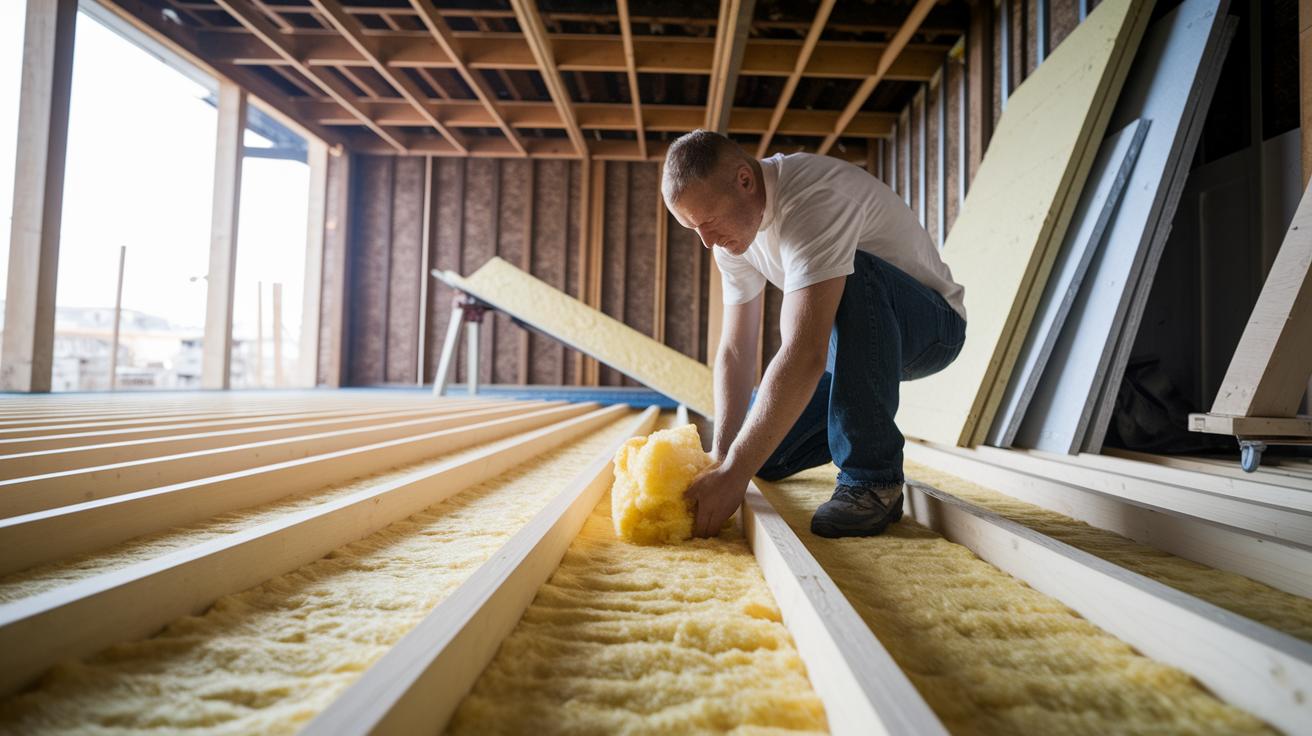
Wood Joist Subfloors
Wood joist subfloors work well with both fiberglass batts and foam board panels. When you use batts, make sure they fit tightly between the joists (wood beams that support your floor) without any gaps. Foam board panels give you a more continuous layer and can be cut to fit odd or uneven spaces.
Keep the insulation properly in the joist cavities to stop it from settling or letting in drafts. Use construction adhesive or temporary supports to hold the insulation in place until you finish the permanent installation. This helps keep everything lined up with the joist spacing for the best thermal performance.
Concrete Slab Floors
Concrete slabs need insulation that stops heat loss and fights moisture. Foam board insulation is a common choice because it offers a high R-value per inch, making it ideal for slim profiles on concrete. Make sure the board lies flat to avoid thermal bridges (spots where heat escapes more quickly) that can lower efficiency.
A separate moisture barrier is key on concrete floors. Lay down a vapor barrier, such as 6-mil polyethylene, over the foam board to keep moisture out. This step helps prevent mold and damage to the insulation, meaning your thermal protection lasts longer.
Crawl Space Floors
Crawl spaces, especially those with dirt floors, need insulation that handles ground moisture well. Choose materials designed for damp conditions, and install them carefully so that moisture does not get trapped between layers. This helps keep the area dry and prevents wood rot.
Also, add a vapor retarder along the crawl space floor before you install the insulation. This step limits moisture from moving upward and keeps the insulation working efficiently, boosting the overall energy performance of your space.
Calculating Costs and Budgeting for Floor Insulation Installation
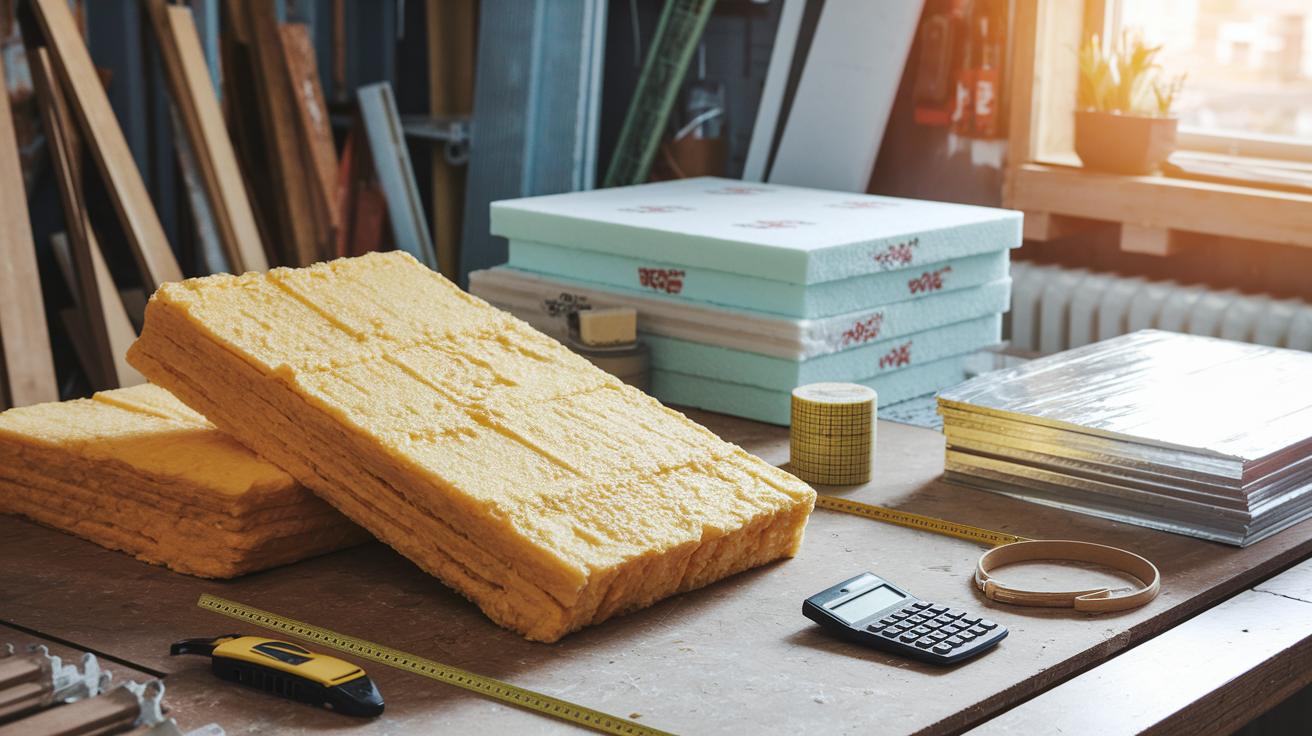
When you choose insulation, the cost depends on the type you pick. Fiberglass batts are the budget-friendly option, costing about $0.50–$1.50 per square foot (roughly $5.38–$16.15 per square meter). Foam board runs around $1.00–$3.00 per square foot, and reflective foil sits in the moderate price range. Compare the upfront cost with how well each material insulates your space.
Labor can make up 30–50% of your total cost. For simple jobs, you might only need to cut and fit the material. But if the job is more complex, you’ll need extra prep and careful alignment, which can raise your labor fees. Estimate how long the work will take and check local hourly rates to avoid surprises.
Plan your budget by thinking about the insulation thickness needed for the right R-value (thermal resistance) and the time required for installation. Compare options side by side and allow extra time if accuracy is key. A clear, well-planned budget helps you stay comfortable without breaking the bank.
Enhancing Energy Efficiency in Floor Insulation Installation: R-Value Selection and Air Sealing
Choosing the right R-value is a must for keeping your floor warm and cutting energy costs. In cold zones (Zones 4–6), go with insulation rated between R-30 and R-38. In warmer areas, an R-value between R-19 and R-25 works fine. The proper insulation not only holds heat but also helps keep out moisture and drafts. For instance, a homeowner in a chilly area might use R-36 insulation to get top performance.
- Check all seams and edges between the insulation and the joists or subfloor for any gaps.
- Brush on foam sealant along joints, corners, and where surfaces meet to block air leaks.
- Cover the sealed spots with top-quality insulation tape to keep everything in place.
- Test for drafts by feeling for cool air or using a smoke pencil to make sure every gap is closed.
Thermal bridging occurs when heat escapes through structural parts like joists, which can reduce your insulation’s efficiency by as much as 15%. To cut down this heat loss, add continuous insulation strips along the floor edges and around any openings. This creates an unbroken barrier that fills small gaps and keeps the insulation effective. With the right R-value, proper air sealing, and added protection from thermal bridging, your floor stays evenly warm, minimizes drafts, and lowers your heating bills.
Moisture Control and Vapor Barriers in Floor Insulation Installation
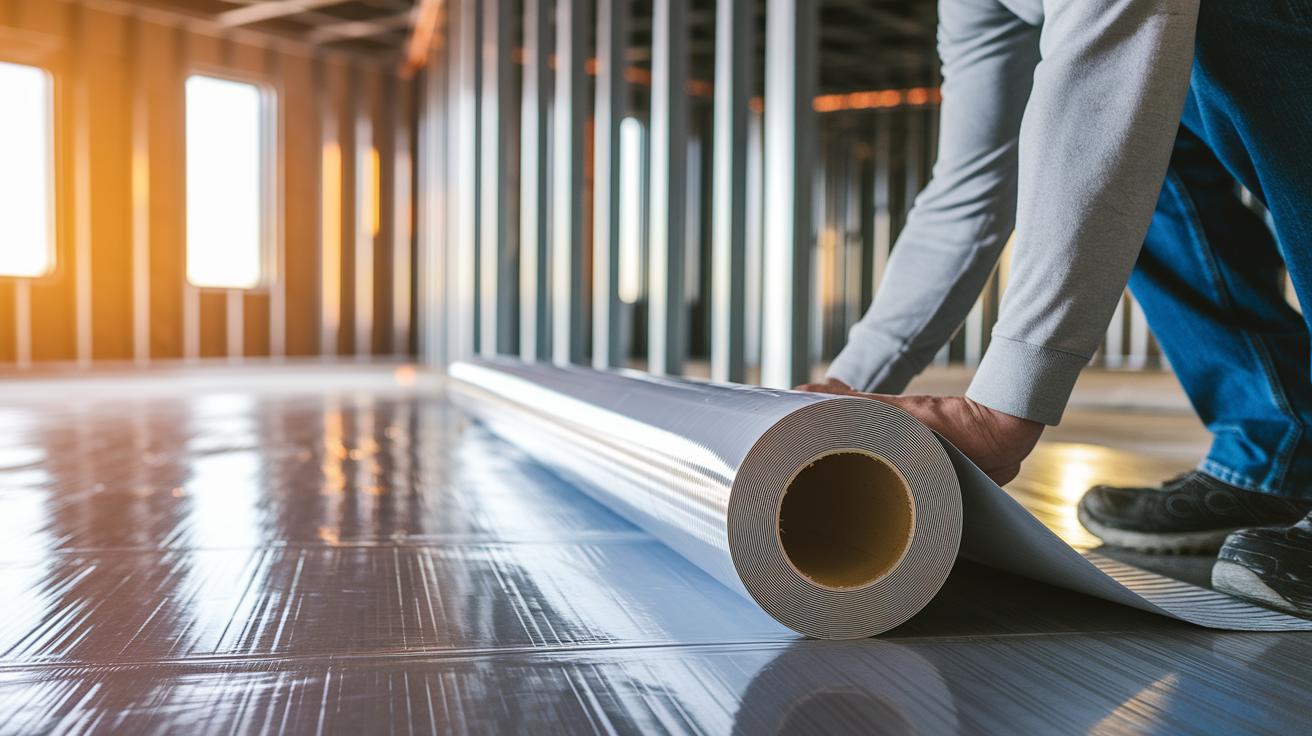
For concrete subfloors, lay a 6-mil (0.006 in / 0.15 mm) polyethylene vapor barrier directly on the slab. Seal every overlap and edge with the right tape or adhesive. For wood floors or crawl spaces, choose reflective foil boards that include a built-in moisture barrier. You can find more tips on arranging vapor retarders in the Essential Steps and Adapting Floor Insulation Installation for Different Subfloor Types sections.
Place vapor retarders under insulation panels to keep airborne moisture from seeping into the floor assembly. On concrete, set the barrier down before you put in the insulation. In crawl spaces, start with a vapor retarder on dirt or uneven surfaces, then add a moisture-resistant underlayment. Make sure the retarder runs continuously under the insulation with no breaks.
Before installing insulation, use a moisture meter to test the subfloor. Check several spots on the concrete to find any damp areas. If you discover moisture issues, add extra vapor control measures where needed.
DIY Versus Professional Floor Insulation Installation Services

Choosing how to insulate your floor is an important decision that can save energy and boost comfort. You can handle it yourself or hire a pro, each option has its pros and cons.
If you choose the DIY route, you save on labor costs and control your schedule. But without the right experience, you might run into mistakes like leaving gaps or misaligning insulation panels. For example, you might cut a panel too short and end up with cold spots. DIY works best for smaller projects where you’re confident in your skills with subfloor insulation (insulation applied under the floor) and safe underfloor techniques.
On the other hand, professional installers bring valuable expertise. They know how to meet building codes, finish the job quickly, and even offer warranties for extra peace of mind. Their careful work helps prevent issues such as moisture problems or uneven insulation.
For larger or more complex projects, hiring a professional is a smart way to ensure a safe, durable installation that meets all the required standards.
Maintenance and Troubleshooting for Floor Insulation Installation
Floor insulation needs regular care to work well and protect your home. Checking it every season, especially before winter, helps you spot problems early. These routine inspections keep moisture at bay, prevent the insulation from shifting, and cut down on unwanted noise between rooms.
Watch for warning signs like uneven floor temperatures, musty smells, clear gaps in the insulation, or louder sounds between rooms. If you feel cold spots or notice a damp odor, it may mean the insulation has shifted or water is getting in. Address these issues right away to keep your insulation effective.
To fix common insulation issues, follow a few simple steps. Start by using foam sealant to fill any gaps, and secure any loose batts or boards. Inspect the vapor barriers (plastic layers that block moisture) and repair any damage to stop leaks. Finally, re-align insulation panels if needed. Regular checks, especially before winter, ensure your system stays snug and efficient, keeping your floors warm and comfortable.
Final Words
In the action, we broke down the process of floor insulation installation, from selecting materials and adapting to different subfloors to managing costs and moisture control. We laid out practical steps and troubleshooting tips to help you complete a safe, efficient project.
This guide serves as a hands-on reminder to follow each tip carefully and ensure proper maintenance. Enjoy the improved comfort and energy efficiency that come with a job done right.
FAQ
Q: What is the best method for concrete floor insulation installation when there’s no crawl space?
A: The concrete floor is best insulated by using rigid foam boards with a moisture barrier. This method boosts energy efficiency and offers protection against dampness even without a crawl space.
Q: How do I install insulation and secure floor joists in a crawl space effectively?
A: The crawl space insulation is best installed by placing batts or foam boards between floor joists and adding a vapor barrier. This method controls moisture and enhances energy efficiency.
Q: What’s the proper method to insulate between floor joists in a basement?
A: Basement floor joist insulation is accomplished by properly fitting insulation batts between joists and sealing gaps. This approach improves thermal performance and minimizes noise and heat loss.
Q: How should I install rigid foam insulation under a floor, and what material should be used?
A: The installation of rigid foam insulation under a floor calls for laying durable foam boards with an integrated vapor barrier. This technique offers superior thermal performance and effective moisture protection.
Q: What is the recommended approach to insulate a floor from the top?
A: Floor insulation from the top is achieved by overlaying insulation boards onto the finished floor or new subfloor. This retrofit method enhances energy efficiency with minimal disruption.
Q: How do I insulate floors in an old house effectively?
A: Insulating floors in an old house involves removing old materials and installing modern insulation paired with vapor barriers. This method increases comfort, reduces drafts, and boosts overall energy efficiency.
Q: How much does floor insulation installation cost, and is it worth the investment?
A: Floor insulation installation costs range from about $0.50 to $3.00 per square foot. The investment is worthwhile as it lowers energy bills, increases comfort, and reduces noise levels.