
Ever wonder why your energy bills don't add up even after making other upgrades? Foam board insulation could be the fix you need. It creates a hard barrier that blocks drafts and keeps your home warm in the winter and cool in the summer. Imagine panels lined against your walls that work like a shield to stop heat loss and prevent cool air from escaping. Our guide walks you through every step, from measuring and cleaning to cutting and using adhesive, so you can easily set up an energy-saving barrier at home. This simple project can lead to big savings on your bills.
Foam board insulation installation sparks energy savings
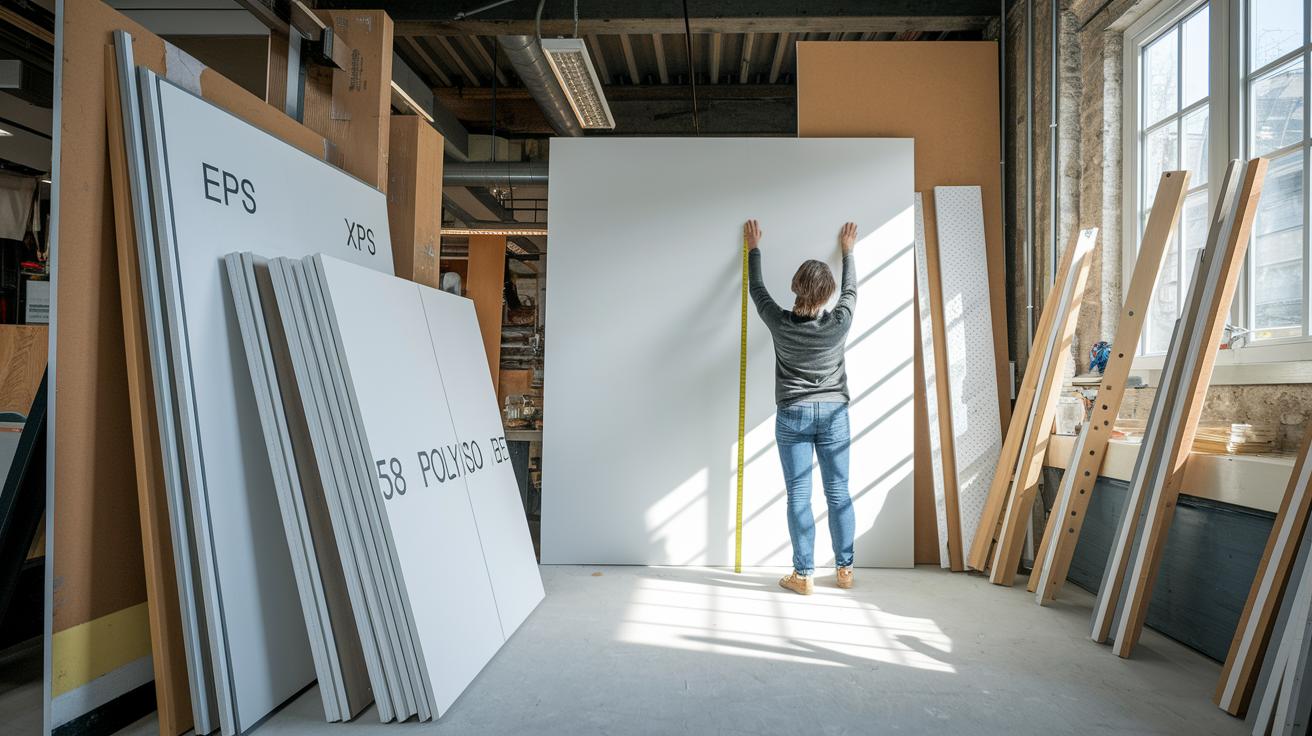
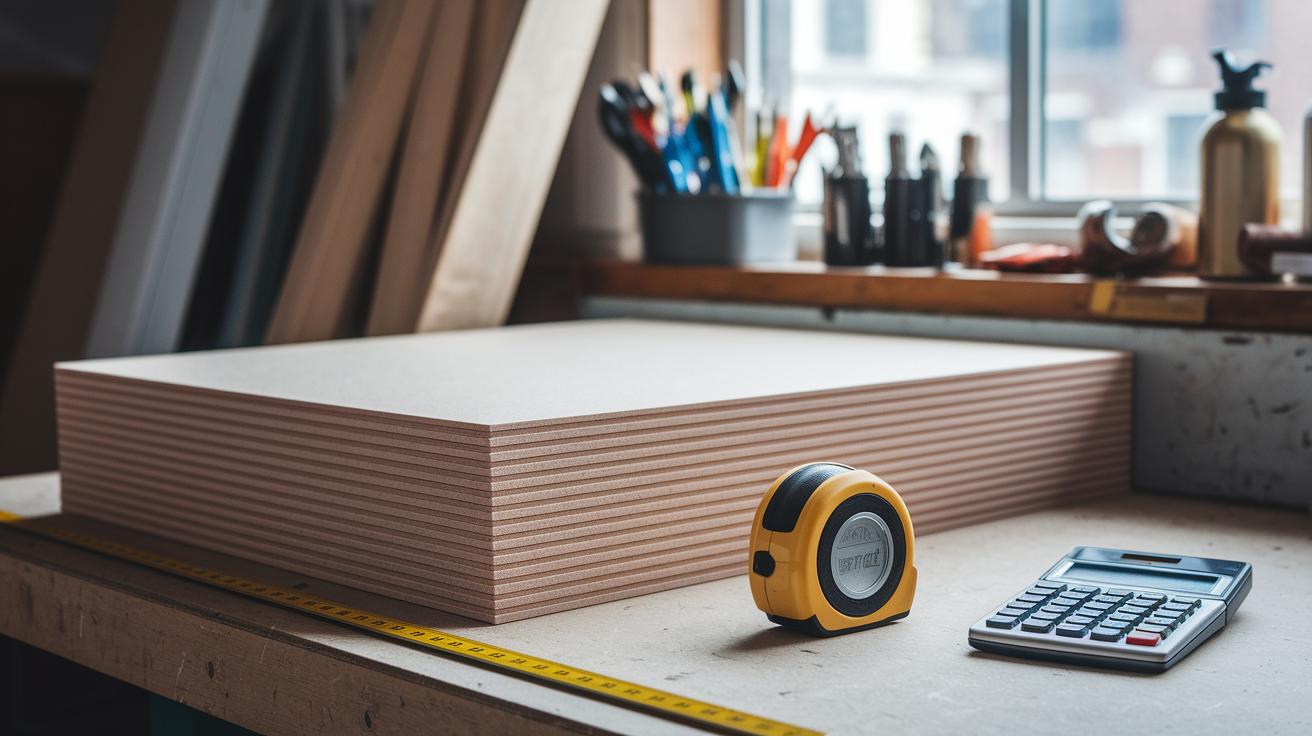
First, measure your wall by checking its height and width to find the total square footage. This step helps you pick the right foam board type, whether it’s EPS, XPS, or polyiso, and choose a thickness from 0.5 in (1.3 cm) to 2 in (5 cm) based on your insulation needs. Clean the wall carefully, fix any holes or cracks, and make sure it’s completely dry before you start.
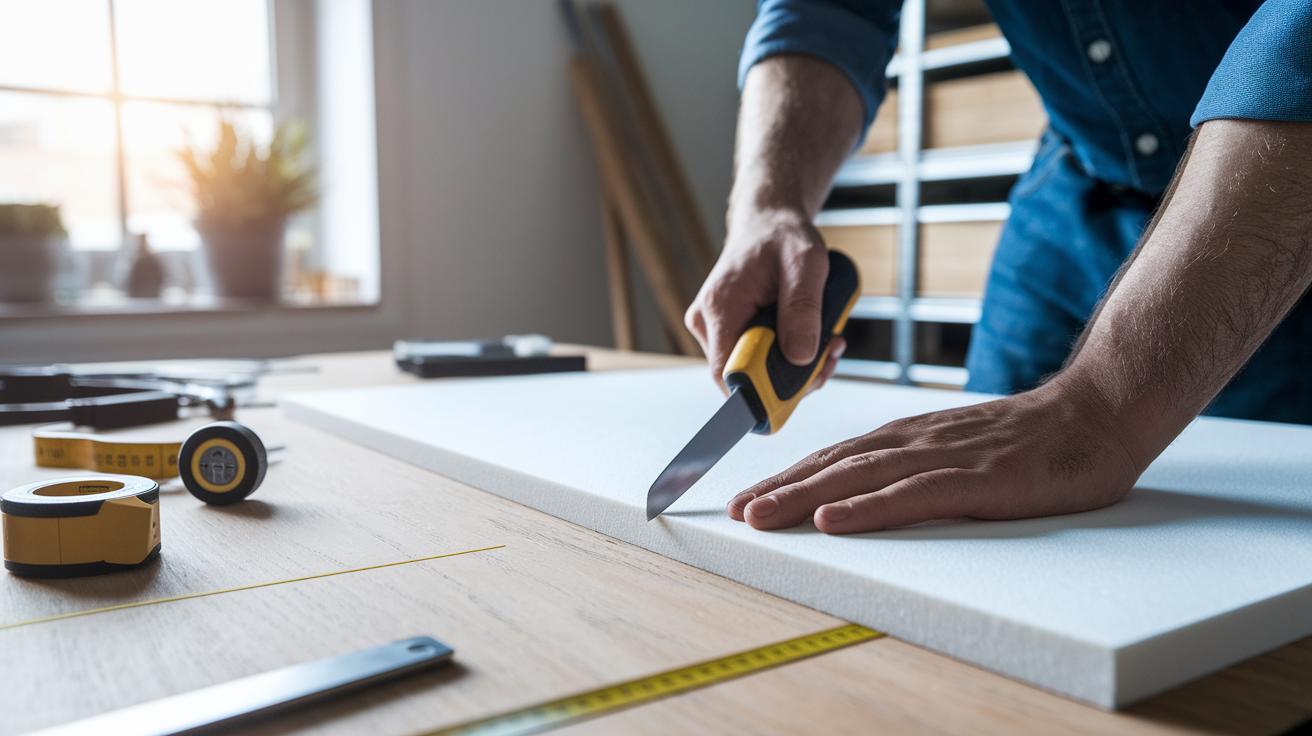
Next, take a standard 4 ft by 8 ft (1.22 m by 2.44 m) sheet and mark your cut lines on both sides using a straight edge and marker. Then, use a utility knife to score along the line with firm, deep strokes before snapping the board cleanly. Apply a construction adhesive with a notched trowel, laying it in vertical beads or a grid pattern so the glue covers the area evenly.
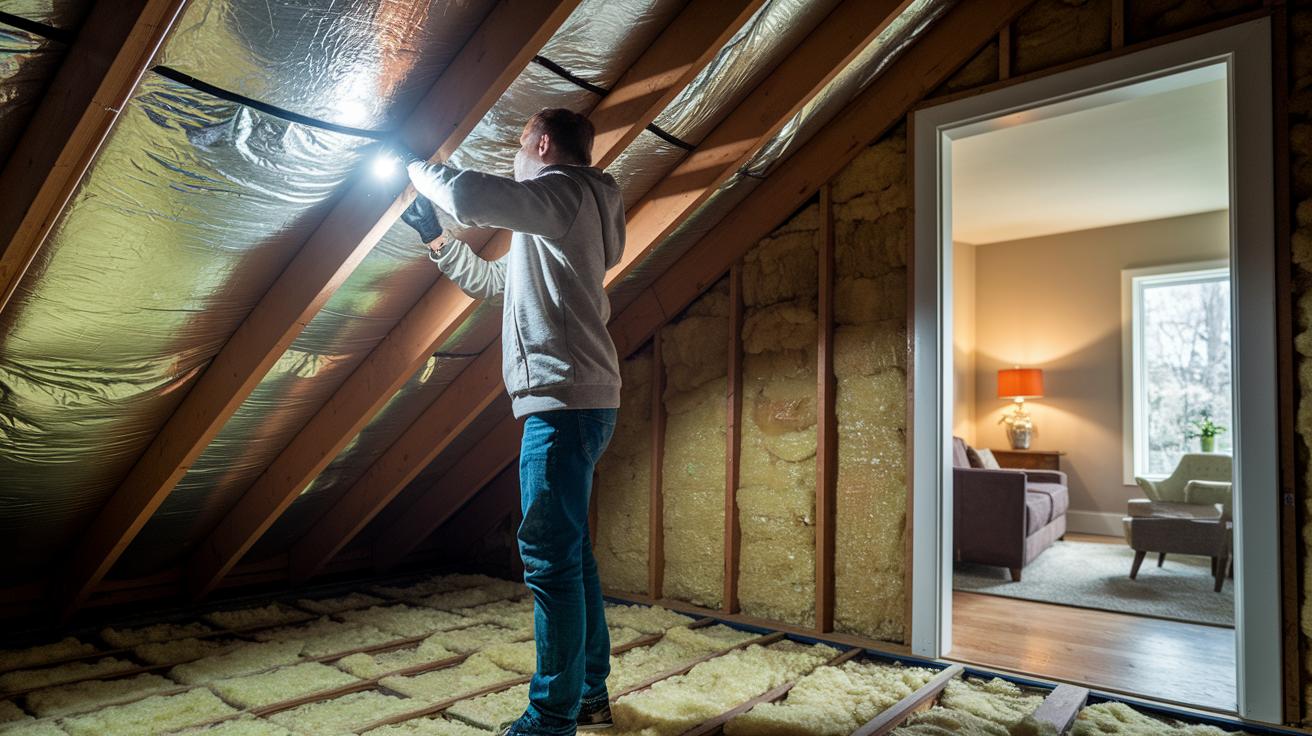
Begin at the bottom of the wall and press each panel firmly into place with a level or straight edge. Stagger the vertical joints by at least 12 in (30 cm) to prevent continuous gaps and boost energy efficiency. Take your time to press the panels down and wipe away any extra adhesive, ensuring no air pockets are left behind. This process is similar to attic insulation installation and creates a strong, energy-saving barrier.
Essential Tools & Materials for Foam Board Insulation Installation
Before you get started, gather all your supplies so you can work smoothly and safely. Having your tools handy saves time and keeps your project on track.
You’ll need items for cutting, measuring, leveling, fastening, and sealing. Here’s a quick list:
- sharp utility knife and insulation saw: Use these for clean, precise cuts on foam panels. A straight edge will help you mark and score neat lines.
- tape measure and marker: These are key for measuring wall dimensions and marking where to cut.
- level or chalk line: Use one of these to ensure each panel sits flush and lines up perfectly.
- notched trowel: This helps you spread construction adhesive or spray foam adhesive evenly.
For fastening foam boards to concrete, have button-cap masonry screws (designed for tough concrete work) and the correct washers. Sealing materials such as foil tape, joint tape, and foam sealant are essential to fill gaps and stop air leaks.
Safety gear is a must:
- heavy-duty gloves protect your hands from sharp edges.
- safety goggles keep your eyes safe when cutting or applying adhesive.
Gathering these tools and materials ahead of time means you’re set to install your foam board insulation quickly, safely, and with fewer interruptions.
Preparing Surfaces Before Foam Board Insulation Installation
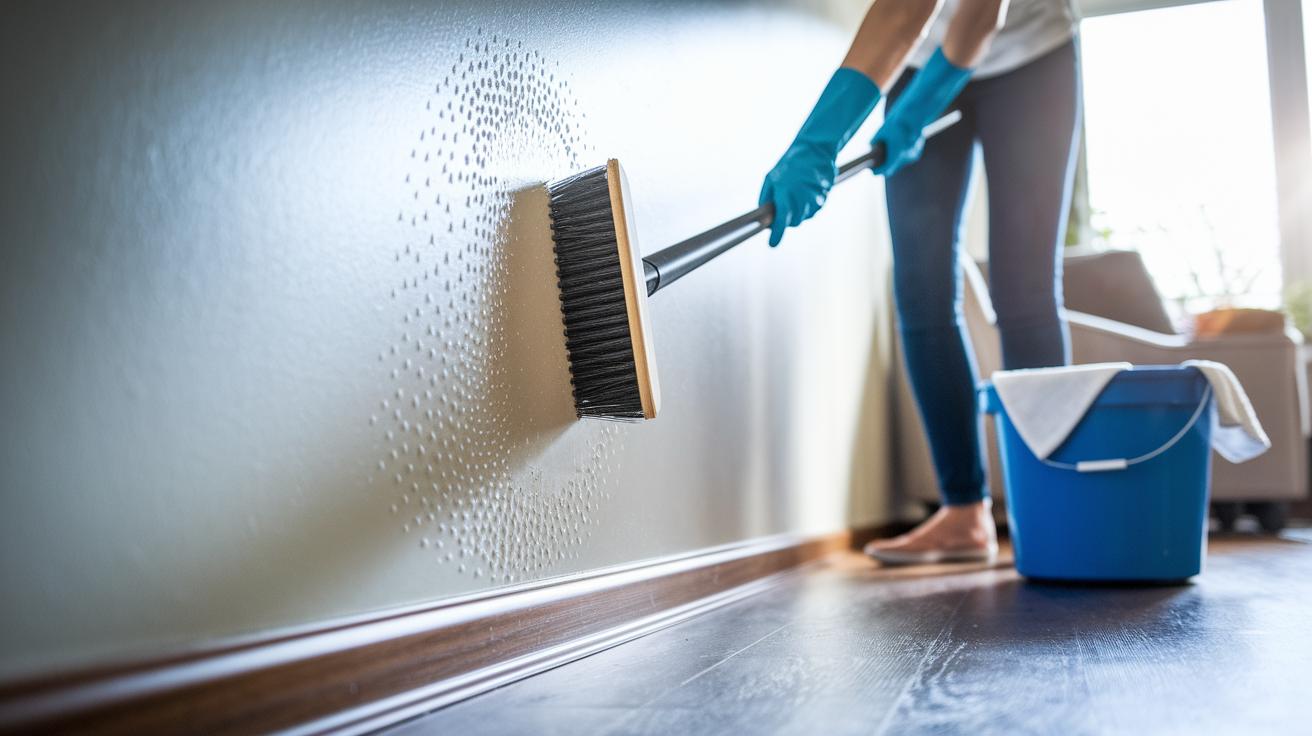
Start by cleaning your wall. Use a stiff brush or a damp cloth to wipe away dust, loose debris, peeling paint, and any mold. Get into every corner to leave the wall as smooth as possible, like a fresh, clean canvas ready for insulation.
Next, check the wall for any holes, cracks, or chipping (spalls). Fill these spots with the proper filler or mortar (a mix used to repair surfaces) so the foam board will stick evenly.
If you’re working with concrete or masonry, attach furring strips (thin wood pieces that help create a level mounting surface). Nail them in place with masonry nails using a pneumatic nail gun, and make sure the strips are level and plumb (vertically straight). If the wall isn’t perfectly flat, use shims (small wedges) to balance it out, just like steadying a wobbly table leg.
Finally, make sure the wall is dry and free of leaks. If you notice any cracks or moisture, talk to a structural engineer before you keep going. This careful setup gives you a strong, safe base for your foam board insulation installation.
Cutting & Customizing Foam Board Panels for Installation
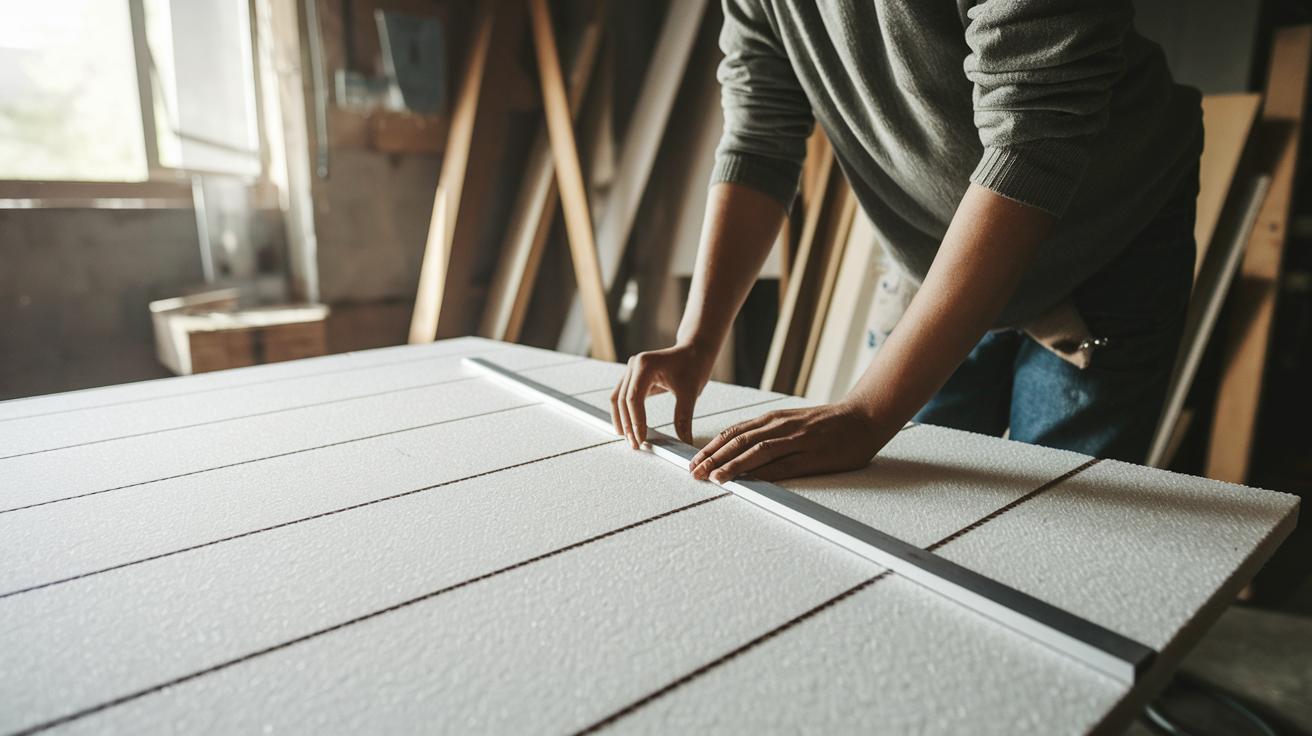
Start by measuring your foam board. Use a straight edge and a marker to mark your cut lines on both sides of a 4 ft by 8 ft (1.22 m by 2.44 m) panel. Check your line twice so you cut accurately.
Next, score the board along the line with a sharp utility knife. Work slowly and use steady strokes to avoid a rough edge. Once the score is deep enough, bend the board along that line to snap it cleanly.
Tip: When you need to trim around obstacles or work on odd-sized cuts, swap the utility knife for a finer insulation saw or a jig saw. Using a fine saw here helps you create neat, tight joints in tricky spots.
Applying Adhesive & Positioning Foam Board Panels
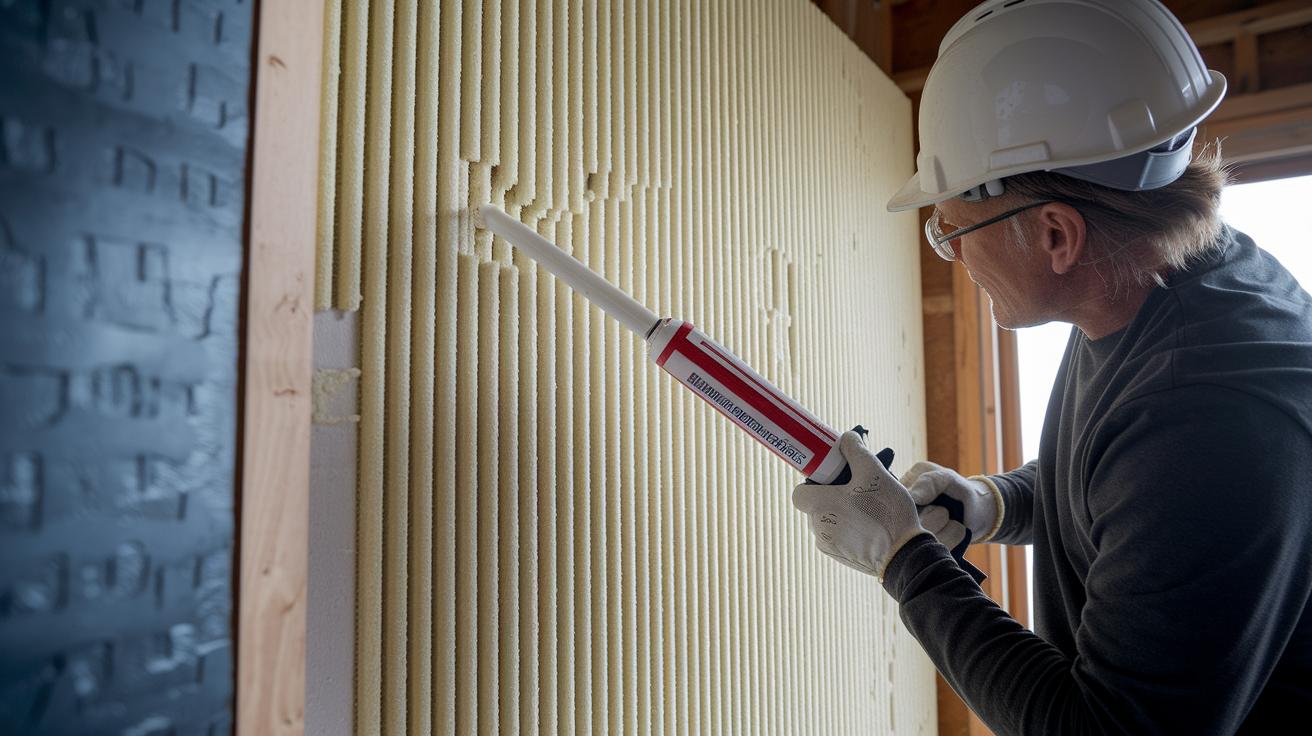
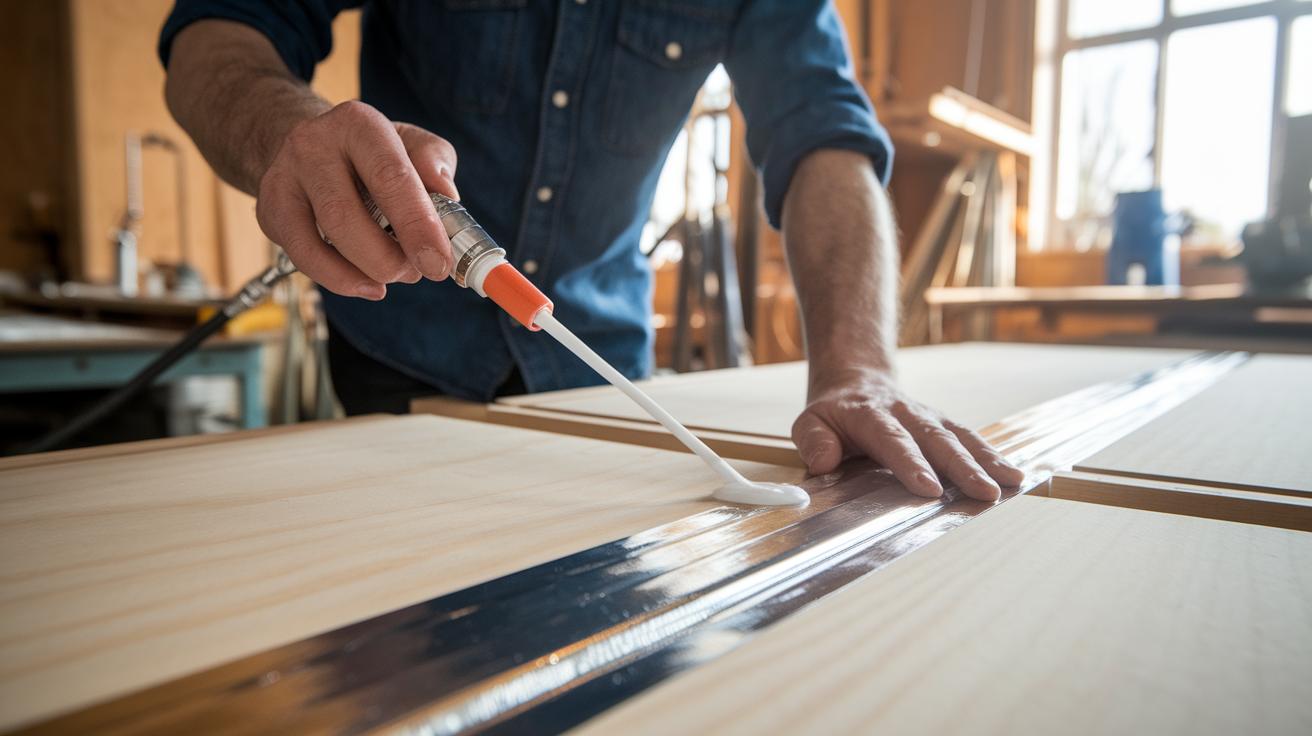
Load a construction adhesive (one made for foamed plastics) into a caulk gun. Squeeze out the adhesive in vertical lines or as a grid using a notched trowel. This helps spread it evenly over the surface.
Start at the bottom. Press each foam board panel firmly against the wall, moving upward as you go. Make sure to press hard so the adhesive sticks to the wall. Use a long level or straight edge to check that each panel is plumb (perfectly vertical) and flush with the wall.
For a continuous thermal barrier, stagger the vertical joints by at least 12 in (30 cm) from one row to the next. Hold the panels for a few seconds or use temporary bracing until the adhesive sets.
Advanced Techniques & Troubleshooting
- If the wall is uneven, add a light bead of adhesive along the edges of the panel.
- Switch the notched trowel to one with different notch sizes if needed to adjust adhesive spread on irregular surfaces.
- Reposition panels while the adhesive is still soft to fix any alignment issues.
- Frequently check your work with a long level to ensure a gap-free seam.
Ensure the panels bond securely in a continuous installation for the best results.
Mechanical Fastening Methods in Foam Board Insulation Installation
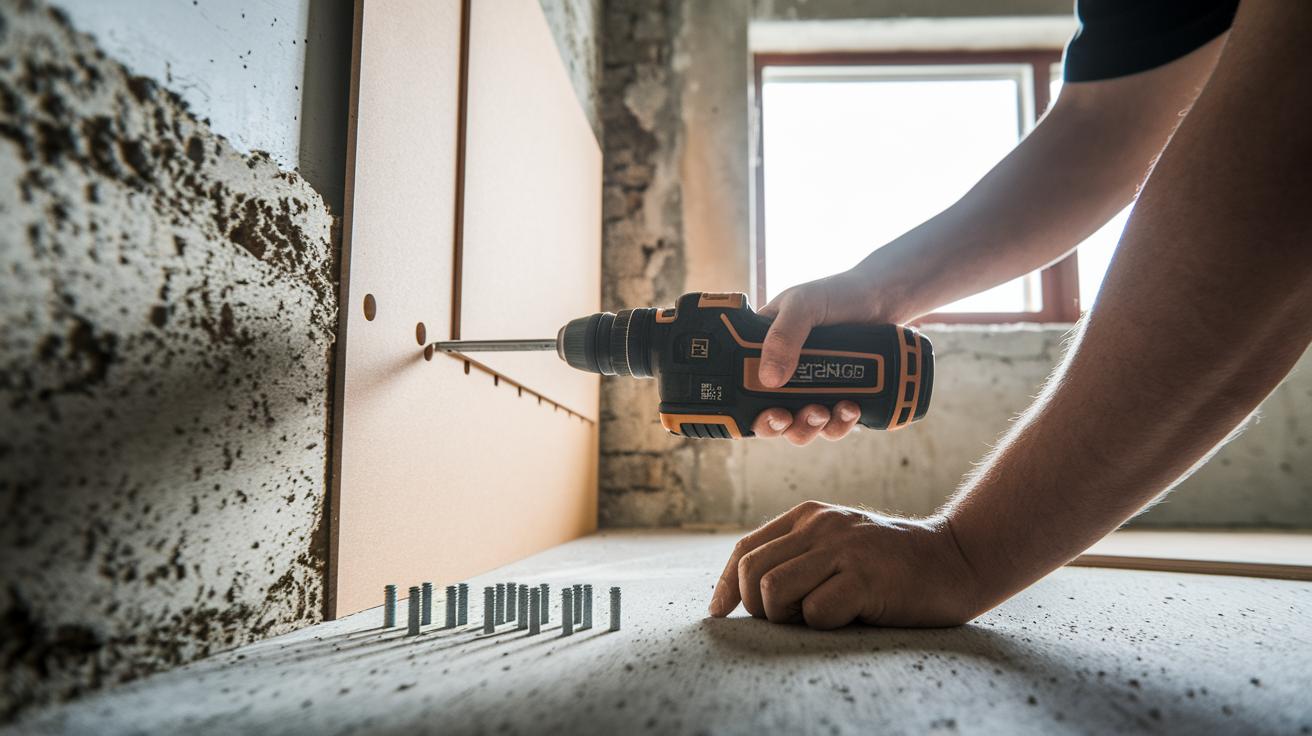
When you install foam board insulation on concrete or masonry walls, start by drilling pilot holes at regular intervals. Then, drive in masonry screws (special screws for setting into concrete) with foam board washers, making sure each screw goes at least 1 in (25 mm) into the concrete beyond the board. Space these fasteners about every 12 in (30 cm) to 16 in (40 cm) both vertically and horizontally. For example, drill a pilot hole roughly every 14 in (35.5 cm) so your layout stays even and secure.
For wood-framed walls, choose corrosion-resistant cap nails (nails designed to resist rust) or staples, and drive them flush with the board face. This method holds the insulation tight and keeps the finish clean. To boost security, especially in high-wind or seismic areas, use both mechanical fasteners and adhesive. Quick tip: Apply adhesive along the entire board edge first, then nail the panel in place for extra stability.
Key steps to remember:
- Drill pilot holes on concrete or masonry surfaces and install masonry screws with foam board washers.
- Space fasteners every 12 in (30 cm) to 16 in (40 cm) apart.
- In wood-framed walls, use corrosion-resistant cap nails or staples driven flush.
- For a tougher hold, combine adhesive with the fasteners.
Sealing Joints & Moisture Protection in Foam Board Insulation
Tape the board edges and butt joints with foil-backed tape or high-temperature foil tape to form an airtight seal. Run the tape along each panel edge and press it down firmly, just like sealing an envelope, to eliminate air pockets.
For any gap larger than 1/8 in (3 mm), use a low-expansion spray foam sealant. This foam fills uneven spaces and hardens fast to keep the board solid. When a gap seems slightly oversized, spray slowly until it is evenly filled and then smooth it out with a tool.
For a smoother finish, you can embed fiberglass mesh tape into wider seams and then apply a thin coat of a compatible joint compound. If local building codes call for it, install a separate vapor barrier (commonly 6-mil polyethylene) before you seal the insulation.
Allow a 1/8 in (3 mm) gap at the floor and ceiling to give room for the insulation to expand. Next, seal that gap with silicone caulk to block moisture while letting the board move with temperature changes.
Safety Measures & Building Codes for Foam Board Insulation Installation
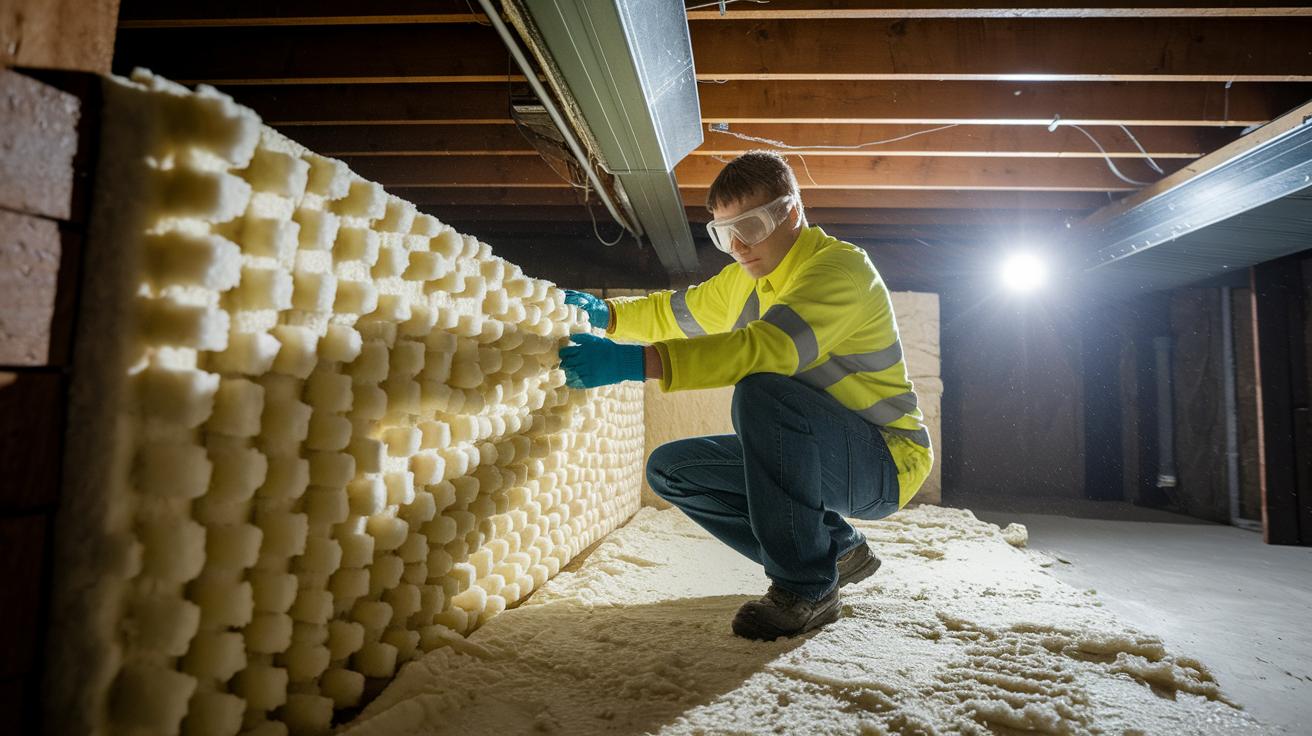
When working with foam board insulation, always put your safety first. Wear cut-resistant gloves and safety goggles when cutting or handling the boards. In small spaces or where air circulation is poor, use a dust mask to keep foam particles and dust from bothering your lungs.
Before you start, check your local building codes. Look for the minimum R-value (a measure of insulation’s resistance to heat flow) needed and rules about fire-rated thermal barriers. If you're insulating a basement or any area below ground level, make sure your insulation is rated for below-grade use and controls moisture well. If you spot leaks or cracks in foundation walls, call a structural engineer. This step protects the building and helps your insulation do its job right.
Follow your local construction safety guidelines. Check the safety instructions provided by your authority and always stick to the manufacturer’s directions. Keeping safety and code compliance in mind will help you complete a secure, lasting insulation installation. Stay alert and work safely.
Estimating Costs & Budgeting for Foam Board Insulation Installation
Foam boards come in 4 ft x 8 ft sheets (covering about 32 sq ft or roughly 3 m²). You can expect to pay between $10 and $30 per sheet, depending on the type and thickness. To pick the best insulation for your needs, compare foam boards with options like fiberglass batts (insulation blankets), blown-in cellulose (loose fill fibers), or spray foam by their R-value (a measure of thermal resistance).
Don’t forget to plan for extra supplies. For example, set aside about $2 to $4 per tube for construction adhesive and around $0.10 to $0.30 for every fastener (screws or nails that hold materials together). Here’s a simple cost breakdown:
| Item | Estimated Cost |
|---|---|
| Foam Board Sheet (32 sq ft / 3 m²) | $10 – $30 |
| Construction Adhesive (per tube) | $2 – $4 |
| Fasteners (each) | $0.10 – $0.30 |
Also, factor in labor. A DIY install usually covers about 50 sq ft (4.6 m²) per hour, while hiring a pro might cost between $1.50 and $3.00 per sq ft. And to stay on budget, add an extra 10%–15% to cover waste, special cuts, or repairs to the surface underneath. This way, you create a clear and balanced budget to get your insulation project done right.
Maintaining & Troubleshooting Foam Board Insulation Over Time
Regular checks keep your insulation working well for years. Look over all seals and tape at least once a year. For example, if foil tape starts peeling on a small spot, remove it and apply new tape or silicone caulk to restore a tight seal.
Inspect the panels for any signs of moisture or mold, especially on basement walls. A quick look can catch early water issues. If you spot damp areas, fix the leak immediately to protect the insulation.
Keep an eye on your indoor comfort and energy bills. A sudden rise in bills or uneven temperatures may mean the insulation is failing. Check for boards that are cracked or coming apart, and replace them to stop energy loss.
Over time, temperature shifts can loosen panels. Check the fasteners and tighten them or add new ones as needed. With regular inspections and timely repairs, your insulation will keep saving energy year after year.
Final Words
In the action, you measured spaces, prepped surfaces, cut panels, and applied adhesive with precision. Each step, from planning to sealing joints and fastening securely, ensures a tight, energy-efficient layer. You reviewed essential tools, safety gear, and cost factors that keep your project on budget and safe.
This hands-on approach makes foam board insulation installation an achievable upgrade for lasting comfort. Enjoy the benefits of a well-insulated home and the confidence that comes with doing the job right.
FAQ
How to install foam board insulation on exterior walls, interior walls, and ceilings?
Installing foam board insulation for walls and ceilings begins by measuring surfaces, cleaning and prepping areas, cutting panels to size, applying adhesive, and fastening them securely to create a continuous thermal barrier.
Where can I find foam board insulation installation PDFs and videos?
Foam board insulation installation PDFs and videos are available on DIY and construction websites, offering step-by-step guides and visual demonstrations that clearly explain each part of the installation process.
How is rigid foam board insulation installed?
Rigid foam board insulation is installed by accurately measuring and cutting the panels, applying construction adhesive evenly, pressing the panels firmly in place, and sealing joints to ensure a tight, energy-efficient barrier.
How do you install foam board insulation with foil and which side should face out?
Installing foam board insulation with foil involves positioning the panel so the foil side faces outward, as it reflects radiant heat while also following manufacturer guidelines for proper sealing and performance.
How do you install foam board insulation between studs and what is the best way to attach it?
Installing insulation between studs requires cutting the panels to fit the spaces, applying adhesive for initial placement, and using mechanical fasteners like cap nails or masonry screws for extra support where needed.
Do you need to tape seams and add a vapor barrier for foam board insulation?
Taping seams is essential to maintain an airtight barrier, and adding a vapor barrier may be required by local codes to protect against moisture, ensuring the insulation remains effective over time.