
Ever notice your energy bill creeping up every month? It might be time to upgrade your attic insulation. Better insulation stops unwanted air leaks, so your home stays warmer in winter and cooler in summer. This simple change can save you money and boost your home's comfort and value.
This guide walks you through a step-by-step attic insulation upgrade. Follow along to improve your home's energy efficiency, cut utility costs, and guard against extreme weather. Get ready to turn your attic into a real energy-saving asset.
Attic Insulation Installation Overview: How It Saves Energy and Money
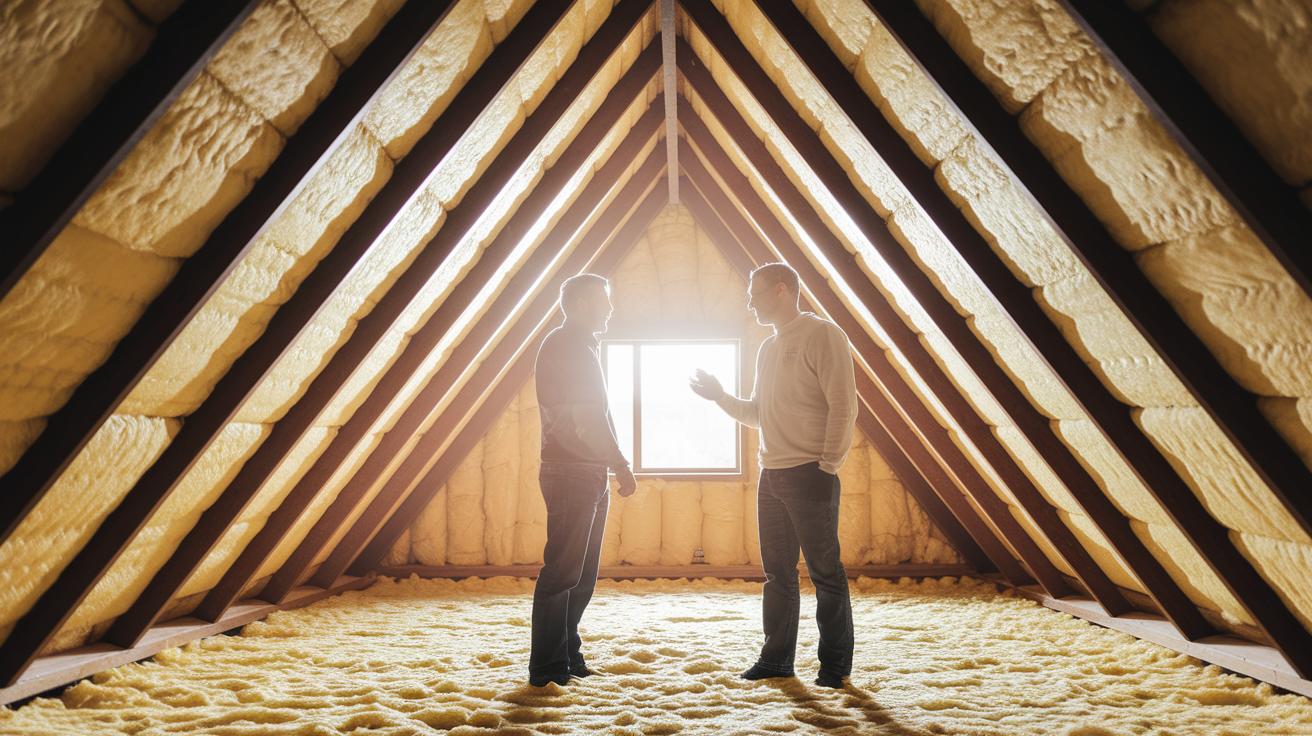
Attic insulation installation boosts your home's energy efficiency by sealing off unwanted air flow. Adding insulation helps keep heat inside during winter and blocks out strong heat in summer. This upgrade cuts your energy bills and makes your home more comfortable all year long. For example, one homeowner noticed fewer drafts after upgrading the insulation.
The job follows four clear steps. First, inspect your attic to check the type and condition of the existing insulation. Second, add a fresh layer of insulation. Third, install a radiant barrier foil (a reflective material that boosts efficiency) to improve performance. Fourth, insulate the attic hatch to stop air leaks. Note: Closed-cell spray foam resists moisture. If you see dampness, using it can be a safer choice compared to options like cellulose or fiberglass.
Good attic insulation saves money right away and for years to come. Your energy bills drop as your indoor temperatures stay steady. Plus, this upgrade can raise your home's resale value. Imagine lowering your heating costs and turning your attic into an energy-saving space that adds lasting value to your property.
Comparing Attic Insulation Installation Types and Methods

Choosing the best insulation can boost your attic's energy efficiency and lower your utility bills. You can choose from fiberglass batts, blown-in cellulose, open-cell spray foam, or perforated radiant barrier foil. Each option is applied differently and offers its own benefits, from simple installation to smart moisture control. For example, fiberglass batts fit snugly between joists, while blown-in cellulose is added through a small hole to keep disruption to a minimum.
| Insulation Type | Application Method | Key Advantage |
|---|---|---|
| Fiberglass batts | Fits snugly between joists | Easy to install and budget-friendly |
| Blown-in cellulose | Blown in with a hose through a small, hockey-puck-sized hole | Minimally invasive and fills gaps well |
| Open-cell spray foam | Expands on application to seal gaps | Offers excellent air sealing and insulation |
| Perforated radiant barrier foil | Stapled with a 1-2 in overlap on rafters in hot areas or laid flat in colder zones | Helps manage moisture to prevent condensation |
Each insulation choice balances installation ease with performance benefits. Think about your attic's design and local climate to pick the option that best improves energy savings and overall comfort.
Attic insulation installation: Enhance Home Efficiency Now
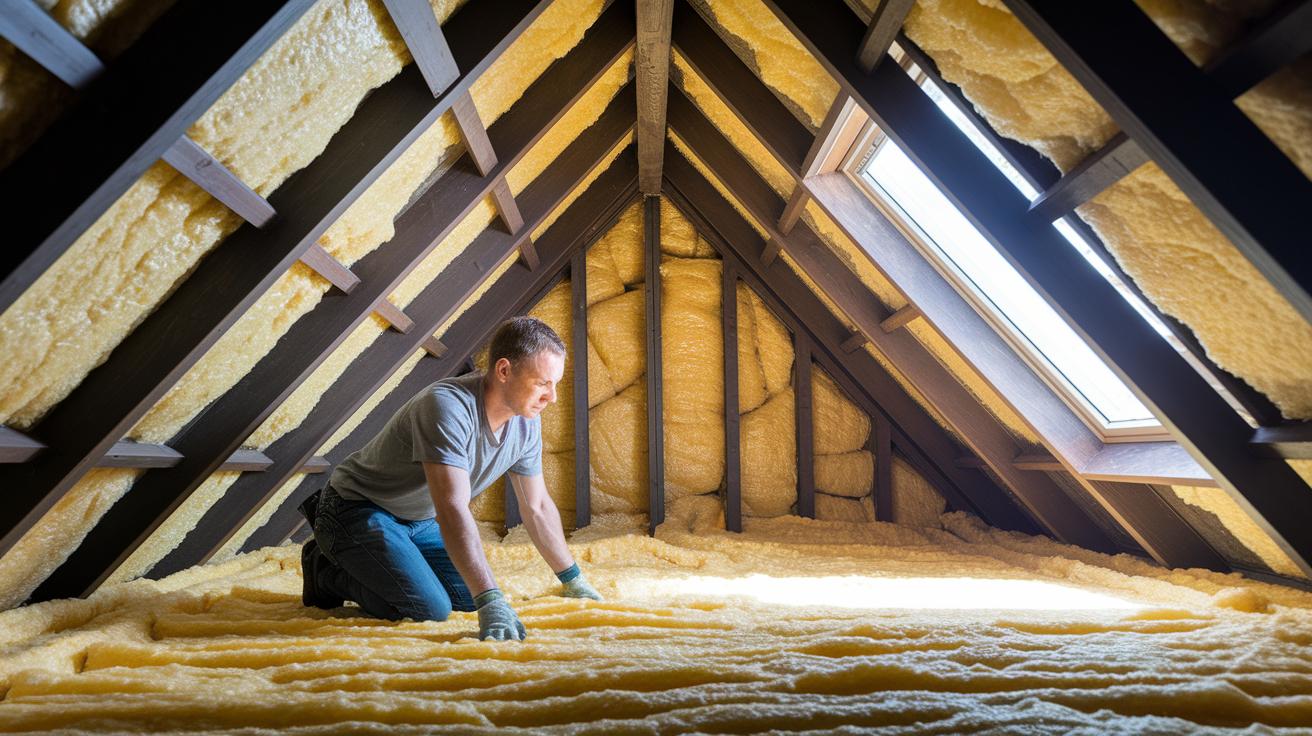
Start by gathering your safety gear and tools: gloves, long sleeves, safety glasses, dust mask, utility knife, staple gun, ladder, cleaning supplies, and your insulation material.
- Clear the attic of debris and check for water leaks while wearing your safety gear.
- Look over the current insulation for any damage or gaps and repair what needs fixing before adding more.
- Seal gaps around joists (horizontal beams), vents, and pipes with caulk or spray foam to block drafts while keeping air flowing.
- Lay the first layer of insulation evenly on the attic floor, covering every spot without compressing the material.
- Attach the radiant barrier by stapling perforated foil with a 1–2 in (2.5–5 cm) overlap, and be sure not to block the vents.
- Insulate the attic hatch by adding insulation to the door or applying a dedicated cover to slow air leakage.
- Clean up by collecting extra material and dust, then store your tools safely.
- Do a final walk-through to make sure every step is complete and that all safety measures are in place.
Always keep your safety gear on and double-check each step to boost your home's efficiency and keep yourself safe.
Attic insulation installation: Enhance Home Efficiency Now
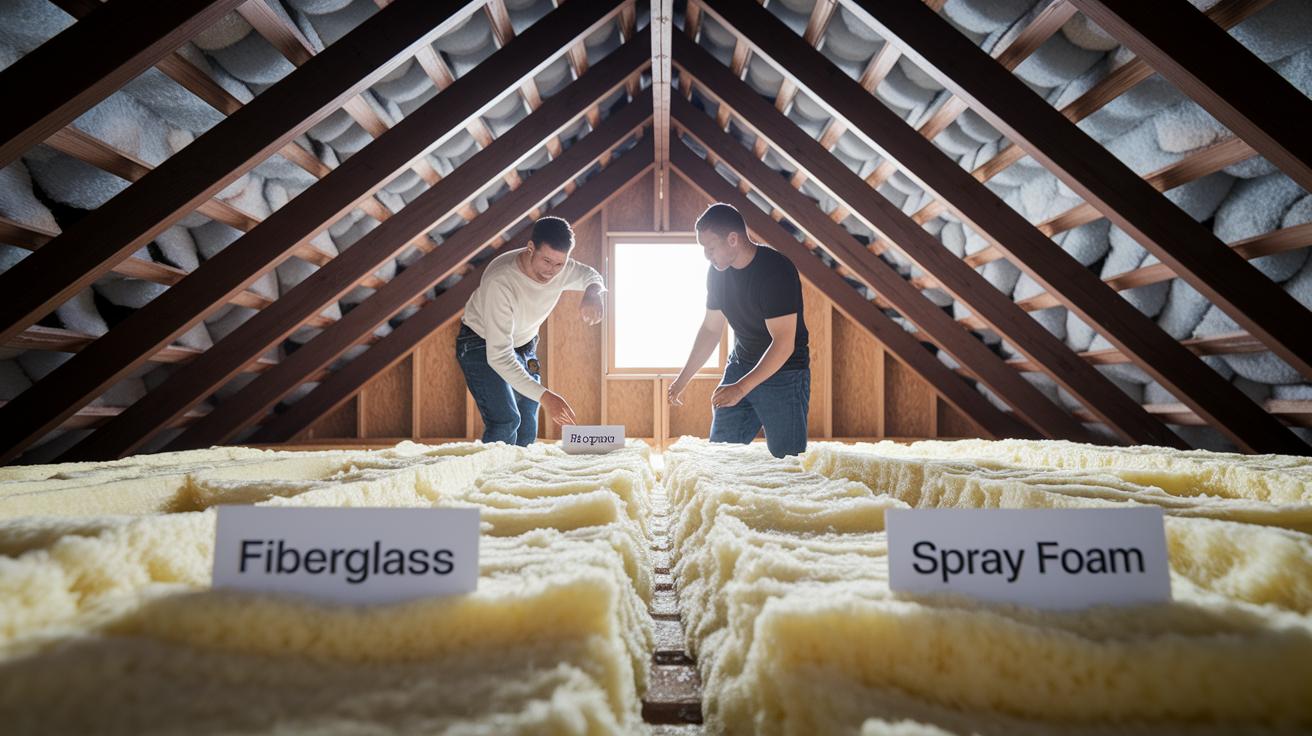
Insulation material prices can differ a lot. Fiberglass runs about $0.50 to $1.50 per square foot (around $5.38 to $16.15 per m²). Cellulose comes in at about $1.50 to $3.00 per square foot, and spray foam costs roughly $2.00 to $4.00 per square foot. One homeowner said they stayed within budget by choosing fiberglass, but switching to spray foam really improved their home's energy efficiency.
Installation and equipment costs also add up. Paying for a pro to install insulation usually runs between $0.40 and $1.00 per square foot, depending on how easy it is to get into your attic and the job's details. Note: Blown-in insulation (loose fill) and spray foam often need special equipment that you may have to rent. That rental fee could add several hundred dollars, so make sure to include it in your project plan.
There are ways to cut upfront costs too. Many local programs offer rebates or tax credits when you boost your attic insulation. Try using an installation cost calculator to compare local contractor bids with your own DIY estimates, and check with local energy programs to see if you can get extra financial help.
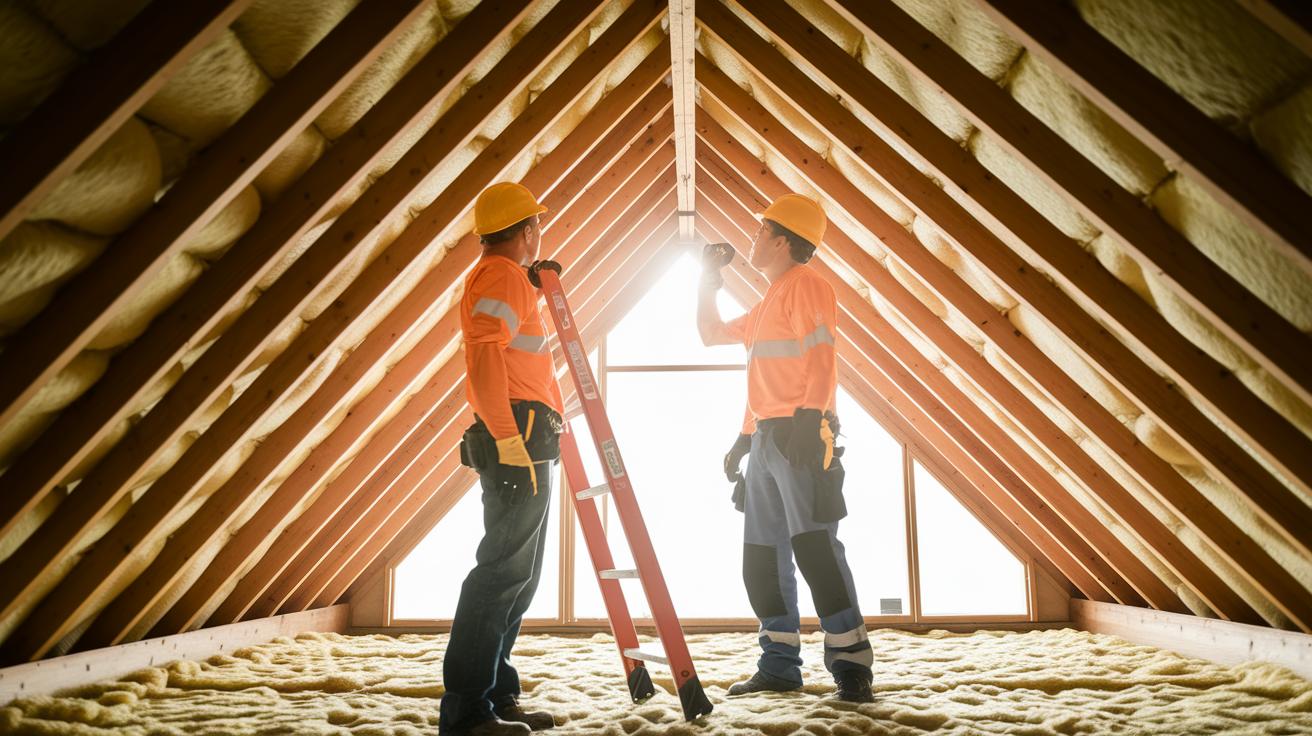
Hiring Licensed Experts vs DIY Attic Insulation Installation
When you plan to insulate your attic, you must choose between doing the work yourself or hiring licensed experts. DIY might lower upfront costs and offer flexible scheduling, but it can lead to mistakes like blocked soffit vents or poorly taped radiant barrier seams. Professional installers know how to do the job right and safely. They stick to local building codes, carry insurance, and often back their work with warranties, which keeps your investment secure.
Before you hire a contractor, check unbiased reviews and verify that they have the proper state licensing and warranty papers. Make sure they use the right spray rigs for closed-cell foam (a type of insulation that resists moisture) and have done similar projects. This research helps you decide when a pro is a better choice and ensures your attic insulation lasts.
Attic Insulation Installation Safety Protocols & Moisture Management
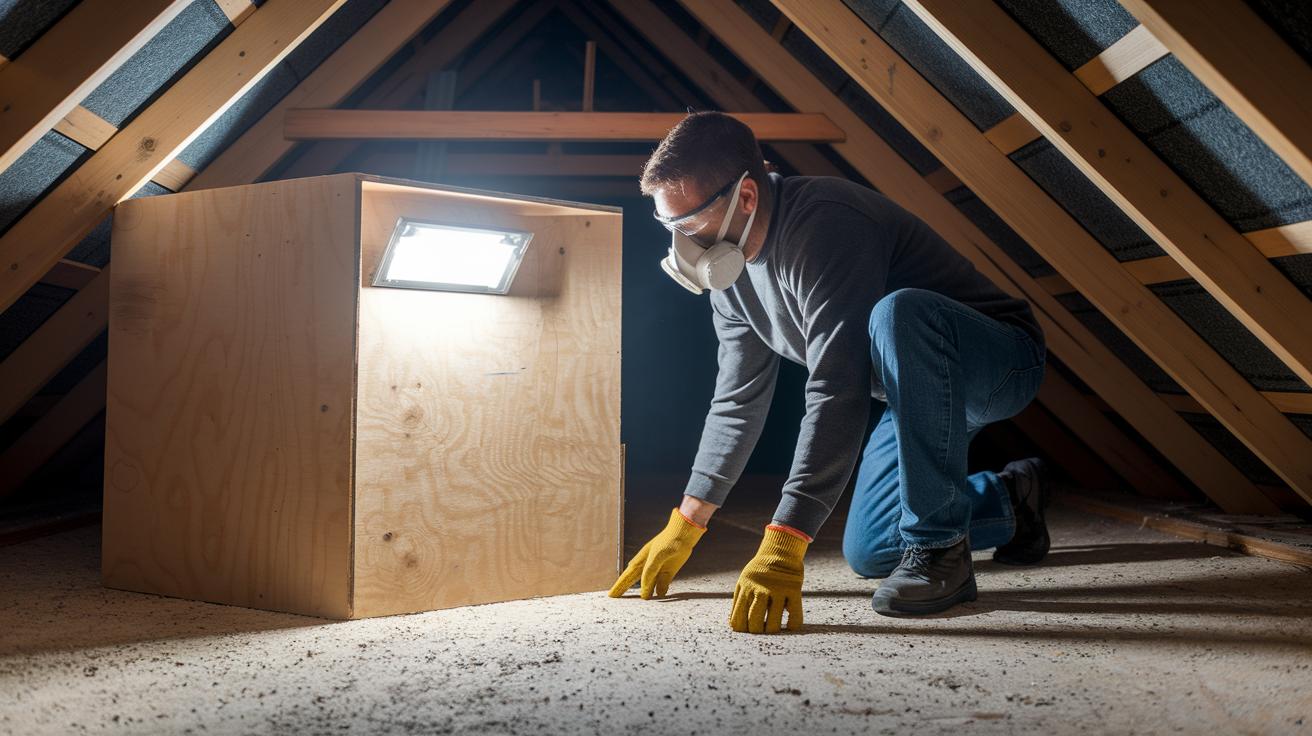
Always put on your safety gear before you begin. Wear gloves, safety glasses, and a respirator to protect your eyes and lungs from fine dust. Build a small box from plywood or metal flashing to keep a gap of 3 in (7.6 cm) clear around light fixtures. Also, check that the attic walkway boards are secure so you can move safely. These steps not only protect you but also ensure you handle materials the right way.
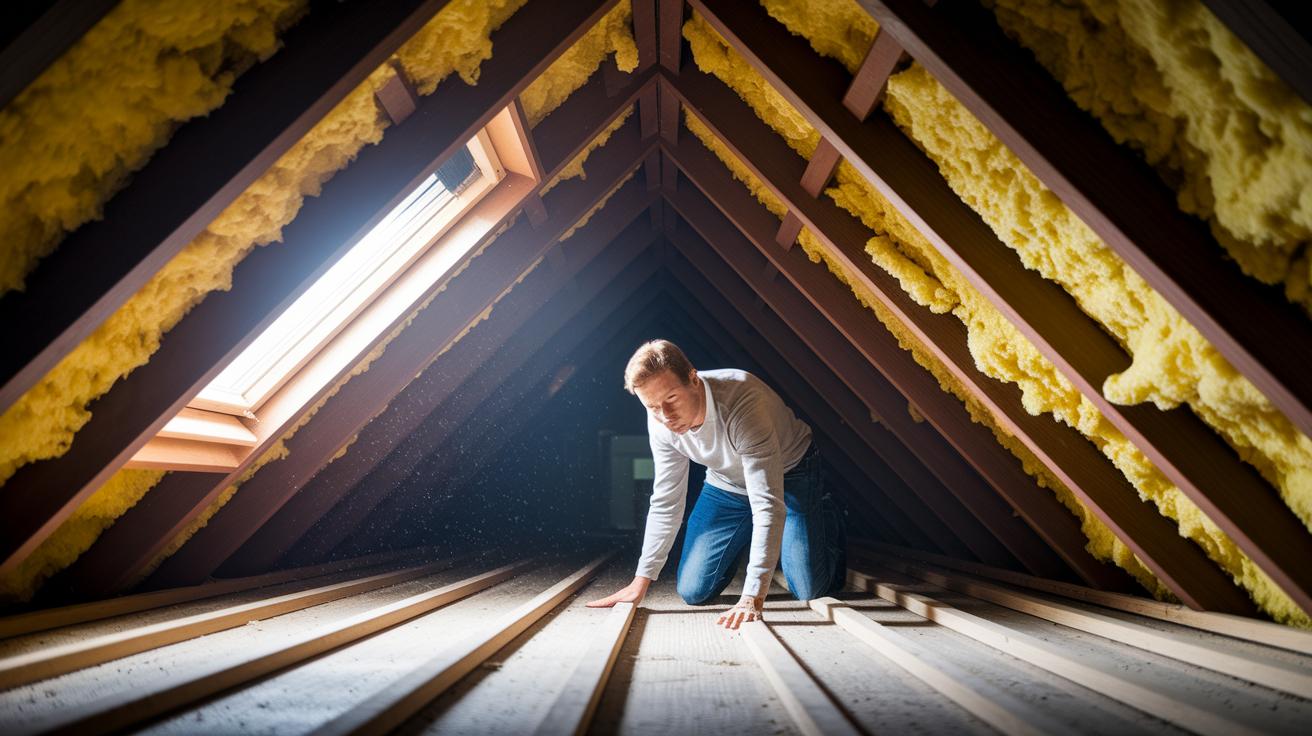
Before you install new insulation, take a look around for signs of moisture. Check for water leaks, damp wood, discoloration, or soft spots that might hide damage. Make sure all exhaust fans vent air outside to keep mold from forming. A quick jobsite safety check can help you spot issues and manage moisture effectively in your roof.
Follow building codes by adding proper ventilation channels and vapor barriers where needed. Install baffles (small strips that keep insulation away from the roof surface to allow airflow) correctly to let air circulate between the insulation and the roof. This helps prevent moisture from getting trapped and improves your home's energy efficiency while reducing the risk of future repairs.
Advanced Attic Insulation Techniques: Radiant Barriers & Foam Innovations
Radiant Barrier Setup Guide
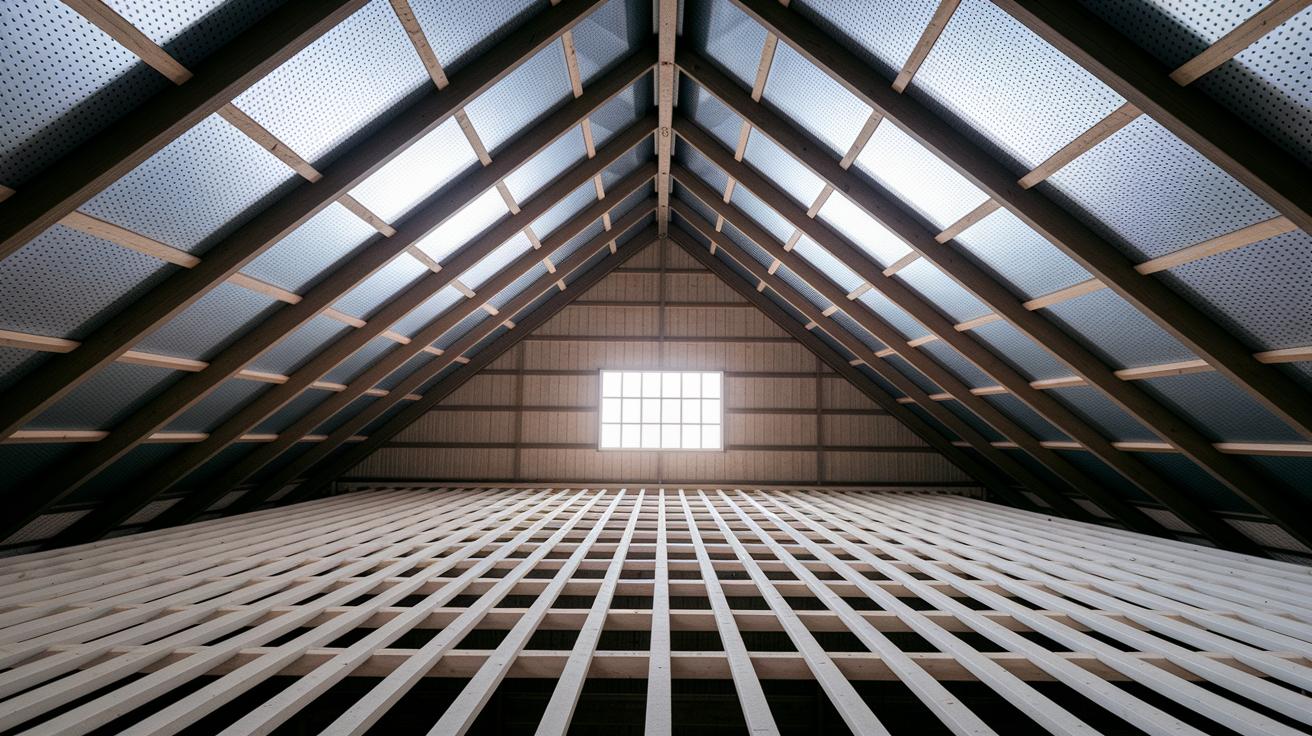
A perforated radiant barrier foil lets moisture escape, which stops condensation and mold. Use a foil with holes instead of a solid one when moisture control is important. In hot climates, staple the foil to your rafters with a 1–2 in (2.5–5 cm) overlap to cover the area fully while keeping vents open. In colder areas, lay the barrier flat on your attic floor. Think of it like overlapping shingles that allow air to flow while keeping the insulation in place. Always staple carefully to maintain an air gap that prevents moisture buildup and improves thermal performance.
Modern Foam Technology Advances
A two-layer spray foam method is changing the way attics are insulated. First, apply closed-cell spray foam, which offers about R-6.5 per inch (roughly 3.5 per cm) and adds a solid support layer. Then, top it off with open-cell foam that expands to fill gaps and adds roughly R-3.5 per inch more insulation. This layered approach not only reduces air leaks and drafts but also strengthens your insulation system, making your home more energy-efficient and comfortable all year round.
Maintaining and Inspecting Your Attic Insulation Installation
Every spring and fall, take a quick look at your attic insulation. These two yearly checks help you catch small issues before they get worse. Look for clues like moisture stains, signs of pests, or insulation that has settled.
Keep a home maintenance checklist nearby to guide your review. This simple tool offers tips that keep your insulation working hard to save energy in your home.
If you notice that your fiberglass or cellulose (insulation made from recycled paper, wood, or plant fibers) has become compressed or has visible gaps, it might be time to add more or replace it. Experts suggest refreshing these materials every 5 to 10 years to keep your home warm or cool as needed.
Scheduling an energy audit is also a smart move. An audit will reveal any hidden air leaks or gaps and show you that your energy upgrades are on track. A professional check not only boosts your indoor comfort but also gives you ideas on future insulation improvements.
Final Words
In the action, we broke down everything from inspecting current insulation to advanced techniques like radiant barrier setups and dual-layer spray foam. We ran through a clear DIY step-by-step process, compared material options, and discussed budgeting tips to keep expenses in check. Safety guidelines and maintenance checks round out this guide, ensuring your work meets building codes and lasts for years. With careful planning and using attic insulation installation best practices, your project will enhance energy savings, comfort, and overall home efficiency. Enjoy the rewards of a well-insulated home!
FAQ
What is the cost for attic insulation installation?
The cost for attic insulation installation depends on materials and labor. Materials run about $0.50–$4.00 per square foot and labor is around $0.40–$1.00 per square foot. Use a calculator to estimate your project based on area and insulation type.
How do you install attic insulation on roof rafters or the ceiling?
Installing attic insulation involves inspecting existing layers, sealing gaps, and placing new insulation between roof rafters or on the ceiling. Follow proper clearances and manufacturer instructions to maximize energy savings.
How can I add insulation over existing attic insulation?
Adding insulation over existing layers is effective if the old insulation is dry and intact. Verify there’s no moisture damage first, then add a new, dense layer to boost overall R-value.
What should I consider regarding Home Depot attic insulation installation and finding local contractors?
Home Depot offers attic insulation installation services, but local contractors often provide competitive rates and custom advice. Research licensed experts with strong reviews for quality work and adherence to building codes.
What is the 7 and 7 rule for a finished attic?
The 7 and 7 rule means a finished attic should have 7 feet of clearance along pathways and 7 feet of headroom in living areas to ensure safe movement and meet building guidelines.