
Ever wondered why your energy bills keep rising? Batt insulation could be the fix you need for a warmer, more efficient home. Poor installation can lower its efficiency by about 25%, meaning wasted energy and extra costs. In this guide, we’ll show you how to securely fit fiberglass or mineral wool batts (insulation panels) into your walls and ceilings without leaving any gaps. Picture each panel as a puzzle piece that fits perfectly, locking in warmth and reducing noise. Get ready to upgrade your home with insulation that works smart and saves you money.
Batt Insulation Installation: Energize Your Home

Batt insulation comes in pre-cut, rectangular panels made of materials like fiberglass or mineral wool. These panels neatly fit into standard wall stud, ceiling joist, and rafter bays. Fiberglass batts are cost-effective and easy to find, while mineral wool batts add extra soundproofing and fire resistance. Both types help keep your home energy efficient by blocking heat loss. For example, a homeowner might install fiberglass batts in a 2×4 wall (actual 1.5 in x 3.5 in / 38 mm x 89 mm) to ensure a good fit and reduce waste.
Installing batt insulation correctly is key. When batts are snugly placed without gaps or extra compression, they work to keep indoor temperatures steady and can lower heating and cooling bills. Even a small gap or overly squeezed area can reduce the insulation's performance by up to 25%. Make sure each panel is firmly in place and not overly compressed to get the best thermal resistance. This careful installation not only saves energy but also cuts down on noise transfer and improves overall comfort in your home.
Batt Insulation Installation Tools & Materials

A successful insulation project starts with the right tools, materials, and safety gear. When you’re prepared, each batt fits snugly in your wall or ceiling cavity without gaps or getting squished too much.
You will need:
- A utility knife
- A tape measure
- A straightedge
- Insulation supports (small pieces that hold the batts in place)
- A stapler
- A dust mask
- Safety glasses
- Pre-cut batts (sized for cavity depths from 3 in (7.6 cm) to 7.25 in (18.4 cm) and stud spacings of 16 in or 24 in on center) with vapor barrier facing and expanding-foam sealant
Also, consider special items like foil-faced batts for areas that get damp or insulation anchors for extra stability.
Always wear your protective gear. Long sleeves and gloves help prevent fiberglass irritation and minor cuts. This careful setup means you work safely and get the best energy savings and home comfort.
Batt Insulation Installation Prep for Walls & Attics
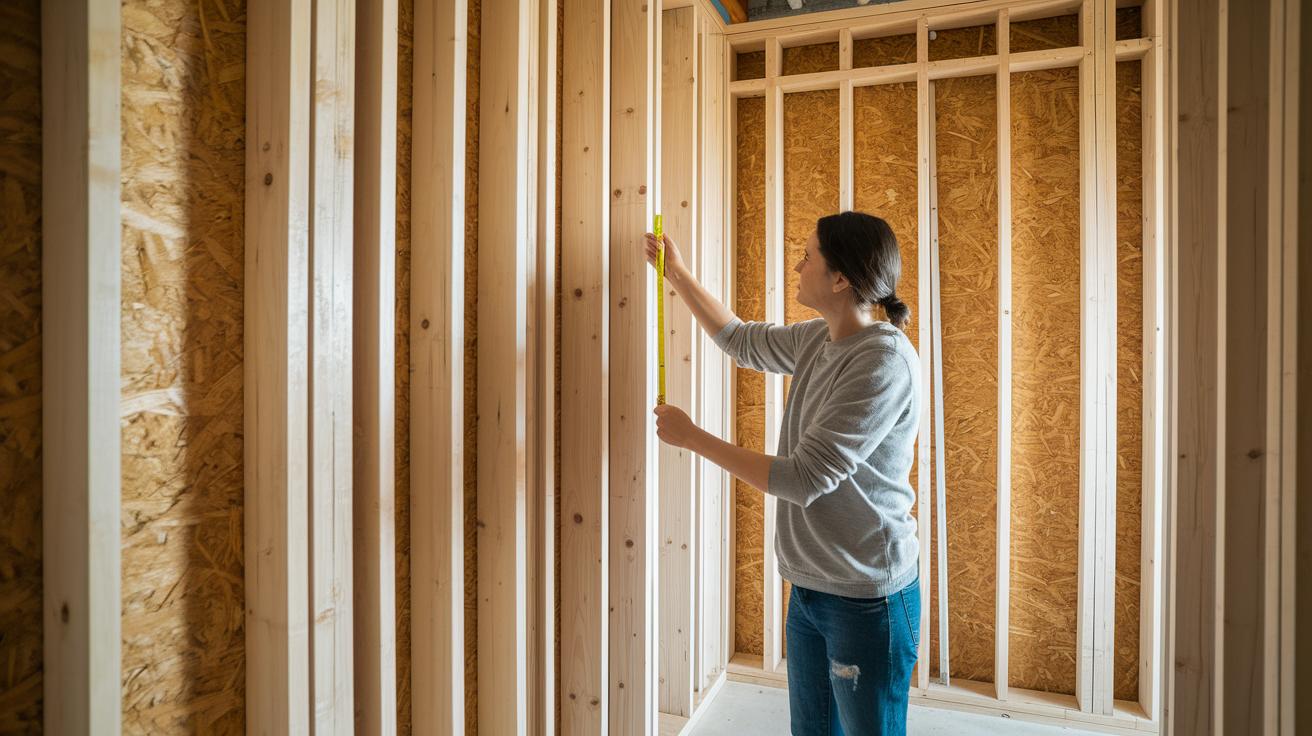
Start by cleaning out your wall cavities. Measure the spacing between studs or joists (16 in [40.6 cm] or 24 in [61 cm] on center) and note the cavity depth to figure out the insulation square footage. Remove any old insulation or debris, and check for mold, pests, or water damage. For interior walls, make sure the area is clean and dry before you install the batts. If you’re using wood-fiber batts, push them into place for a friction-fit; if it’s fiberglass, slightly compress them so they fit snugly and boost thermal resistance.
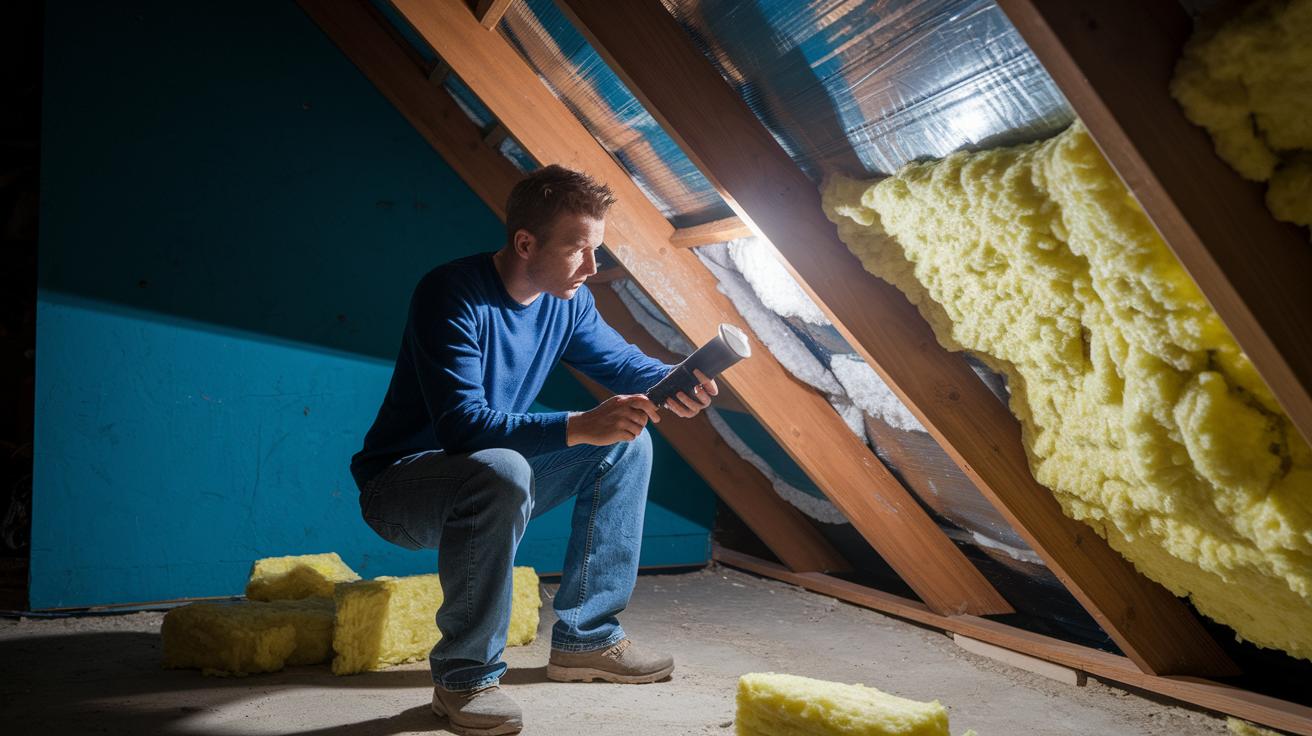
Next, tackle your attic. Clear away any leftover insulation or obstacles and ensure there’s enough airflow to stop moisture from building up. Seal any major air leaks around wires or pipes to keep the environment controlled. Make sure you can easily access every insulation cavity for a smooth install. For more attic-specific tips, see the attic insulation installation guidelines at neull.com.
Step-by-Step Batt Insulation Installation Procedure

Start by choosing the right insulation batt and the proper R-value for your area and building code. This helps you boost energy efficiency and keeps your home safe and comfortable.
-
Pick the batt type and R-value. Check your local climate guidelines and building code. In warmer regions, you might need a higher R-value. For paper-backed fiberglass batts, have the paper side face the warm side during winter.
-
Measure your wall or attic cavity and cut the batts to fit. Place the top edge of the batt at the top of the cavity and trim the bottom with a utility knife. Leave about ½ in (1.3 cm) extra for a snug friction fit. Make sure the facing stays intact and pointed in the right direction.
-
Push the batt fully into the cavity. Slide it until it touches all edges, then pull the facing so it aligns neatly with the studs. This secure fit maximizes the insulation’s effectiveness.
-
Adjust the batts around obstacles like cables. When you see an electrical wire, carefully cut the batt along the bottom. Slide one piece behind the cable and lay the other on top to keep the batt intact while making room for the wires.
-
Trim batts around electrical boxes and other protrusions. Use a utility knife to carefully cut along the perimeter of the boxes. Fit the insulation snugly while protecting any wiring, and make sure the edges are tight to avoid gaps.
-
Tuck batts tightly around obstacles and seams. Press the edges firmly against the framing to eliminate any voids. Check that the facing remains smooth and correctly positioned.
-
Seal gaps around windows and doors with expanding-foam insulation. Apply a neat bead along the perimeter to fully seal the area. This step stops drafts and creates a continuous barrier for better energy efficiency.
Batt Insulation Installation: Vapor Barrier & Moisture Control

Place the vapor barrier on the warm side of your insulation to keep interior moisture from causing condensation. Make sure the kraft or foil side faces your living areas and tape all seams for a solid, continuous seal. One homeowner said, "Taping every seam thoroughly kept moisture at bay during a cold, damp night." In humid spots like basements or garages, foil-faced batts offer extra protection against moisture buildup. This method boosts energy efficiency and helps your insulation last longer.
Mineral-wool batts work well when fire codes call for extra resistance while still controlling moisture. Seal any small gaps with the proper sealant and check the vapor barrier around windows, doors, and wall openings. Even a tiny break can hurt the insulation’s performance. A DIY enthusiast once remarked, "Each gap carefully sealed was like fixing a leak in a ship, ensuring the insulation kept its full power." Regularly inspect for tears or unsealed edges and fix them right away to maintain effective moisture control.
Batt Insulation Installation Maintenance & Quality Checks
Once you finish installing the batt insulation, take a careful walk through each wall cavity and attic area to check your work. Look for any empty spaces or compressed batts that might cut into energy efficiency. Check that the insulation lines up correctly with the studs (vertical framing members) and that the vapor barrier stays smooth and intact. One homeowner compared missed spots to tiny holes in a balloon because each gap lets air escape. This check is a proven way to keep your installation working well.
After the initial inspection, fix any issues right away to keep your insulation in top shape. Re-staple or add supports where the insulation sags, and seal any gaps around pipes or wires using caulk or expanding-foam sealant. Regularly examine the vapor barrier for any tears or loose edges, and repair them as soon as you see them. These follow-up steps help you quickly solve problems and build a more energy-efficient insulation system.
Batt Insulation Installation Cost & ROI Analysis
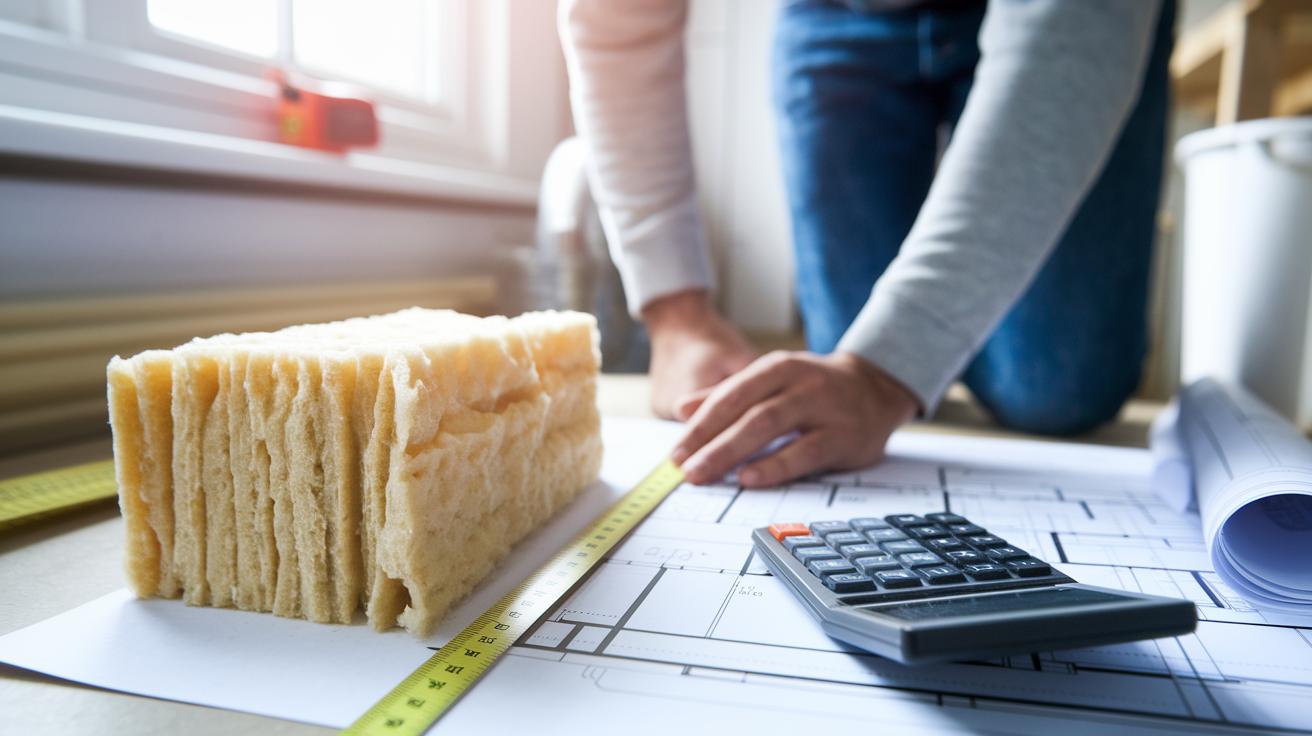
Batt insulation expenses depend on the material you pick and whether you install it yourself or hire a pro. For example, fiberglass batts run about $0.40 to $1.50 per square foot. Mineral wool panels typically cost more. Your total cost will also depend on the insulation’s R-value (a measure of heat resistance), the size of your home, and the level of precision needed when you measure and plan.
Online cost calculators help you quickly add up both material and labor expenses so you can set a clear budget. Many homeowners find that the energy savings from lower heating and cooling bills cover the initial cost in just 2 to 5 years. This makes insulation a solid long-term investment that not only cuts costs but also boosts home comfort and may even raise property value.
One DIYer noted, "After installing the insulation, my energy bills dropped noticeably. Every dollar spent really paid off." Regular checks and timely maintenance ensure your insulation stays effective, keeping those savings going strong for years to come.
Final Words
In the action, we covered everything from understanding what batt insulation is to detailed guidelines for proper installation. We broke down essential tools, pre-installation tasks, and a clear step-by-step method. We also touched on vapor barrier techniques and quality checks, making sure every step boosts energy efficiency and comfort. Whether you're tackling a DIY project or overseeing repairs, following these batt insulation installation instructions will help save money and energy. Keep it safe and efficient, your home improvement journey is off to a great start!
FAQ
How to install insulation in ceiling and fiberglass insulation in ceiling?
Installing ceiling insulation means measuring the cavity, cutting batts to fit snugly, and positioning the vapor barrier correctly on the warm side. For fiberglass, follow manufacturer guidelines and support the batts as needed.
How to install fiberglass insulation with paper backing?
Installing fiberglass insulation with paper backing begins by placing the batts with the facing toward the heated space. Secure the paper with staples, cut to size, and ensure no gaps for proper performance.
How to install fiberglass insulation in walls?
Installing fiberglass insulation in walls involves measuring stud spacing and cavity depth, cutting batts accurately, and pressing them snugly without compressing the material to maintain proper thermal resistance.
How to install batt insulation in attic?
Installing batt insulation in the attic requires cleaning the space, measuring cavities, and fitting the batts tightly between joists. Use supports to hold the insulation in place for lasting performance.
What are the Owens Corning batt insulation installation instructions?
Owens Corning instructions outline cutting batts to the right size, aligning the vapor barrier on the warm side, and stapling the insulation at regular intervals, while always following detailed manufacturer safety and installation guidelines.
How to install insulation in exterior walls from inside?
Installing insulation in exterior walls from inside involves accessing wall cavities, clearing old debris, placing batts snugly, and installing vapor barriers where needed to ensure proper air sealing and thermal performance.
How to install fiberglass insulation with a vapor barrier?
When installing fiberglass insulation with a vapor barrier, place the faced side toward the living space, tape all seams securely, and ensure the batts fit tightly to block moisture and boost energy efficiency.
Which side of batt insulation faces out?
The facing side, usually a paper or foil vapor barrier, should face toward the heated interior space in colder climates to block moisture. Always check product instructions for specific installation details.
How much does it cost to have batt insulation installed?
Batt insulation installation typically costs between $0.40 and $1.50 per square foot for materials, with total costs influenced by labor and project specifics. This estimate helps in planning your budget.
Is it okay to put R19 in a 2×4 wall?
Using R19 in a 2×4 wall may crowd the cavity. It’s better to use insulation rated for 2×4 walls, usually around R13 to R15, ensuring proper fit and performance per local building codes.
Does batt insulation need to be stapled?
Batt insulation, particularly paper-faced types, should be stapled to secure the vapor barrier against studs. Unfaced batts can be held in place with insulation supports to maintain proper positioning.