
Ever wonder why some homes feel cozy without costing a fortune? Cellulose insulation might be the fix you need. This loose-fill material slips into every corner, sealing gaps that let energy escape. It helps keep your home warm in winter and cool in summer while cutting your heating and cooling bills. Follow our simple, step-by-step guide to install cellulose insulation, boost your home’s performance, and save money on energy costs.
Cellulose Insulation Installation: Step-by-Step Application Guide
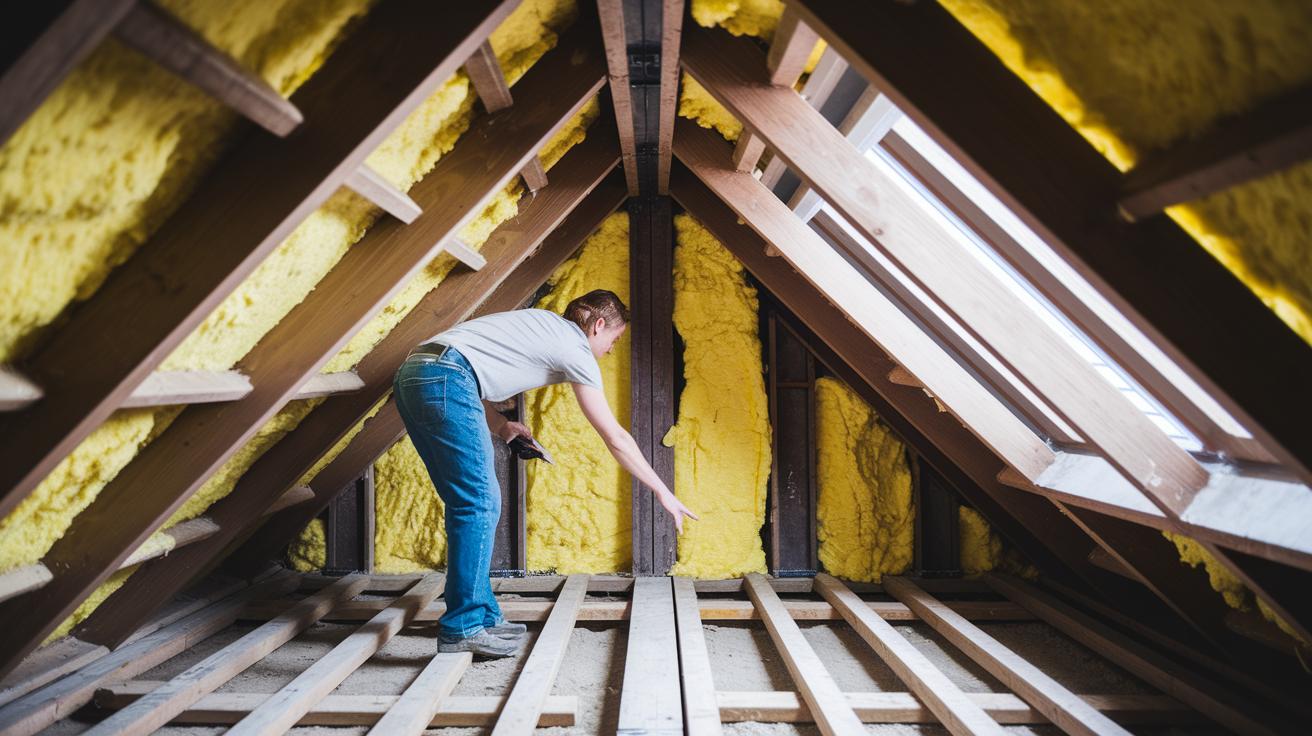
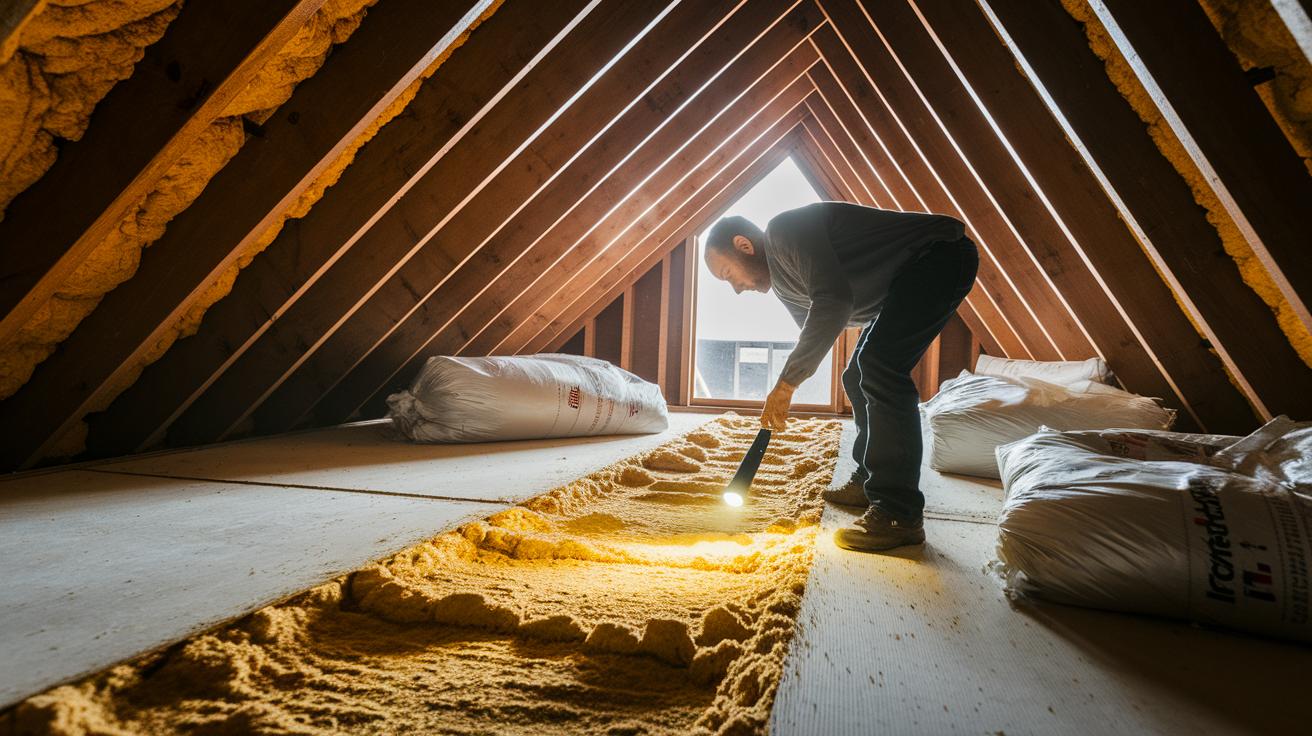
Cellulose insulation is a thick, loose-fill material ideal for attics and enclosed wall cavities. Start by checking the area for any obstacles like wiring, ducts, or gaps. Seal any openings with foam or caulk for a safer, cleaner installation. For extra tips in attics, check out Attic Insulation Installation.
Follow these steps for installation:
- Drill holes in the wall or soffit using the proper size.
- With a utility knife, cut the hose tip at a diagonal. Think of it like slicing an apple to reveal a smooth edge.
- Insert the nozzle into the drilled hole so it reaches the cavity behind the wall or in the attic.
- Turn on your blower to fill the space with the loose-fill cellulose.
- Keep adding insulation until the blower struggles. This tells you the cavity is fully dense.
- Watch your work closely; if the insulation is too loose, it may settle and create cold spots later.
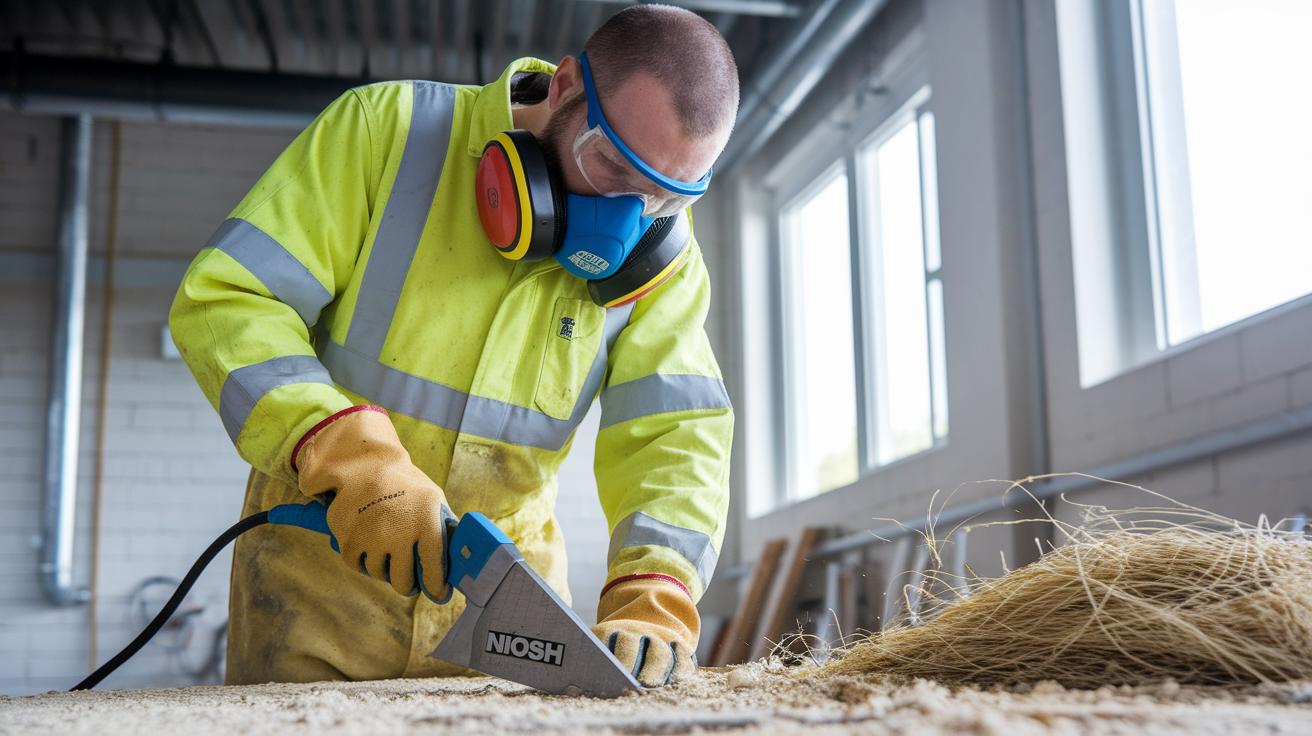
When filling wall cavities, use the same blown fiber method for an even pack. This simple process differs from spray foam insulation. By filling every nook, you can boost energy savings. Always follow safety steps: wear a respirator, safety glasses, and gloves during installation.
Cellulose insulation installation Boosts Home Efficiency

First, gather the right tools and materials. Pick an insulation blower that delivers at least 3.2 psi at the hose end so the cellulose packs tight. Use a hose setup of 100 ft (30.5 m) of 3.5 in diameter, 50 ft (15.3 m) of 2.5 in diameter, and a 6 ft (1.8 m) whip measuring between 1.5 in and 2 in. This setup helps the insulation settle evenly and work at peak efficiency.
Have air-permeable netting nearby (like Insulweb) to temporarily keep the insulation in place until it supports itself. Make sure your drill bits match the plug sizes for a smooth fit, and use a utility knife to make diagonal cuts on the hose tip. This cut helps the fiber flow easily around wires and pipes.
Wear proper safety gear at all times. A NIOSH-approved respirator, safety glasses, gloves, and disposable coveralls are essential to protect you from fiber dust and irritation. Decide whether to rent or buy your tools based on how often you'll do projects and your budget. Regular upkeep keeps your equipment working accurately for every cellulose insulation job.
| Item | Specification |
|---|---|
| Insulation Blower | At least 3.2 psi output |
| Hose Setup | 100 ft (30.5 m) of 3.5 in + 50 ft (15.3 m) of 2.5 in + 6 ft (1.8 m) whip (1.5–2 in) |
| Safety Gear | Respirator, safety glasses, gloves, disposable coveralls |
Preparing Walls and Attics for Cellulose Insulation Installation
Start by checking your inside and outside walls and attics for gaps or cracks. Look around pipes and electrical wires and seal any openings with foam or caulk. Think of it like shutting a door to keep out the cold.
Before you drill or turn on the blower, cut the power to outlets and fixtures. Double-check that every circuit in your work area is off to stay safe.
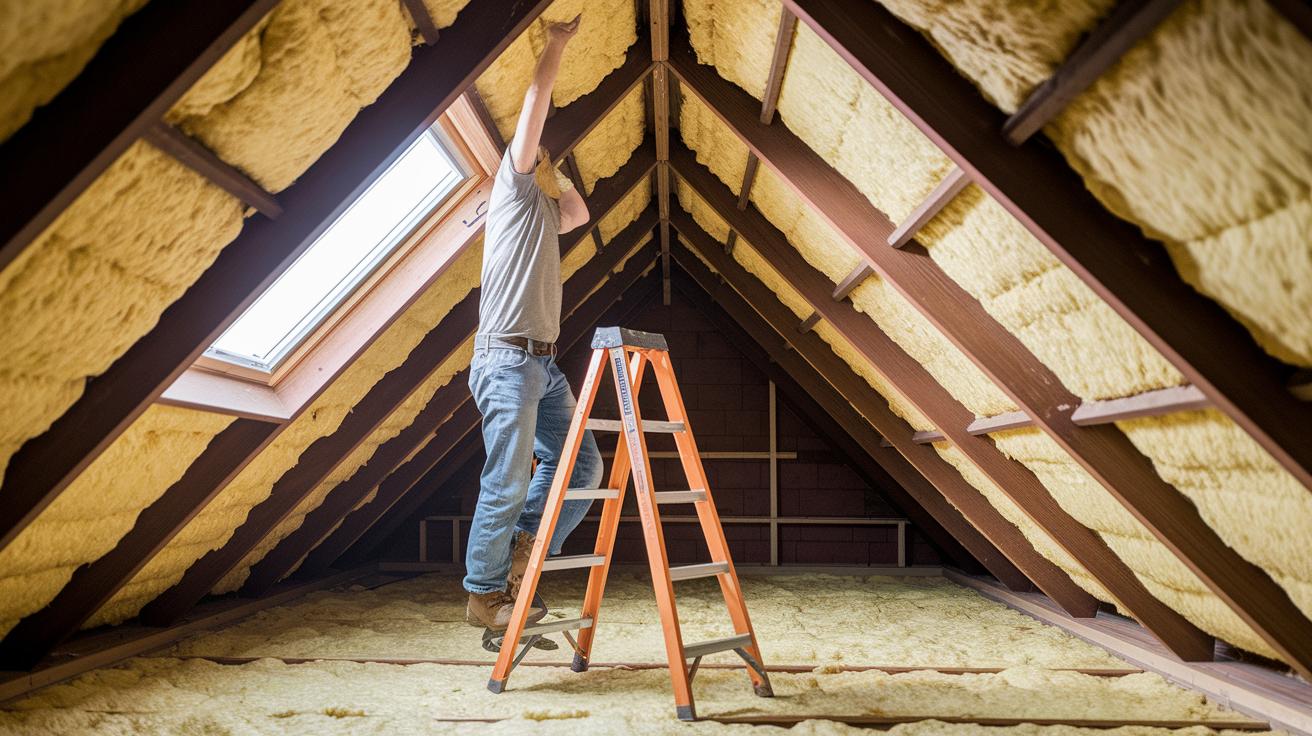
Next, stretch air-permeable netting over your stud bays or rafters. This netting holds the loose cellulose in place until it supports itself. Use a staple gun to fasten it evenly so that no edges hang loose.
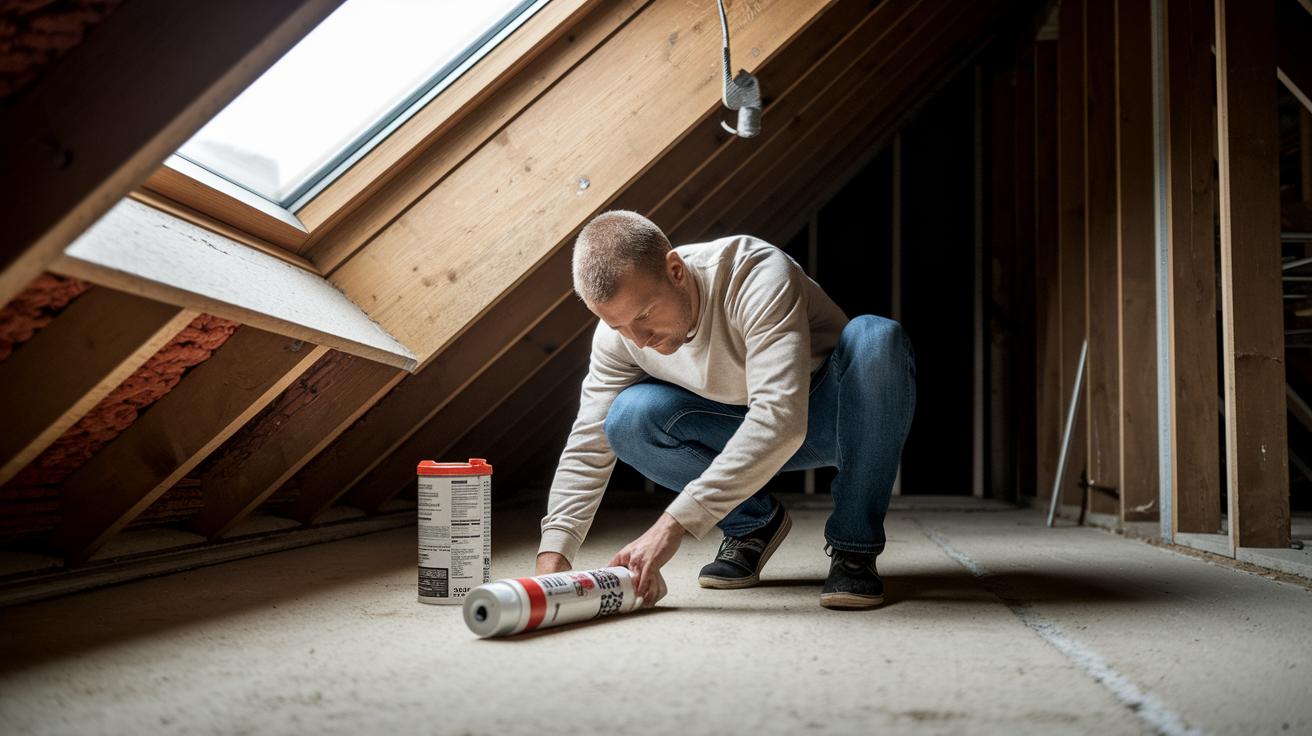
Place the blower on a flat spot near an electrical outlet. This keeps the hose from bending too much, which can hurt performance. Measure the area to see how much insulation you need and mark any spots that must get extra attention.
Finally, review your workspace. These steps help prevent problems during installation and boost your home’s energy efficiency.
Dense-Pack Cellulose Insulation Installation: Achieving Optimal Density
Dense-pack installation aims for a density of 3.5 to 4 lb/ft³ (about 56 to 64 kg/m³) to work best. We won’t cover hose lengths or netting methods here since those are explained earlier; instead, we focus on who does what and the equipment needed.
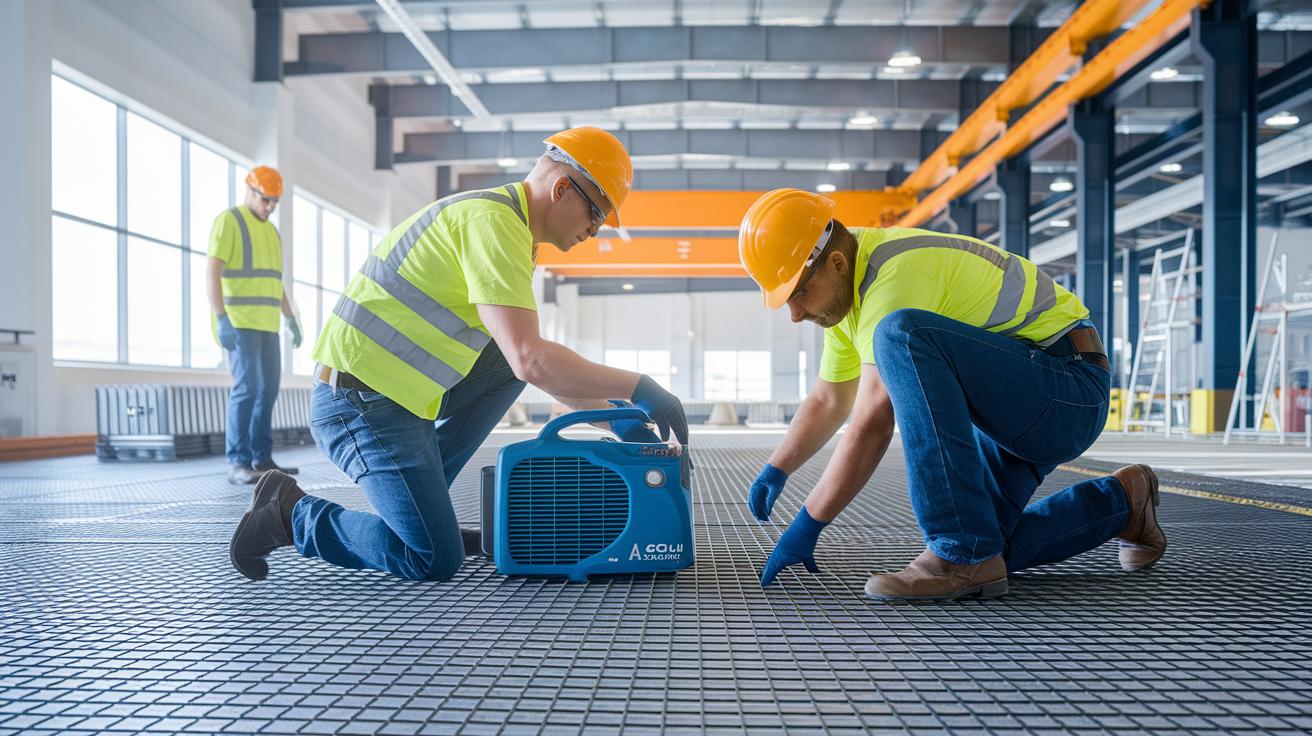
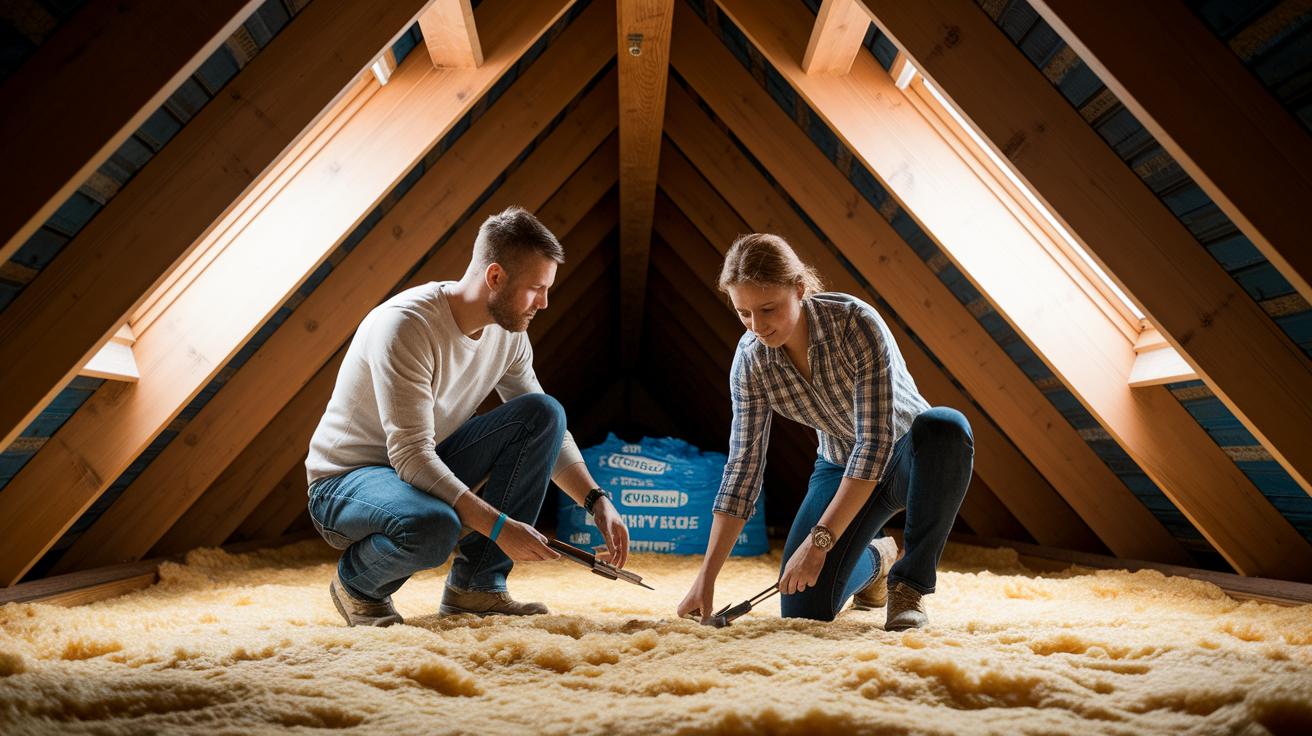
A three-person crew makes the job run smoothly. Two team members work together to seal air gaps and set up air-permeable netting (a mesh that lets air pass through), while the third handles the Accu1 9400 blower, a tool known for its dependability and simple field repairs.
Imagine one crew member operating the Accu1 9400 blower while the other two seal off air gaps and secure the netting. This teamwork helps pack the insulation evenly.
Cost and Energy Savings of Cellulose Insulation Installation
Cellulose insulation, when installed right, can lower your heating and cooling bills by 20 to 30%. This means you spend less each month to maintain a comfortable home. The total cost, including materials and labor, usually ranges from $1.00 to $1.50 per square foot.
Many homeowners use online cost calculators and square-foot guides to plan their projects. For instance, if you insulate a 1,000 square foot area with an average cost of $1.25 per square foot, your total would be about $1,250. With energy bills dropping by 20 to 30%, most see a payback period as short as 3 to 5 years. This quick return makes cellulose insulation a smart choice compared to older options like fiberglass batts.
To nail down your savings, calculate your current monthly energy bills, estimate a 25% drop after installing the insulation, and compare that decrease to your installation cost. This simple check helps you see the long-term financial benefit.
| Metric | Estimate |
|---|---|
| Installed cost per sq ft | $1.00–$1.50 |
| Energy savings reduction | 20–30% |
| Payback period | 3–5 years |
Safety Protocols for Cellulose Insulation Installation
Before you start, put on the proper safety gear. Use a NIOSH-certified respirator. Facial hair can break the mask’s seal, making it less effective. Wear safety glasses, gloves, and disposable coveralls to protect your skin and eyes from fiber dust. For example, if your beard or mustache stops the mask from sealing well, you risk breathing in harmful particles.
Follow OSHA rules and local building codes for dust control and proper airflow. Make sure your work area is clear of extra dust and use approved methods to keep fibers in check. Check your setup regularly and stick to all safety procedures for handling materials and using equipment.
Don’t use rental blowers from home centers for dense-pack insulation. These tools often can’t meet the necessary pressure and density standards. Always verify equipment ratings before you start to ensure each tool meets regulatory requirements.
For more details on regulations and OSHA tips, see the Construction Site Safety Guidelines.
Troubleshooting Common Cellulose Insulation Installation Issues
Uneven settling can create chilly spots and unwanted air leaks. Once you finish installing the insulation, inspect every cavity closely. If you find any gaps or low spots, add more insulation to build a uniform, dense layer. Keep track of your bag counts as you work. A sudden drop might mean the fibers aren’t spreading evenly.
When the blower starts to struggle or stops, it could be a sign of moisture or clumped fibers clogging the hose. Stop work and check the hose right away. Clear any blockages and confirm the fiber is dry before you continue. This simple step helps prevent uneven packing and future issues.
Also, check the air-permeable netting that holds the insulation in place. Tears, sagging, or loose staples reduce its effectiveness. If you notice damage, reattach or retension the netting properly.
- Check every cavity for cold spots or low-density areas.
- Track your bag counts to catch any irregularities.
- Stop and inspect the hose if the blower strains; clear out blockages.
- Look over the netting for any tears or sagging and secure it as needed.
Regular post-installation checks can save you time and money by catching problems early and keeping your insulation working efficiently.
DIY vs Professional Cellulose Insulation Installation
Choosing between a DIY project and hiring a professional can change the outcome of your insulation job. DIY works well for simple attic top-ups where the job is straightforward and risks are low. But if you plan to dense-pack sidewalls (heavily filling wall cavities to improve energy efficiency), DIY isn’t the best choice. Rental blowers often can’t push the insulation in evenly, which can leave loose spots that lower your home’s efficiency.
Professional crews use calibrated hoses, air-permeable netting, and density checks (measuring weight per cubic foot) to hit a target of 3.5–4 lb/ft³ (about 0.56–0.64 kg per liter). They know how to spot issues and adjust their work to make sure insulation fills snugly around obstacles like wiring or pipes. When hiring a pro, ask for density proof, equipment details, and any current certifications or licenses. This way, you know the job meets industry standards.
If you decide on a DIY approach, secure all necessary permits, follow the manufacturer’s instructions to the letter, and confirm that your work meets local building codes. Always compare any contractor advice with your project requirements to pick the best method for upgrading your home insulation.
- Check permits and local code requirements
- Request density proof and equipment certifications when hiring
- Follow manufacturer guidelines carefully for DIY projects
Final Words
In the action, this guide led you through a full cycle of cellulose insulation installation, from prepping your attic and wall cavities to setting up equipment and ensuring safe practices. We laid out the tools, techniques, and troubleshooting tips so you can achieve a dense-pack installation that holds its energy-saving promise. Step-by-step instructions simplify what can seem like a daunting process, making your project less about guesswork and more about proven results. Move ahead confidently and enjoy the lasting improvements to your home.
FAQ
Frequently Asked Questions
What does a cellulose insulation installation PDF offer?
The cellulose insulation installation PDF provides clear, step-by-step instructions and visuals. It guides you through the installation process, ensuring safe and effective placement of blown-in insulation.
What does a cellulose insulation installation video show?
The cellulose insulation installation video demonstrates the process, tools, and techniques. It offers practical visual tips to help you complete the installation efficiently and safely.
How does DIY cellulose insulation installation work?
DIY cellulose insulation installation involves setting up the blower, cutting holes, and evenly filling wall or attic cavities. It requires careful preparation, proper PPE, and adherence to local codes for safety.
What should I know about a cellulose insulation blower?
The cellulose insulation blower delivers the fiber at adequate pressure (≥ 3.2 psi). It is designed to channel the insulation through hoses with various diameters for uniform, efficient application.
How is cellulose insulation installed in walls?
The installation of cellulose insulation in walls includes drilling holes, inserting the blower nozzle, and carefully blowing the fiber into cavities. The process ensures the fiber fills gaps around obstacles like wiring and ducts.
How do you install dense-pack cellulose insulation?
To install dense-pack cellulose insulation, achieve a target density of 3.5–4 lb/ft³ using a small-diameter hose sequence. Ensure even distribution by monitoring the blower and topping up any low areas.
How does cellulose insulation blower rental work?
A cellulose insulation blower rental allows you to access specialized equipment without purchasing it. Verify the unit meets required pressure standards and follow rental guidelines for safe installation.
What are the downsides of cellulose insulation?
The downsides of cellulose insulation include potential settling over time which may create cold spots, moisture sensitivity if not properly installed, and the need for professional equipment for dense-pack applications.
How much would it cost to insulate a 2000 sq ft house?
The cost to insulate a 2000 sq ft house with cellulose typically ranges from $2000 to $3000. Installation and material expenses vary based on local labor rates and insulation density requirements.
Do mice like blown-in cellulose insulation?
The answer is that mice are less attracted to cellulose insulation due to its dense, loose-fill nature. However, gaps or debris from installation can occasionally attract critters if not properly sealed.