
Ever wonder if your home's insulation can withstand severe weather? Spray foam insulation is a big step up. It seals every gap (like a firm, warm hug) to keep your home cozy in winter and cool in summer.
This guide explains how spray foam works, its long-lasting benefits, and why it outperforms traditional insulation. Get ready to improve your home's energy efficiency and comfort with a system built to last.
Comprehensive Spray Foam Insulation Installation Overview
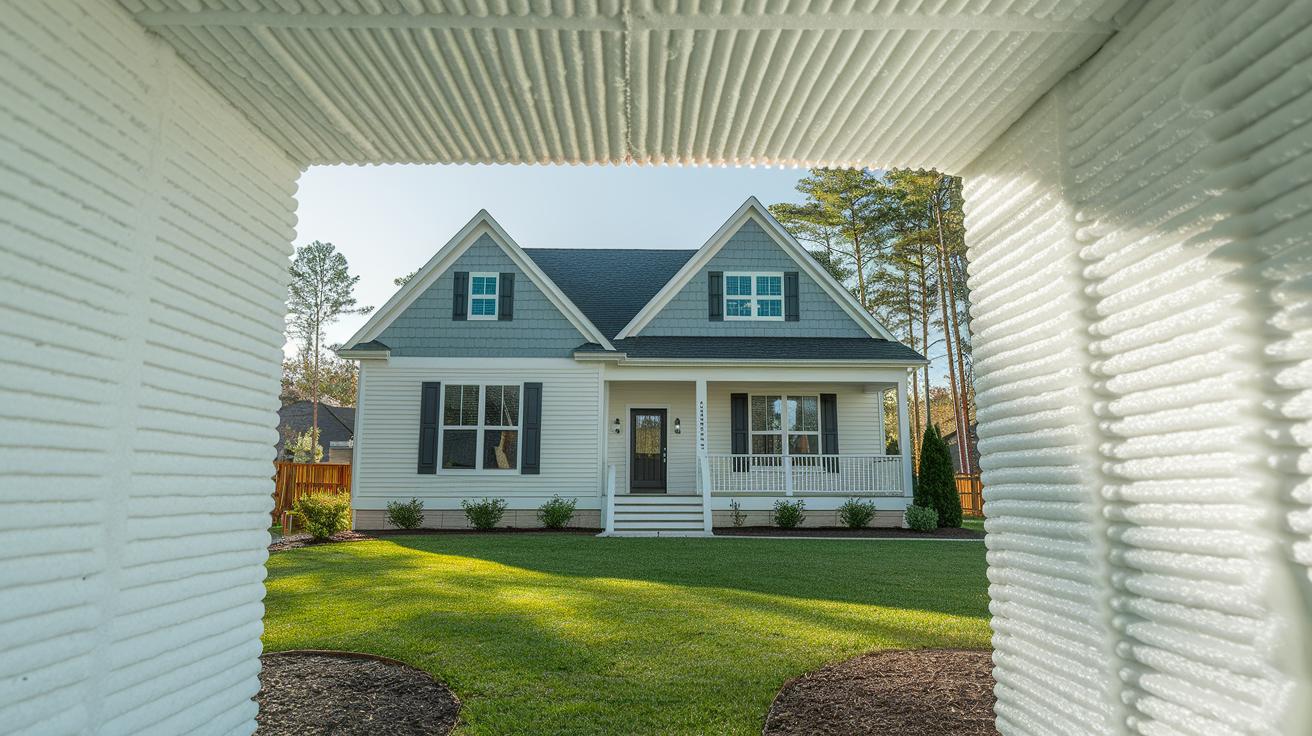
Spray foam insulation is a high-performance option that fills every crack to make an airtight seal. Think of it as wrapping your home in a thermal blanket that holds in warmth in winter and keeps heat out in summer.
When applied, the foam undergoes a chemical reaction that turns it into a hard, durable layer. This protection can last more than 50 years with little maintenance. It beats traditional fiberglass insulation, which often leaves gaps that let energy slip away. With spray foam, every nook is firmly filled, which helps lower your energy bills over time.
There are two main types of spray foam. Closed-cell foam is denser and resists moisture, adding extra strength to your walls. Open-cell foam is softer and works well to reduce noise, making it a great choice for interior walls.
For a home energy upgrade, many homeowners choose spray foam because it seals gaps, keeps pollutants and allergens out, and fights off moisture. It is a smart pick for anyone looking to boost energy efficiency and comfort in their home.
Preparing Your Space for Spray Foam Insulation Installation
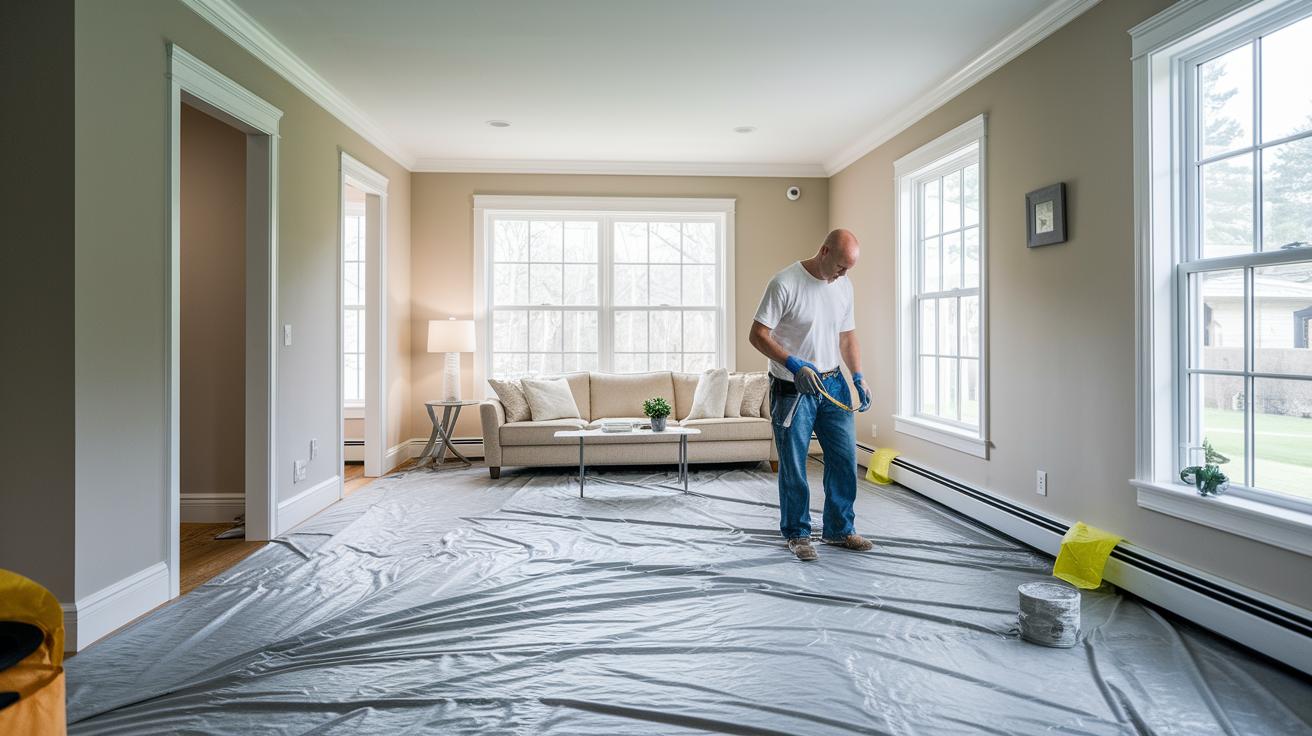
Start by clearing the area of all furniture, personal items, and decorations so you can work without obstacles. This helps prevent accidental damage and keeps stray foam from causing a mess. Cover your floors and surfaces with sturdy drop cloths and secure the edges with masking tape to protect fixtures and trim. For example, cover your baseboards well, much like you would protect a canvas before painting.
Next, inspect the space for any plumbing leaks or moisture issues. Damp surfaces can lead to mold when the foam is in place. Look for signs of water damage and repair any leaks before you start, ensuring the foam will bond properly.
Keep the temperature between 60°F (16°C) and 80°F (27°C) and monitor the humidity. These conditions allow the foam to cure properly and stick well. If the air feels too humid, use a dehumidifier or fan to balance the moisture.
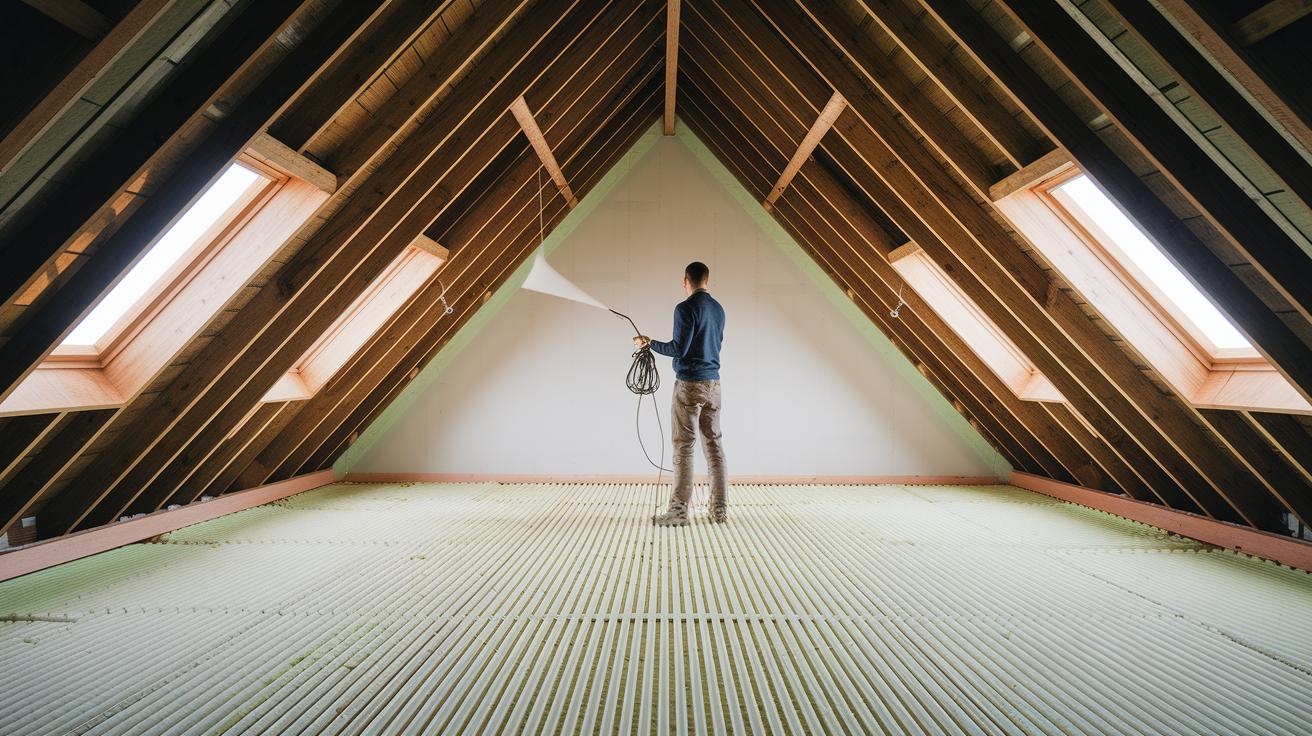
If you are working in an attic or a space with complex structures, double-check that every surface is accessible and clear of obstacles. Proper preparation of your space makes the spray foam insulation process smoother and more efficient.
Essential Tools and Materials for Spray Foam Insulation Installation
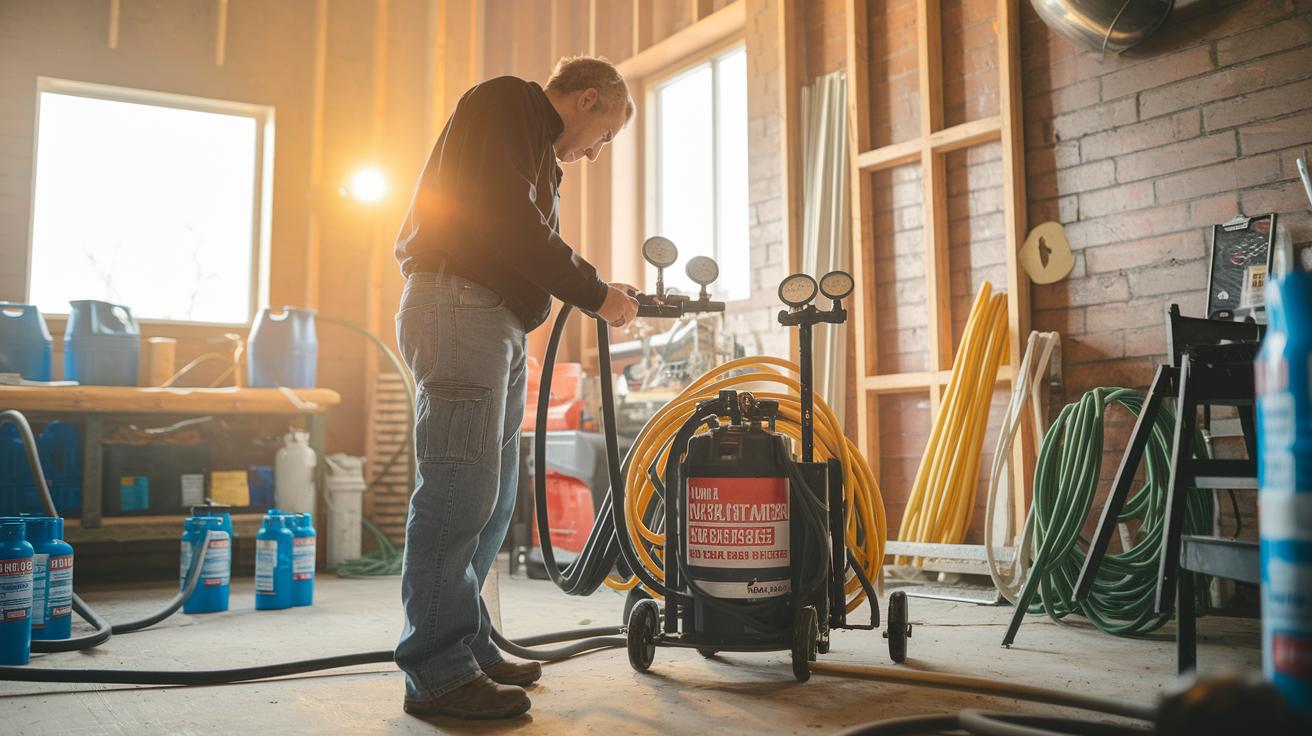
Getting the right gear is a must for a solid spray foam insulation job. Start by choosing professional spray rigs or portable foam kits that mix chemicals properly. These systems come with mixing guns (tools that blend chemicals in the correct proportions) and nozzles that spread the foam evenly. For instance, if you plan to insulate 150 sq ft (14 m²), make sure the kit is rated for that space.
Your essential items include:
- Spray rigs or portable foam kits that work with open-cell (soft, sound-dampening) or closed-cell (dense, moisture-resistant) foams.
- Mixing guns to ensure chemicals are blended accurately.
- Application nozzles that reach both tight corners and larger areas.
- Complete safety gear like respirators, gloves, and goggles to protect you from chemical exposure.
Before you start, read the manufacturer’s instructions and watch any tutorial videos offered. Choosing the correct foam kit size for your project will help prevent wasted money and poor insulation results. Follow these steps, and you’ll be set up for an insulation project that boosts your home’s energy efficiency safely and efficiently.
Step-by-Step DIY Spray Foam Insulation Installation Guide
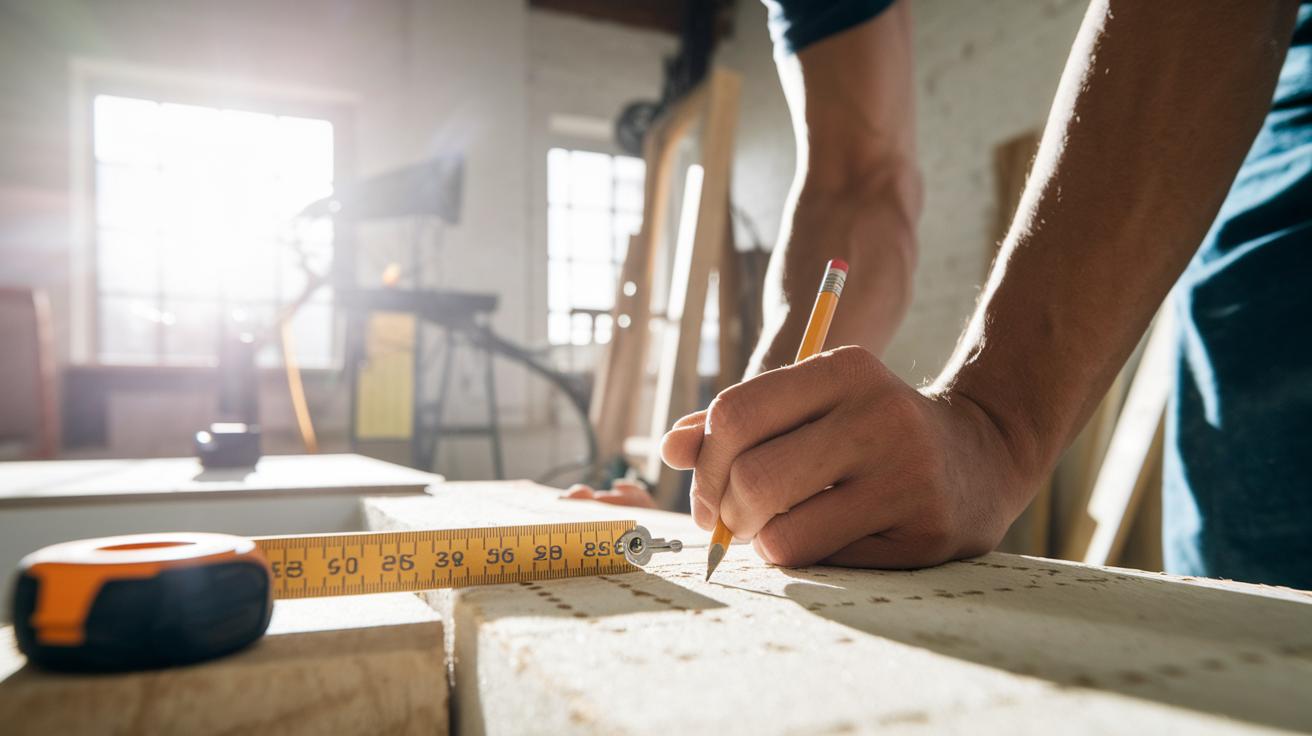
- Measure and mark your wall cavity or roof eave spots where you'll drill holes. Think of it as sketching a grid on your wall to help the foam spread evenly.
- Drill 1 in (2.5 cm) holes at these marked points. These holes give the applicator nozzle access to the cavity so the foam goes on consistently.
- Insert the nozzle into each hole. Push it in until you feel it hit resistance, that means it's reached the full cavity where the foam will bond.
- Dispense the foam slowly. Let the expanding polymer fill every space, watching as it spreads out and hardens in place.
- Move from one hole to the next in order, covering each section. Be careful not to overspray, since extra foam might stick where you don’t want it.
- Leave the area right after you finish. The foam chemicals give off fumes while curing, so it's best to stay away for at least 24 hours.
- Once the foam has cured, trim any extra bits flush with the studs or rafters using a utility knife or a similar tool for a clean finish.
- Inspect every treated cavity. Look for missed spots or gaps where the foam didn’t fill, and add more if needed. A quick tap on the cured foam can help spot these areas.
- Finally, review your work. Make sure you have even coverage and that all holes are sealed tight to prevent air leaks.
Follow these steps for a safe, effective DIY spray foam insulation job that leaves you with an airtight, energy-efficient seal.
Safety Best Practices During Spray Foam Insulation Installation
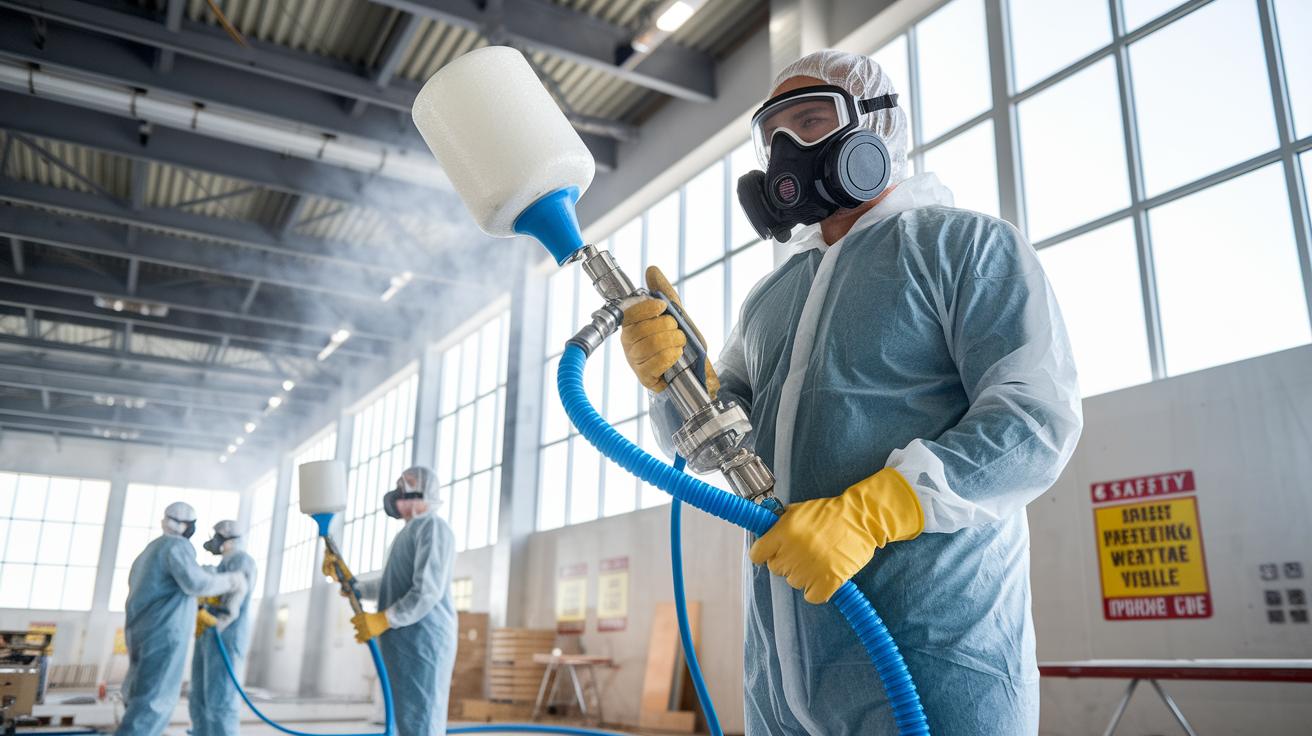
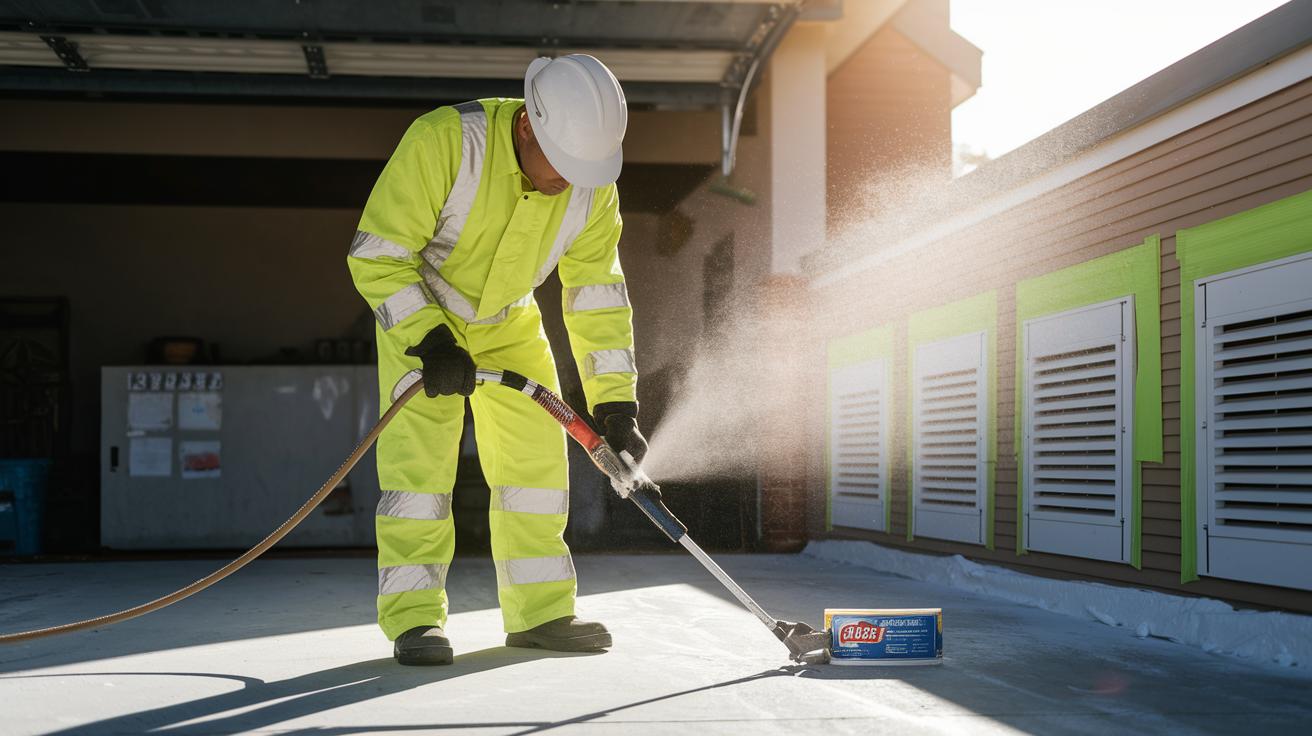
Spray foam insulation works best when you put safety first. Always wear a full-face respirator, chemical resistant gloves, goggles, and protective clothing to shield yourself from harmful chemicals and stray particles. For instance, if you work without proper protection, you risk breathing in fumes that can quickly irritate your lungs.
Before you start, check that you have all your safety gear handy. Don’t cut corners, make sure every team member is properly equipped. Once the foam is applied, leave the work space immediately. Homeowners should stay away from the area for at least 24 hours (1 day) to let any chemical vapors clear out. This step helps prevent breathing issues and keeps everyone safe.
Monitor the temperature and humidity while working. Aim for conditions between 60°F (16°C) and 80°F (27°C) so the foam cures correctly and sticks well. Unstable conditions might cause the foam to cure unevenly or not adhere properly, reducing its effectiveness.
After the foam has cured, take the time to check your work closely. Look for any gaps or spots that need touch-ups and fix them right away. This inspection helps maintain a strong and reliable insulation system.
Cost Analysis and Budgeting for Spray Foam Insulation Installation

When planning for spray foam insulation, start by breaking down the main cost drivers. Decide on the foam type, open-cell or closed-cell. Open-cell foam is lighter and helps absorb sound, while closed-cell foam is tougher and resists moisture. Also, measure the area to be insulated in square feet and square meters (for example, 1,000 sq ft [93 m²]) and check local labor rates since they vary.
For budgeting, know the cost per square foot. DIY kits usually run between $1.00 and $2.50 per square foot, while professional jobs may cost from $1.50 to $3.50 per square foot. So, if your project covers 1,000 sq ft (93 m²), a DIY installation might cost between $1,000 and $2,500, and hiring a professional could cost between $1,500 and $3,500.
Here are some tips to refine your estimate:
- Use an installation budget calculator by entering your project details.
- Get free quotes from several contractors to compare prices.
- Include extra costs like surface preparation and small repairs.
Compare your upfront spending with long-term energy savings. Many homeowners see lower energy bills and better efficiency within 3 to 6 years. Although the initial cost may seem high, spray foam insulation can last over 50 years with little upkeep. Watching these details will help you stay on budget and ensure your insulation project adds lasting value to your home.
Professional vs DIY Options for Spray Foam Insulation Installation
The best way to install spray foam insulation depends on your skill level, budget, and the size of your project. DIY kits seem smart for small jobs since they lower costs and give you full control. But using a DIY kit means you must know how to use the spray tools, protect areas with masking, and follow strict safety rules. A simple mistake can waste materials or cause uneven insulation. Many DIY users find that a small slip-up leads to wasted foam and patchy results.
Professional installers, however, use special rigs and have the training to meet industry standards. They adjust the temperature, mix the foam in the right ratios, and apply it evenly for a durable finish. Their service usually includes a warranty and a thorough quality check, which helps avoid problems later. They can also work on older homes while ensuring the insulation meets code and works well.
Before you decide, weigh the cost against long-term performance. If you're unsure or have a larger project, look up local service directories to compare contractor credentials and book free assessments. This way, you'll get a safe, efficient insulation job that boosts your home’s energy savings.
Be honest about your own skills before choosing the method that’s right for you.
Common FAQs and Troubleshooting for Spray Foam Insulation Installation
Q: Can foam be applied over existing insulation?
A: Yes, you can apply foam on top of old insulation to fill in gaps. Just make sure the surface is clean and dry. For example, wipe off any damp spots like you would a window sill before you seal it.
Q: Is it safe to re-enter the area after 24 hours?
A: Generally, yes. Homeowners should wait at least 24 hours so the foam's chemicals can off-gas. This waiting period is important to avoid breathing in harmful fumes, similar to waiting for fresh paint smells to fade.
Q: What maintenance is needed?
A: Spray foam insulation needs little upkeep. Check the area regularly for any cracks, damage, or gaps to keep it working well.
Troubleshooting tips:
- If you see the foam expanding unevenly, check the room’s temperature and humidity. Adjust the nozzle angle or reposition the applicator to even out the spread. A small shift might fix overspray issues.
- If the foam isn’t sticking well, the surface might not be properly cleaned or dried beforehand.
- You can also run infrared scans or use blower door tests to find any hidden air leaks after installation.
Expect to see noticeable HVAC cost reductions within 3–6 months as your energy savings start to add up.
Final Words
In the action, we broke down spray foam insulation installation into clear, practical steps. We discussed how the foam expands to seal hidden gaps and boost energy efficiency. You learned why proper space preparation, the right tools, and essential safety tips make all the difference. The guide helped you weigh DIY methods against professional options and use budgeting strategies to keep costs in check. Enjoy a project that enhances comfort, cuts energy bills, and stands up to the test of time.
FAQ
What is the cost to install spray foam insulation?
Spray foam insulation installation cost depends on foam type, square footage, and labor. DIY kits typically run about $1.00–$2.50 per sq ft, while professionals charge around $1.50–$3.50 per sq ft.
How can I do DIY spray foam insulation installation?
DIY spray foam insulation installation is possible with the right kit and detailed video tutorials. Homeowners should prepare surfaces, use proper safety gear, and follow manufacturer instructions carefully.
What do spray foam insulation installation videos show?
Spray foam insulation installation videos show step-by-step guidance on setting up equipment, applying the foam, and following safety protocols, making them a practical resource for both DIYers and professionals.
How do I install spray foam insulation in existing walls?
Installing spray foam insulation in existing walls involves drilling access holes, inserting the applicator nozzle, and dispensing foam to fill cavities. Always follow safety protocols and detailed instructions for best results.
What should I consider with spray foam insulation kits for 1000 sq ft?
Spray foam insulation kits for 1000 sq ft include the necessary equipment and foam volume to cover that area. Verify kit specifications to ensure they match your project size and environmental requirements.
How do I install spray foam insulation in an attic?
Installing spray foam insulation in an attic means preparing the space, wearing proper safety gear, and applying the foam carefully to ensure even coverage while avoiding overspray or voids.
How do I install foam board insulation on exterior walls?
Installing foam board insulation on exterior walls involves adhering the boards with construction adhesive, fastening them securely, and sealing gaps around edges, according to manufacturer guidelines, for optimal thermal performance.
How much does it cost to spray foam 1500 square feet?
The cost to spray foam 1500 square feet varies, with prices typically ranging from about $1.50–$3.50 per sq ft. This means the total project cost may be approximately $2250 to $5250 depending on materials and labor.
Why might spray foam insulation affect a home’s sale or lender approval?
Spray foam insulation can affect a home’s sale or lender approval due to concerns about future renovations, potential off-gassing, and questions regarding proper installation, which may impact code compliance and long-term performance.