
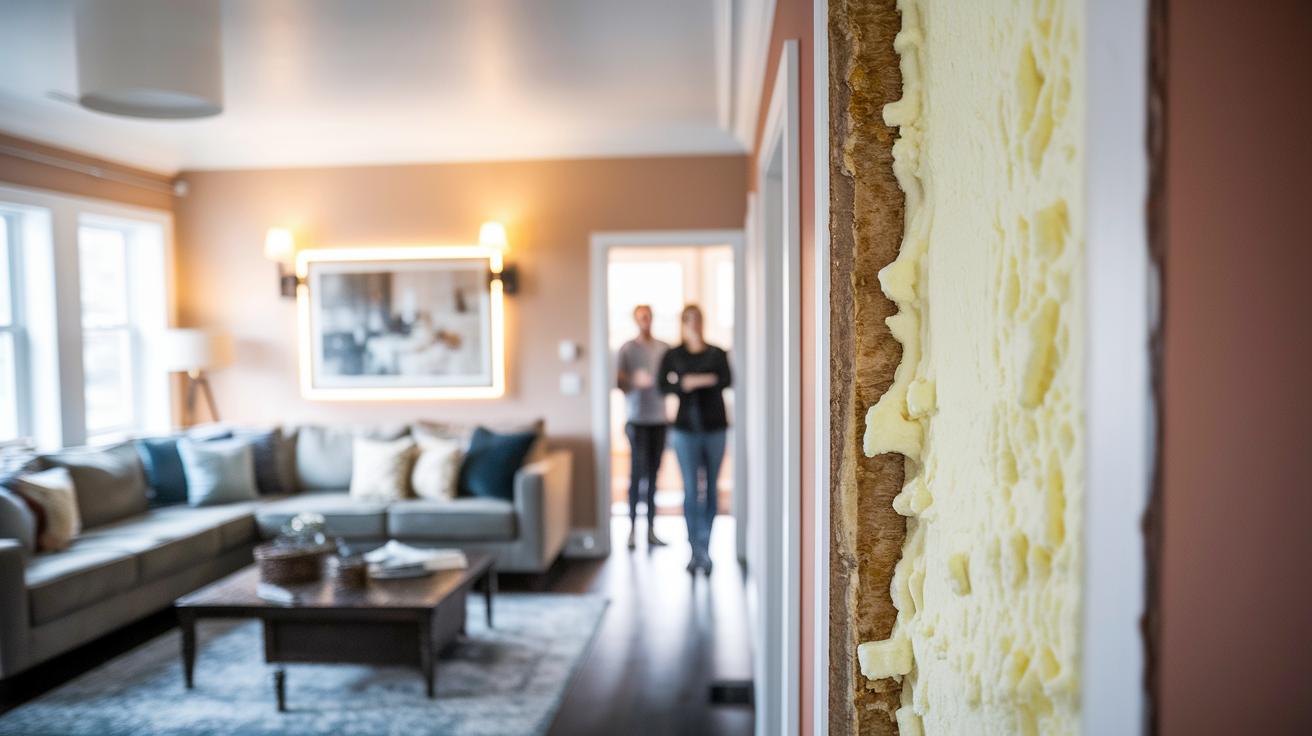
Ever wonder if your walls are letting heat and cool air escape? Adding wall insulation can lower your heating and cooling bills by up to 15% and make your home feel cozier.
In this guide, we explain how fiberglass batts (panels made from glass fibers), spray foam (insulation that expands to seal gaps), and recycled cellulose (processed paper fibers) work to stop air leaks. We'll also show you how to pick the right material and measure your wall cavity (the space inside the wall) for a proper fit.
A well-insulated wall can turn your house into a snug, energy-efficient retreat.
Wall Insulation Installation Overview: Methods, Materials, and Energy Savings
Wall insulation is a practical way to cut your home’s heating and cooling bills by up to 15% while making your space more comfortable. Using common materials like fiberglass batts, spray foam, and cellulose can boost your energy efficiency. Fiberglass batts for a 2×4 wall (actual 1.5 in x 3.5 in / 38 mm x 89 mm) typically measure 3.5 in (8.9 cm) deep by 15.25 in (38.7 cm) wide and have an R-value of about 15. You must trim these batts carefully to fit around studs, making sure there are no gaps that could reduce their performance.
Spray foam is a pricier option, but it expands to fill every gap, forming an airtight barrier that enhances thermal resistance. Cellulose, made from recycled paper, is an eco-friendly choice that should be treated with fire retardant for added safety.
Start by measuring your wall cavity accurately. Get the wall height and stud depth right so you can pick batts or foam panels that fit perfectly and offer the optimal R-value. Trim the insulation as needed to remove any extra material and cover irregular spaces. This careful approach ensures a continuous thermal barrier, which is key to saving energy.
Always work safely and double-check all measurements to keep the job on track and effective.
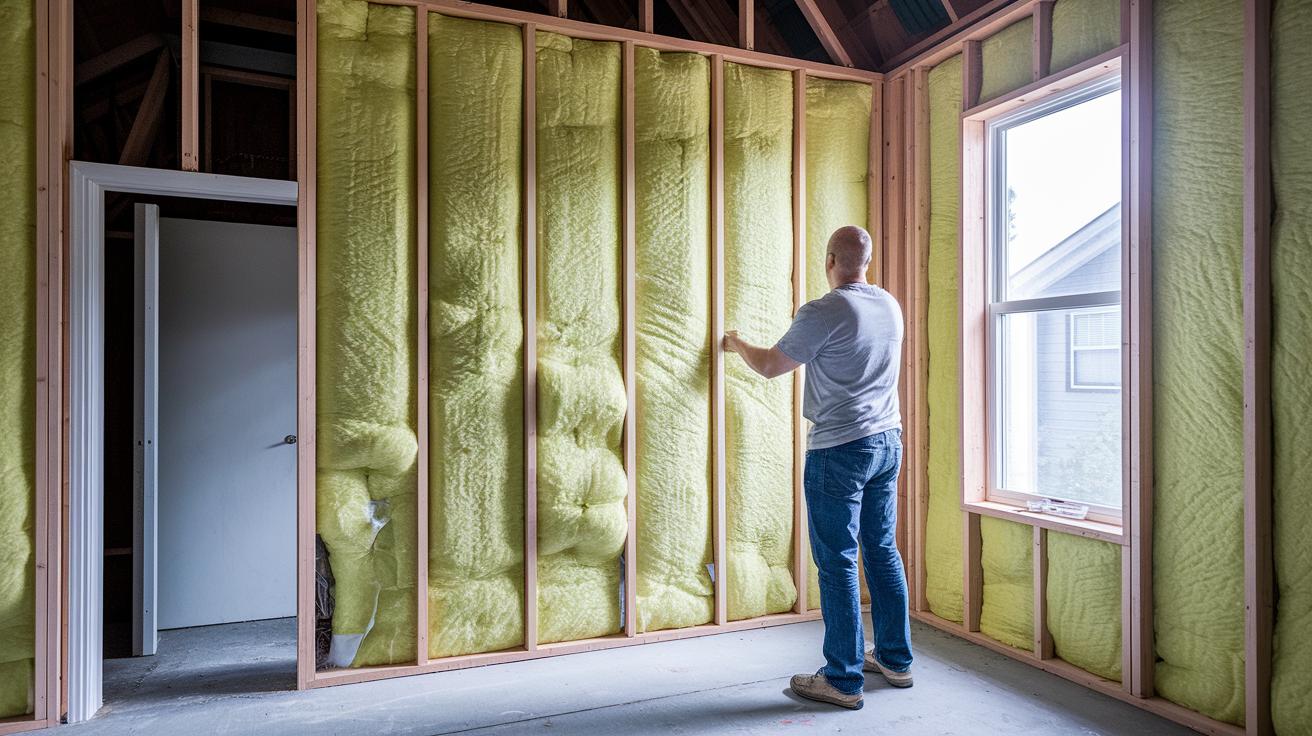
Preparing Your Walls for Insulation Installation
Before you start, clear your work area and dress for safety. Remove any electrical boxes, plumbing, or debris that might stop the insulation from fitting snugly against the wall cavity. Set up a clean, open space with good airflow to keep insulation fibers and dust from settling and affecting performance.
Safety Precautions
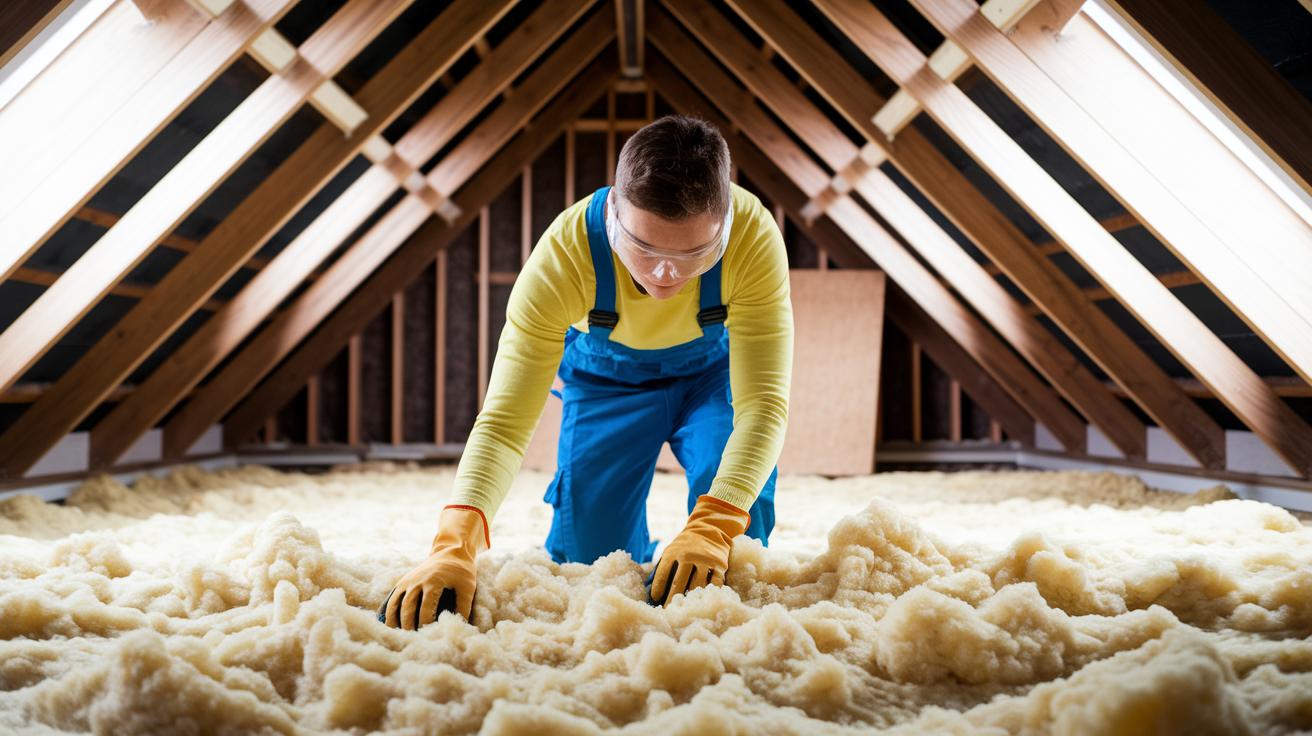
Wear long sleeves, pants, gloves, safety glasses, and a dust mask to protect against irritation from fibers and dust. Make sure the area is free of clutter and well-ventilated before handling the insulation. Quick tip: using protective gear like a dust mask and gloves helps keep those fibers at bay while you cut or fit the insulation.
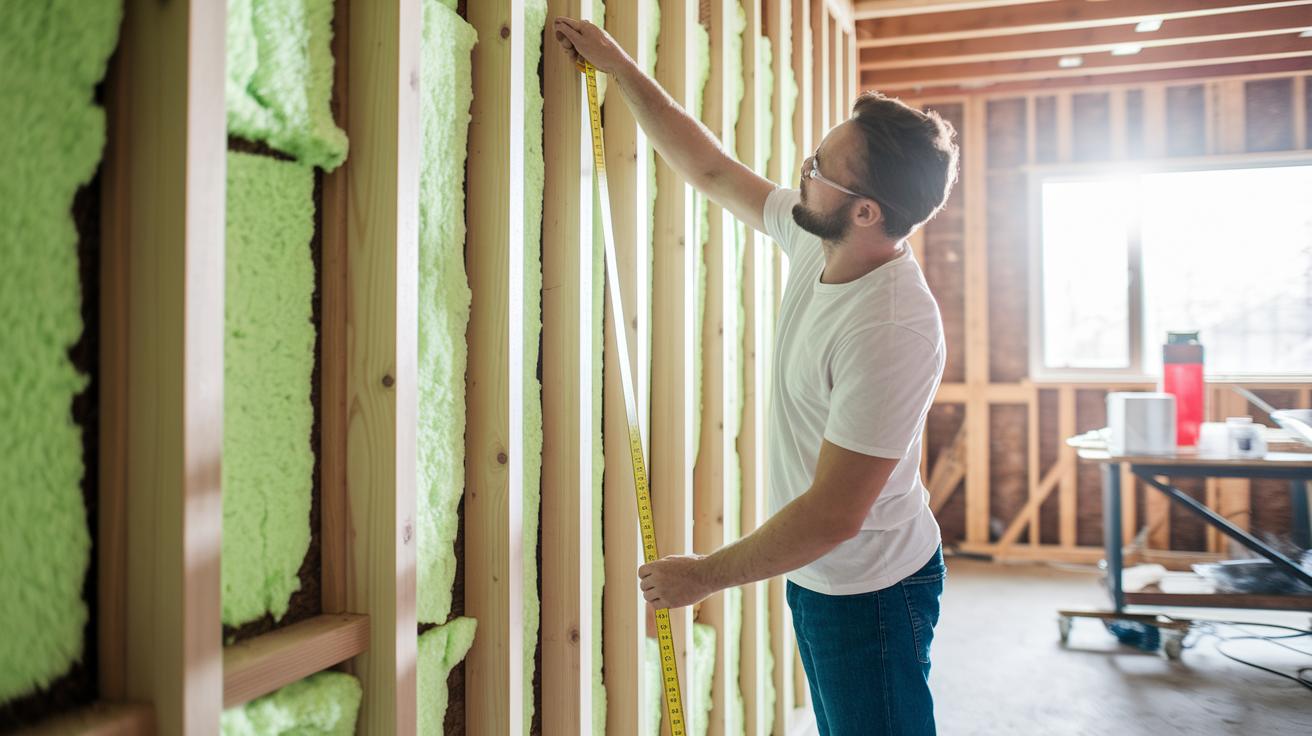
Measuring and Calculating Insulation Needs
Measure your wall’s height and width carefully using a tape measure (for example, 6 ft / 1.8 m). Then, add an extra 10% to your total to cover waste or irregular angles. Double-check your measurements and order the right amount so you won’t face delays. These careful steps set the stage for a successful, energy-efficient insulation installation.
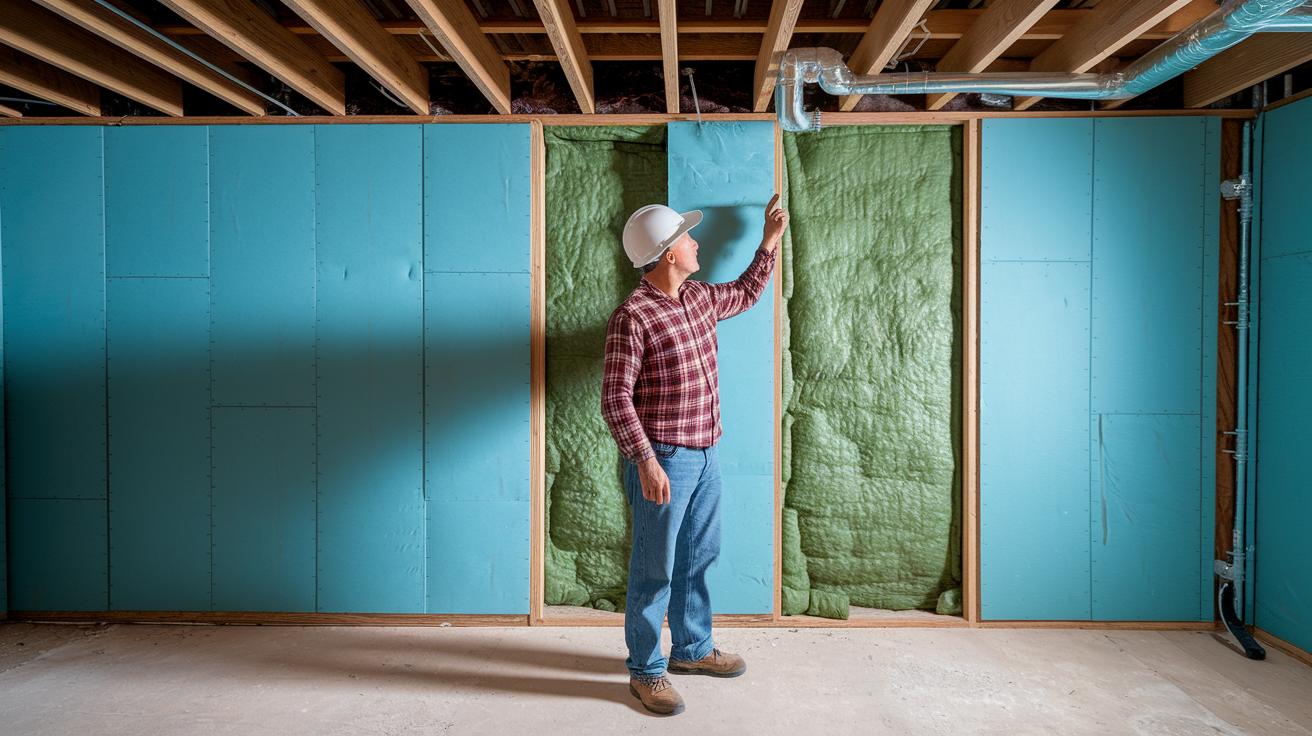
Installing Batt and Rigid Foam Insulation in Wall Cavities
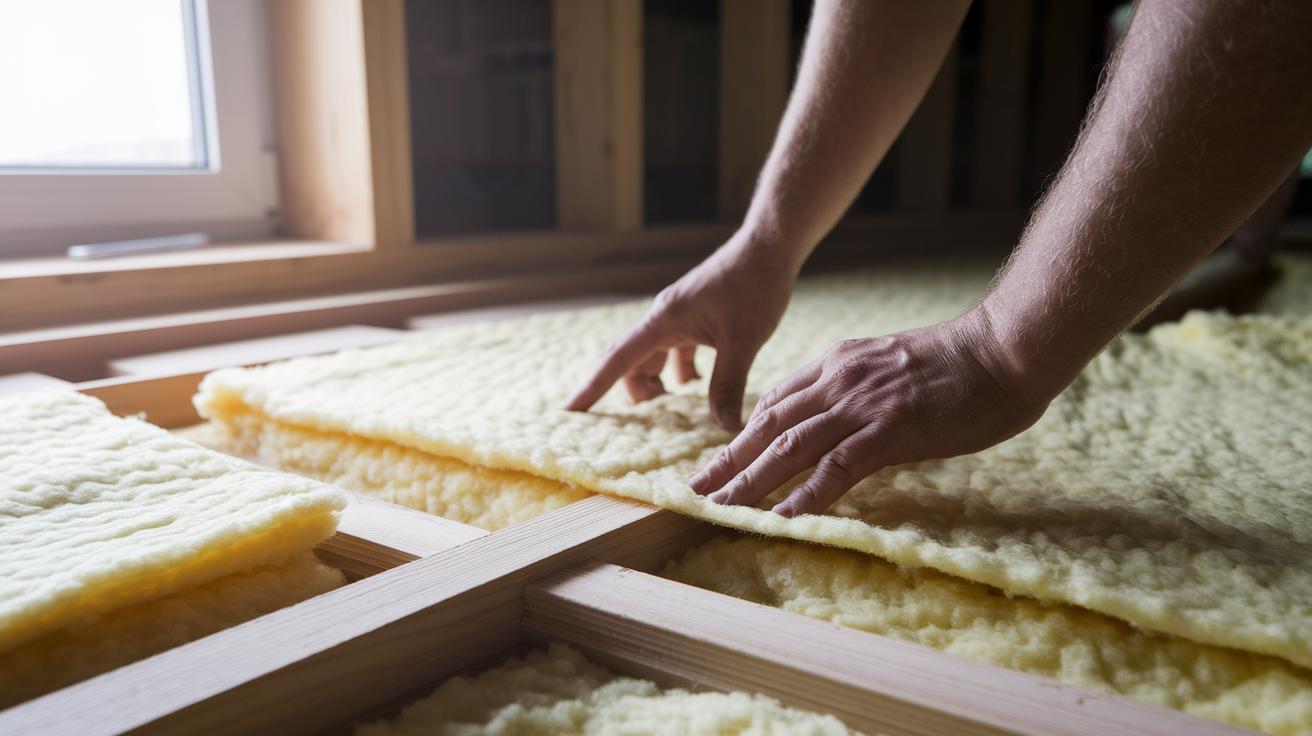
Start by making sure your fiberglass batts match the depth of your wall studs exactly. Use a straight 2×4 as a guide to trim the batts with a utility knife so they fit without gaps. The batts should sit flat against the stud faces; any gaps or compressions can lower the stated R-value and reduce insulation performance. This careful fit helps keep your home energy efficient and comfortable.
For rigid foam panels, cut them to match the cavity’s exact width and height. After cutting, seal the foam board edges with a compatible adhesive or a light coat of spray foam to block air leaks and prevent thermal bridging. This sealing method forms a continuous thermal barrier that helps maintain a cozy room temperature and lowers energy bills.
- Verify cavity dimensions and select batts or foam boards that match exactly.
- Clear the cavity and ensure the studs are dry.
- Insert the batt insulation so it touches the studs completely.
- Trim extra batt material with a utility knife to remove gaps.
- Cut the rigid foam boards to the precise cavity size.
- Apply adhesive or spray-foam sealant around the foam board perimeter.
- Press the foam panels into place, sealing any remaining seams.
Follow these steps for a clean installation that maximizes insulation performance and boosts your home’s overall comfort.
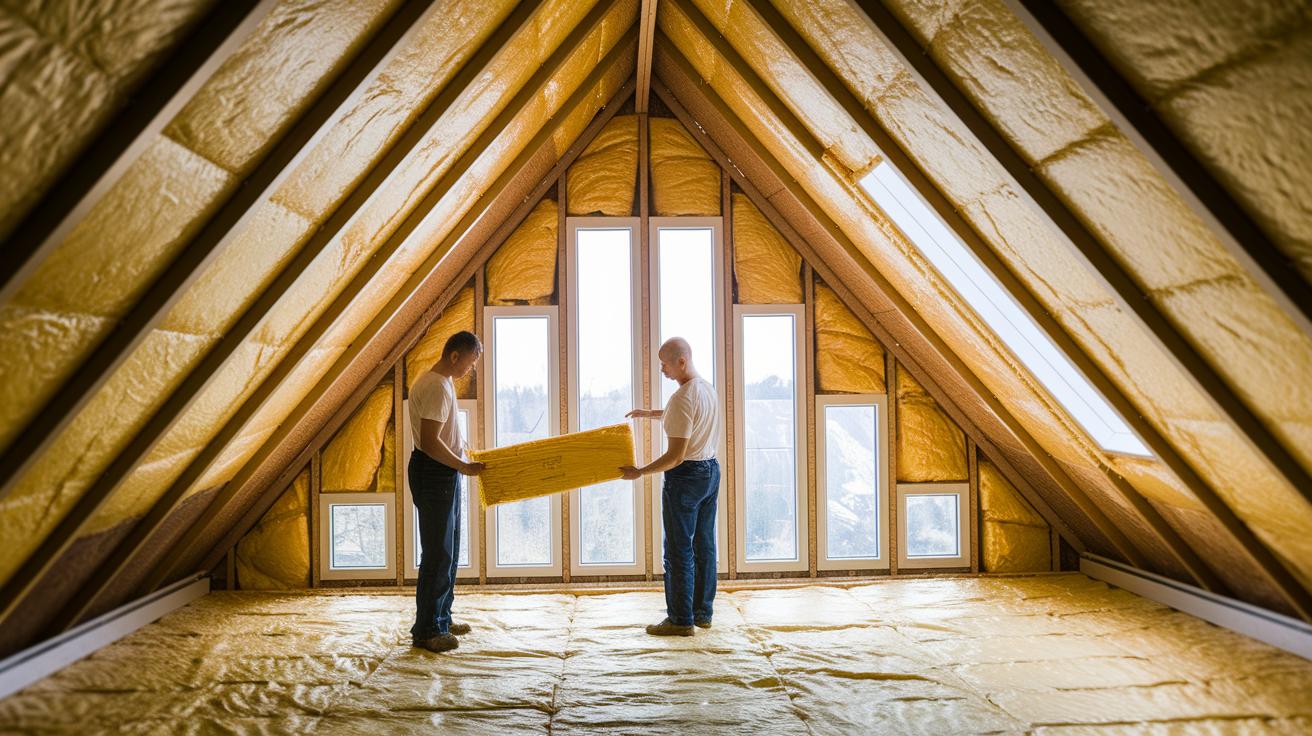
Spray Foam and Blown-In Insulation Techniques for Walls
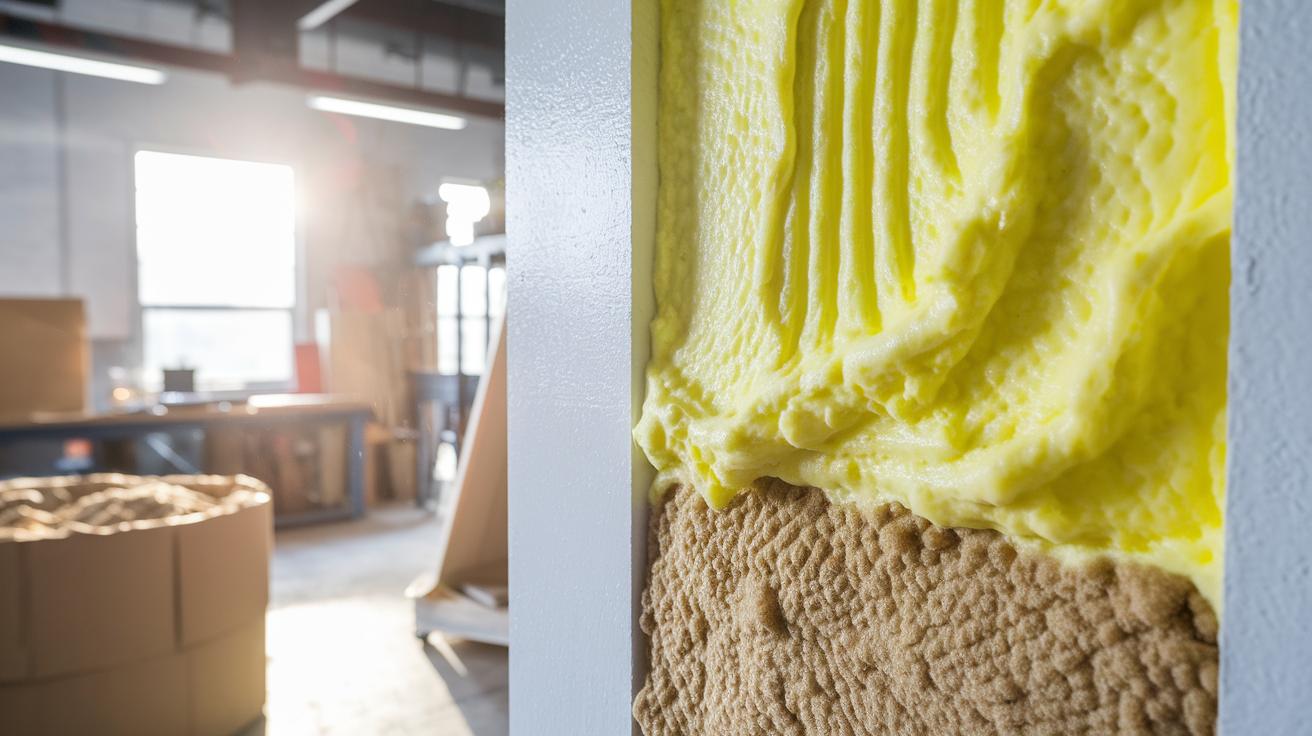
Spray foam and blown-in insulation provide smart ways to create an energy-efficient, tight wall system. Spray foam expands quickly to fill gaps in your wall cavity, stopping air leaks and boosting your home's thermal performance. It costs about $1.50–$3.00 per square foot (sq ft) (16.15–32.29 per square meter), making it a good investment for long-term savings even with a higher initial price. Blown-in insulation, usually made from cellulose with fire retardant, is a handy option for upgrading walls without demolition.
Spray Foam Application
Start by setting up your equipment per the manufacturer's directions and mix the foam parts exactly to get the right expansion. Spray evenly to cover every spot and avoid overfilling. Let the foam cure completely, which usually takes a few hours, then trim any excess with a utility knife. This careful process creates a continuous thermal barrier along every corner of the wall.
Blown-In Insulation for Retrofit
For retrofits, drill holes about 1½ inches (3.8 cm) wide at regular intervals to insert the blown-in cellulose insulation. Use special ports to inject the material, and seal the holes once the cavity is fully filled. In older buildings, you might use netting or supports to keep the insulation in place. This method builds a dense, even layer that fills all gaps without compromising the wall's strength.
The right technique can make your home cozier while saving energy and lowering bills.
Exterior and Interior Wall Retrofits: Insulation Without Demolition
For indoor upgrades, injection foam and blown-in cellulose let you boost insulation without removing drywall. You drill small holes and fill the wall cavity, keeping your room mostly untouched. Quick tip: Injection foam works like a liquid puzzle piece that fills every gap without the need for demolition.
For the outside, adding insulation panels like EIFS (exterior insulation and finish system) under new siding improves energy efficiency. You must carefully install flashing (metal strips that block water) and weather barriers to keep moisture away.
Both methods make your home more comfortable with less disruption. They do call for a bit of patching and finishing to tie the new work into your existing surfaces, so plan each step for a smooth finish.
Cost Analysis and Energy Savings of Wall Insulation Installation
Wall insulation helps lower energy bills and makes your home cozier. The cost depends on the type you choose, but most options can cut energy use by about 15% with a payback time of 3 to 7 years. Your choice will depend on your budget and how much maintenance you’re willing to handle.
| Insulation Type | Cost per sq ft | R-value | Payback Years |
|---|---|---|---|
| Fiberglass batts | $0.50–$1.00 | 15 | 3–7 |
| Spray foam | $1.50–$3.00 | 20 | 3–7 |
| Blown-in | $1.00–$1.50 | 15 | 3–7 |
Take a close look at these figures. Higher-priced spray foam fills gaps well and offers a slightly higher R-value (insulation rating) than standard batts. While fiberglass and blown-in types cost less up front, they need a careful installation to maximize energy savings. Remember to check for settling, moisture, and pest issues over time to keep your insulation working at its best.
Common Installation Challenges and Troubleshooting for Wall Insulation
Older walls can present surprises that slow you down. Insulation like cellulose and blown-in types can settle or form gaps over time. If you see empty spaces in the insulation, re-blow it or add extra fill to cover the gaps.
When you work around wires, pipes, or masonry, you must cut carefully. You might need to install backer boards (a sturdy board that supports the insulation) or use fire-safe shields to keep the insulation continuous. For example, when insulating around pipes, trim the insulation neatly and add a backer board to keep a strong thermal barrier.
Moisture is a real concern. Without a proper barrier, water can seep in, lower the insulation’s R-value (its resistance to heat flow), and even cause mold. To avoid these issues, install a 6-mil vapor barrier (0.25 mm thick) or a breathable membrane behind the insulation. Check these areas regularly, and if you find steady dampness, reapply sealant or add more moisture protection.
Keep safety in mind and inspect your work often to maintain the insulation’s performance and your wall’s long-term durability.
Professional vs DIY Wall Insulation Installation: When to Hire an Expert
If you're planning to install fiberglass batts or blown-in insulation and already have basic tools with clear instructions, you can tackle the job yourself. But when it comes to spray foam insulation, complex retrofits, mold fixes, or meeting strict building codes, it's best to call in a professional. Pros have advanced skills and know how to install vapor barriers correctly while ensuring everything follows local codes. They also offer warranties that cover their work, which helps reduce mistakes even though the upfront cost is higher.
Your choice comes down to the job's complexity and your level of comfort. For a simple project, doing it yourself is budget-friendly and doable with proper preparation. However, if the project involves tricky details or areas with moisture problems, hiring an expert can save you time, lower long-term risks, and give you confidence that the work meets all requirements.
Final Words
In the action of upgrading your home, every step counts. We walked through preparing walls, measuring accurately, and following safety guidelines. You learned the core steps from installing fiberglass batts to advanced methods like spray foam and blown-in insulation. These tips in wall insulation installation can boost energy savings and build practical skills for lasting comfort. Keep safety first, measure twice, and take pride in each step along the way.
FAQ
What does exterior wall insulation installation involve?
Exterior wall insulation installation involves adding insulation materials like rigid foam or batts to the wall cavity. This method improves energy efficiency by minimizing thermal bridging and reducing heating and cooling costs.
How do you install insulation in a ceiling, such as fiberglass insulation?
Installing insulation in a ceiling means fitting fiberglass batts between joists. Measure, cut to size, and press them snugly, ensuring they are flush with the surface and, if needed, include a vapor barrier for moisture control.
How do you install insulation in exterior walls from the inside?
Installing insulation in exterior walls from inside involves removing drywall, placing insulation batts or rolls into the wall cavities, and sealing any gaps to maintain energy efficiency and improve overall thermal comfort.
How do you install pink insulation in walls?
Installing pink insulation (mineral wool) in walls involves measuring the wall cavities, cutting the insulation to fit, and pressing it firmly between the studs so that it fills the cavities without being compressed.
How do you install insulation in 2×4 walls?
Installing insulation in 2×4 walls means selecting batts sized for 2×4 studs, placing them tightly between studs, trimming any excess material, and ensuring full contact with the wall cavity to achieve the rated R-value.
Which way should insulation face in walls?
Insulation should face the vapor barrier side toward the warmer interior of the home. This orientation helps control moisture by keeping warm, humid air from condensing on the wall’s cold surfaces.
How do you install unfaced insulation in walls?
Installing unfaced insulation means placing the material directly into the wall cavities without a vapor barrier. Ensure a snug fit and, if necessary, add a separate moisture barrier to protect against air leakage and moisture issues.
How should wall insulation be installed?
Wall insulation should be installed by accurately measuring wall cavities, cutting insulation to fit snugly, and placing it without compressing the material. This process ensures proper thermal performance and energy efficiency.
How much does labor cost to install wall insulation?
Labor costs for wall insulation can range from about $0.50 to $2.00 per square foot, depending on the method used, the difficulty of the installation, and regional labor rates.
Can you insulate walls without removing drywall?
Insulating walls without removing drywall is possible using blown-in or injection insulation methods. These techniques retrofit the wall cavities with minimal disruption while still enhancing energy efficiency.
How much does it cost to insulate house walls?
The cost to insulate house walls ranges from roughly $0.50 to $3.00 per square foot, depending on the insulation type and installation method, with long-term savings on energy bills often offsetting the initial investment.