

Wondering how a simple foam product can cut your energy bills and boost home comfort? Expanding foam insulation fills even the most hidden gaps to keep cold air out and warm air in. It glides neatly around windows, doors, and in attics, offering a smooth, easy-to-handle finish. This foam expands as you apply it, sealing out moisture, noise, and unwanted drafts. In this guide, we show you how this tool can improve your home’s efficiency, perfect for DIYers and pros alike.
Expanding Foam Insulation Overview: Benefits, Types & Uses
Expanding foam insulation, like Great Stuff Gaps and Cracks, is simple to use and expands evenly. Its rigid, tapered tube lets you put the foam exactly where you need it without juggling the button. You can fill gaps up to 1 in (2.5 cm) wide quickly and neatly. For example, even a small gap can let cold drafts in, but a solid foam fill stops them fast.
This foam works great for insulating attics, sealing gaps around windows and doors, and cutting down noise from pipes. When you apply and trim it right, it meets key fire-code rules. It provides waterproofing, fireproofing, sound control, and acts as a thermal barrier. You can use it indoors and, in many cases, outdoors too.
Expanding foam insulation comes in two formats. Small DIY projects use aerosol spray cans, while larger jobs often call for two-part kits that pros prefer. This flexibility makes it a smart pick for boosting your home’s energy efficiency and comfort. Use it to block moisture, keep pests out, and build a tight envelope around your home to improve thermal performance.
Benefits include:
| Benefit | Why it helps |
|---|---|
| Even expansion | Fills gaps neatly and quickly |
| Trim-ready surface | Reduces cleanup time |
| Versatile use | Works for insulation, sound control, and moisture protection |
| Easy to use | Great for DIYers and pros alike |
All in all, expanding foam insulation proves a valuable tool for both home and professional projects. It speeds up installation and boosts your building’s performance in several ways.
Expanding foam insulation Boosts Home Efficiency
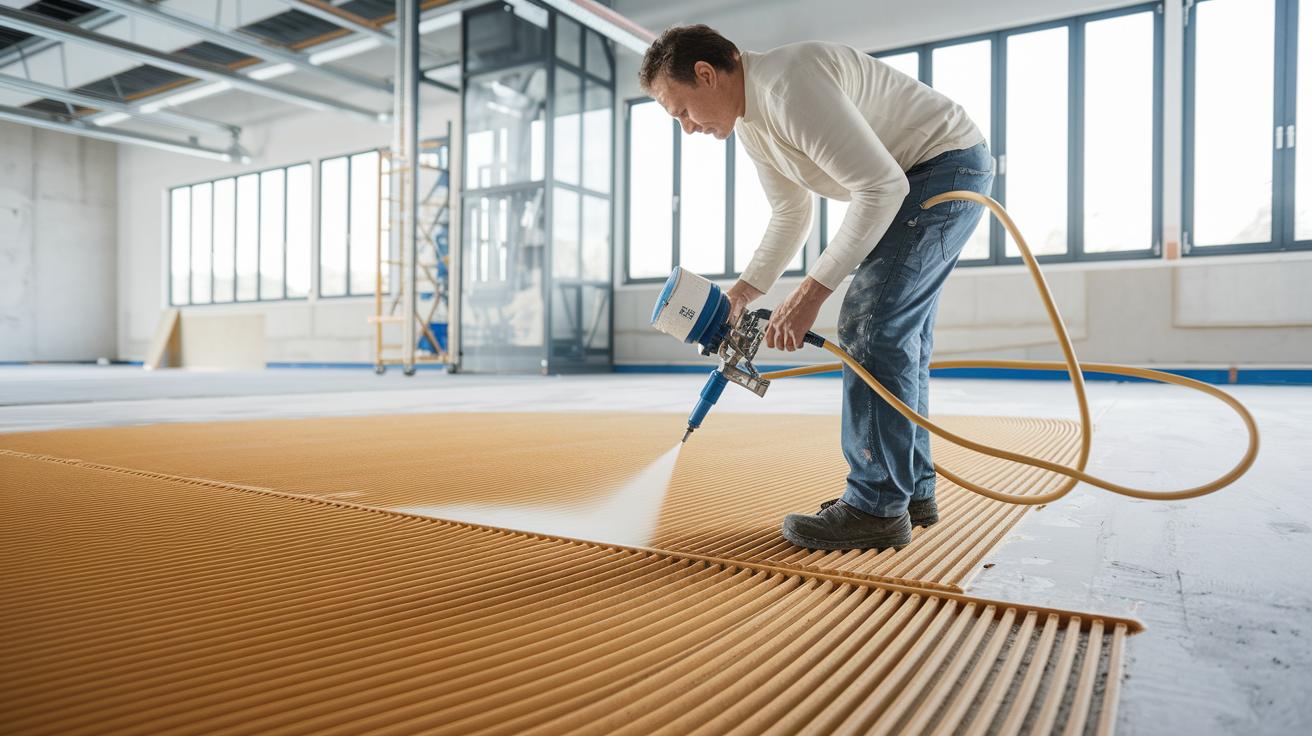
High-expansion foam fills big gaps and is usually applied by pros using a two-part mix. It quickly expands to cover large voids, much like a burst of foam that fills a big space fast.
Low-expansion foam works great for DIY jobs around windows, doors, and small gaps. It sprays in a controlled way that protects fragile frames while sealing out drafts, much like a soft touch that keeps the air out without bending the sill.
High-density closed-cell spray foam (3 lb/ft³ or 48 kg/m³) is built to resist wind uplift. It stops both air and water, which makes your home tougher and saves energy. Medium-density closed-cell foam fills wall cavities and gives continuous insulation. With its high R-value per inch, it boosts thermal protection and keeps vapor and sound at bay.
Low-density open-cell foam (0.5 lb/ft³ or 8 kg/m³) creates a flexible, even insulation layer that seals off irregular spaces from air leaks.
- High-expansion foam: covers large areas
- Low-expansion foam: fits small gaps with precision
- Closed-cell versus open-cell: choose based on density and performance
Match the foam type to your project to cut energy waste and boost your home's comfort.
Applying Expanding Foam Insulation: Step-by-Step Guide
Start by gathering your tools. You’ll need a spray can with a stiff dispensing tube or a two-part foam gun, a ¼-inch extension tube (about 6 mm) for tight spaces, and your PPE, gloves, goggles, and a proper respirator. Read the manufacturer’s instructions before you begin.
-
Choose the right foam for the gap size. For instance, for a small crack under a window sill, use low-expansion foam so it doesn’t force its way into delicate areas.
-
Work in a well-ventilated area or use exhaust fans. Since polyurethane foam releases fumes while it cures, open windows or use a fan to keep fresh air flowing.
-
Attach the ¼-inch extension tube to your spray can. This makes reaching small gaps easier, like getting into tight corners behind baseboards.
-
Apply the foam sparingly. A little goes a long way; too much foam can overspill and require extra cleanup.
-
If needed, lightly mist with water to help speed up the curing process in cooler conditions.
-
Let any extra foam fully cure before trimming or sanding it. This patience prevents damage and results in a clean, trim-ready surface.
Following these steps will help you create a solid, energy-saving seal for your home.
Installing Expanding Foam Insulation in Attics and Walls
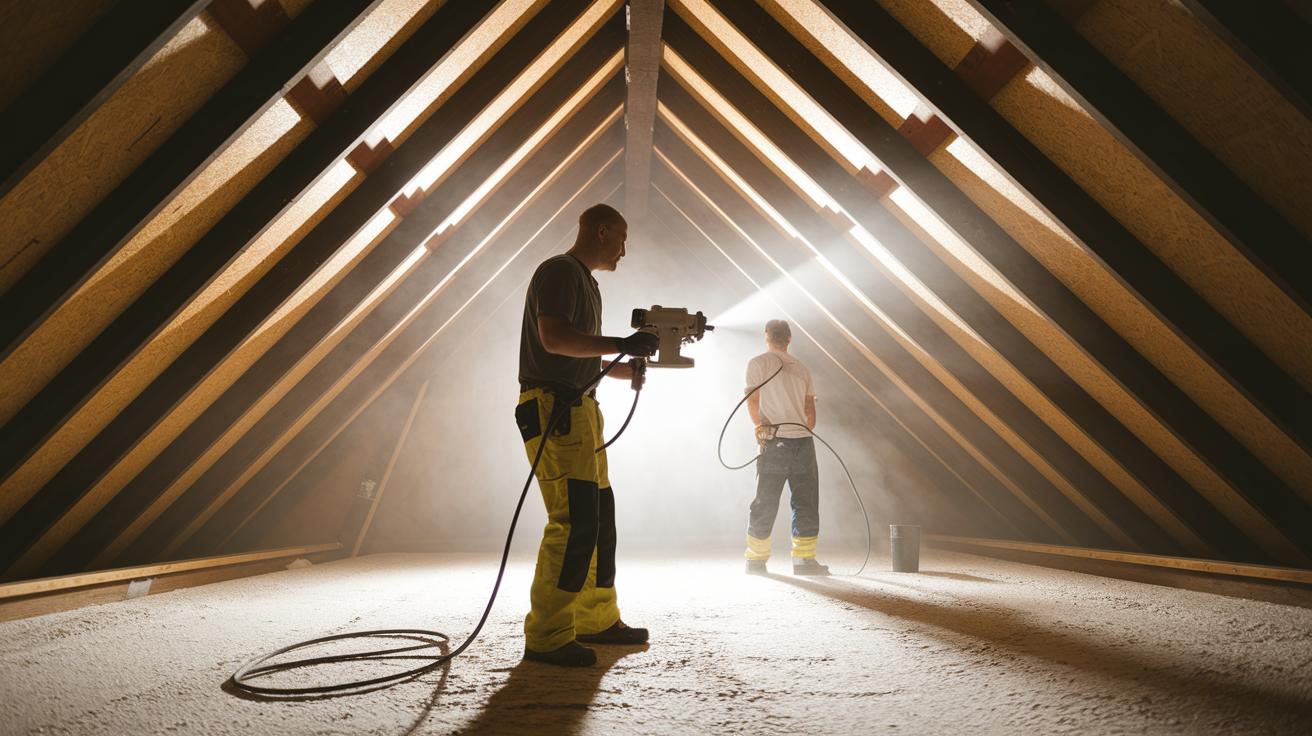
Attic jobs use a two-part spray system applied with a foam gun. This gun forces the foam deep into the rafters and rim joists. Steady the spray into each joint so the foam fills every gap, think of it like carefully filling each piece of a wooden puzzle. Because attics can have deep spaces, work slowly and evenly.
For walls, aerosol cans are best. They let you seal small holes, cover electrical outlet gaps, or fill narrow rim joist spaces. It’s like applying a small dab of glue exactly where it’s needed to keep drafts out.
Safety is important no matter which method you choose. Wear eye protection, gloves, and a dust mask when you work. Once trimmed and coated, the foam acts as a strong air and moisture barrier that meets many local fire-code rules.
The foam becomes tack-free in about 30 minutes. Let it cure fully for 24 hours before you cover it with drywall or a vapor barrier.
Attic installation nuances
- Use a two-part spray system with a foam gun for deep fills in rafters and rim joists.
- Aim steadily into each joint to prevent missed gaps.
- Take extra care in attics since deeper spaces need even foam distribution.
Key points include:
- In attics, rely on a two-part spray system with a foam gun.
- For walls, aerosol cans work well on small, specific gaps.
- Foam becomes tack-free in about 30 minutes and fully cures in 24 hours.
- Always follow safety rules by wearing proper eye protection, gloves, and a dust mask.
Cost and Energy Efficiency of Expanding Foam Insulation
Expanding foam insulation is a smart, energy-saving choice that pays dividends over time. It seals gaps against air and water, which cuts your heating and cooling losses. High-density closed-cell foam works like a tough barrier, stopping drafts. Think of it as a snug coat for your home when it's cold or hot.
You have two main options. Aerosol cans cost less up front and are perfect for small fixes, like sealing a window gap for just a few dollars. Two-component kits cost more but cover larger spaces well, making them great for attics or wall cavities.
You may need to rent tools or hire a professional, which adds to the project cost. However, these extra steps can lead to big long-term energy savings. The key cost drivers are:
| Cost Factor | Description |
|---|---|
| Foam type and yield | How many board feet per unit you get |
| Labor or tool rental fees | The cost for hiring help or renting equipment |
| Total area | The square footage (or square meters) that needs to be covered |
For example, choosing a two-component kit for deep insulation fills can bring down your energy bills over time, making that higher initial cost a smart investment in your home's efficiency.
Expanding Foam Insulation vs Fiberglass: Comparative Analysis

Closed-cell foam offers about R-6 to R-7 per inch (an inch is 2.54 cm), while open-cell foam gives roughly R-3.6 per inch. Fiberglass batts rate about R-3 per inch. Foam insulation works as both a thermal barrier and an air seal. Fiberglass only insulates, so you may need to add a vapor retarder (a material that helps control moisture).
Foam blocks drafts and limits moisture from seeping in. This makes it a smart choice in areas where air leaks can cause problems. Although fiberglass might come at a lower price per inch, its single function means you often have to spend more time and money on extra products and labor to control moisture.
When it comes to installation, foam creates a full, continuous seal even in tight or irregular spaces. In contrast, fiberglass batts must fit neatly between studs (vertical framing members) to avoid gaps. Overall, foam tends to perform better, even if its initial cost is higher.
Safety and Best Practices for Expanding Foam Insulation Projects
Work in a well-ventilated space when using expanding polyurethane foam. This foam gives off chemical fumes, so wear gloves, goggles, and a NIOSH-approved respirator (a respirator approved by the National Institute for Occupational Safety and Health) to keep you safe. For example, before starting, put on your PPE, gloves, goggles, and a respirator, to block harmful fumes.
Keep the work area between 50°F (10°C) and 90°F (32°C) for proper foam expansion and adhesion. Working outside this temperature range can lead to uneven results. Remember that the curing (hardening) process produces heat, so avoid working in tight spaces and allow the foam to cure completely before entering.
Avoid overspray to reduce waste, and always prepare your surface properly for a strong bond. In two-part foam kits, mix the parts thoroughly to prevent weak bonds. Follow the manufacturer’s instructions closely to ensure a safe and effective project.
- Always wear the proper PPE.
- Keep the temperature between 50°F (10°C) and 90°F (32°C).
- Prevent overspray and ensure proper surface preparation.
These steps help you complete the job safely and efficiently.
Common Issues and Maintenance for Expanding Foam Insulation

Remove any extra foam once it has fully cured. Use a utility knife to make clean, smooth cuts, just like slicing soft butter. This keeps your work neat and professional.
If you notice overspray or gaps, let the foam sit for 24 hours. Then, apply a thin layer of low-expansion foam to fill in the spaces. This method ensures the foam stays even and avoids extra stress on nearby surfaces.
For hardened foam that needs to come off, try mechanical cutting or scraping. If it’s stubborn, a solvent-based foam remover can help dissolve the unwanted pieces.
Regular checks are important. Inspect the foam each year for cracks or any separation along the seams. If you spot any damage, re-seal the area right away to keep your home energy efficient.
- Remove extra foam with a utility knife
- Fix overspray by applying low-expansion foam
- Inspect annually for cracks and re-seal as needed
Final Words
In the action, the post broke down expanding foam insulation options, showing how to select the right type for gaps, attics, and walls. It shared safety tips, application steps, and crucial guidance for cost-effective projects. You saw how foam aids in energy efficiency, moisture control, and even noise reduction. Each section helped build confidence in using the right tools and techniques. Expanding foam insulation adds value for projects when applied with care and proper planning, leaving you ready for your next job with a smile.
FAQ
Q: What is a spray foam insulation kit?
A: A spray foam insulation kit is an all-in-one package that provides the materials and tools needed to apply expanding foam for sealing gaps, reducing air leaks, and enhancing energy efficiency in your home.
Q: What expanding foam insulation R-value can I expect?
A: Expanding foam insulation, particularly closed-cell types, typically offers an R-value of about R-6 to R-7 per inch, providing effective thermal resistance and sealing against air and moisture.
Q: Which expanding foam insulation product is considered the best?
A: Many users prefer products like Great Stuff Gaps and Cracks Expanding Foam for its ease of use, reliable expansion, and trim-ready finish, making it a solid choice for sealing small gaps.
Q: How does spray foam insulation work for walls?
A: Spray foam insulation expands to fill wall cavities, creating a continuous air barrier while adding sound and moisture control, which enhances overall energy efficiency and indoor comfort.
Q: What is the typical cost of spray foam insulation?
A: The cost of spray foam insulation varies based on coverage and foam type; projects range from a few hundred dollars for small spaces to a higher investment for complete home coverage by professionals.
Q: Are there spray foam insulation kits for 1,000 sq ft and 2,000 sq ft coverage?
A: Spray foam kits are available in multiple yield sizes; some are designed for about 1,000 sq ft and others for 2,000 sq ft, so check product details to match the specific area of your project.
Q: Where can I find expanding foam insulation near me?
A: Expanding foam insulation is widely available at home improvement centers and building supply stores, as well as online retailers, making it easy to locate locally with a quick search.
Q: Where should you not use expanding foam?
A: Expanding foam should be avoided on surfaces exposed to direct sunlight or harsh outdoor elements unless it is rated for such conditions, and it should not be used on materials prone to moisture without proper ventilation.
Q: Is expanding foam effective for insulation?
A: Expanding foam is effective as it seals gaps and provides high R-value insulation, reducing drafts, enhancing energy efficiency, and acting as an air and moisture barrier when correctly installed.
Q: What are the negatives of spray foam insulation?
A: Spray foam insulation can emit chemical fumes during application and requires strict safety precautions. Improper application may lead to overspray or uneven curing, so careful adherence to instructions is essential.
Q: How much does it cost to spray foam insulate a 2,000 sq ft house?
A: Insulating a 2,000 sq ft house with spray foam typically involves a higher cost, with professional installations often costing several thousand dollars, offset by long-term energy savings and improved efficiency.