
Have you ever thought about how a stone path can add warmth and charm to your garden? Picture a pathway where rough stones mix with soft mulch to create a welcoming look right at your doorstep. Stone paths boost your home’s look and offer lasting function at the same time. In this guide, we share clear design ideas, the best materials, and simple steps to build a sturdy path that fits your style. Let’s get started and bring a touch of nature right to your home.
Stone Path Essentials: Design, Construction, and Material Overview
Natural stone paths add charm and boost your home's curb appeal. They mix stones, grass, mulch, or gravel to create inviting, easy-to-follow routes. Picture a path where rough stones meet soft, mounded mulch, almost like stepping into a little piece of nature right at your doorstep.
Choosing the right materials is key. Different stone types allow for many looks, whether you prefer a country farmhouse style or a clean, modern design. The true beauty of a natural stone path is its flexibility to match your home’s character.
Before you begin, check out your local garden center or stone supplier. Look for quality flagstones or natural slabs that are 2 to 3 in thick (about 5 to 8 cm). Choose stones with a natural, non-polished finish to help keep the surface less slippery when wet. Prices and availability depend on the finish and size, so comparing your options is wise.
By planning carefully and selecting quality materials, you can create a durable, low-maintenance path that enhances your home's look without breaking the bank.
Selecting Stone Types for Your Stone Path
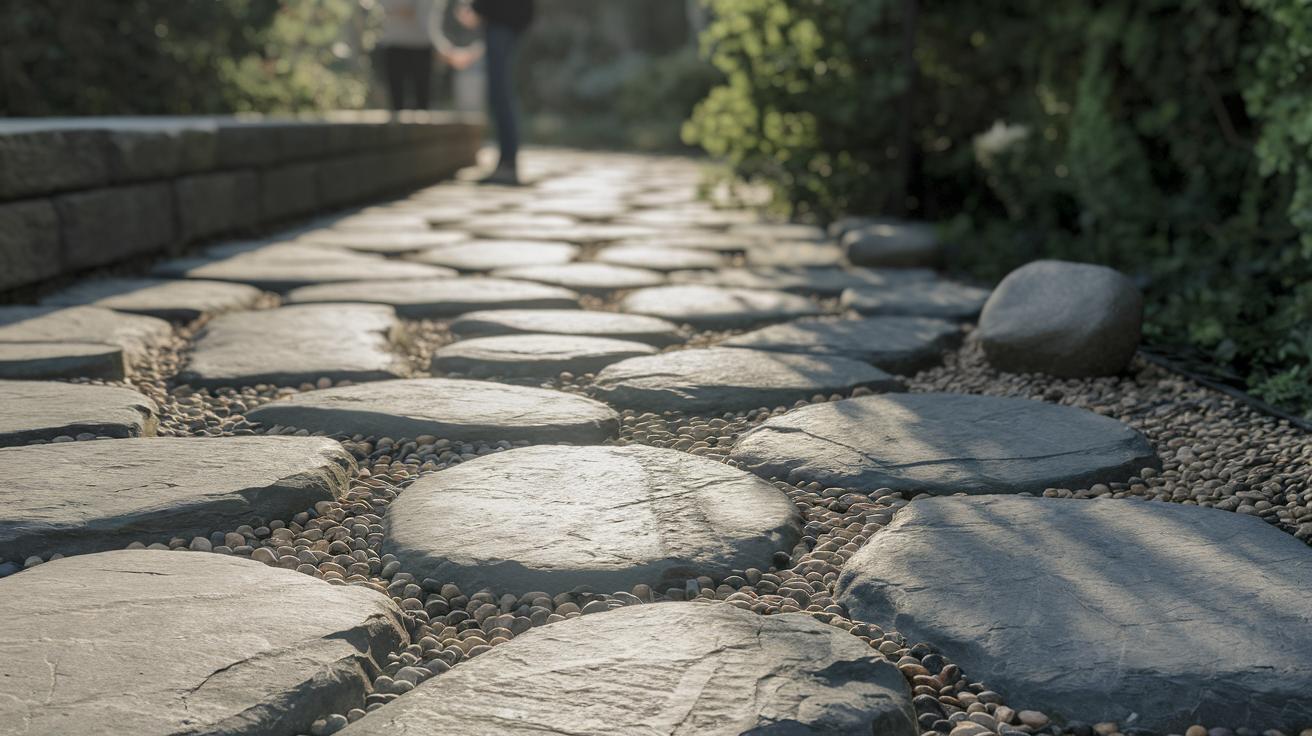
When planning your stone path, compare flagstone, cobblestone, and natural slabs to find the right look and feel for your project. Flagstone gives you a flat, wide surface ideal for a neat layout. Cobblestones add a rugged vibe with their small, rounded shapes that create a textured appearance. Natural slabs, with their varied sizes and shapes, bring a rustic charm to your garden. Picture a pathway that combines flagstones with occasional cobbles for a balanced, organic design.
When picking your stone, think about its thickness, texture, and safety. Choose flagstones that are 2–3 in (about 5–8 cm) thick for a sturdy, stable surface. A non-polished surface on these stones helps keep them slip-resistant when they’re wet. Make sure any cobblestones or natural slabs you use are chosen carefully, ensuring that their uneven shapes won’t cause trips. Always check that the stone surface isn’t too smooth; a bit of grit underneath your feet gives better grip. For example, using natural slabs as stepping stones can add a tactile and safe element to your path.
Planning & Layout Strategies for a Stone Path
Begin by marking your planned pathway. Use a garden hose or a piece of string stretched between stakes to set the route. This simple step lets you see how the path fits into your yard’s natural layout. For example, laying a hose on a sloping yard quickly shows if you need to adjust for a gentler incline before you start digging.
Next, design a path that handles foot traffic and blends with your yard’s features. Make sure the path is at least 3 ft (0.91 m) wide so that two people can pass comfortably. Think about using gentle curves or a straight line that matches your landscape. Align the path with nearby patios, garden beds, or natural stepping stones so it feels like a natural extension of your outdoor space. This careful planning adds both convenience and charm to your hardscape.
Step-by-Step DIY Stone Path Installation
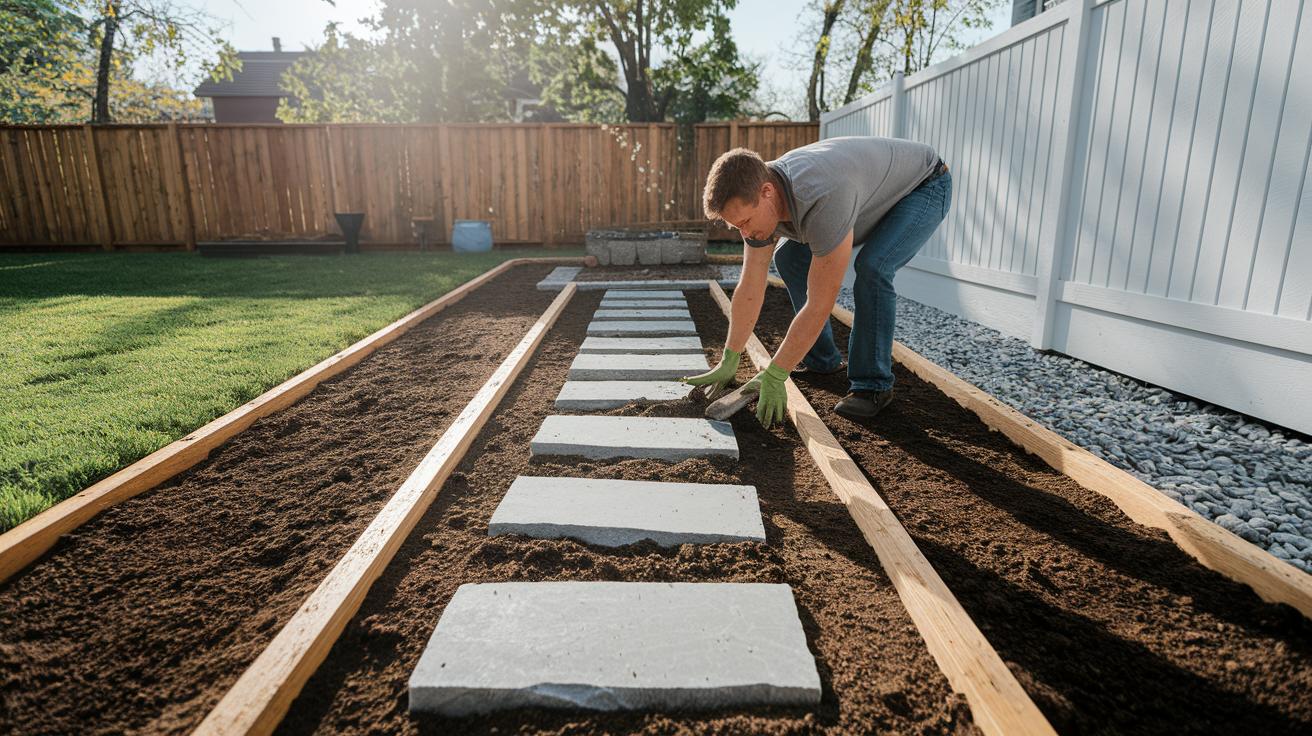
Start your project by marking the area for your new stone path. This DIY project mixes function with style and gives you a solid, attractive walkway.
- Clear the turf along your marked line using a spade or sod cutter.
- Dig the soil to a depth of about 5 in (12.7 cm) and tamp it down firmly with a prime tamp to form a stable base.
- Install edging on both sides. You can use timber, plastic, metal, or even compacted soil to keep the stones from shifting.
- Lay a continuous layer of landscape fabric over the dug-out area. This fabric lets water soak in while stopping weeds.
- Spread at least 2 in (5 cm) of paver sand over the base; then level and moisten the sand to prepare it.
- Place your flagstones or natural stone slabs on the sand, checking that each one fits well and is correctly aligned.
- Adjust the sand beneath any uneven stones until each one sits level, ensuring a safe walking surface.
- Fill the gaps between stones with gravel, regular sand, or polymeric sand. If you like, add small, step-friendly plants in the gaps.
Before you start, gather all the necessary tools and wear safety gear like eye protection and sturdy shoes. Review the Construction Site Safety Guidelines (https://neull.com?p=115) to keep your workspace safe.
Creative Design Ideas for Stone Path Aesthetics
Give your garden a boost with smart stone path ideas that blend function and style. Picture a walkway that not only leads the way but also adds bold lines and textures to your outdoor space.
- Try a gravel path using pea gravel. It creates a soft, loose surface that stands out against larger, flat stones.
- For a modern vibe, lay sharp-edged rectangular stones with loosely placed side stones. This combo makes a clean, minimalist look.
- Lay simple square stepping stones in natural grass. This design offers a classic, subtle feel.
- Create a rustic mosaic by mixing stones of different shapes and colors. This artful design gives your path an eclectic, personal touch.
Make your stone path a reflection of your style. Test different stone mixes and layouts until the path fits your garden’s personality. Pair smooth stones with textured ones for a warm, eye-catching finish. Every tweak should balance safety and beauty so your outdoor space stays welcoming and unique.
Maintenance Tips for Long-lasting Stone Paths
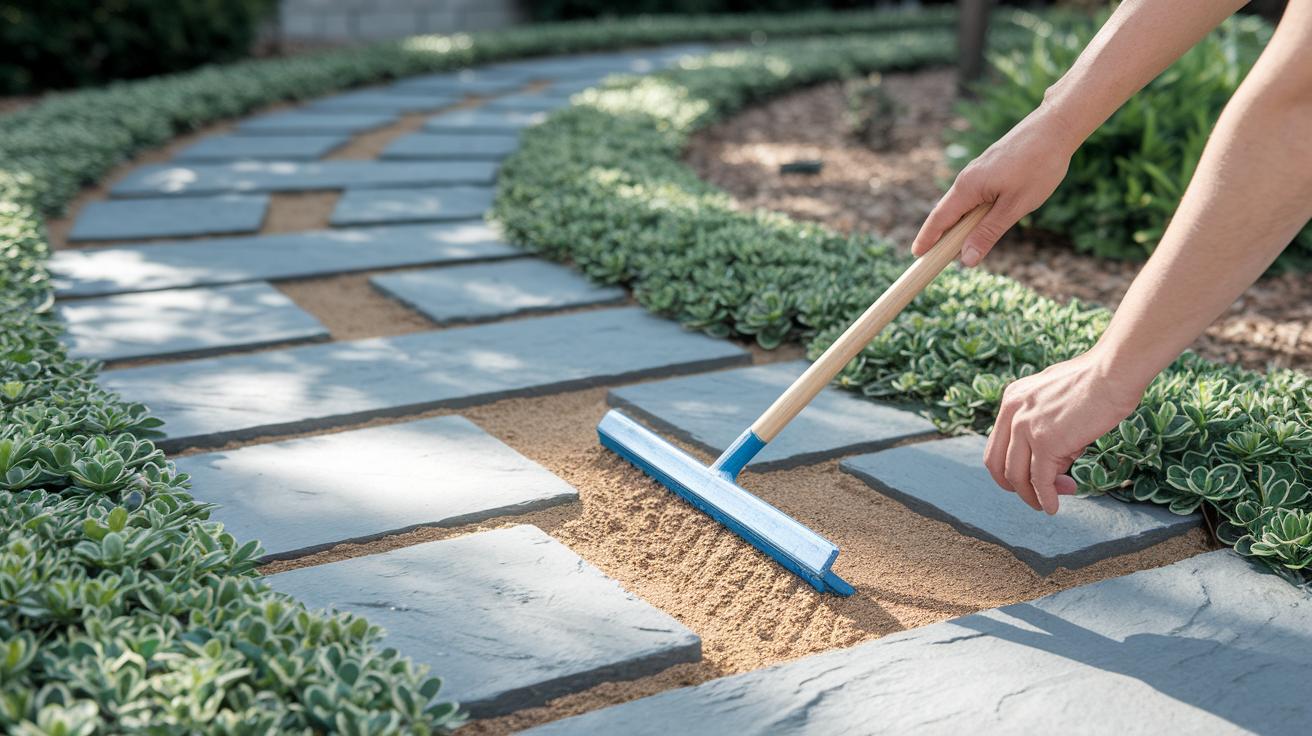
Fill the gaps between your stones with polymeric sand (a special sand that hardens when wet) to stop weeds from growing. Sweep the sand into each gap so the joints stay sealed and block unwanted plant sprouts. To boost stability, add groundcovers that can handle foot traffic and offer a touch of green. For example, creeping thyme (a low-growing herb) works well to combine function with a natural look.
Keep your stone path in top shape with regular cleaning and seasonal checks. Wash away dirt with a mild detergent and gentle pressure washing, much like you would clean a busy driveway. Each year, look for any stones that have sunken and add a bit more sand to level them out. For more tips, check out the Home Maintenance Checklist (https://neull.com?p=186).
Cost & Budget Considerations for Stone Path Projects
Stone paths can be a cost-smart update for your yard if you choose your materials carefully. Your total expense largely depends on which stones, mulch (wood chips or similar organic material), and edging options you select. A spring cleanup after winter can be very affordable with a bit of planning.
Material prices can vary widely. Natural stones might set you back a bit more, but recycled stones can help trim costs. Mulch not only keeps mud at bay but also adds curb appeal without breaking the bank. For edging, you have choices like timber, plastic, or metal, each coming at a different price. Mixing man-made products with natural options can further tailor your budget to your needs. It pays to shop around at major home improvement stores to get the best balance of quality and affordability.
To cut expenses even more, consider pairing recycled stones with mulch. Repurposing materials or opting for blended mulch alternatives will help keep costs low while still creating an attractive garden path that meets both your practical needs and design style.
Final Words
In the action, a stone path not only boosts curb appeal but also adds a natural touch to your property. The blog post blended design ideas, material choices, and step-by-step installation tips with smart planning and budget-friendly strategies. We covered everything from selecting the right stone to maintaining your walkway for long-lasting charm. Embrace these practical steps to create a durable, stylish pathway that welcomes you home every day. Enjoy the creative process and the rewards of your effort.